
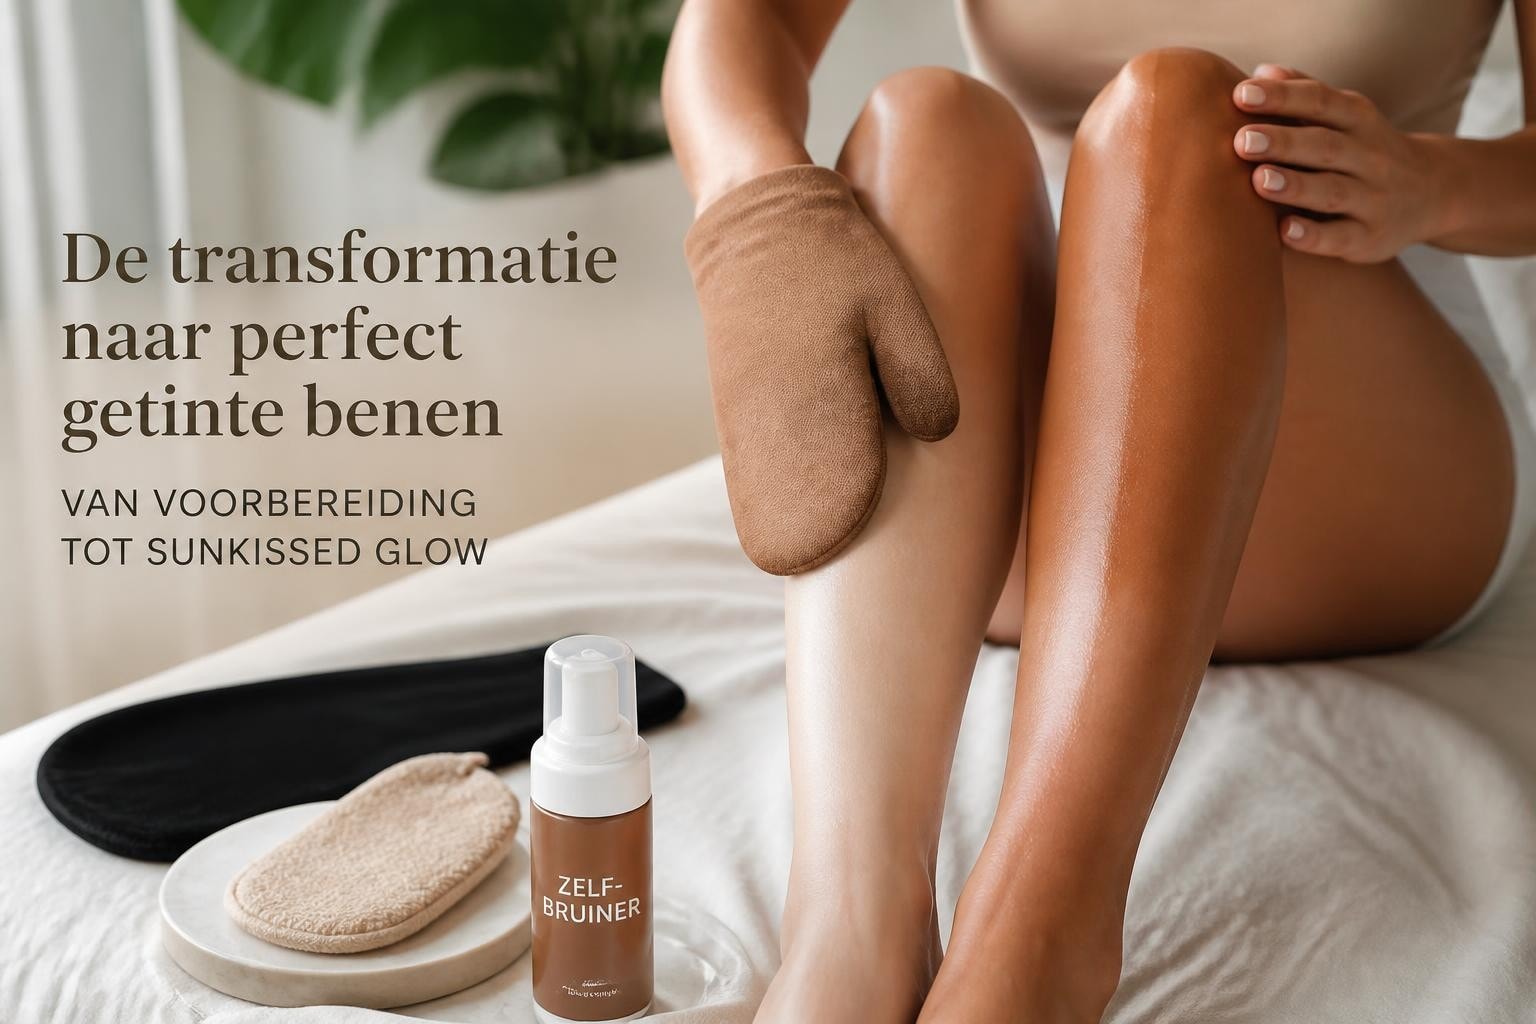
Best self-tanner for legs: tips for an even, sunkissed look
Your legs deserve a little extra love, especially if you dream of that beautiful sun-kissed glow without spending hours in the sun. The best self-tanner leg products give you an even, natural tan that looks like you just returned from a sunny vacation. In this article, we share everything you need to know to achieve those radiant legs you dream of. From preparation to the perfect application technique, you'll find practical tips that really work and help you achieve a professional result without orange undertones or annoying streaks.
Why choose self-tanner for your legs
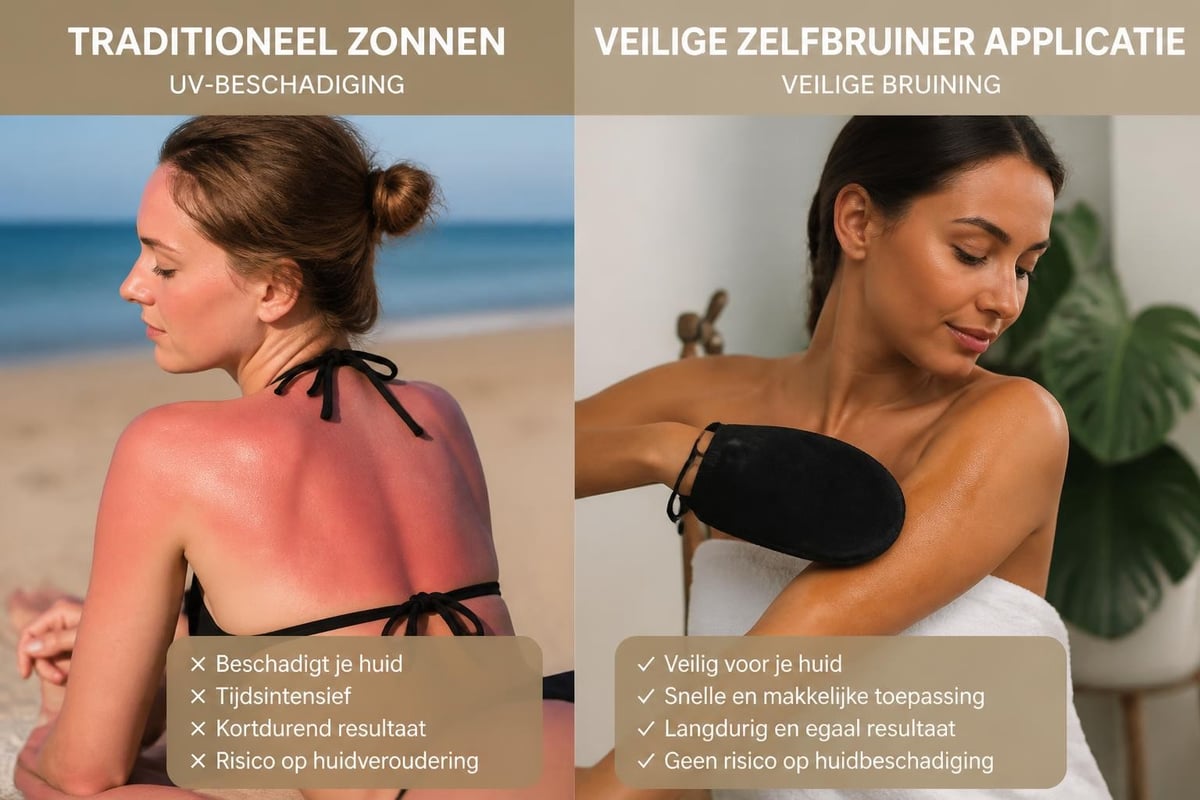
Many women feel more confident with a golden-brown tan on their legs. It gives a well-groomed appearance and makes your skin look healthier. But prolonged sun exposure or tanning beds carry risks for your skin, from premature aging to skin cancer.
Self-tanners offer a safe alternative. They work by reacting with the amino acids in your skin cells, creating a temporary brown color without exposing your skin to harmful UV radiation.
The benefits of modern self-tanners
Today's self-tanners are light-years away from products of the past:
- Natural color: no more orange undertones thanks to improved formulas
- Fast results: visible effect within 2-3 hours
- Long-lasting tan: most products last 5-7 days
- Nourishing ingredients: many formulas contain hydrating and nourishing substances
- Improved scent: modern products smell pleasant, no longer like that typical self-tanner smell
Preparation: the key to an even result
Good preparation makes the difference between a professional result and disappointing streaks. Your skin must be absolutely smooth and clean before you start. Tips for preparing your legs ensure that your self-tanner adheres perfectly.
Exfoliate for a smooth base
Start with thorough exfoliation 24 hours before applying self-tanner. This removes dead skin cells that could otherwise cause uneven color.
Important exfoliation zones:
- Knees and ankles (these areas often absorb more product)
- Shins where the skin can be drier
- Thighs for an even texture
- Feet, especially around the heels
Use a gentle scrub with round beads that won't damage your skin. Scrub in circular motions, then rinse thoroughly with lukewarm water. According to these practical tips, this is an essential step for a beautiful end result.
Hair removal at the right time
Timing is crucial if you want to remove hair from your legs. Do this at least 12 hours before applying self-tanner, preferably even 24 hours in advance. Immediately after hair removal, your pores are still open, which can lead to spots.
| Hair removal method | Waiting time before self-tanner | Benefits |
|---|---|---|
| Shaving | 12-24 hours | Quick and easy |
| Waxing | 24-48 hours | Long-lasting smoothness |
| Epilating | 24-48 hours | Long-lasting results |
| Hair removal cream | 12-24 hours | Painless and smooth |
Optimal skin hydration
Good hydration is fundamental for the best self-tanner leg results. Apply a light, fast-absorbing body lotion 24 hours before application. Avoid oil-rich products just before applying.
Immediately before using self-tanner, your skin should be clean and dry. Pay attention to extra dry areas like knees, ankles, and feet. These areas often need extra care because they absorb product faster.
Application techniques for a professional result
The way you apply self-tanner largely determines the end result. With the right techniques, you create that coveted sun-kissed look without streaks or spots.
The perfect glove for streak-free application
A good applicator glove is indispensable for achieving an even result. Applying with your bare hands almost always leads to orange palms and uneven distribution. A soft velvet glove effortlessly spreads the product and prevents your hands from staining.
The self-tanner glove not only protects your hands but also gives you much more control over the application. You can easily make circular movements and spread the product evenly without your fingers getting stained.
Step by step: the perfect application
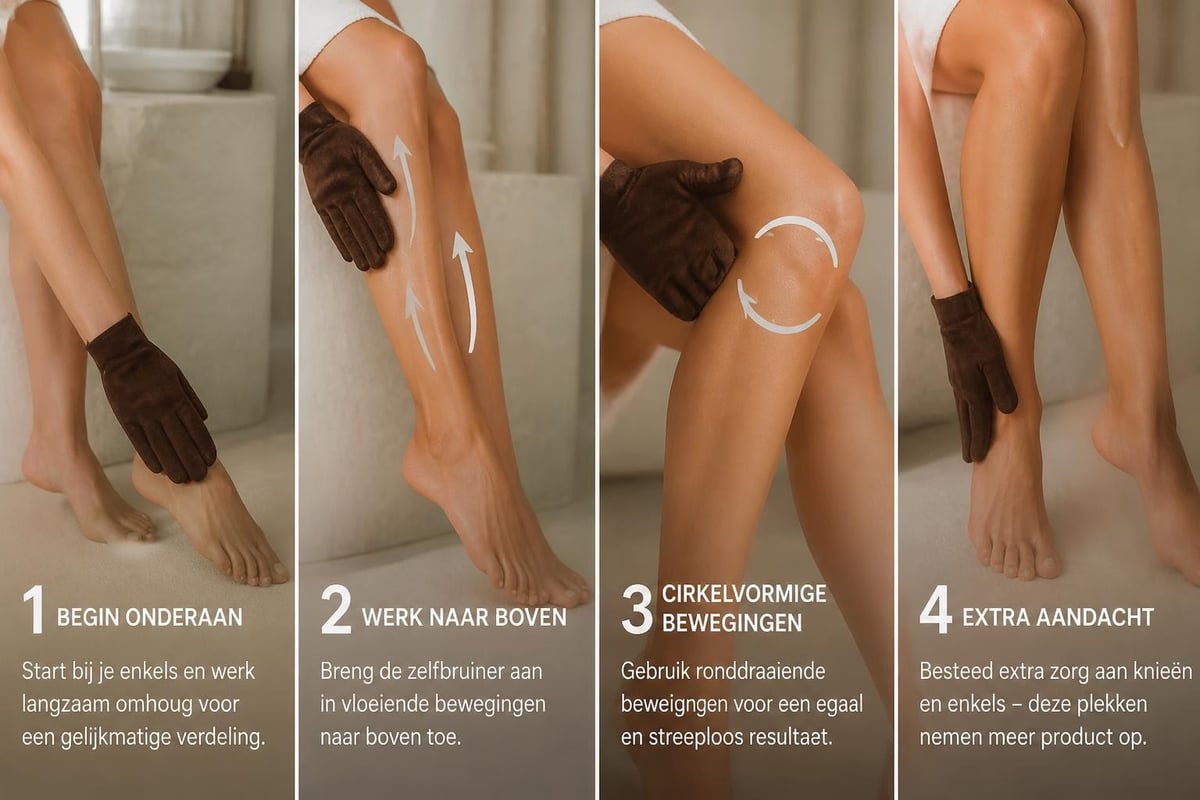
Always start at your ankles and work your way up. This prevents you from rubbing over freshly applied self-tanner. Apply small amounts of product and build up gradually instead of using a thick layer right away.
- Apply a small amount to your glove or directly to your leg
- Spread with circular motions from bottom to top
- Blend carefully at knees and ankles with minimal product
- Work quickly but carefully to avoid dry lines
- Check your work in natural light for even coverage
- Let dry completely before putting on clothes (10-15 minutes)
Addressing problem areas
Knees, ankles, and feet require extra attention. These areas often absorb more product due to their drier skin. The techniques described by Paula's Choice emphasize the importance of minimal product on these areas.
Technique for knees:
- Slightly bend your knee during application
- Use minimal product
- Blend well into the surrounding skin
- Work with residual product from your glove
Technique for ankles and feet:
- First apply product to legs
- Only use residual product from your glove for ankles
- Blend towards the top of the foot but avoid soles
- If in doubt, mix a drop of self-tanner with body lotion for more control
The best formulas for your leg type
Not every self-tanner works the same for everyone. Your skin type, desired intensity, and personal preferences determine which formula suits you best. In 2026, fortunately, there is something for everyone.
Lotions versus drops: what suits you
Self-tanner lotions are ideal if you want a quick, even application. They give instant color and are easy to control during application. You immediately see where you've applied the product, which is especially good for beginners.
Tanning drops offer more flexibility. You mix them with your favorite body lotion and determine the intensity yourself. Start with 2-3 drops for a subtle glow and work up to 5-8 drops for a deeper tan. This method gives you complete control over the end result.
| Feature | Lotion | Drops |
|---|---|---|
| Ease of use | Ready to use | Mix with lotion |
| Intensity control | Average | Maximum |
| Speed | Fast | Slightly longer (mixing) |
| Ideal for | Beginners, routine | Advanced, customization |
Ingredients to look out for
The best self-tanner leg products contain more than just the tanning agent DHA (dihydroxyacetone). Look for formulas with nourishing ingredients that also hydrate and nourish your skin.
Top ingredients:
- Aloe vera: soothes and hydrates
- Hyaluronic acid: binds moisture in the skin
- Vitamin E: protects against free radicals
- Glycerin: keeps the skin soft and supple
- Natural extracts: nourish the skin during tanning
Avoid products with parabens, alcohol (high on the ingredient list), or synthetic fragrances if you have sensitive skin.
Maintenance and extension of your tan
A beautiful tan is one thing, but maintaining it is just as important. With the right care, your glow will last longer and fade evenly.
Daily care for long-lasting results
Hydration is key to extending your tan. Dry skin exfoliates faster, meaning your tan will disappear faster too. Apply a nourishing body lotion daily, preferably in the morning and evening.
Do not take showers that are too hot. Hot water dries out your skin and causes your tan to fade faster. Lukewarm water is gentler on both your skin and your self-tanner. Pat your skin gently dry afterwards instead of rubbing.

Refreshing your tan
After 4-5 days, your tan will gradually start to fade. This is the perfect time for a refresh. You don't have to wait until the color is completely gone. A light exfoliation removes uneven areas and prepares your skin for a new layer.
Refresh schedule:
- Day 1-3: Enjoy your full tan, hydrate well
- Day 4-5: First signs of fading, possibly touch-up zones
- Day 6-7: Light exfoliation and new application
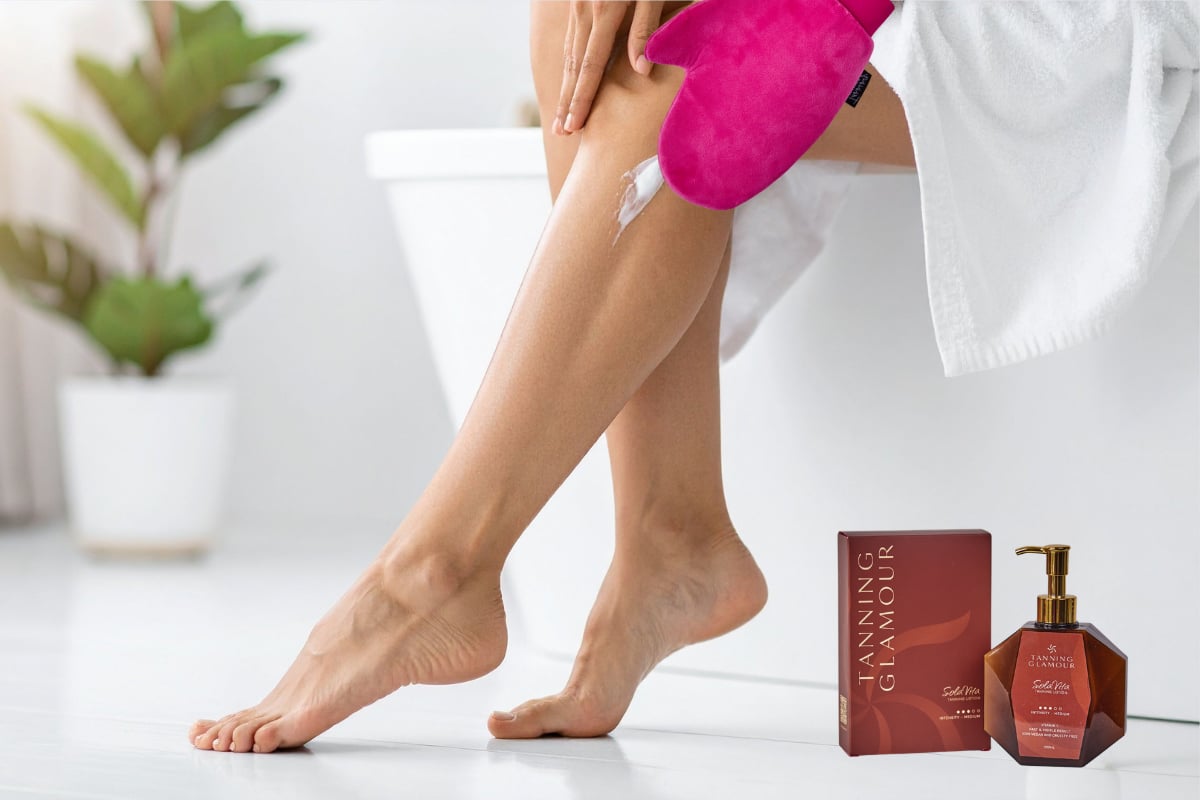
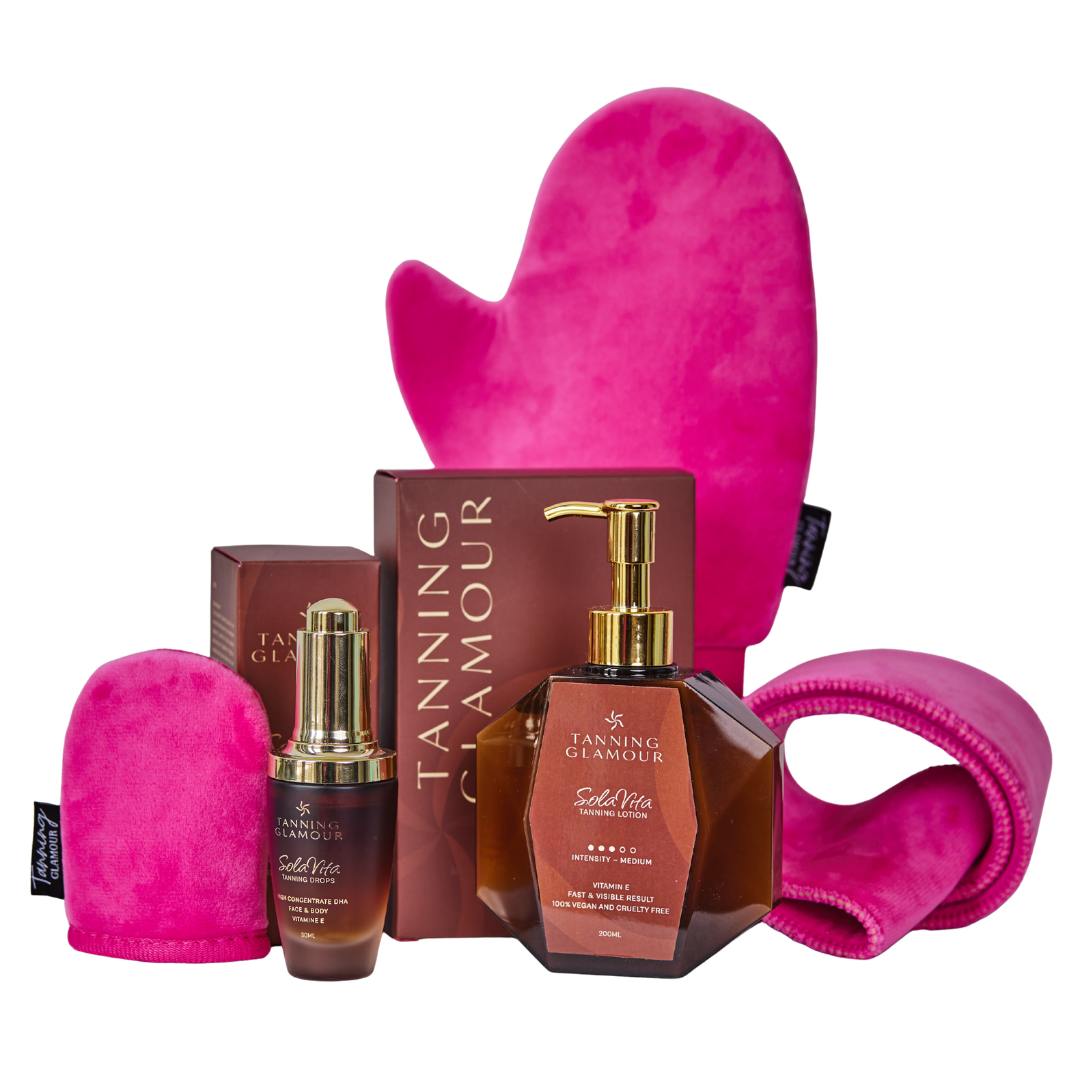
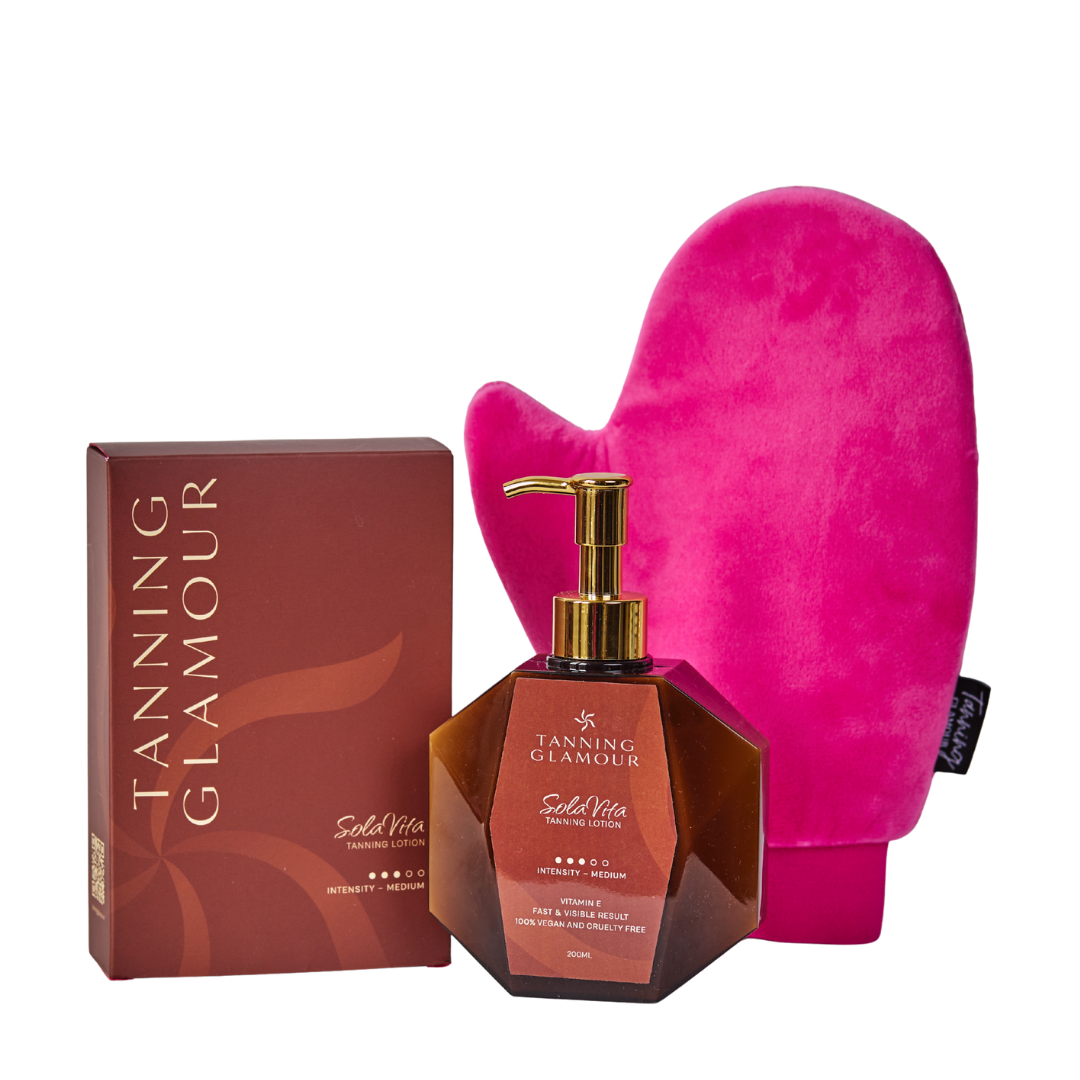
For a consistent color, it's better to build up several thin layers than to apply one thick layer. This gives a more natural result and more control over the intensity. The SolaVita Self-Tanner Lotion is excellent for this and absorbs quickly without feeling sticky.
Avoiding common mistakes
Even with the best self-tanner leg products, things can go wrong. But most problems are easy to prevent if you know what to look out for.
Top 5 mistakes and solutions:
- Too much product on dry areas: Solve by hydrating these areas first
- Putting on clothes immediately: Wait at least 10 minutes, preferably 15-20
- Insufficient exfoliation: Plan this 24 hours in advance as standard
- Exercising immediately after application: Wait at least 6-8 hours for intense activity
- Not using a glove: Invest in a good applicator for streak-free results
Season-specific tips and adjustments
Your skin changes with the seasons, and that requires adjustments to your self-tanner routine. In summer, your skin is often already slightly tanned and better hydrated, while winter skin needs extra care.
Preparing winter legs
Winter skin is often drier and flakier due to cold and central heating. Extra exfoliation and hydration are essential before applying the best self-tanner leg products. Start with daily hydration a week before your first winter application.
Winter preparation checklist:
- Intensive hydration 7 days before application
- Double exfoliation (mechanical and chemical)
- Longer drying time due to lower temperatures
- Consider lighter formula for better spread on dry skin
Summer-ready legs
In summer, you often want a quick refresh for an event or beach visit. Your skin is already slightly tanned and less dry, which makes application easier. You can opt for a slightly lighter application for a subtle glow boost.
Don't forget that self-tanner does not provide sun protection. Always use sunscreen over your self-tanner when going outside. This combination gives you the best protection and a beautiful color.
Specific situations and quick fixes
Sometimes you're in a hurry or you want a specific look for a special occasion. With the right techniques, you can adapt your routine to different situations.
Last-minute tan for an event
When you want a radiant look within 24 hours, planning is crucial. Apply your self-tanner at least 8 hours before the event, preferably the evening before. This gives the color time to fully develop.
24-hour planning:
| Time | Action | Why |
|---|---|---|
| T-24 hours | Exfoliate and remove hair | Optimal skin preparation |
| T-12 hours | Apply self-tanner | Full color development |
| T-8 hours | Second layer if needed | Extra intensity |
| T-2 hours | Final hydration check | Even finish |
Correcting spots and streaks
Despite your best efforts, spots can sometimes appear. Don't panic, this is usually fixable. For self-tanner spots, there are several solutions.
Immediate corrections (within 2 hours):
- Dampen a cloth with warm water and mild soap
- Gently rub over the spot in circular motions
- Then reapply a thin layer over the treated area
Later corrections (after 4+ hours):
- Use a gentle exfoliant specifically on the dark spot
- Apply lemon juice with a cotton pad (has a slight bleaching effect)
- Hydrate well after correction
- If necessary, reapply product to the lighter zone
The Grazia approach offers additional insights into preventing these problems.
Combining with other beauty products
Self-tanner is often part of a broader beauty routine. It's important to know what can and cannot be combined with your tan.
What can and cannot be used
Safe combinations:
- Body lotion (at least 4 hours after application)
- Sunscreen (always recommended)
- Makeup on legs (after full drying)
- Perfume (on clothing, not directly on skin)
Avoid:
- Oil-rich products immediately before application
- Chemical peels within 24 hours
- Chlorinated water for the first 8 hours
- Retinol products on tanned skin
Layering for the perfect glow
For a natural, built-up color, you can combine different products. Start with drops mixed with your daily body lotion for a subtle base. Build this up over 2-3 days, then add a lotion for extra intensity.
This layering technique gives the most natural-looking results. Your skin gradually gets used to the color, and you avoid the 'suddenly tanned' look that can seem artificial. It does require some planning, so start at least a week before an important event.
The psychology of beautiful legs
It's not just about the physical result. Beautiful, tanned legs give many women a boost in self-confidence. That feeling of being well-groomed and taking care of yourself has value that goes beyond just the visual impact.
Why we feel better with a tan
Research shows that an even skin tone is associated with health and vitality. A beautiful tan on your legs can help you feel more confident in short skirts, shorts, or a swimsuit. This isn't superficial; it's about how you present yourself to the world.
The ritual of application itself can also be therapeutic. Those ten minutes you take to properly care for your skin are valuable me-time. It provides structure and a moment of self-care in a busy day.
Realistic expectations
The best self-tanner products for legs can give fantastic results, but they are not a miracle cure. They do not permanently hide cellulite, varicose veins, or other skin characteristics. What they do is even out your skin and give it a healthy glow that emphasizes your natural beauty.
Accept that the first time might not be perfect. Like any skill, applying self-tanner requires practice. Each time, you will get to know your skin better and discover which technique and quantity works best for you.
An even, natural tan on your legs is within reach with the right preparation, products, and techniques. By investing in quality, taking time for your skincare, and being patient with the learning process, you can create the beautiful sunkissed look you dream of. Tanning Glamour offers natural self-tanners that give you a radiant complexion within 2-3 hours, without streaks or orange undertones, so you can confidently show off your most beautiful legs every day.
Ontdek jouw mooiste glow
Verzorgende zelfbruiners van SolaVita - streeploos, geen oranje.
Read more
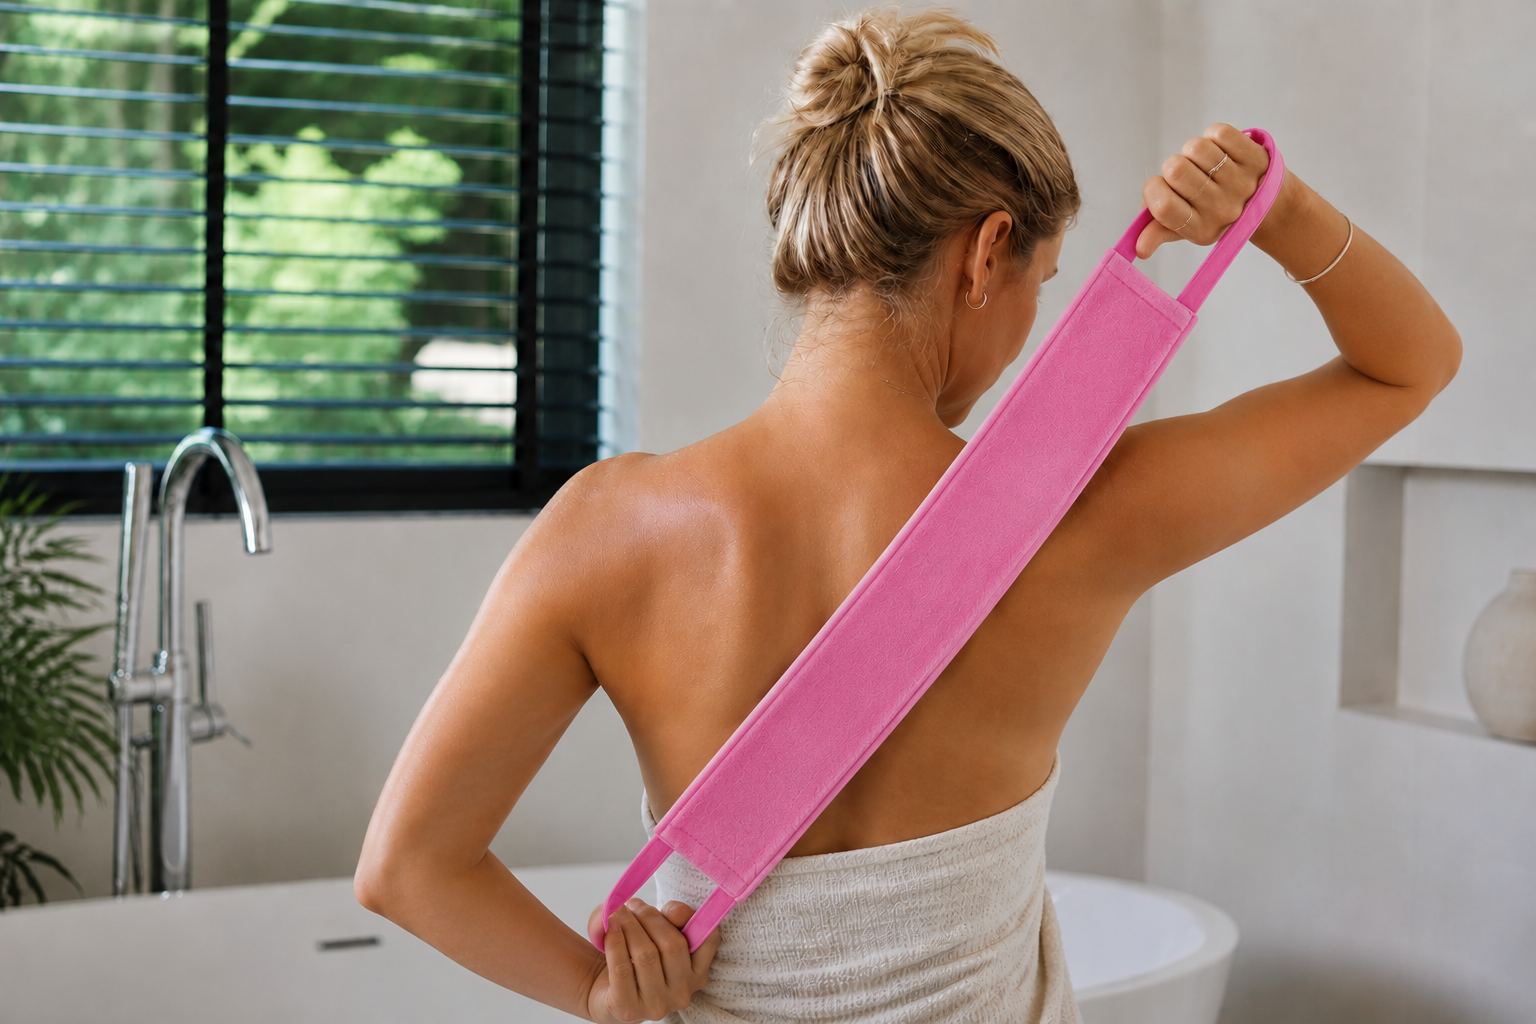
Discover how a self-tan back applicator helps you apply self-tanner evenly to your back. Streak-free tanning without help.

Discover everything about self-tanning drops: from application to dosage. Create an even, natural tan that perfectly matches your skin.