Self-tanners: everything for a natural and even tan
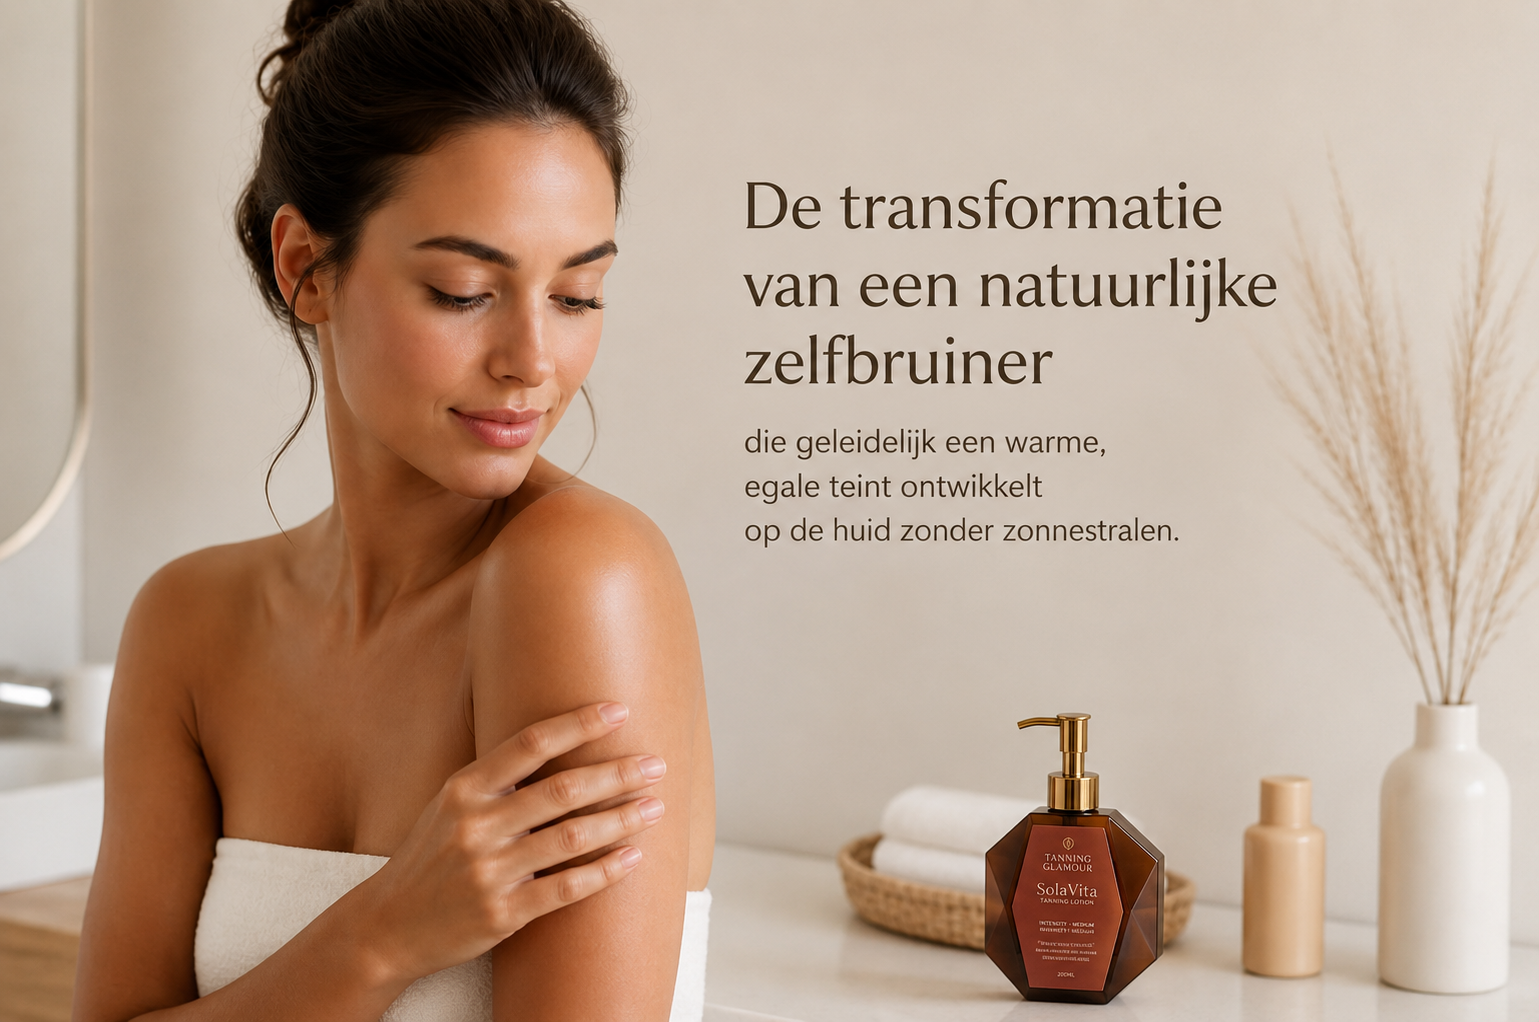
A natural, even tan without the harmful effects of UV radiation: that is the promise of modern self-tanners. These products have grown enormously in popularity in recent years, especially among people who are conscious about their skin health but still enjoy a warm glow. Whether you have an event, are going on holiday, or just fancy a well-groomed, sunny look, self-tanners offer a safe alternative to sunbathing or solarium visits. In this article, you'll discover everything about how they work, the different types, and how to achieve the perfect result.
How do self-tanners actually work?
Self-tanners work through a chemical reaction with the top layer of your skin. The active ingredient in most products is dihydroxyacetone (DHA), a sugar derivative that reacts with amino acids in dead skin cells. This reaction is called the Maillard reaction and causes a brown discoloration that becomes visible within a few hours.
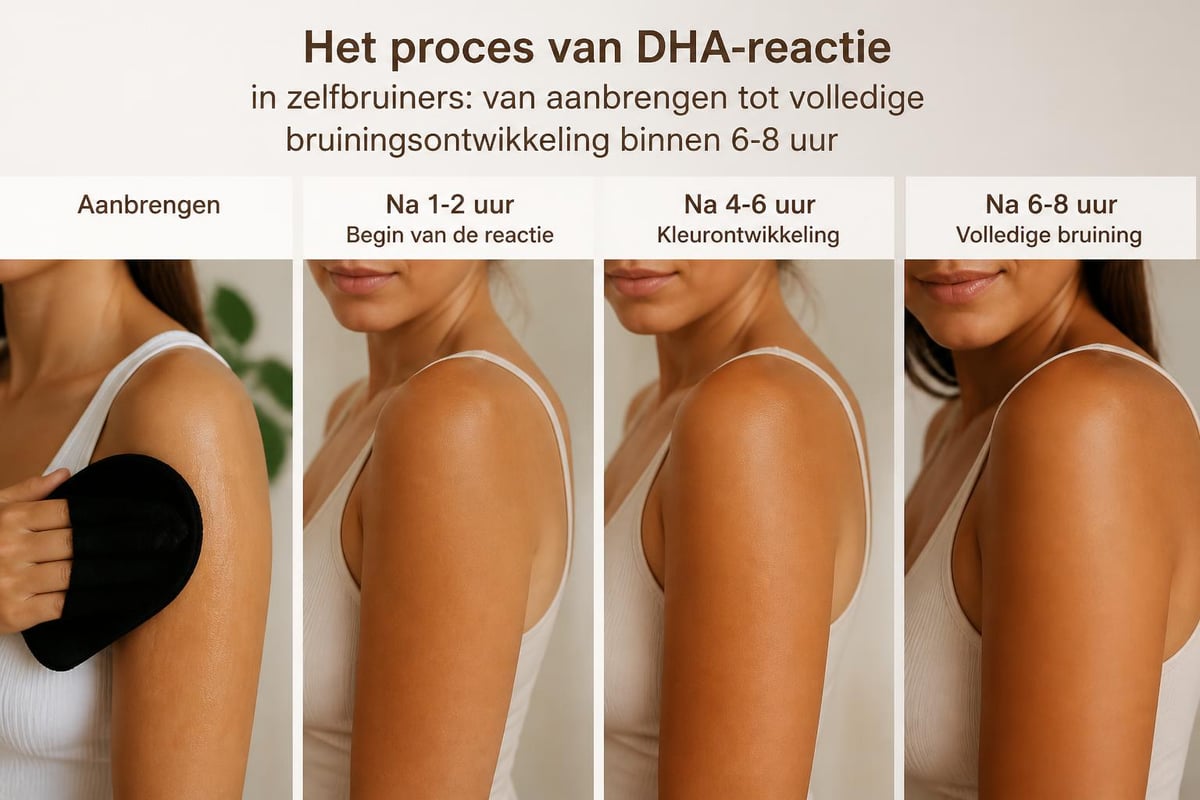
The process of tan development
The tan usually starts to become visible after 2-3 hours and reaches its full intensity after 6-8 hours. The result typically lasts 5-7 days, depending on your skin type and care.
Immediately after application: The skin absorbs the product
After 2-3 hours: First discoloration becomes visible
After 6-8 hours: Full color development
After 3-4 days: Peak moment of the tan
After 5-7 days: Gradual fading
It is important to know that self-tanners do not offer protection against UV radiation. Everything about self-tanners and how they work is extensively discussed by skincare experts.
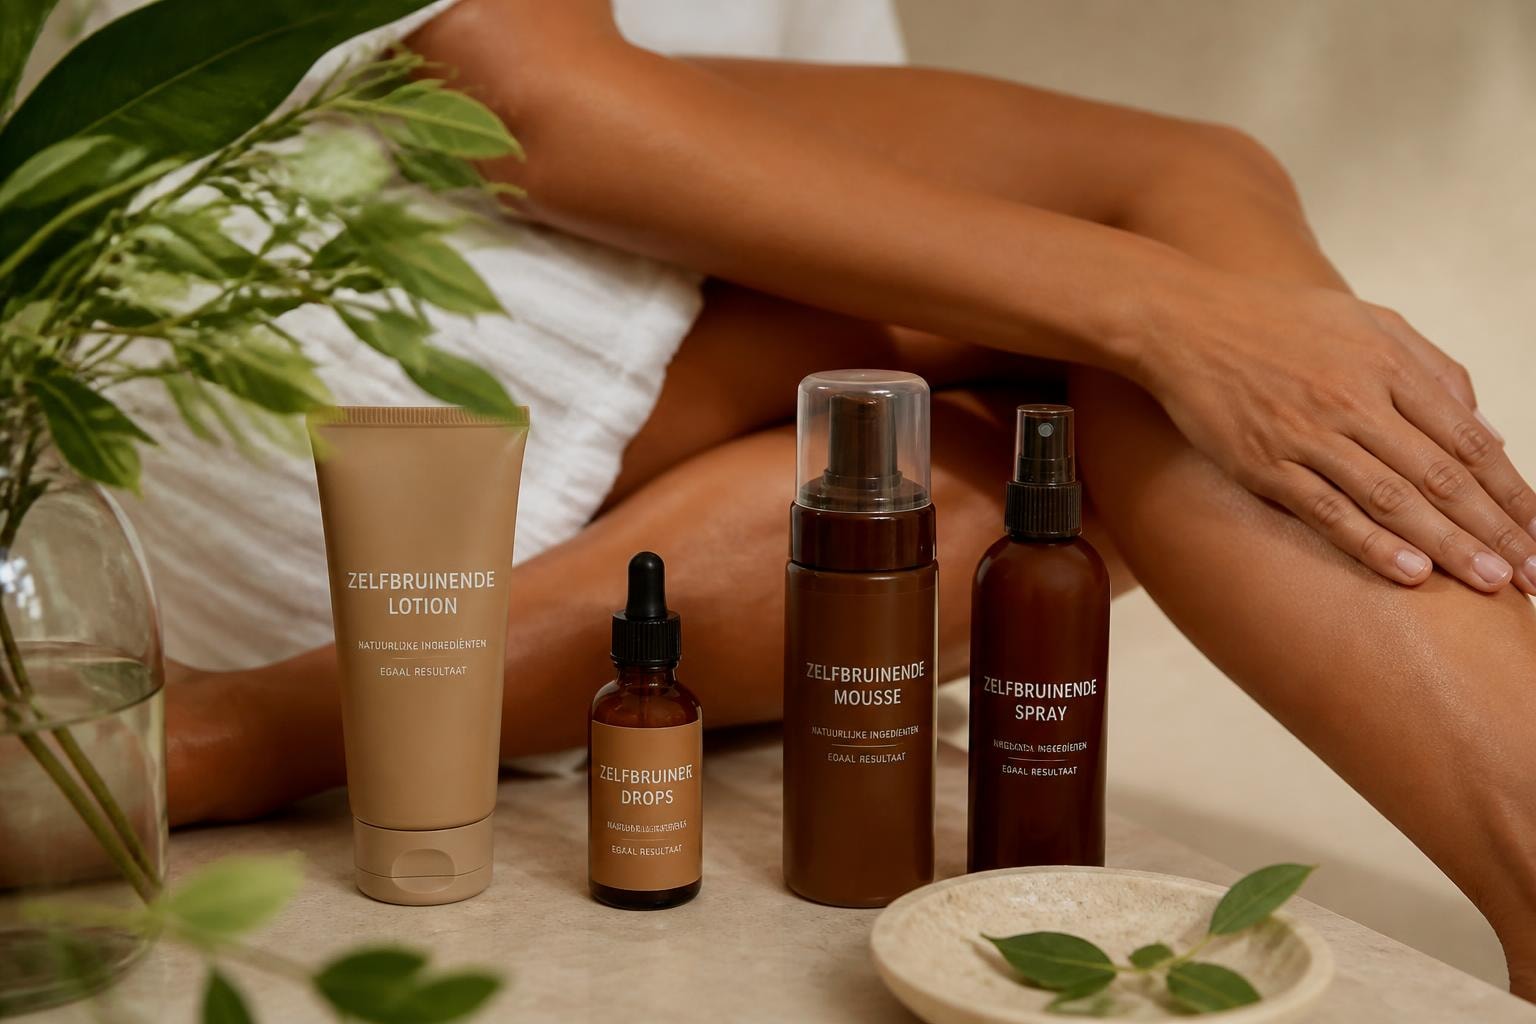
Different types of self-tanners and their benefits
The market currently offers a wide range of self-tanners, each with specific properties that meet different needs and preferences. Choosing the right type makes a big difference in the end result.
Lotions and creams
Lotions are the most traditional and popular form of self-tanners. They are easy to dispense and offer control over the amount of product you apply.
Benefits of lotions:
Even distribution over large areas
Predictable results
Suitable for the entire body
Quick absorption without a sticky feeling
Drop formulas for personalized tanning
Self-tanner drops have recently gained popularity due to their flexibility. These concentrated formulas are mixed with your daily face or body cream, allowing you to determine the intensity yourself.
Feature |
Lotions |
Drops |
Mousse |
Spray |
|---|---|---|---|---|
Control |
High |
Very High |
Medium |
Low |
Suitable for beginners |
Yes |
Yes |
No |
No |
Application time |
5-10 min |
3-5 min |
3-5 min |
2-3 min |
Drying time |
10-15 min |
10-15 min |
5-10 min |
5 min |
Precision |
High |
High |
Medium |
Low |
Mousse and spray variants
Mousse and spray self-tanners are lighter in texture and often absorb faster. They do require a bit more experience to apply streak-free, but they are ideal for a quick glow.
The choice depends on your experience, skin type, and personal preference. For those who want to get a tan without sun, it is important to first experiment with small amounts.
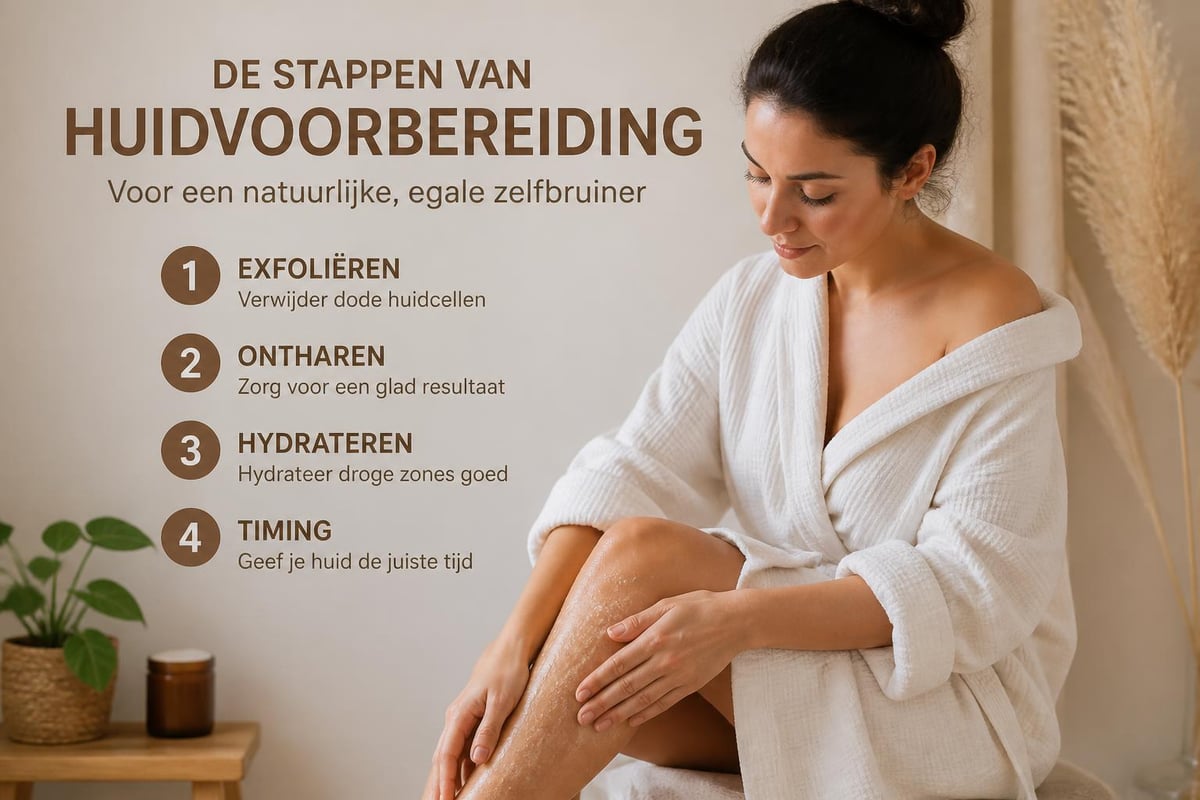
Preparation for a perfect tan
Preparing your skin is crucial for an even, natural result. Skipping this step often leads to patches, streaks, or an uneven complexion that looks unnatural.
Exfoliate for a smooth canvas
24 hours before application, exfoliate your skin thoroughly. Focus on rough areas such as knees, elbows, ankles, and hands.
Use a gentle scrub on the entire body
Pay extra attention to dry areas
Rinse thoroughly to remove all scrub particles
Pat dry with a clean towel
Hair removal and timing
If you want to remove hair, do so at least 24 hours before applying the self-tanner. Fresh hair removal can irritate pores and lead to dark spots.
Ideal preparation timeline:
48 hours prior: Hair removal
24 hours prior: Exfoliation
Immediately before: Skin completely dry and clean
During: No deodorant, perfume, or body lotion
Ensure your skin is completely dry before you start. Moisture can cause the self-tanner to absorb unevenly and lead to streaks.
Techniques for streak-free application
Applying self-tanners requires the right technique and tools. With some practice and the right approach, you can create a professional result in your own bathroom.
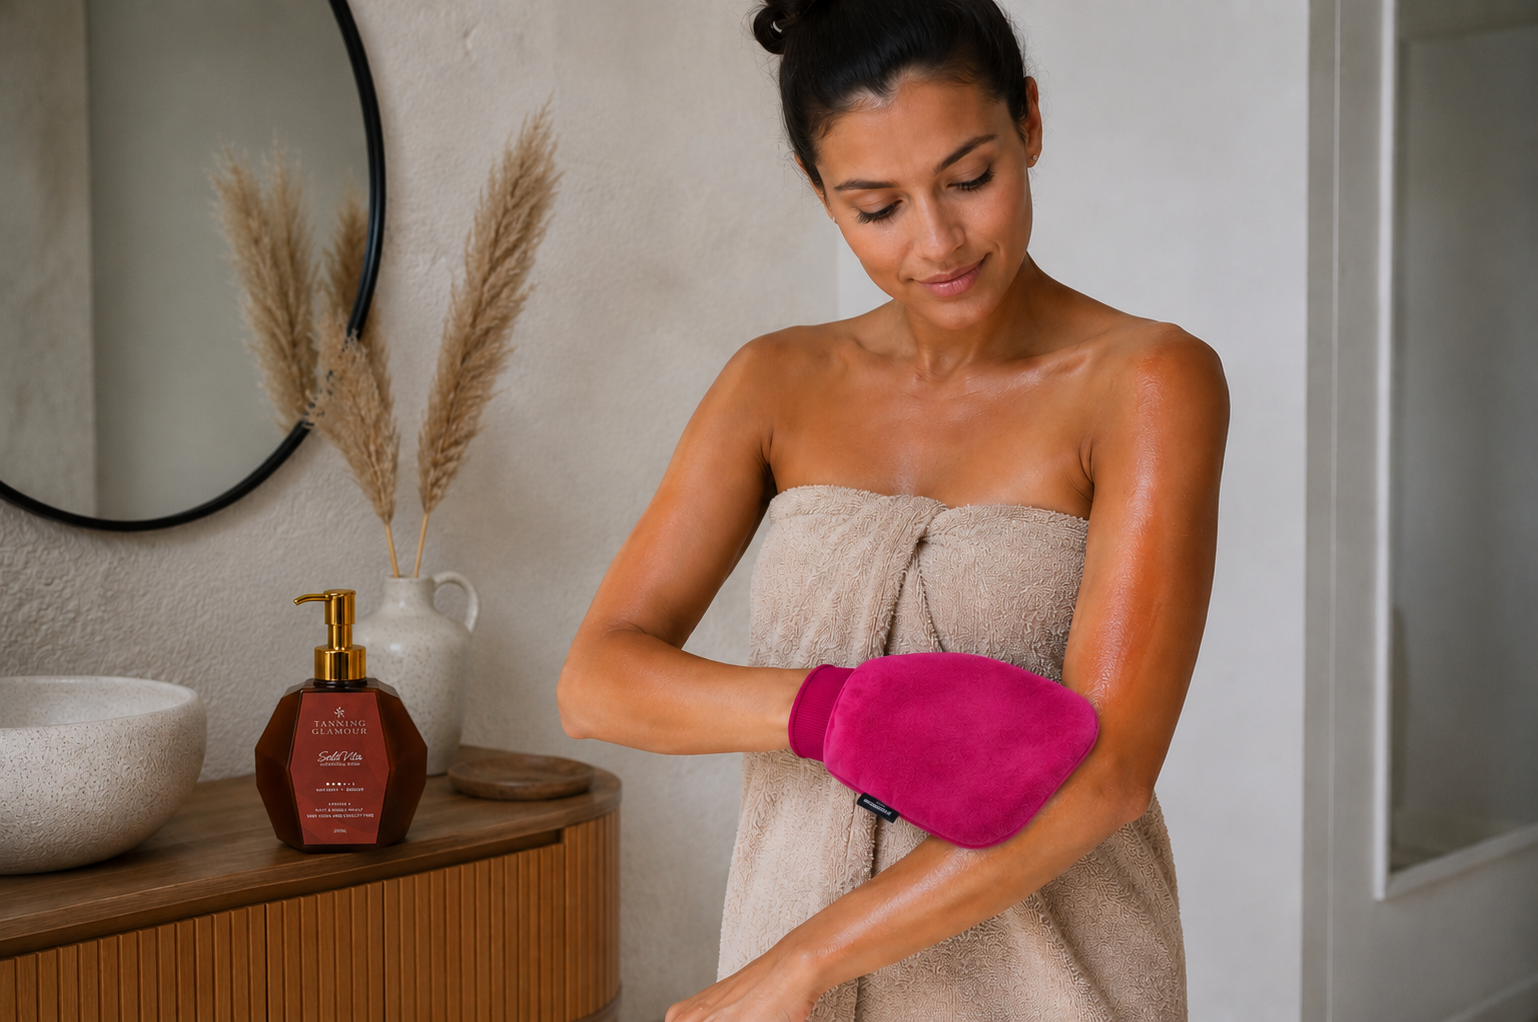
The right applicator makes all the difference
An applicator mitt is essential for an even result. These soft velvet mitts distribute the product evenly and protect your hands from discoloration. For those who value professional results, the right tools are indispensable.
Step-by-step application technique
Always start with your legs and work your way up to your upper body. This prevents you from touching freshly applied areas with your arms.
Optimal application order:
Legs and feet (avoid first contact with toes)
Buttocks and lower back
Stomach and chest
Arms and hands
Neck and décolletage
Face (use less product)
Use circular motions and blend well at transitions between body parts. On knees, elbows, and ankles, use less product or blend extra carefully.
Tackling hard-to-reach areas
Your back often remains a challenge. A special back applicator with long handles helps to treat this area evenly without assistance from others. Details on applying self-tanner can be found extensively described in practical guides.
Body part |
Amount of product |
Points of attention |
|---|---|---|
Legs (per leg) |
2 pumps |
Extra blending at knees |
Arms (per arm) |
1 pump |
Less at elbows |
Chest/stomach |
2-3 pumps |
Even movements |
Back |
3-4 pumps |
Use back applicator |
Face |
½-1 pump |
Avoid hairline |
Hands/feet |
Minimal |
Very sparingly |
Maintenance and extending your self-tanner tan
A beautiful self-tanner tan typically lasts 5-7 days, but with the right care, you can extend this result and keep the tan even.
Hydration is essential
From the first day after application, moisturize daily with a light, oil-free moisturizer. Hydrated skin extends the life of your self-tanner and prevents uneven fading.
Use a hydrating body lotion daily
Choose products without AHAs or BHAs (these exfoliate)
Apply extra hydration to dry areas
Drink enough water for internal hydration
Avoid prolonged water immersion
Although modern self-tanners are water-resistant after full development, prolonged bathing or swimming can cause the tan to fade faster. Short showers with lukewarm water will preserve the tan longer.
Tips for long-lasting results:
Shower briefly instead of bathing
Pat skin dry instead of rubbing
Avoid harsh scrubs and peelings
Wait with intense exercise until after full development
Use pH-neutral shower gel without sulfates
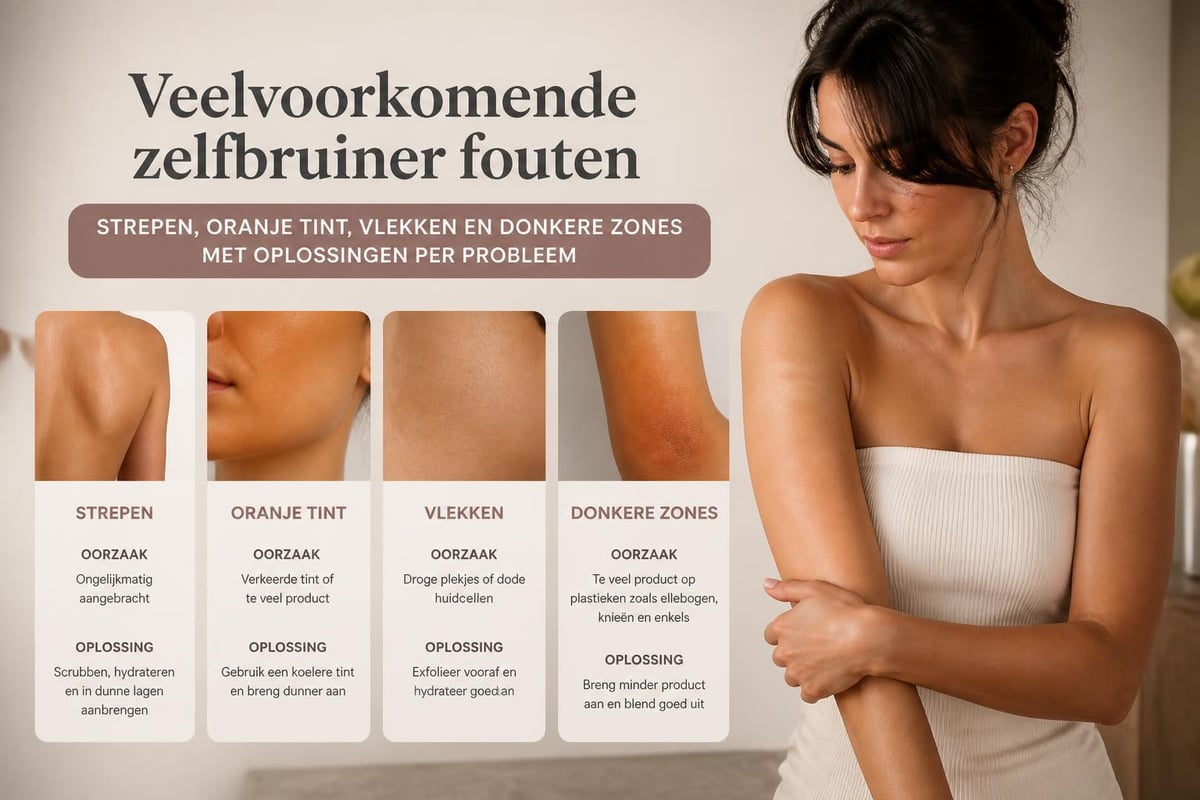
Common mistakes and how to avoid them
Even with experience, mistakes can occur when using self-tanners. Recognizing and preventing these mistakes saves disappointment.
Avoiding orange undertones
An orange tint often results from too much product or a formula that doesn't suit your skin type. Quality products with adjusted DHA percentages for different skin types prevent this problem. Tanning Glamour developed formulas specifically to avoid orange undertones.
Solving the streak problem
Streaks occur due to:
Insufficient blending at transitions
Using too much product in one spot
Applying to unexfoliated skin
Movement before the product has absorbed
Streak recovery strategy:
Gently exfoliate the streak with a damp washcloth
Use lemon juice diluted with water (light bleaching effect)
Apply extra product around the streak to blend
For severe streaks: exfoliate completely and start over
Discoloration of palms and feet
The skin on palms, soles of the feet, and between toes has a different structure and absorbs self-tanner differently. Limit contact with these areas and blend very carefully.
Immediately after application, wash your palms with soap and, if necessary, use a damp baby wipe between fingers and toes.
Self-tanners for different seasons and occasions
The use of self-tanners varies by season and occasion. A subtle glow in winter requires a different approach than a deep tan for a summer event.
Winter glow versus summer tan
In winter, opt for a lighter application to maintain a natural, fresh look. The SolaVita Self-tanner Drops offer the perfect solution here: mix 1-2 drops with your day cream for a subtle glow that builds up. This way, you gradually create a tan that suits the season.
For summer occasions or holidays, adjust the intensity by using more product or applying a second layer after 24 hours.
Season |
Intensity |
Application frequency |
Product type |
|---|---|---|---|
Winter |
Subtle |
1x per week |
Drops or light lotion |
Spring |
Medium |
1x every 5 days |
Lotion |
Summer |
Deep |
2 layers / 1x per week |
Lotion or mousse |
Autumn |
Medium-subtle |
1x every 6 days |
Drops or lotion |
Event preparation
For special occasions such as weddings, parties, or photoshohoots, apply self-tanner 2 days in advance. This gives the color time to fully develop and correct any initial mistakes.
Timeline for a perfect event tan:
4 days before: Exfoliate and hair removal
2 days before: Apply self-tanner in the evening
1 day before: Evaluate and touch up if necessary
The day of: Hydrate and enjoy your glow
Combining with other skincare products
Self-tanners are part of your beauty routine and should work harmoniously with other products. The right combinations optimize both your skin health and your tanning result.
Ingredients that can and cannot be used
Certain ingredients in skincare can affect the effectiveness or longevity of self-tanners. Alpha-hydroxy acids (AHAs) and beta-hydroxy acids (BHAs) exfoliate the skin and shorten the life of your tan.
Avoid shortly after application:
Glycolic acid
Salicylic acid
Retinol (accelerates cell renewal)
Vitamin C in high concentrations
Enzymatic peels
Safe to combine:
Hyaluronic acid (hydrates)
Niacinamide (soothes)
Peptides
Aloe vera
Vitamin E
Sun protection remains essential
While self-tanners give a brown tint, they do not offer protection against UV radiation. Daily SPF remains necessary for healthy skin. Choose a formula that does not interfere with your self-tanner, such as mineral sunscreens without a white cast.
The future of self-tanners and innovations
The self-tanner industry continuously develops new formulas and applications that improve ease of use and results. Innovations focus on naturalness, customization, and skin-caring properties.
Natural and organic formulas
More and more brands are developing natural alternatives with organic ingredients and without synthetic additives. These products combine tanning with skincare by adding vitamins, antioxidants, and natural moisturizing substances.
Personalization through technology
New technologies make it possible to determine the perfect shade via apps and AI analyses of your skin type. Some brands even offer custom-made formulas based on your specific skin characteristics and desired result.
Developments in 2026:
Smart applicators with dosage advice
Color-correcting primers for self-tanners
Faster development time (1-2 hours)
Longer shelf life (up to 10 days)
Odorless formulas without DHA odor
Hybrid products with added value
The line between makeup, skincare, and self-tanners is blurring. BB creams with gradual tanning, tinted day creams with DHA, and foundation with self-tanning properties are gaining popularity.
Myths and misconceptions about self-tanners
There are various myths surrounding self-tanners that prevent people from using them or lead to disappointing results. It is important to separate fact from fiction for a realistic expectation.
"Self-tanners protect against the sun"
This is a dangerous misconception. The brown color of self-tanners is only cosmetic and offers no UV protection whatsoever. Your skin needs the same protection as without self-tanner.
"Once orange, always orange"
Modern, high-quality self-tanners are far removed from the orange products of the past. Improved formulas with adjusted DHA concentrations and color-correcting ingredients ensure warm, natural shades without an orange tint.
Other persistent myths:
"Self-tanners dry out your skin" - Modern formulas contain moisturizing ingredients
"You can't shower after application" - After full development (6-8 hours), showering is fine
"Self-tanners are only for summer" - A year-round glow is perfectly natural
"Dark skin doesn't need self-tanner" - Also for a warm glow for darker skin types
"Self-tanners are unhealthy for your skin"
DHA has been approved by safety agencies worldwide and is intended for external use only. The substance only reacts with the uppermost, dead skin layer and does not penetrate living tissue. For more information about health aspects, the Netherlands Nutrition Centre offers perspective on self-tanners and general well-being.
A smooth, natural brown tan without sun damage is within everyone's reach with the right knowledge, products, and techniques. Whether you choose a subtle winter glow or a deep summer tan, self-tanners offer flexibility and safety that sunbathing cannot match. Tanning Glamour guides you to your perfect sunny look with natural formulas that give a radiant complexion within hours that lasts beautifully for up to a week, without streaks or orange undertones. Give yourself the warm glow you dream of and feel cared for and confident.
Read more
Discover how a tanning mitt helps you apply self-tanner. Prevent streaks and spots for a natural glow.
Discover how to choose the right self-tanner that perfectly matches your skin. From natural ingredients to streak-free application.