Self-tanner stains: how to prevent and remove them
A beautiful, sunny tan without the harmful effects of UV radiation is exactly what self-tanner is designed for. However, application can sometimes lead to a less desired result: spots, streaks, or an uneven color. Self-tanner spots are a common problem, but fortunately, you can both prevent and fix them. In this article, you will discover why these spots occur, how to avoid them, and which methods work best to get your skin even and radiant again. With the right preparation, technique, and products, you can consistently create a natural, well-groomed glow.
Why do spots occur when using self-tanner?
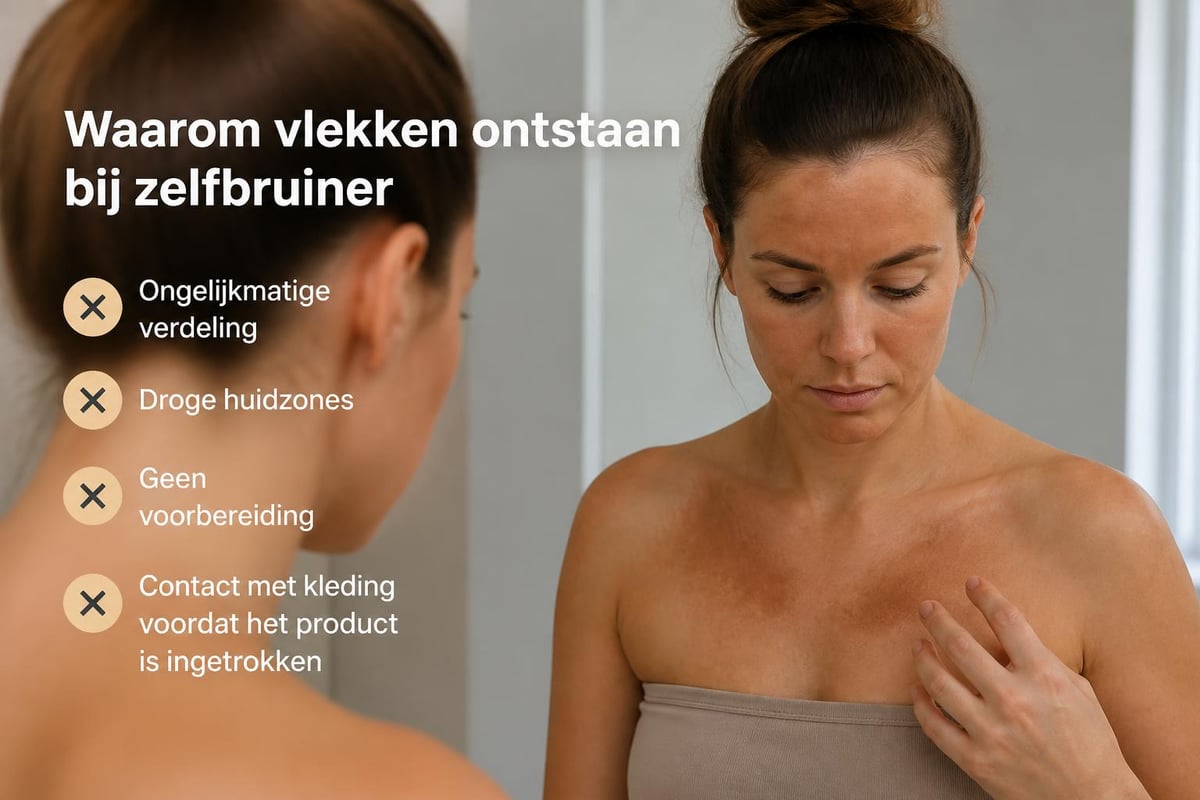
Spots and streaks from self-tanner are usually the result of an uneven distribution of the product on the skin. The active ingredients in self-tanner, such as dihydroxyacetone (DHA), react with the proteins in the outermost layer of the skin. When more product accumulates in certain areas, a darker discoloration occurs there.
Common causes of spots:
- Insufficient skin preparation with dead skin cells that absorb the product
- Too much product in one spot or uneven distribution
- Application with bare hands, causing palms and fingers to darken
- Dry areas like elbows, knees, and ankles that absorb more product
- Not using an applicator for even distribution
Timing can also play a role. If you put on clothes too quickly or sweat, the product can shift before it's fully absorbed. Correctly applying self-tanner requires patience and the right steps.
The role of skin preparation
Good preparation is the foundation for an even, spot-free tan. If your skin is rough, dry, or uneven, the product will adhere differently there than on smooth areas. This automatically creates a blotchy result.
Start with a thorough scrub 24 hours before application. Use a body scrub with fine granules that remove dead skin cells without irritating the skin. Pay extra attention to dry areas like elbows, knees, heels, and ankles.
After scrubbing, it's essential to moisturize your skin. A light, fast-absorbing body lotion ensures your skin is supple and even. However, avoid heavy, oily creams just before applying self-tanner, as these can form a barrier that hinders the DHA reaction.
Preventing self-tanner spots with proper application
The way you apply self-tanner largely determines whether you get spots or a beautiful, even tan. Professional results start with the right tools and a thoughtful technique.
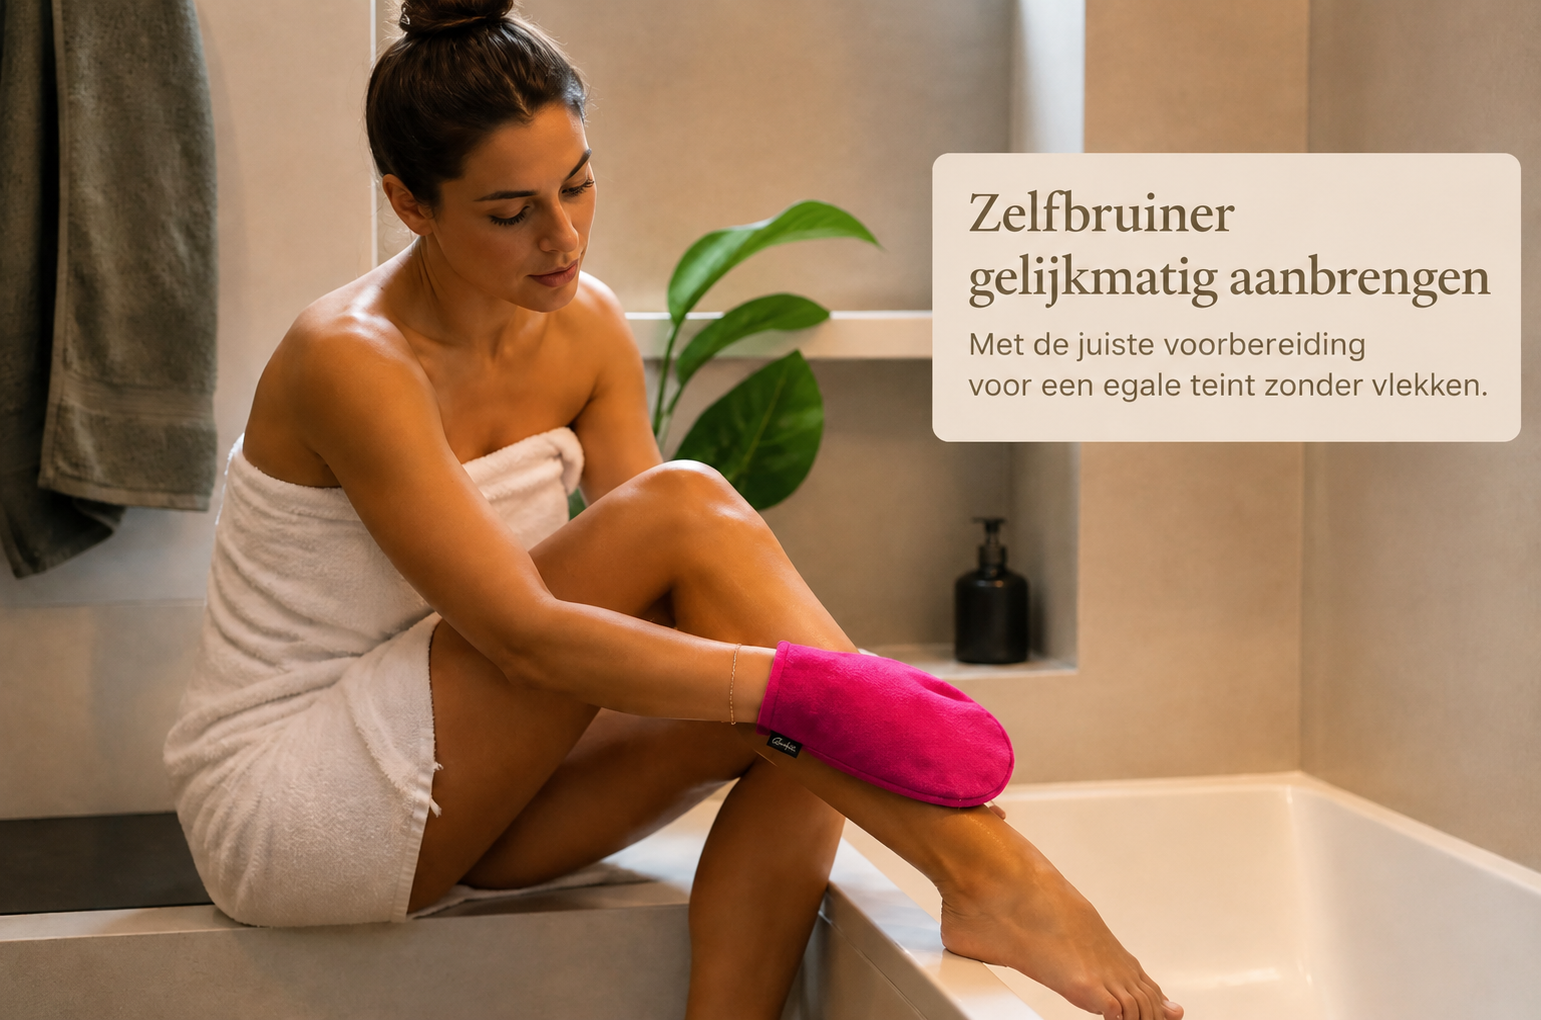
Always use an applicator mitt
One of the most effective ways to prevent spots is by using a special applicator mitt. These gloves are designed with a soft velvet fabric that distributes the product evenly over your skin. For a perfectly even result, the Self-Tanner Mitt is an indispensable tool that prevents streaks and protects your hands from discoloration.

Benefits of an applicator mitt:
- Prevents orange hands and fingers
- Distributes the product evenly without spots
- Reduces product waste through better control
- Protects your nails and cuticles
- Makes circular movements easier
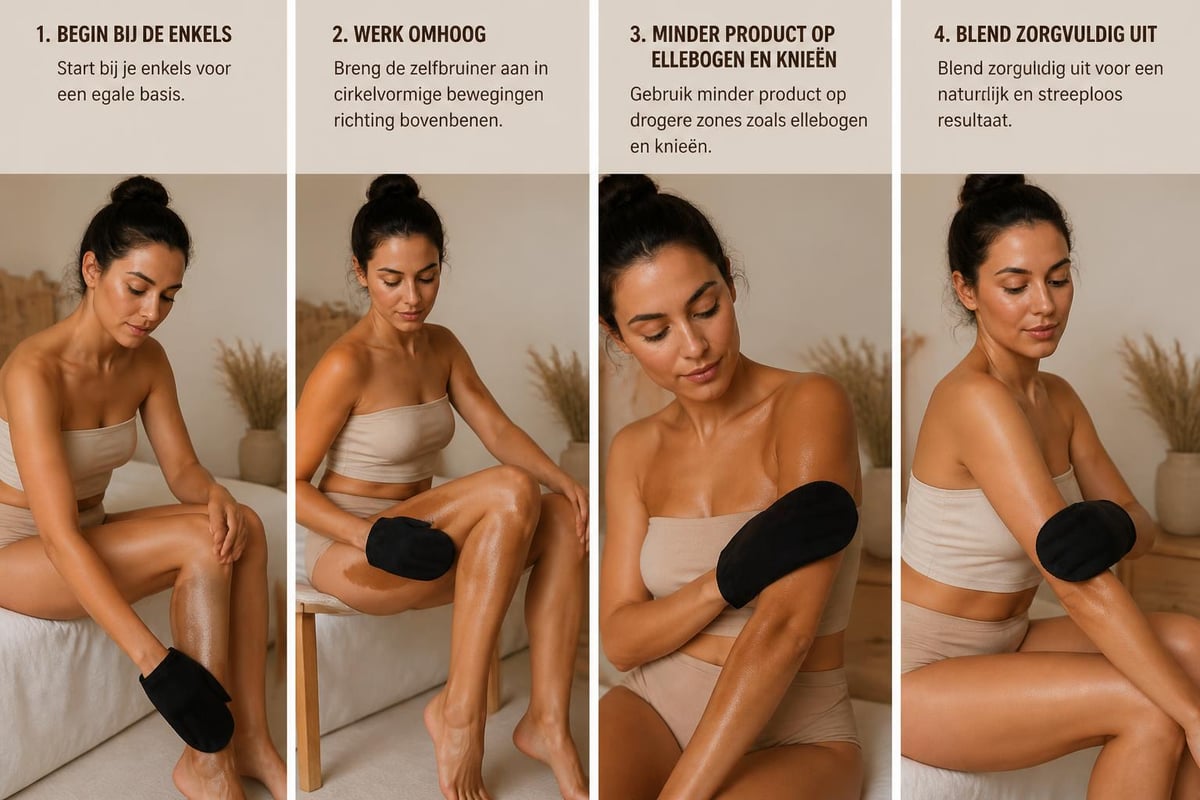
Apply the product in light, circular motions. Start at your ankles and work your way up. This prevents you from going over freshly applied product with your hands. Use less product on areas that are naturally darker or where the skin is thicker.
Strategies for problem areas
Certain body parts require extra attention to prevent spots. Elbows, knees, ankles, and feet often absorb more product due to drier skin and skin folds.
| Problem Area | Approach | Tip |
|---|---|---|
| Elbows | Minimal product, rub in immediately | Bend your arm during application |
| Knees | Light layer, keep leg straight | Blend well up towards the thigh |
| Ankles | Careful dosing, quick application | Use residual product from the mitt |
| Feet | Top only, not the soles | Blend towards toes |
| Hands | Light swipe over back of hand | Wash immediately after application |
A common mistake is using too much product on areas where the skin naturally folds. Common self-tanner mistakes are often the result of over-enthusiasm or haste during application.
Removing self-tanner spots: effective methods
Even with the best preparation, you might still get spots. Don't panic: there are several proven methods to fix self-tanner spots and get your skin even again.
Quick intervention for fresh spots
If you notice spots immediately after application, you can intervene quickly. Fresh spots are the easiest to correct because the DHA reaction is still fully underway.
Immediate actions:
- Moisten a soft cloth with lukewarm water
- Gently dab over the dark spot without rubbing
- Use a little mild soap for stubborn stains if necessary
- Dry the skin and reapply a thin layer
For smaller spots, you can use a lightly moistened cotton swab. Work from the outside in to gradually lighten the spot. Tips for botched self-tanner can help you act quickly.
Scrubbing and exfoliating for older spots
Spots that have been there longer require a more intensive approach. Mechanical exfoliation is the most effective method to remove the top layer of skin with the dark discoloration.
Use a scrub cream or exfoliating mitt and work in circular motions over the spots. Do this in the shower when your skin is soft and pores are open. Repeat this process daily until the spots disappear.
Combine scrubbing with removing spots and streaks by moisturizing well after each scrub. This accelerates natural cell renewal.
Home remedies that really work
There are several natural ingredients that help fade self-tanner spots. These methods are gentle on the skin but effective enough to achieve results.
Proven home remedies:
- Lemon juice: Contains natural acids that help neutralize the DHA reaction
- Baking soda paste: Mix with water to a paste and gently scrub over spots
- Coconut oil: Soak the skin before scrubbing to loosen cells
- Baking soda: Add to your bath for a slight bleaching effect
- Toothpaste: Apply to small spots, let sit briefly, then rinse off
Note: lemon juice can make your skin more sensitive to sunlight, so only use it in the evening and wash it off thoroughly. Effective methods for removing spots often combine multiple techniques for optimal results.
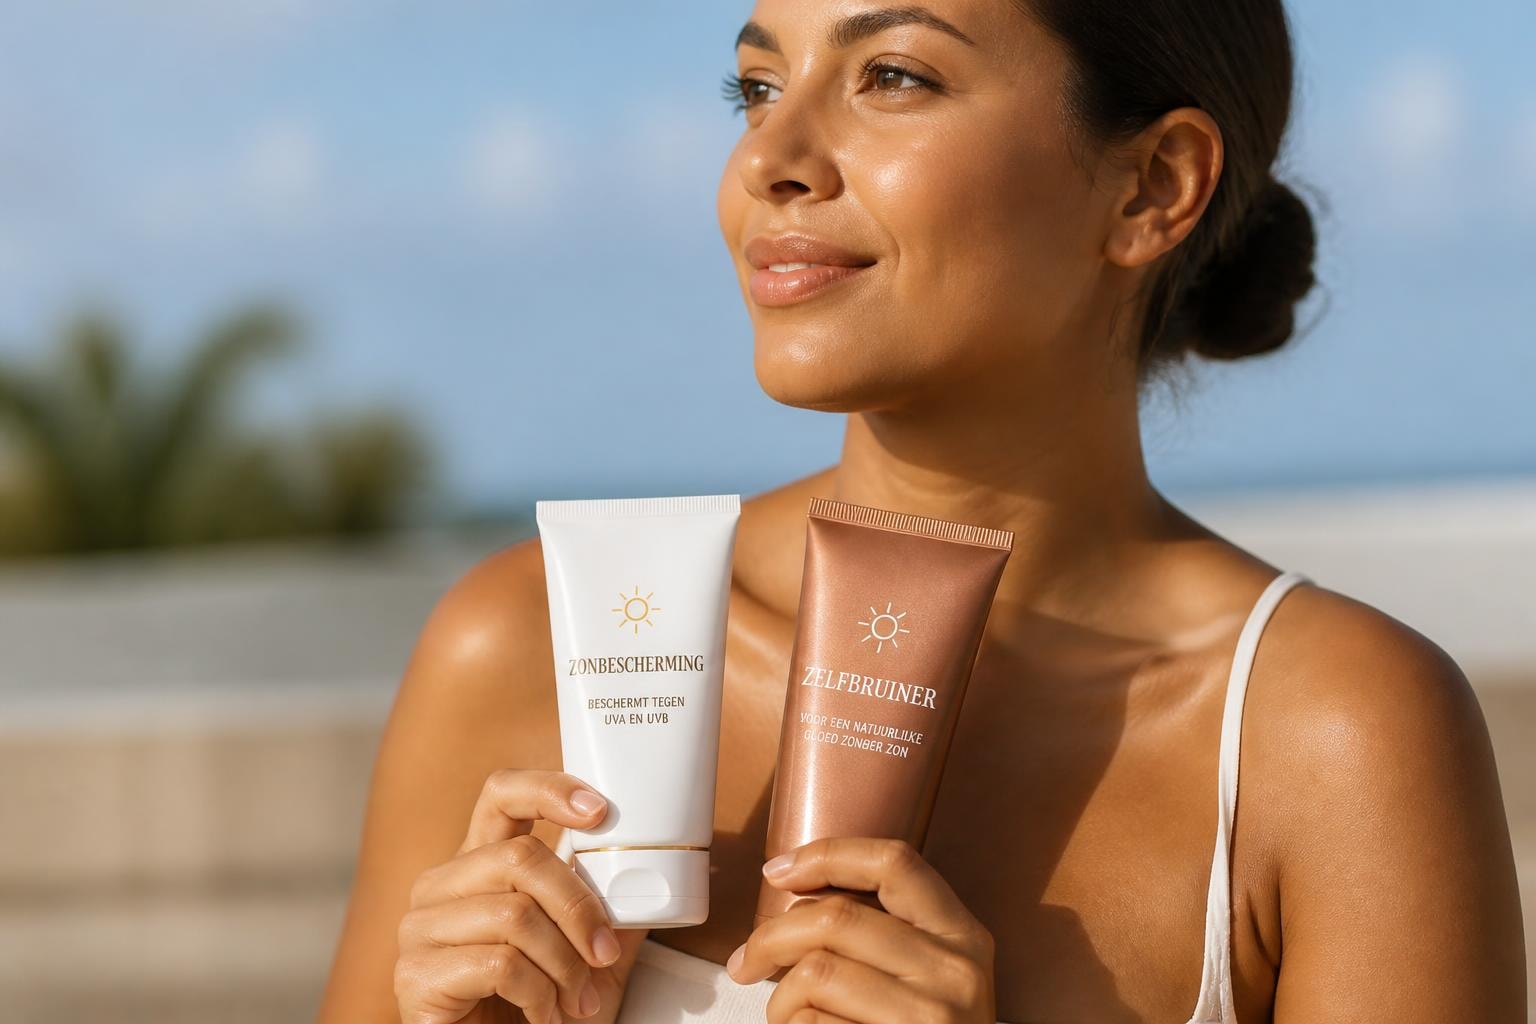
Choosing the right products for an even tan
Not all self-tanners are created equal. The quality of the product plays an important role in preventing spots and achieving a natural, even tan. Modern formulas are specifically developed to apply smoothly and absorb evenly.
Characteristics of high-quality self-tanners
A good self-tanner has certain properties that minimize the risk of spots. Look for products that absorb quickly, don't feel sticky, and have a guided color development.
| Feature | Benefit | Note |
|---|---|---|
| Guide color | Visible where you apply | Must be washable |
| Quick absorption | Less chance of streaking | Gives less time for blending |
| Hydrating formula | Prevents dry patches | Should not be too heavy |
| Natural DHA | No orange undertone | Works gradually |
| Fragrance mask | Neutralizes DHA scent | Choose subtle scents |
Products that are visible within 2-3 hours and last beautifully for 5-7 days offer the best balance between speed and durability. At Tanning Glamour, you'll find self-tanners that combine precisely these properties for a radiant result.
Different formulas for different needs
Self-tanners come in various formulas, each with specific advantages. The choice depends on your skin type, experience, and desired intensity.
Lotions are versatile and suitable for beginners. They are easy to spread and give you control over the amount. Perfect for the whole body and ideal when you want an even all-over glow. Applying with a mitt ensures optimal, streak-free results.
Mousse often absorbs faster but requires more experience. The airy texture makes the product lighter, but you need to work quickly to prevent spots. Mousse is ideal for people with oily skin because it feels less heavy.
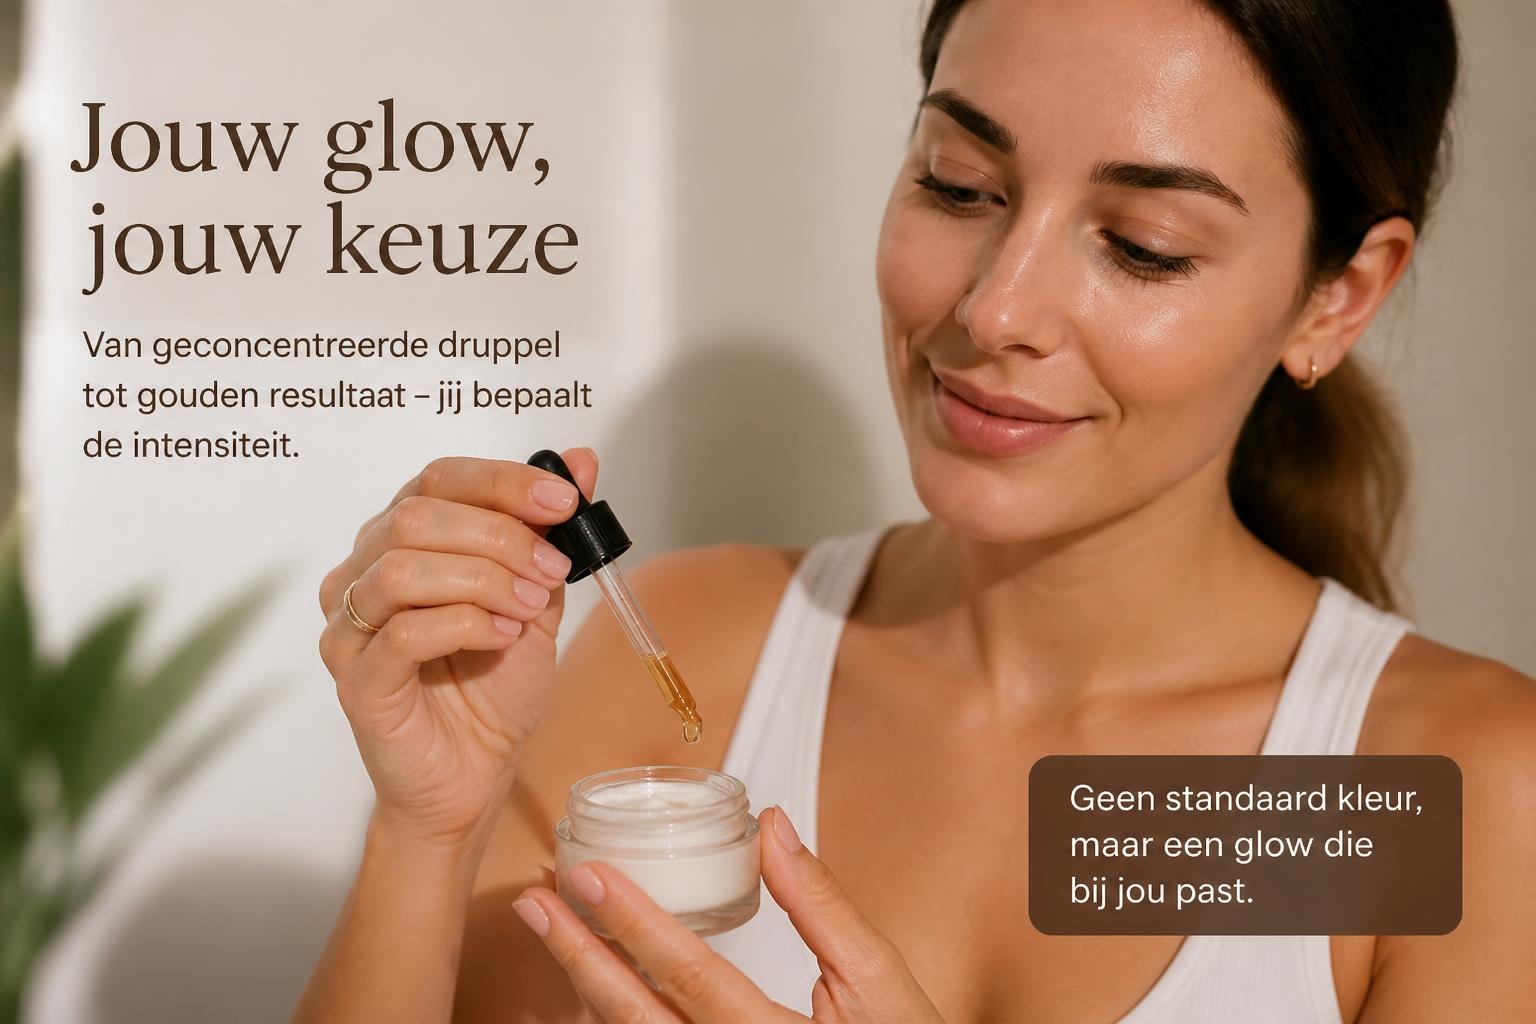
Drops offer maximum control over intensity. You mix them with your own day cream or body lotion, allowing you to determine how dark you want to go. This is perfect for gradual build-up and for people new to self-tanner.
Sprays are handy for hard-to-reach areas but can be uneven without the right technique. They work best in combination with a mitt to spread the product evenly.
Tips for long-lasting even results
Maintaining a beautiful tan without new spots requires the right aftercare. How you care for your skin after application determines how long your result stays beautiful.
Aftercare immediately after application
The first 24 hours after application are crucial. During this period, the color fully develops, and your skin is extra susceptible to spot formation.
Essential aftercare steps:
- Wait at least 6-8 hours before showering or sweating
- Wear loose, dark clothing that doesn't rub against your skin
- Sleep on dark sheets on the first night
- Avoid intense exercise or activities that cause sweating
- Avoid touching your skin unnecessarily to prevent product transfer
When you shower after the development time, use lukewarm water and a mild soap. Vigorous rubbing can remove the outer layer of skin more quickly and lead to uneven fading. Pat your skin dry instead of rubbing.
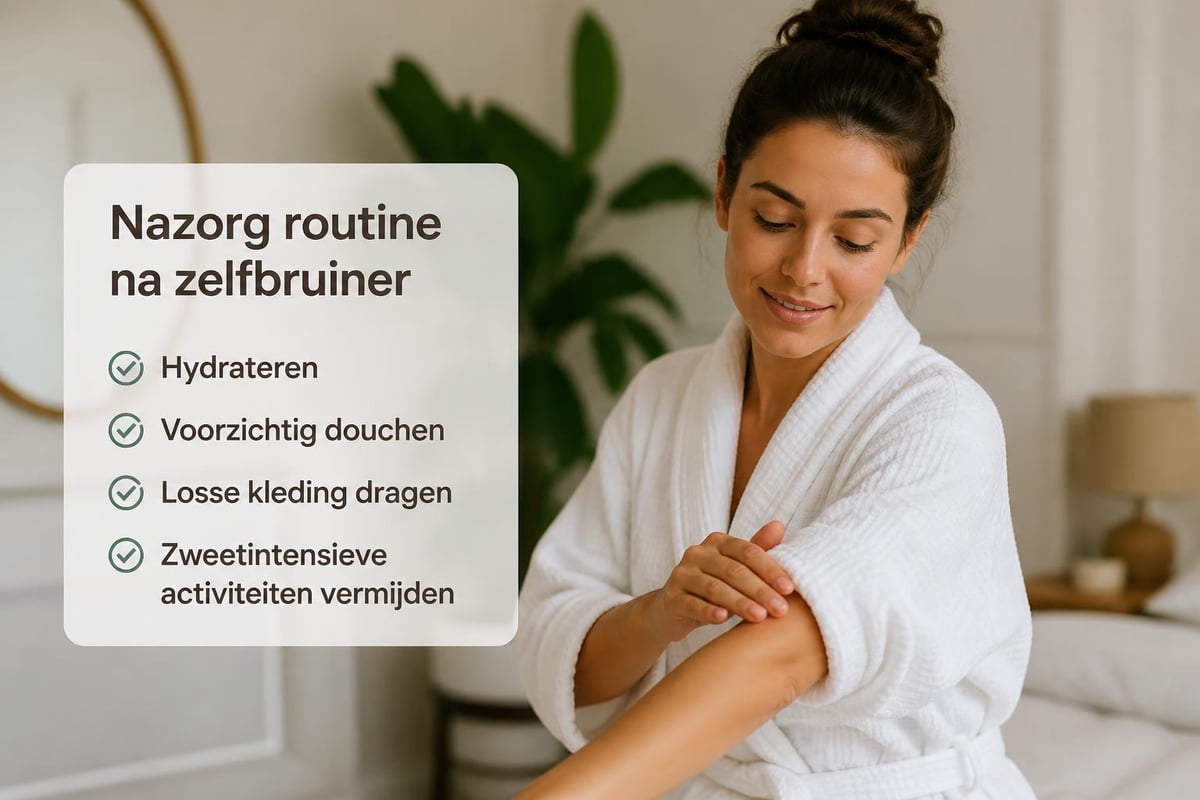
Daily care for a long-lasting tan
To keep your tan beautiful and even for as long as possible, daily hydration is essential. Well-hydrated skin extends the life of your self-tanner and prevents uneven fading.
Apply a light body lotion twice a day. Choose formulas without harsh ingredients or perfumes that could affect the DHA reaction. Pay extra attention to areas that dry out quickly, such as elbows and knees.
Avoid prolonged bathing in chlorinated water or salty seawater, as this can cause the tan to fade faster. If you do swim, rinse off thoroughly afterward and immediately apply a hydrating lotion. For more information on getting a natural tan while maintaining results, check out our helpful tips.
Frequently asked questions about preventing spots
Many people have similar questions about preventing and removing spots. These common concerns deserve clear answers.
How long do self-tanner spots last?
Spots naturally fade within 5-7 days as your skin renews itself. With active removal methods like scrubbing, you can speed this up to 2-3 days. The speed depends on your skin type and cell turnover.
Can I apply over existing spots?
This is not recommended as it will only make the spots darker. First, completely remove existing spots before reapplying. An even base is crucial for a beautiful result.
What is the best clothing to wear after application?
Opt for loose, dark clothing made of natural fabrics like cotton. Avoid tight synthetic materials that can rub against your skin. Dark colors camouflage any product residue better than light shades.
Should I apply self-tanner to damp or dry skin?
Always apply self-tanner to completely dry skin. Moisture dilutes the product and can lead to uneven distribution. Make sure to wait at least 30 minutes after showering before you begin.
Seasonal tips for streak-free self-tanner
The season can affect how your skin reacts to self-tanner. Adjust your routine for optimal results year-round.
Summer: extra caution
In summer, your skin is often already lightly tanned by the sun, which makes it harder to apply an even layer of self-tanner. Furthermore, you sweat more, which can lead to spots and streaking.
Scrub extra thoroughly before application to remove dead, tanned skin cells. Use less product than in winter because your base is already darker. Apply in the evening when it's cooler and you're less likely to sweat.
Winter: extra hydration
Dry winter skin absorbs self-tanner unevenly, often resulting in spots. Low humidity and heating further dry out your skin, especially on elbows, knees, and shins.
Increase your hydration routine and apply body lotion daily, even on days you don't use self-tanner. Consider using a humidifier in your bedroom. Scrub more often but more gently to remove dry flakes without irritation.
Transition seasons: gradual adjustment
During the transition from winter to summer or vice versa, your skin tone may be uneven. Some parts are paler while others still retain some color. This increases the risk of spots.
Gradually build up your tan with a lighter formula or use tanning drops to precisely adjust the intensity. Start with half a dose and gradually increase. This approach gives your skin time to adjust and minimizes the risk of spot formation.
Professional techniques for home use
With the right knowledge, you can achieve professional results at home. These advanced techniques help you create a salon-worthy tan without spots.
Contouring with self-tanner
Just as you can contour your face with makeup, you can subtly contour your body with self-tanner. This requires precision but can enhance your figure without causing spots.
Apply slightly more product to areas you want to accentuate, such as the sides of your legs for a slimming effect. Use minimal product on areas you want to keep lighter. Blend the transitions extra carefully to prevent harsh lines.
Building layers for intensity
Instead of applying one thick layer, you can build multiple thin layers. This technique gives you more control and significantly minimizes the risk of spots.
Apply the first layer very lightly and wait 24 hours. Assess the result and apply a second layer if desired. This method is ideal for beginners and for people who want to achieve a specific shade. It is the safest approach for a spot-free result.
Treating the face separately
Your face deserves special attention because the skin there is more sensitive and visible. Use a lighter formula or less product than on your body.
Mix self-tanner drops with your day cream for subtle control. Avoid the hairline, eyebrows, and fine hairs by applying a light petroleum jelly barrier. Blend extra carefully at the jawline to prevent a distinct line. Wash your hands immediately after application.
With the right preparation, technique, and products, self-tanner spots no longer have to be a problem. A radiant, even tan is within reach when you follow the principles of exfoliating, hydrating, and careful application. Tanning Glamour offers natural self-tanners that give a visible result within 2-3 hours and last beautifully for up to 5-7 days, without streaks or orange undertones. Discover how to create a sun-kissed glow that radiates confidence every time with the right products and approach.
Read more
Discover how to safely get a tan with self-tanning sunscreen. Learn the difference and get tips for a healthy, golden glow in 2026.
Discover the best tanning drops for 2026. Learn how to choose, apply, and combine tanning drops for an even, natural, streak-free glow.