
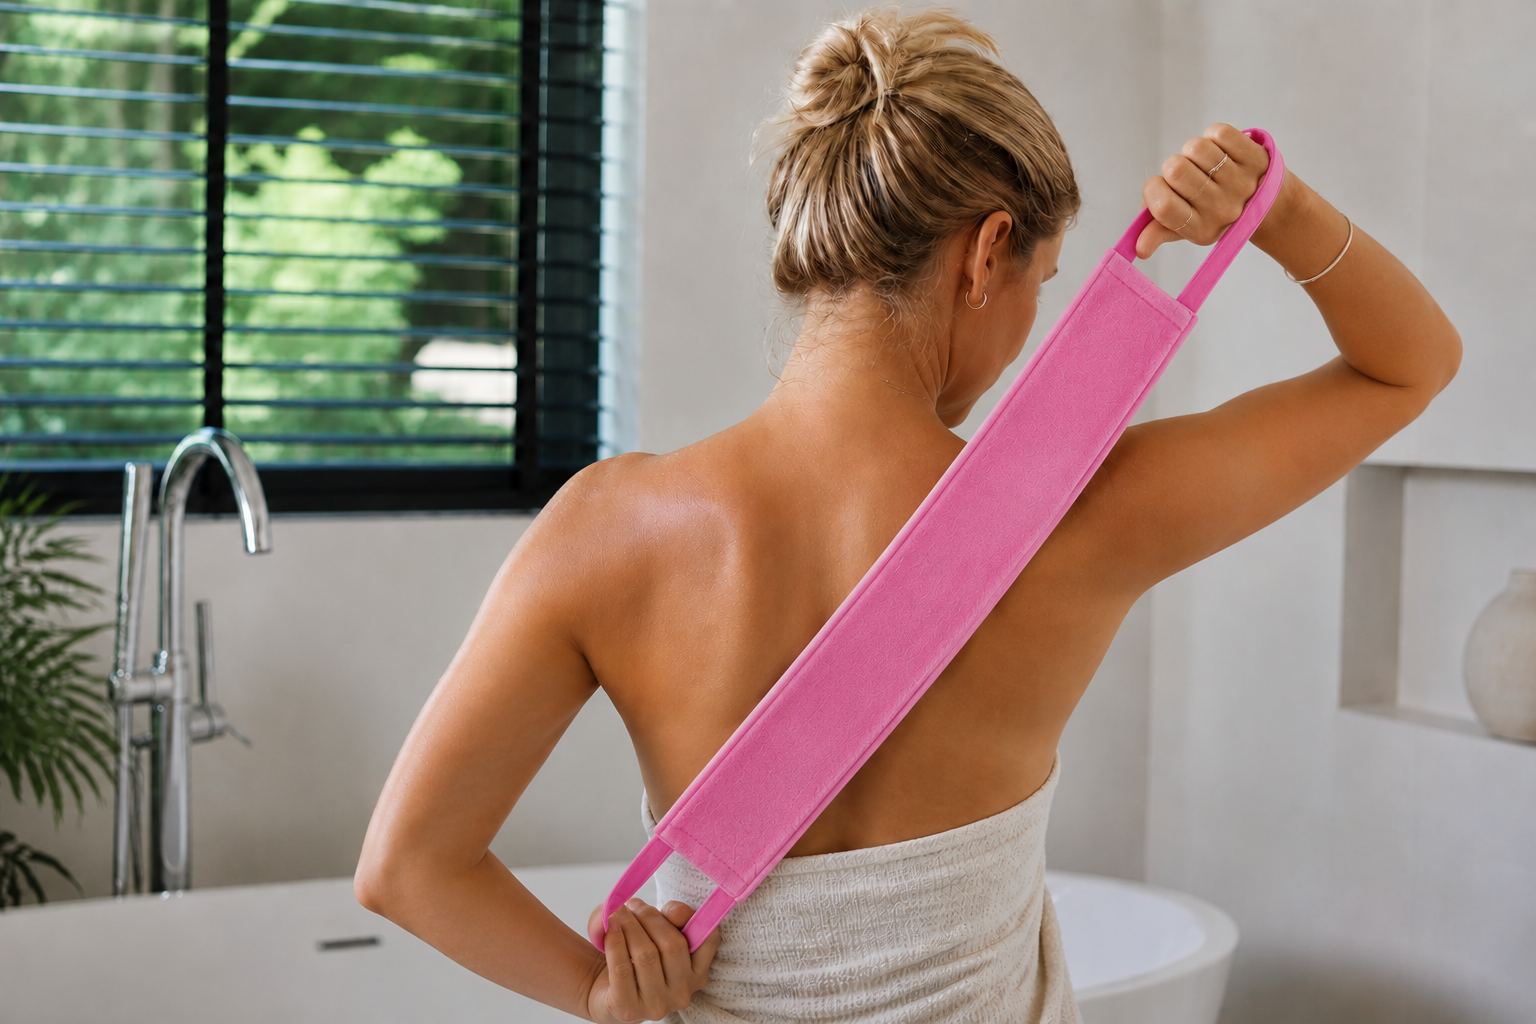
Self-tanning back applicator: easily reach your entire back
A radiant, evenly tanned skin is a wonderful boost for your self-confidence. But anyone who regularly uses self-tanner knows the problem: reaching your back without help is almost impossible. Fortunately, there is a smart solution that makes you completely independent when applying your self-tanner. A self tan back applicator is the handy tool that ensures you don't miss any spots and get an even result, even on that hard-to-reach area between your shoulder blades.
Why you need a self tan back applicator
Your back is one of the largest skin surfaces on your body, and at the same time one of the most difficult areas to reach. Without the right tools, you remain dependent on others to apply your self-tanner, or you risk uneven patches and streaks.
A professional self tan back applicator elegantly solves this problem. This specialized tool is designed with an elongated shape that spans the length of your back, allowing you to easily reach every part of your back. Most models have handles at both ends, allowing you to move the applicator across your back like a towel.
The advantages at a glance
- Complete independence when applying your self-tanner
- Even distribution without streaks or patches
- Professional results without the intervention of others
- Time saving due to the efficient application system
- Hygienic use thanks to washable materials
The biggest advantage, of course, is that you no longer have to wait for someone else to have time to help you. You can apply your self-tanner whenever you want, precisely when it suits you.
Different types of self tan back applicators
The market offers various types of back applicators, each with its own characteristics and advantages. It is important to understand which type best suits your needs and preferences.
Velvet back straps
Velvet applicators are currently the most popular choice among self-tanner enthusiasts. These soft, velvety strips are made of high-quality velvet material that perfectly absorbs and evenly distributes the lotion. The soft texture feels pleasant on the skin and provides a professional finish.
The material is designed not to waste product, but to absorb enough to apply an even layer. After use, you can easily hand wash the velvet strap and reuse it, which also makes this option sustainable.
Microfiber applicators
Microfiber models work on the same principle but have a slightly different texture. These applicators are often thinner and lighter, making them easier to handle. The microfiber material is very absorbent and also distributes self-tanner excellently over the skin.
| Applicator type | Texture | Absorption | Price | Durability |
|---|---|---|---|---|
| Velvet | Soft & luxurious | Optimal | €€ | Excellent |
| Microfiber | Light & flexible | High | € | Good |
| Cotton strap | Sturdy | Average | € | Reasonable |
| Foam roller | Smooth & firm | Low | €€€ | Good |
Foam rollers with handle
A less common but effective option is the foam roller with an extended handle. This works more like a paint roller and is suitable for people who prefer to work with a rolling motion. The disadvantage is that foam often absorbs less product, so you have to reload more often.
How to use a self tan back applicator correctly
Using your back applicator correctly makes the difference between a professional result and disappointing streaks. Follow these steps for an even, radiant back.
Preparation is the key to success. Always start with clean, exfoliated skin. First, shower and use a scrub to remove dead skin cells. This ensures that the self-tanner can absorb evenly without sticking to rough spots. Dry your skin completely before you start.
Apply a suitable amount of self-tanner to the applicator. For a self tan back applicator, a strip of product about 10-15 centimeters long is usually sufficient for the first application. You can always add more if needed.
The right movements
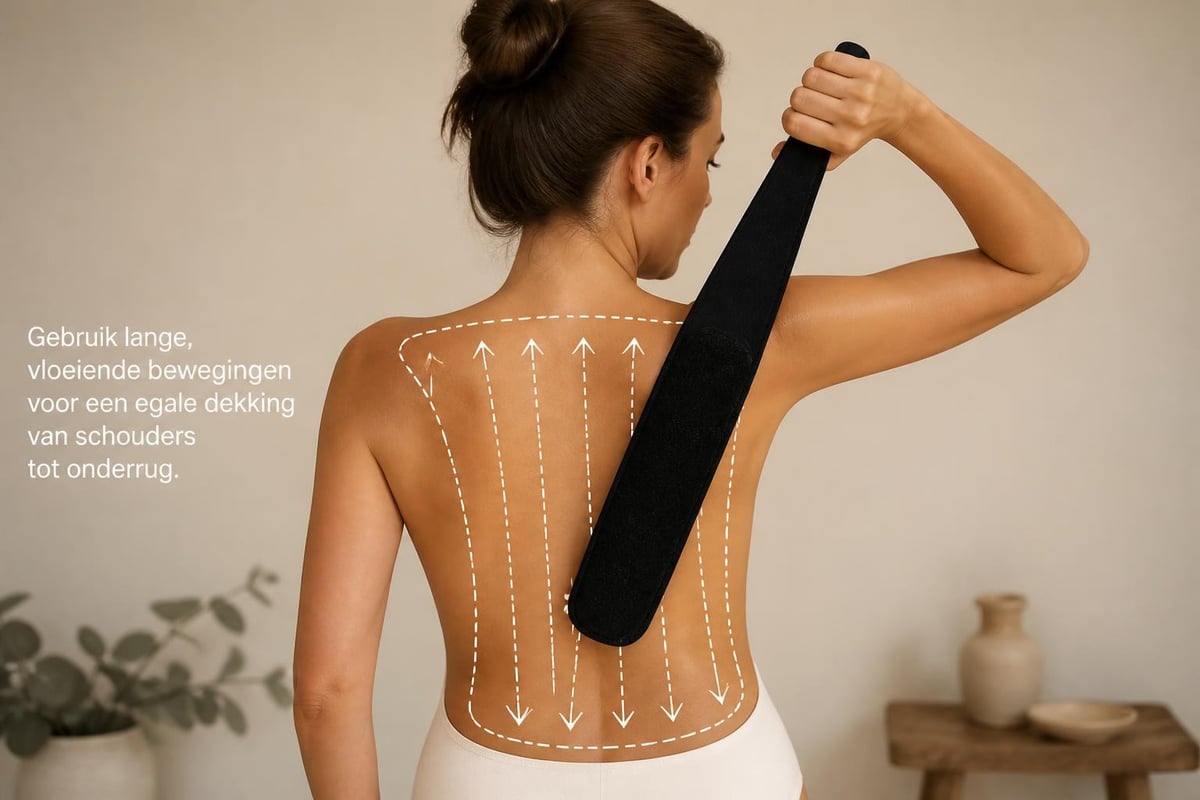
- Start at the top of your shoulders and work downwards
- Use long, vertical movements from left to right
- Hold the strap with both hands at the ends
- Move the applicator in a sawing motion across your back
- Ensure overlapping movements to avoid missing any areas
- Pay extra attention to the sides of your back
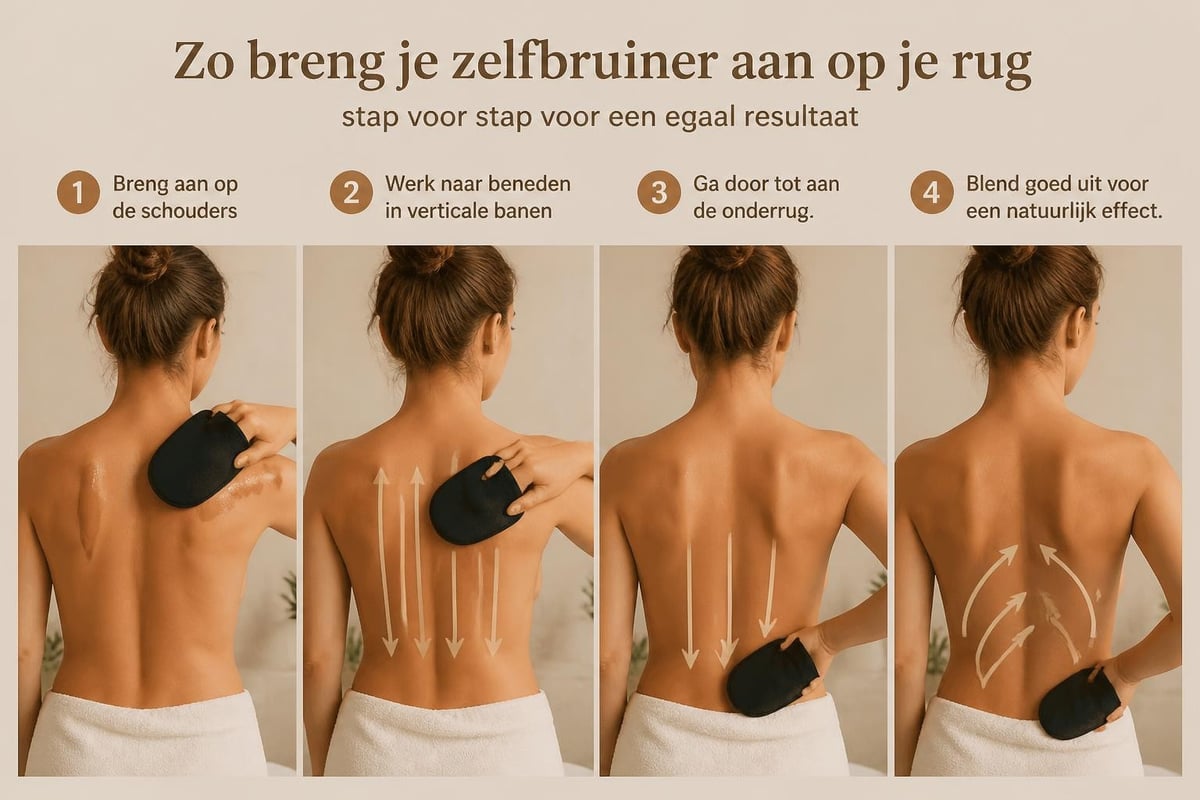 Let sure you don't apply too much pressure. Light, even pressure is sufficient to distribute the product well. Too much pressure can lead to streaks or uneven patches.
Timing and drying time
After application, it is important to give your self-tanner enough time to absorb. Wait at least 10-15 minutes before putting on clothes. Preferably choose loose, dark clothing to catch any product transfer.
Most modern self-tanners, such as those from Tanning Glamour, are visible within 2-3 hours. The full result is usually developed after 6-8 hours. So plan your application smartly, for example, in the evening before going to bed.
The Tanning Glamour Self-Tanner Back Strap is specially designed to apply your self-tanner effortlessly and streak-free to your back. The soft velvet fabric distributes the product evenly, giving you a natural and even result without the help of others.
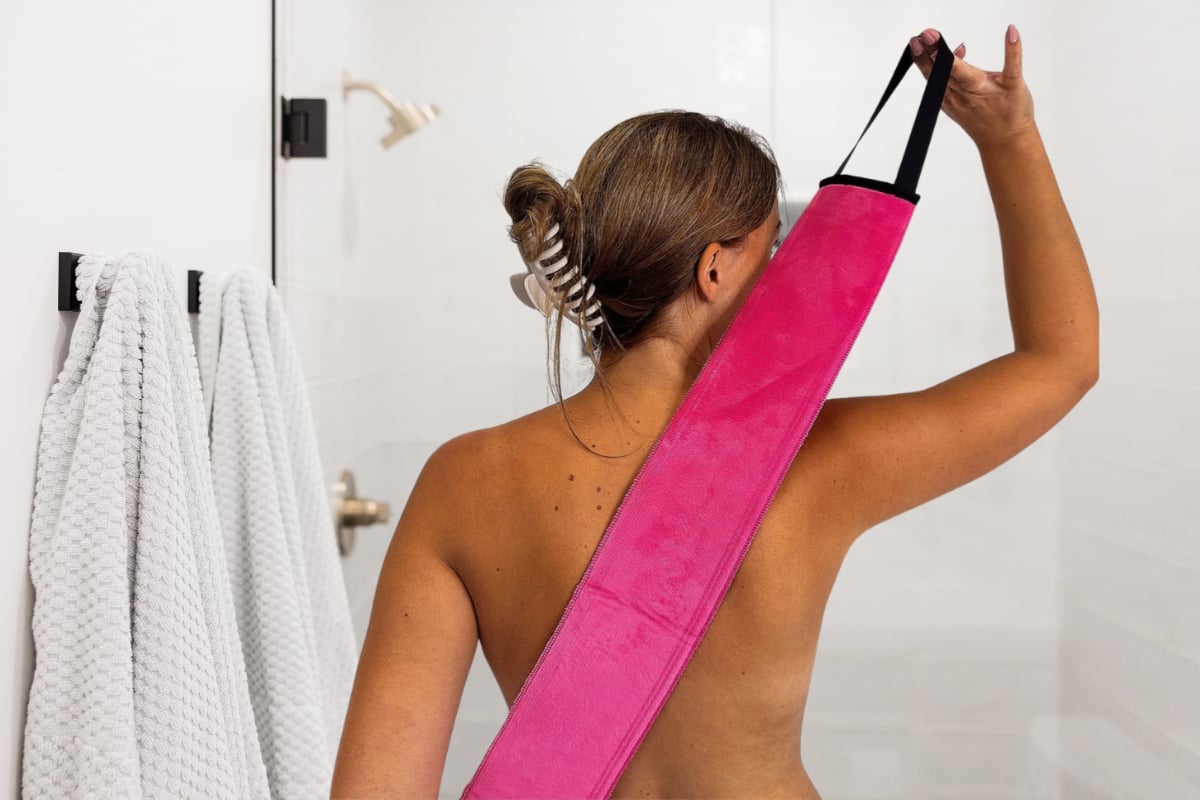
Common mistakes when using a self tan back applicator
Even with the best tool, mistakes can happen. The good news is that these mistakes are easy to avoid if you know what to look out for.
Using too much product
A common mistake is applying too much self-tanner at once. This does not lead to a darker shade, but to streaks and patches. Especially on your back, where you can't see what you're doing as well, the temptation to use extra product "just to be sure" is great.
Always start with a thin layer. You can always apply a second layer the next day for a more intense shade. This also gives a more natural result than one thick layer.
Forgotten areas
The edges of your back - where your back merges into your arms and waist - are often forgotten. This creates harsh transitions that look anything but natural. Make sure you extend the applicator slightly further than just your back, so that a soft transition is created to the areas you applied with your hands.
Also pay attention to these details:
- The neck and shoulder line
- The area between your shoulder blades
- The lower back down to your waist
- The sides of your back under your arms
Careless cleaning of the applicator
After use, your self tan back applicator must be thoroughly cleaned. Do not let the product dry in the material, as this can lead to stains during the next use. Rinse the applicator immediately after use with lukewarm water and a mild soap. Let it dry completely before storing it.
Combining with other self-tanner techniques
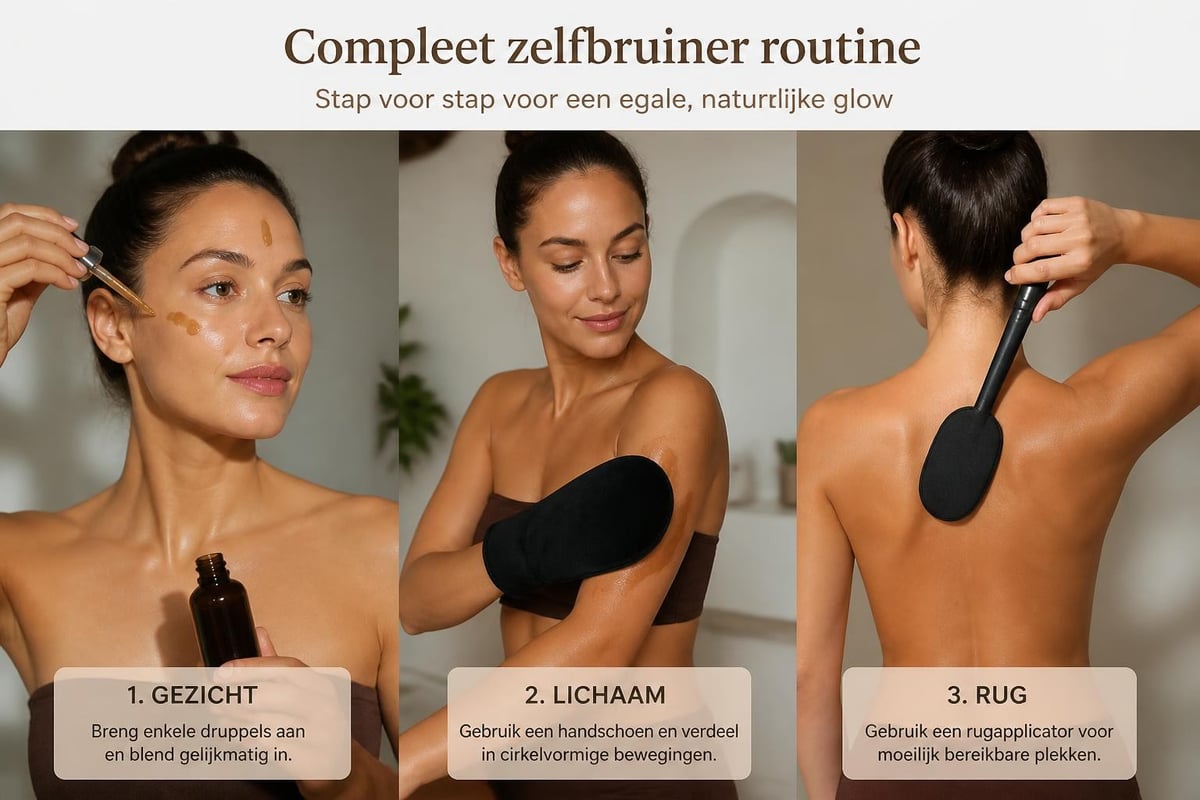
A self tan back applicator is part of your complete self-tanning routine. For best results, combine different techniques and tools for different body parts.
For your face and décolleté, you can better use tanning drops that you mix with your day cream. This gives a more controlled and natural result on these sensitive areas. The skin on your face is thinner and more sensitive than on your body, so a special approach is worthwhile.
Complete body coverage strategy
| Body part | Best tool | Technique |
|---|---|---|
| Face | Fingers or mini mitt | Tapping movements |
| Décolleté | Mini mitt | Light circles |
| Arms | Regular mitt | Long strokes |
| Back | Self tan back applicator | Sawing motion |
| Legs | Regular mitt | Upward strokes |
| Feet | Mitt | Light touch |
For your body, a self-tanner mitt is ideal. This mitt ensures an even distribution over your arms, legs, and stomach, while your hands remain protected from discoloration.
The combination of a mitt for your front and a back applicator for your back gives you complete control over your entire body. This way, you create a completely even, natural-looking all-over tan.
Maintenance and lifespan of your applicator
A good self tan back applicator will last for years with proper maintenance. This not only makes it a sustainable choice but also an economic investment in your beauty routine.
Cleaning after each use
Rinse your applicator immediately after use under lukewarm water. Use a mild, unscented soap or a special textile cleaner. Gently rub the material, but avoid harsh wringing, which can damage its shape. Some velvet applicators can also be washed in the washing machine on a delicate cycle.
Always let the applicator air dry completely, preferably hanging so that water can drain properly. Do not place it in direct sunlight, as this can cause the material to fade or dry out.
Storage between uses
Store your applicator in a dry, clean place. A sealed bag or box prevents dust or dirt from settling on the material. Do not fold the applicator too tightly, but roll it loosely or hang it by its handles.
Replace your applicator when:
- The material becomes stiff or hard
- Cracks or holes appear
- The handles come loose
- The product no longer distributes evenly
- Stains can no longer be completely washed out
With normal use (1-2 times a week), a quality applicator will last at least 6-12 months. With extra careful maintenance, some models can even last for years.
Tips for a natural result on your back
Your back is a large, flat surface where irregularities are particularly noticeable. With these professional tips, you can achieve a natural-looking tan that looks like you've just returned from a sunny vacation.
Exfoliation is essential
Always start with thorough exfoliation, at least a day before applying your self-tanner. Use a body scrub with round, non-abrasive particles. Pay extra attention to rough areas like your shoulder blades and lower back. This creates a smooth canvas on which the self-tanner can absorb evenly.
Also exfoliate the transition zones between your back and the rest of your body. A natural result is created by soft transitions, not by harsh lines.
Pre-hydration
Dry skin absorbs self-tanner unevenly, leading to streaks. Hydrate your skin daily in the days before applying your self-tanner. Please note: do not use body lotion on the day itself just before application, as this can dilute the self-tanner.
Gradual build-up
Start with one thin layer and gradually build up the color. This gives a much more natural result than trying to achieve a deep tan all at once. The skin on your back is relatively thick and can handle self-tanner well, but gradation remains key to a natural effect.
Wait at least 24 hours between applications. This gives the first layer time to fully develop, so you can see where extra attention might be needed. Getting tanned without sun requires patience, but the result is worth it.
Seasonal use and planning
Many people think of self-tanner as a summer product, but a self tan back applicator is useful all year round. In every season, there are specific considerations for optimal use.
Spring: preparation for the summer season
In spring, many people start building up a base tan. This is the perfect time to get used to your self tan back applicator and refine your technique. Start with lighter applications and gradually build up to your desired shade.
Note that your skin in spring is often a bit drier after the winter months. Extra hydration is then even more important for an even result.
Summer: maintenance and refreshing
In summer, you may combine natural sun with self-tanner. A self tan back applicator helps keep your tan even, especially in places where the sun doesn't reach well. This creates a completely even color without white patches on your back.
Plan your applications around swimming and beach visits. Apply your self-tanner at least 24 hours before you go swimming, so that it is fully developed and fixed.
Autumn and winter: maintaining the glow feeling
Even in the darker months, you want to maintain that radiant, healthy feeling. A light tan gives you a fresh and well-groomed appearance, even when it's gray and gloomy outside. Use your self tan back applicator to create a subtle winter glow that gives you a boost.
In winter, your skin is often drier, so hydrate extra well and consider using a little less product than in summer. A natural, subtle shade suits the season better than a deep summer tan.
Frequently asked questions about self tan back applicators
How often should I re-treat my back? The average self-tanner remains clearly visible for 5-7 days. For optimal maintenance, apply a new layer every 4-5 days. This prevents the color from fading unevenly.
Can I use the same applicator for different self-tanners? Yes, a good self tan back applicator works with all types of self-tanners: lotions, mousses, and even sprays. Make sure to clean the applicator thoroughly when switching products.
Does an applicator help against streaks? Absolutely. Streaks often occur due to uneven distribution with your hands. An applicator distributes the product much more evenly, which virtually eliminates streaks if you use the correct technique.
Is a self tan back applicator hygienic for reuse? Yes, provided you clean and dry it thoroughly after each use. The material is not porous and does not retain bacteria if you maintain it correctly.
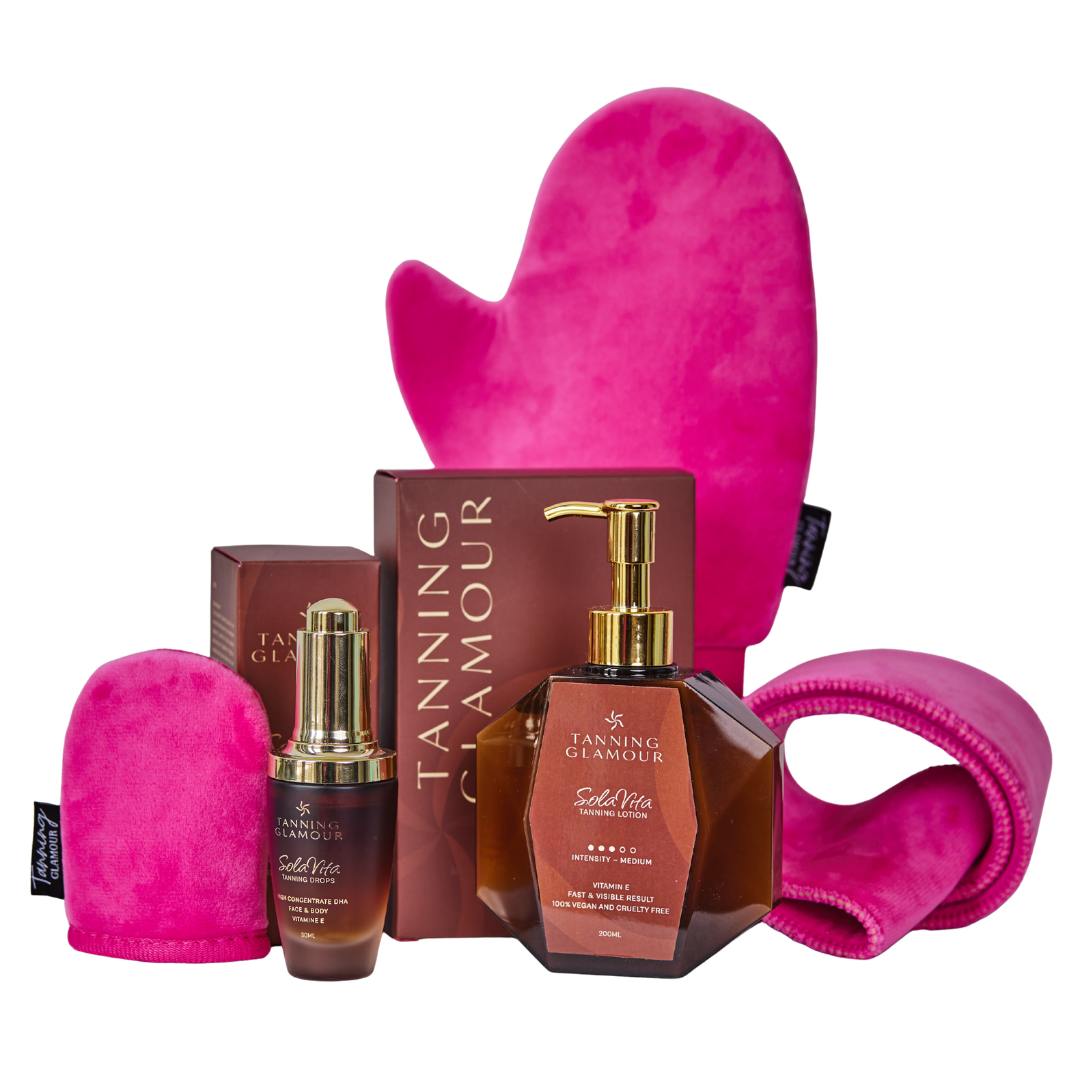
A self tan back applicator is indispensable for anyone who wants a completely even tan without relying on help. With the right technique and a quality applicator, you can independently create a professional result. Tanning Glamour offers natural self-tanners that provide a radiant, even complexion within hours without streaks or orange undertones, and combines this with professional application tools for a perfect end result.
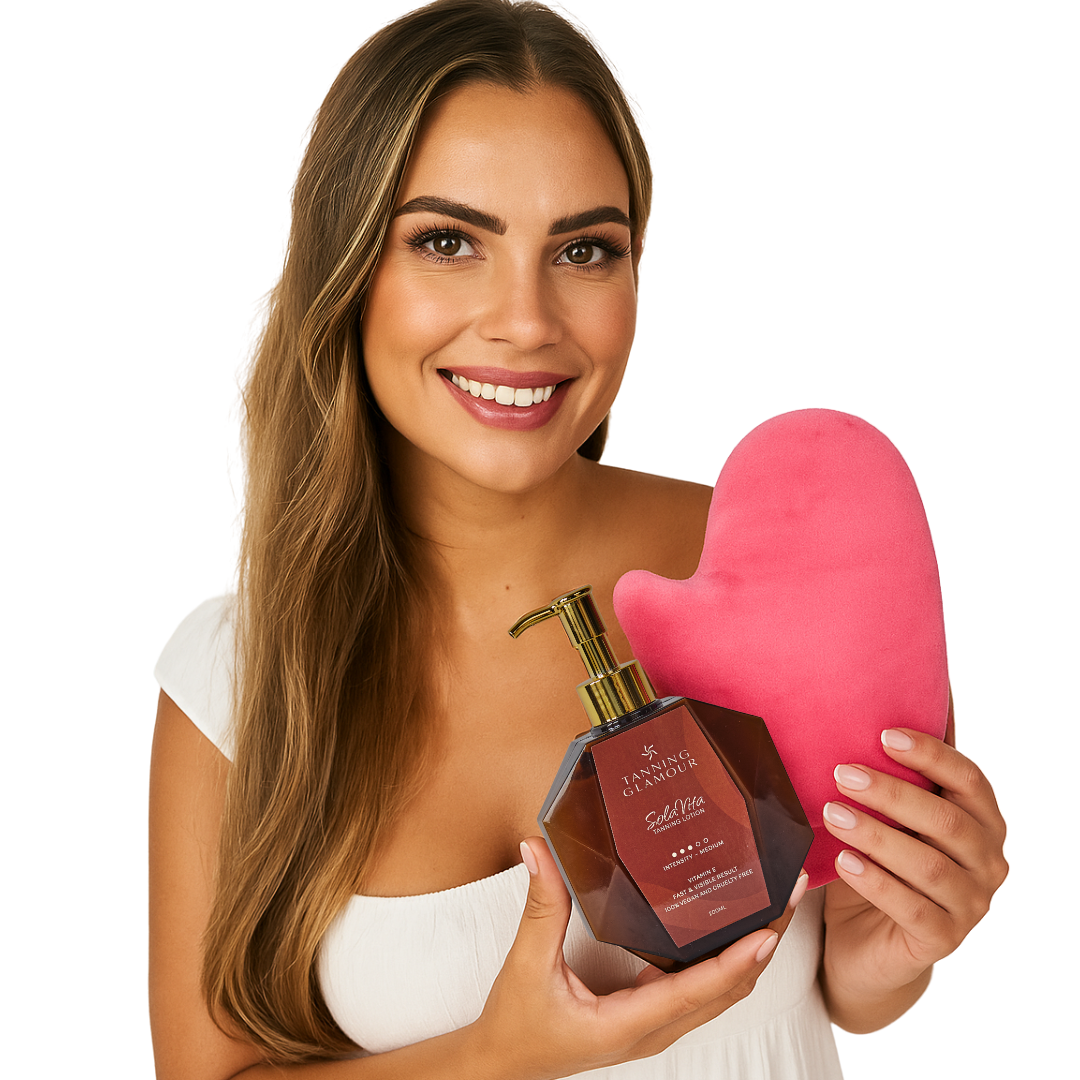
Ontdek jouw mooiste glow
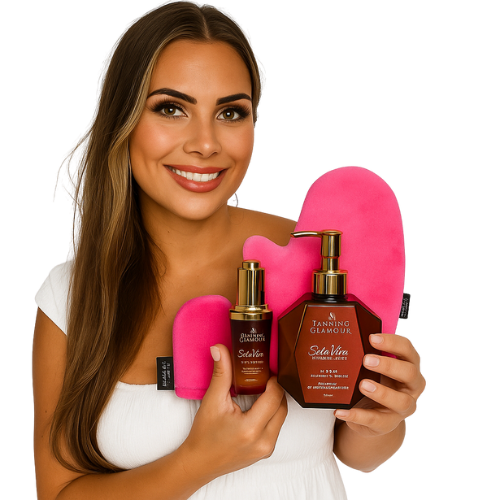
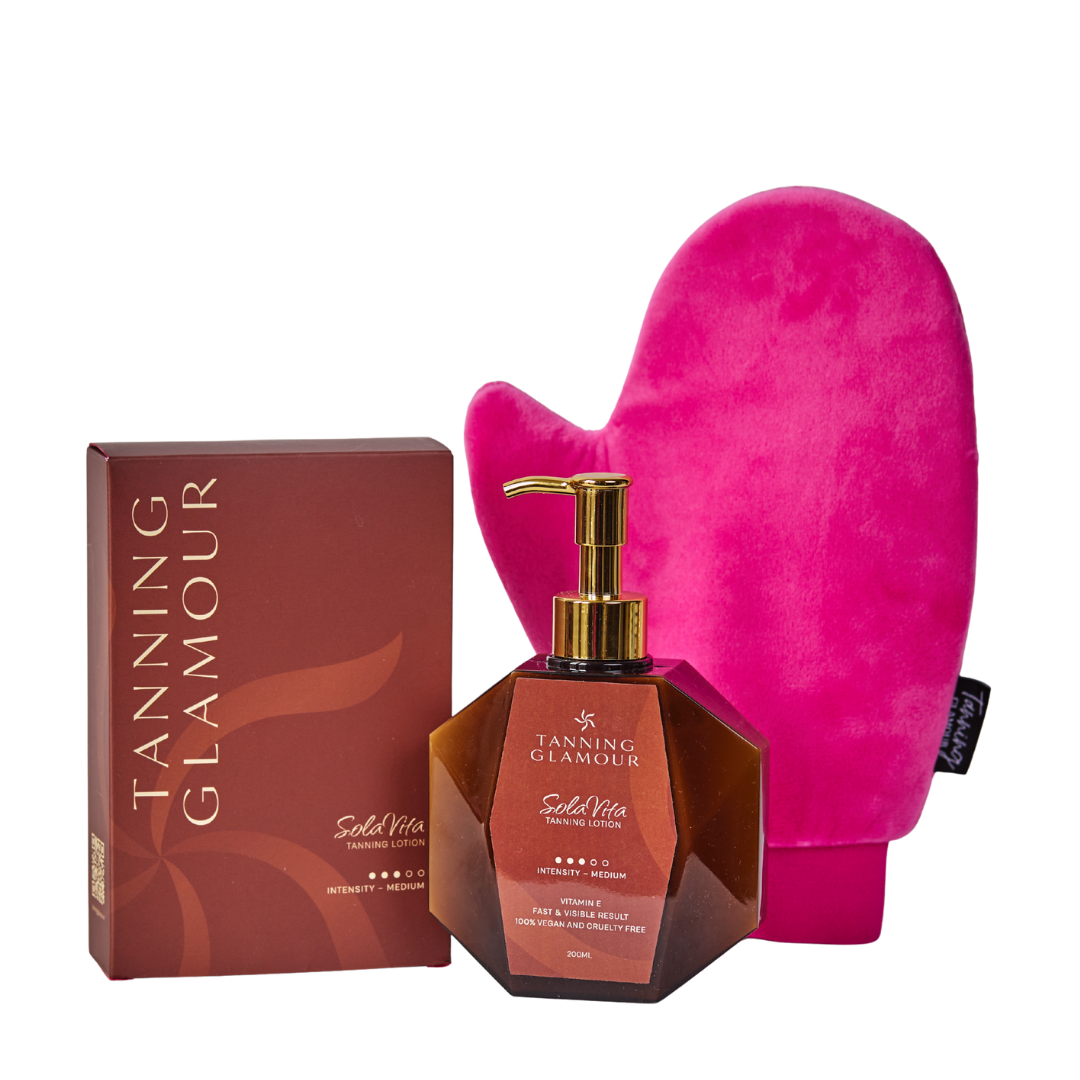
Verzorgende zelfbruiners van SolaVita - streeploos, geen oranje.
Read more

Discover how to safely achieve a natural tan without sun or tanning beds. Tips for even, long-lasting tanned skin with self-tanners.
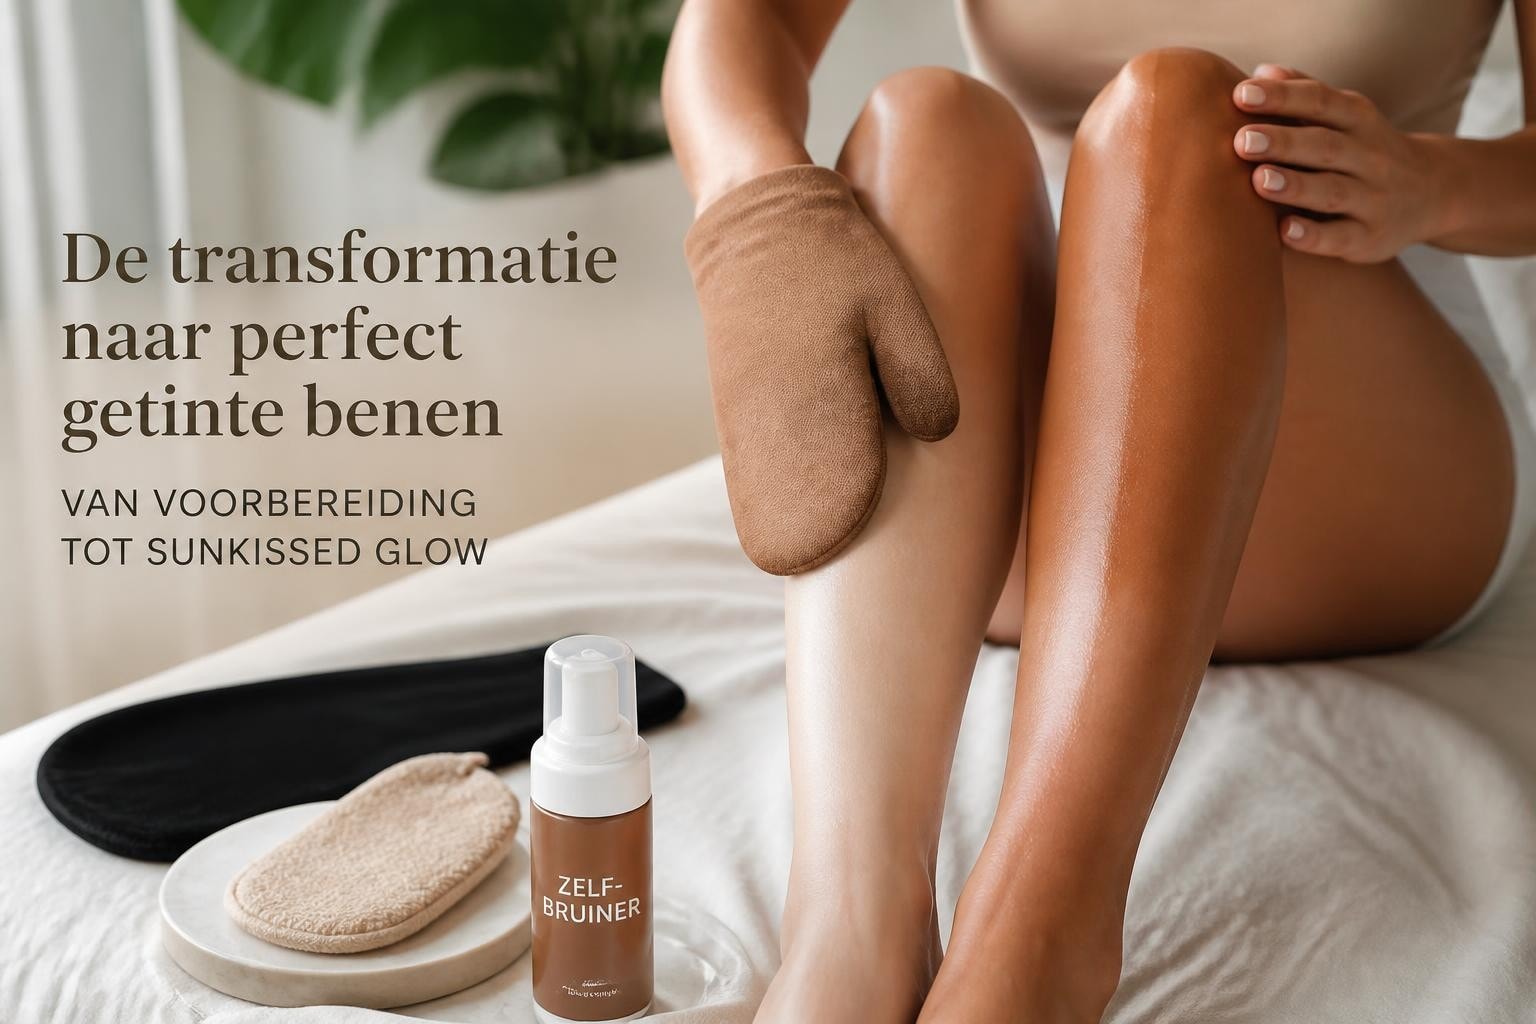
Discover the best self-tanner for your legs and achieve an even, natural glow without streaks. Practical tips for radiant legs in 2026.