

Sunless Tanning: Tips for a Natural and Even Glow
Radiant, tanned skin instills confidence and a healthy glow. Yet, we now know that excessive sun exposure and tanning bed use are not without risks. Fortunately, sunless tanning is easier than ever today. With the right products and techniques, you can create a natural tan within hours that looks like you've just returned from a sunny vacation. These modern alternatives offer a safe way to enjoy a golden glow all year round, without exposing your skin to harmful UV radiation.
Why choose sunless tanning?
The health risks of UV radiation have now been extensively documented. Skin aging, pigment spots, and an increased risk of skin cancer are some consequences of prolonged sun exposure. The Skin Cancer Foundation emphasizes that every tanning bed or sun session causes damage, even if you don't get a sunburn.
Modern methods of sunless tanning offer a safe alternative. These techniques give you full control over the final result and allow you to achieve precisely the tan that suits your skin type.
Benefits of self-tanners
Self-tanning products have undergone enormous development in recent years. The old-fashioned orange streaks and chemical odors are a thing of the past.
Key benefits:
No UV radiation or harmful effects on the skin
Results visible within 2-3 hours
Full control over intensity
Suitable for year-round use
Long-lasting beautiful results for 5-7 days
The natural ingredients in modern formulas provide a realistic tan that fades gradually, just like a vacation tan.
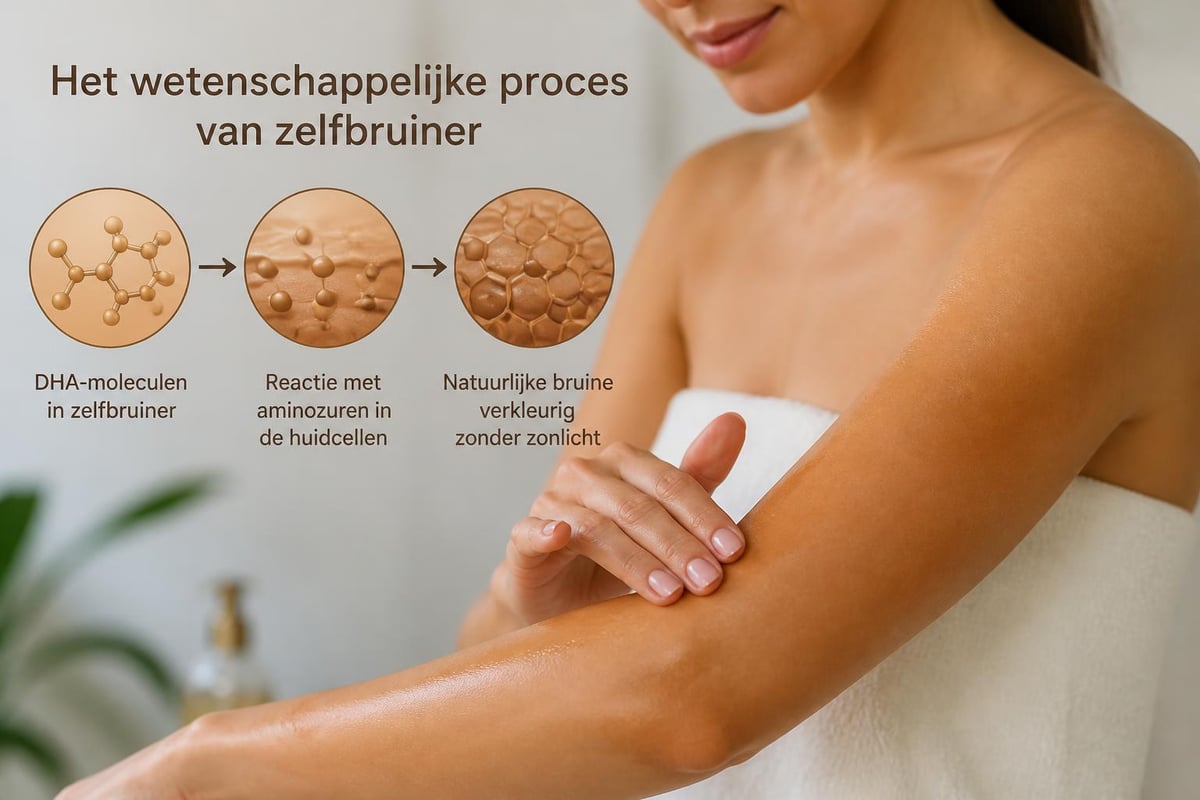
How sunless tanning works
Most self-tanning products contain DHA (Dihydroxyacetone), a natural sugar that reacts with the amino acids in the top layer of your skin. This process, called the Maillard reaction, creates a temporary brown discoloration without the need for sunlight.
The DHA process step-by-step
Application: The product is applied to the skin
Absorption: The DHA penetrates the top skin layer
Reaction: The color reaction starts within 2-4 hours
Development: The full result is visible after 6-8 hours
Fading process: Natural skin renewal gradually fades the color
Dr. Jetske Ultee explains that DHA has been safely used in cosmetic products for decades. The ingredient is approved by regulatory bodies worldwide.
The quality of the final result heavily depends on the formula and the application method. High-quality products often also contain nourishing ingredients such as aloe vera, hyaluronic acid, and vitamin E that hydrate your skin while you tan.
Different methods for a sunny glow
There are several approaches to sunless tanning. Each has its own pros and cons, depending on your personal preferences and lifestyle.
Self-tanning lotions and creams
These are the most popular products for a full body glow. They offer even coverage and are available in various intensities. Application requires some practice, but with the right technique and tools, you can achieve a professional result.
Product type |
Development time |
Durability |
Intensity |
|---|---|---|---|
Quick lotion |
2-3 hours |
5-7 days |
Medium to dark |
Gradual build-up |
24 hours |
3-5 days |
Light to medium |
Express formula |
1-2 hours |
4-6 days |
Adjustable |
For the best result, using a professional applicator is essential. This prevents stains on your palms and ensures an even distribution over your entire body.
Self-tanning drops
Tanning drops are a flexible option that you mix with your daily skincare. Simply add a few drops to your moisturizer, serum, or body lotion to customize the intensity.
This offers several advantages:
Gradual color build-up
Fully customizable to your preferences
Combines tanning with skincare
Suitable for face and body
Perfect for beginners
The subtle approach makes this a popular choice for those who prefer a natural look. You slowly build up the color over several days, which gives a very realistic result.
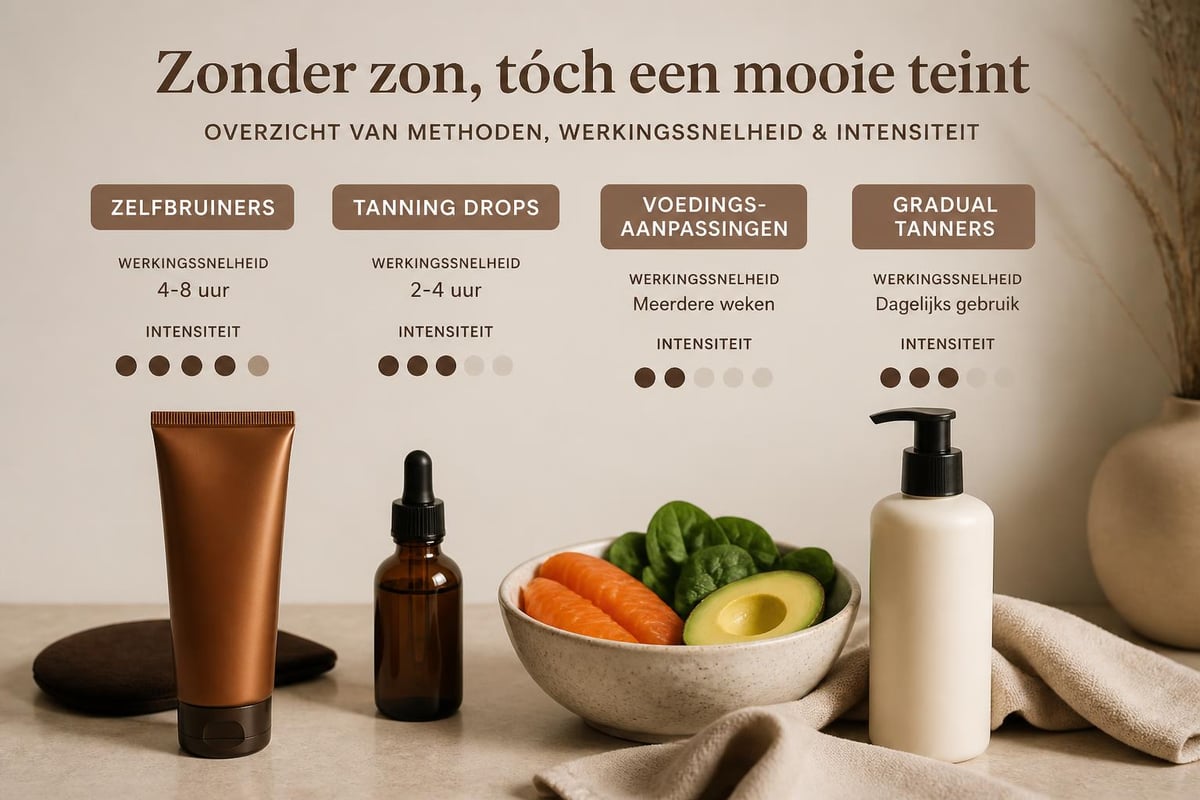
Natural dietary adjustments
A lesser-known but interesting approach is adjusting your diet. Certain foods contain high concentrations of beta-carotene, which can contribute to a warmer skin tone.
Foods rich in beta-carotene:
Carrots and carrot juice
Sweet potatoes
Pumpkin and pumpkin seeds
Mango and apricots
Spinach and kale
It's important to understand that this effect is subtle and can take weeks to months. Beta-carotene supplements can speed up this process, but they do not replace a real self-tanner. The method works best as a supplement to other techniques.
Spray tans and professional treatments
For special occasions, many people opt for a professional spray tan. This gives an immediate result with optimal equalization, but requires a visit to a salon.
Characteristics of professional spray tan:
Immediate result
Professional application
More expensive than home products
Lasts 5-10 days
Suitable for events
The costs usually range from €25 to €50 per treatment, depending on the salon and region.
Tips for a streak-free result
Preparation is crucial for sunless tanning. A good base ensures that the product absorbs evenly and stays beautiful longer.
Skin preparation is essential
Start with a thorough exfoliation 24 hours before application. This removes dead skin cells and prevents uneven patches. Pay extra attention to:
Elbows and knees
Ankles and wrists
Dry areas on arms and legs
Rougher skin patches
Shave or wax at least 12 hours before application. Immediately after hair removal, the skin is more sensitive and pores may still be open, which can lead to dark spots.
Application technique for professionals
Always start at your feet and work upwards. This prevents you from wiping over wet areas. Use circular motions and blend the product well.
Apply a small amount to your applicator
Spread in circles over an area
Blend the edges for soft transitions
Work systematically upwards
Use little product on dry areas
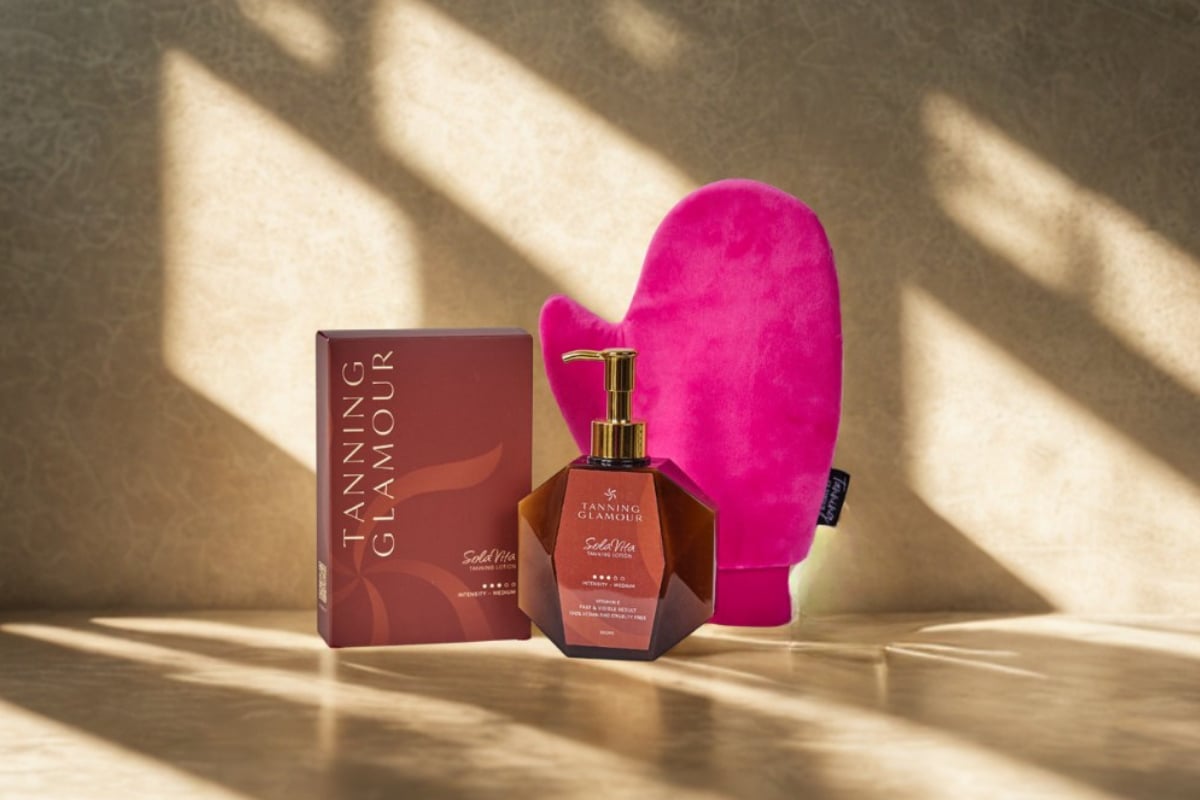
For face and hands, use a smaller applicator or mini mitt. This provides more precision on these visible areas. At Tanning Glamour, you'll find complete sets specially designed for professional results at home.
Points of attention per body part
Body part |
Technique |
Point of attention |
|---|---|---|
Face |
Thin layer, mix with moisturizer |
Avoid hairline and eyebrows |
Neck |
From bottom to top |
Blend with décolletage |
Hands |
Minimal product |
Wipe between fingers |
Feet |
Very light |
Avoid soles of feet |
Back |
Use back applicator |
Ask for help if needed |
Maintaining your sunny complexion
After you've achieved a sunless tan, you naturally want to maintain the result for as long as possible. Hydration is the key here.
Daily apply a nourishing body lotion to keep your skin supple. Dry skin sheds color faster and can become patchy. Choose products without strong exfoliating ingredients like glycolic acid or salicylic acid, as these can accelerate the fading of the tan.
Extension techniques
Shower briefly and not too hot
Pat skin dry instead of rubbing
Apply a maintenance layer every 3-4 days
Use mild, sulfate-free shower gel
Avoid chlorine and salt water where possible
When swimming or exercising intensely, the color may fade faster. So plan your self-tanner applications strategically around important events or holidays.
Preventing common mistakes
Many people make the same mistakes when it comes to sunless tanning. By knowing these, you can avoid disappointments.
Top 5 mistakes:
Using too much product at once
Forgetting to exfoliate before application
Dressing immediately after application
Not cleaning hands properly
Not distributing the product evenly
Wait at least 10 minutes before getting dressed. Preferably wear loose-fitting, dark clothing for the first few hours after application. This prevents stains on your favorite outfit and allows the formula to absorb optimally.
Seasonal tanning strategy
Sunless tanning can be done all year round, but your approach may vary by season. In winter, you may need a longer build-up time because your skin is lighter after months without sun.
Building a winter glow
Start with a light formula or gradual tanner. Gradually build up the intensity over 1-2 weeks. This prevents a sudden contrast with your natural winter complexion.
Begin with tanning drops mixed with your night cream. Use 1-2 drops the first week, then increase to 3-4 drops for a deeper tint.
Summer maintenance
In the summer months, you can combine self-tanners with limited sun exposure. Please note: self-tanners do not offer UV protection. Always use an SPF of at least 30, even with a self-tanner complexion. The tan from a self-tanner does not protect your skin from sun damage.
Transition between seasons
Spring is the perfect time to start sunless tanning. Your skin is still light from winter, providing a neutral base. By gradually building up, you'll have a beautiful base color by summer.
In autumn, you can extend your vacation tan by scheduling regular maintenance sessions. This provides a natural transition back to your winter shade.
Comparing different product types
The market offers a wide range of sunless tanning options. Each type has specific properties that may be more or less suitable for your situation.
Lotions versus mousses
Lotions are traditional and offer decent coverage. They are often more nourishing and suitable for dry skin types. The disadvantage is that they take a bit longer to absorb.
Mousses, on the other hand, have a lighter texture and dry faster. They are ideal for those who want quick results and have normal to oily skin. The application feels less heavy, but requires more precision.
Gradual tanners for beginners
For those who have never used self-tanner, gradual tanners are a safe choice. These products slowly build up color over several days. You use them like a regular body lotion, but with each use, your skin becomes a shade darker.
Ideal for:
First experience with self-tanners
Subtle, natural look
Color maintenance between applications
Lighter skin types
The disadvantage is that it takes longer to achieve the desired result. For an event or quick color boost, express formulas are more suitable.
Innovative tanning waters
A newer category is tanning waters or mists. These ultra-light formulas are barely felt on your skin. They are transparent upon application, which makes it difficult to see where you've already applied.
This requires a systematic approach and some experience. The advantage is the natural finish and the fact that they have virtually no transfer to clothing. For experienced users, these are often the most preferred products.
Long-term skin health
By choosing sunless tanning, you protect your skin from the biggest risk factor for aging: UV radiation. Studies show that up to 90% of visible skin aging is caused by sun damage.
Anti-aging benefits
By opting for self-tanners instead of sunbathing or tanning beds, you prevent:
Fine lines and wrinkles
Pigment spots and uneven skin tone
Loss of elasticity
Thinning of the skin
Increased skin cancer risk
7Bees emphasizes that a healthy lifestyle and good nutrition form the basis for beautiful skin. Self-tanners are a supplement that enhances your appearance without compromising health.
Combination with skincare
Modern self-tanners are often enriched with active ingredients that care for your skin. Hyaluronic acid provides hydration, antioxidants protect against free radicals, and vitamins nourish the skin.
Integrate your self-tanner into your regular skincare routine. In the morning, use your serum and SPF, and in the evening, apply your self-tanner after cleansing and toning. This maximizes both the cosmetic and nourishing benefits.
Determining personal intensity
A frequently asked question is how much product is needed for the desired result. This depends on several factors, including your natural skin tone, the type of product, and the desired end color.
Skin type and intensity
Skin type |
Recommended start |
Build-up time |
Maintenance |
|---|---|---|---|
Very light |
Light formula, 2-3 drops |
5-7 days |
Every 4 days |
Light |
Medium formula, 3-4 drops |
3-5 days |
Every 3 days |
Medium |
Medium to dark, 4-5 drops |
2-3 days |
Every 2-3 days |
Dark |
Dark formula, 5-6 drops |
1-2 days |
Every 2 days |
Always start conservatively. It is easier to build up color than to correct a result that is too dark. Test new products on a small area of skin first, for example, your inner arm.
Adjustments throughout the year
Your natural skin tone varies with the seasons. In January, you are likely lighter than in August. Adjust your self-tanner use accordingly by:
Starting with lower intensity in winter
Adding maintenance layers in summer
Temporarily stopping after a holiday for a natural transition
Using a more intensive formula for special occasions
Troubleshooting common problems
Even with the best preparation, imperfections can sometimes occur. Fortunately, most problems are easy to solve.
Preventing orange undertones
Modern formulas such as those from Tanning Glamour are specifically designed to prevent orange undertones. However, this can still happen if you:
Use an outdated or incorrect formula
Apply too much product at once
Do not respect the development time
Solution: Exfoliate immediately after noticing an orange tint and apply a high-quality formula that is specifically free of orange undertones.
Correcting streaks and patches
Streaks often arise from:
Uneven product distribution
Not using an applicator
Working too quickly without blending time
Missing areas
To remove streaks, use an exfoliating mitt or scrub on the affected area. Focus on the edges and gently blend them with the surrounding area. Then reapply the product, paying more attention to evenness.
Quick fade corrections
If your self-tanner fades unevenly, you can correct this with spot treatments. Apply a thin layer locally to the lighter areas. For this, it is preferable to use a lighter formula to gradually touch up without creating harsh transitions.
For hands and feet, which often fade faster, you can add a light layer every other day while the rest of your body requires less frequent maintenance.
Achieving professional results at home
With the right tools and knowledge, you can achieve results at home that are comparable to salon treatments. The key lies in systematic work and investing in quality products.
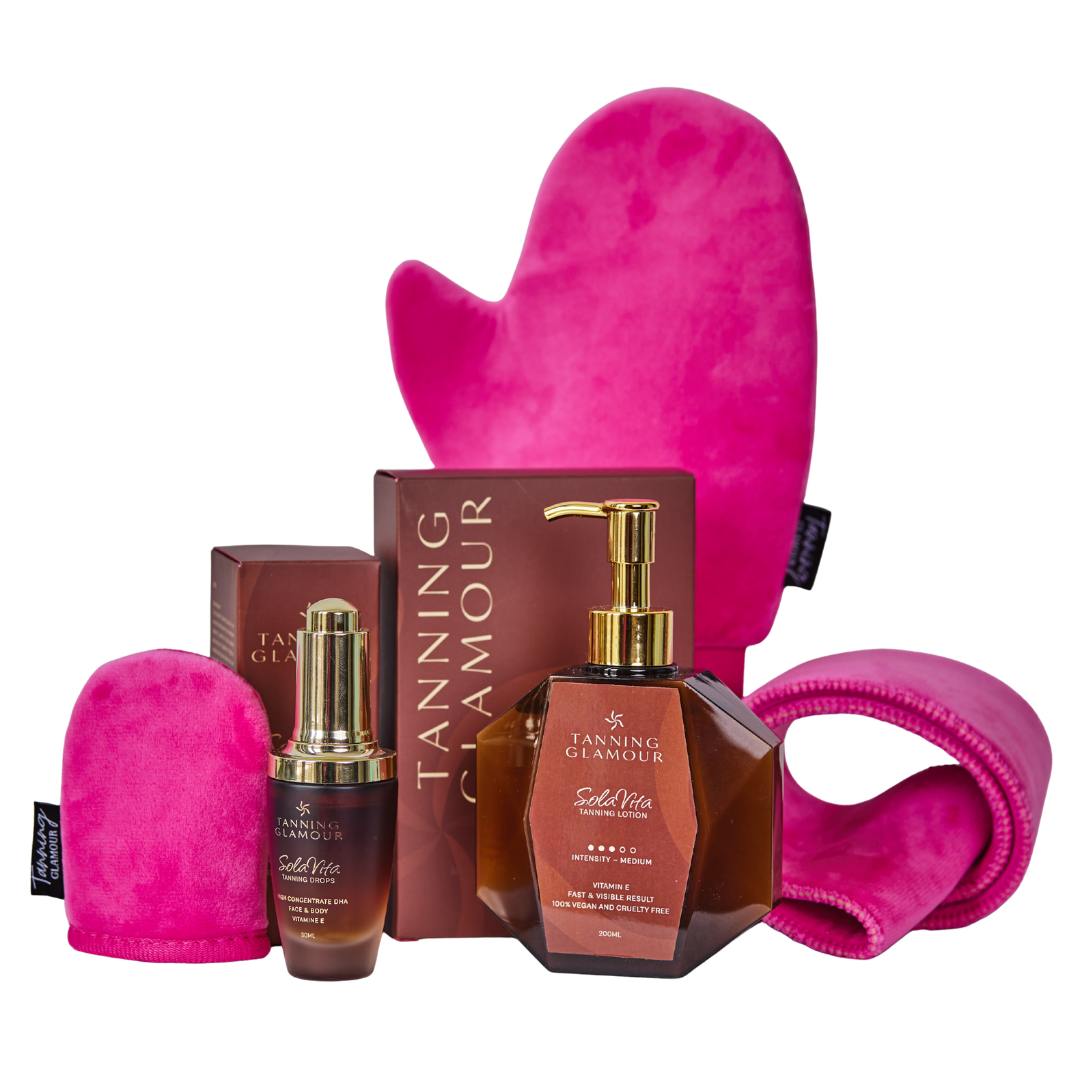
Modern self-tanners like those you find at Tanning Glamour are specially developed for home use. They combine professional results with user-friendly application.
Essential tools for home
A complete setup includes:
High-quality self-tanner lotion or drops
Professional applicator mitt
Mini mitt for face
Back applicator for hard-to-reach areas
Exfoliating mitt or scrub
Hydrating body lotion for aftercare
Investing in good tools quickly pays off with better results and less product waste.
Planning and timing
For optimal results, plan your session strategically:
24 hours before: Full body exfoliation 12 hours before: Shaving or hair removal if desired Immediately before: Thorough shower and dry skin During: Apply self-tanner in systematic order After: Allow to develop for at least 6-8 hours without showering Maintenance: Hydrate daily, touch-up every 3-4 days
This schedule gives you the most predictable and long-lasting results.
Tanning without the sun offers a safe, effective way to enjoy a radiant complexion all year round. With natural ingredients, professional tools, and the right technique, you create an even glow that looks authentic and remains beautiful for days. Tanning Glamour helps you with natural self-tanners that are visible within hours and last beautifully for up to a week, without streaks or orange undertones. Give yourself that sunny boost you crave and glow with confidence.
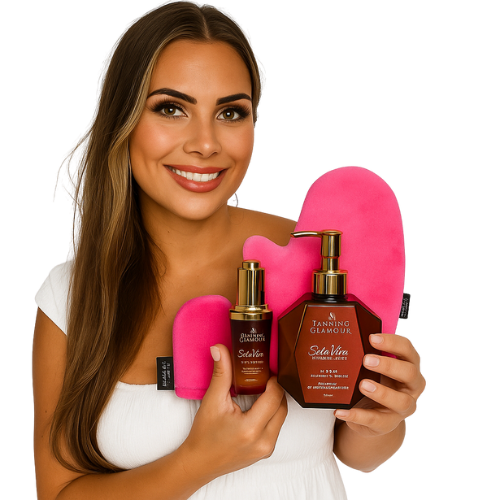
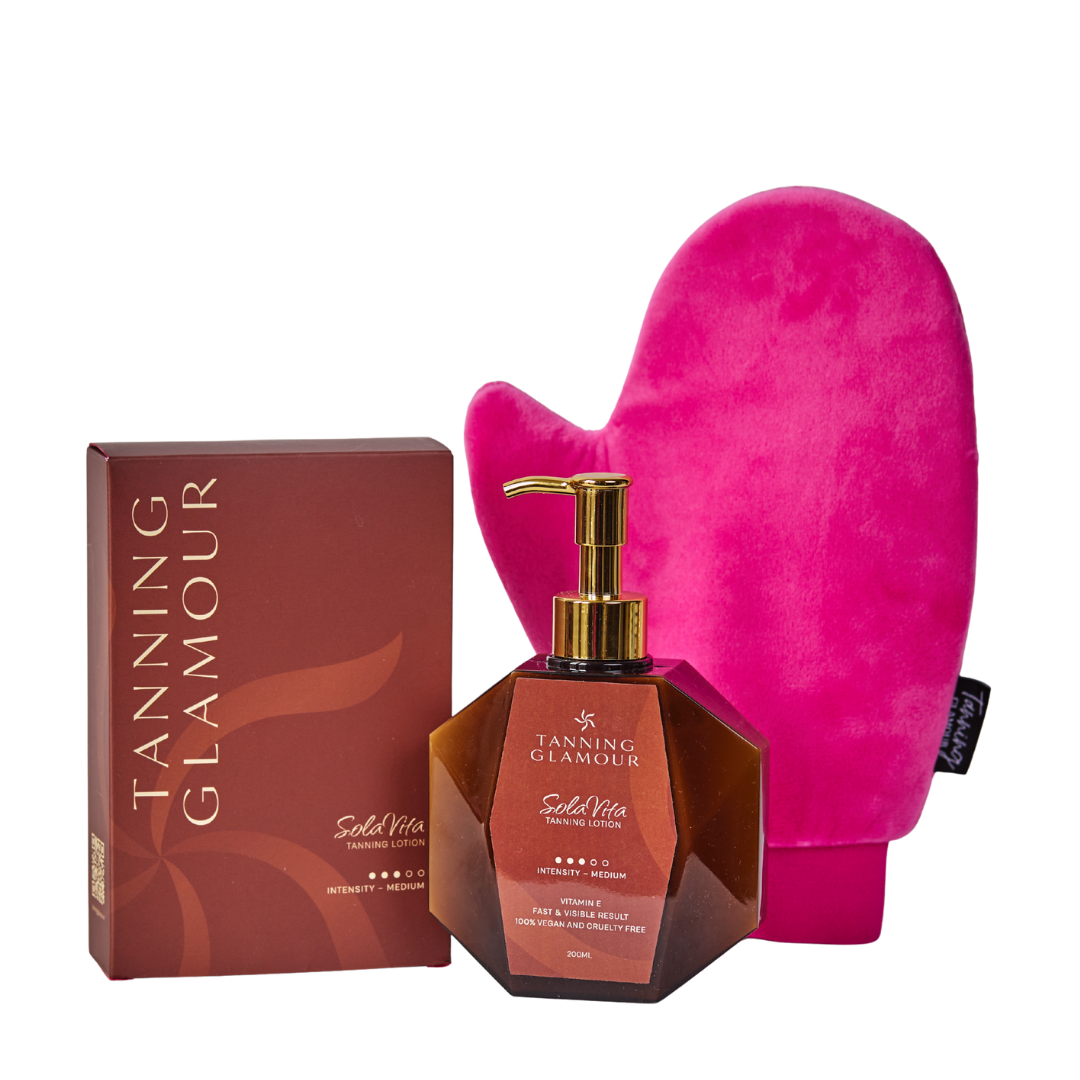
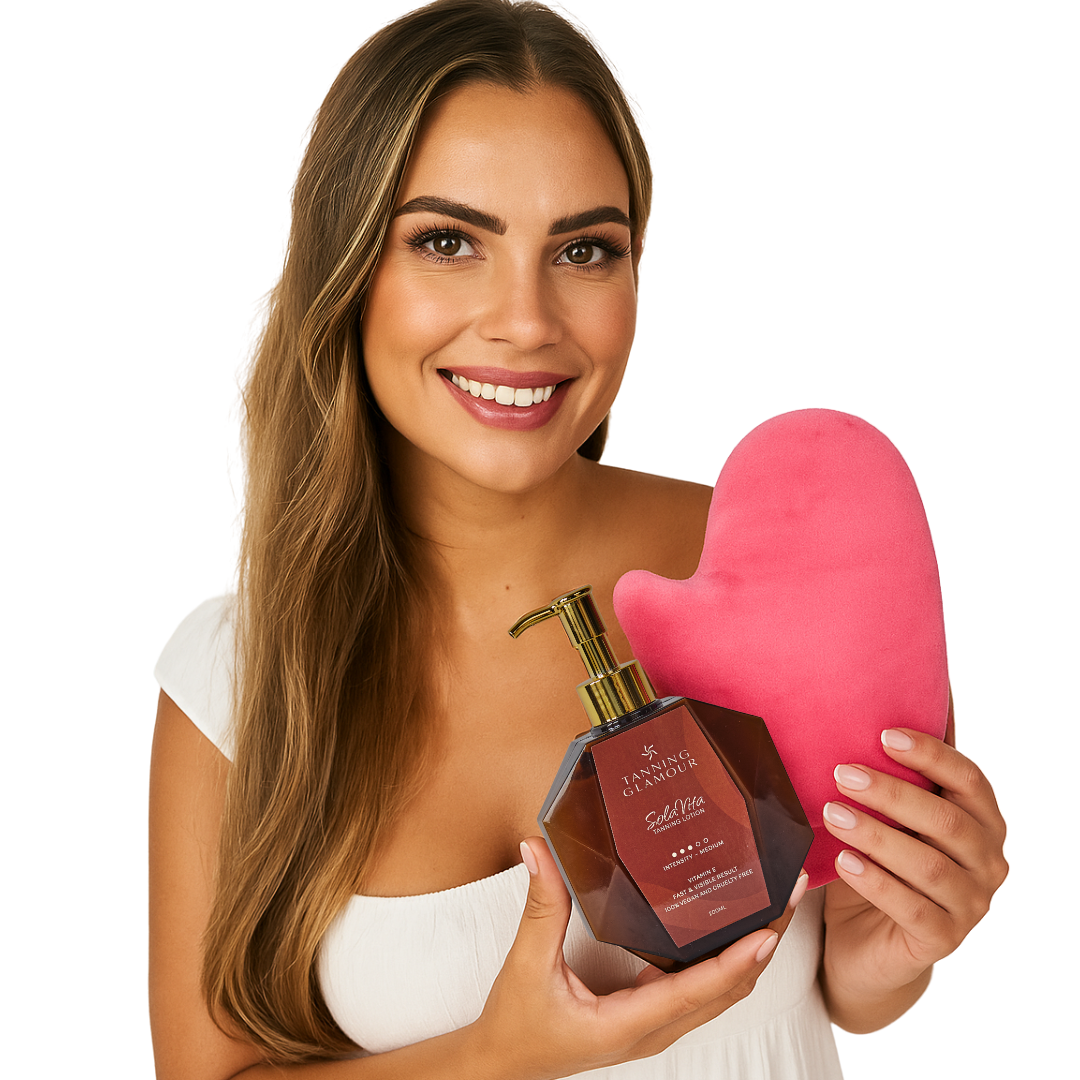
Ontdek jouw mooiste glow
Verzorgende zelfbruiners van SolaVita - streeploos, geen oranje.
Read more
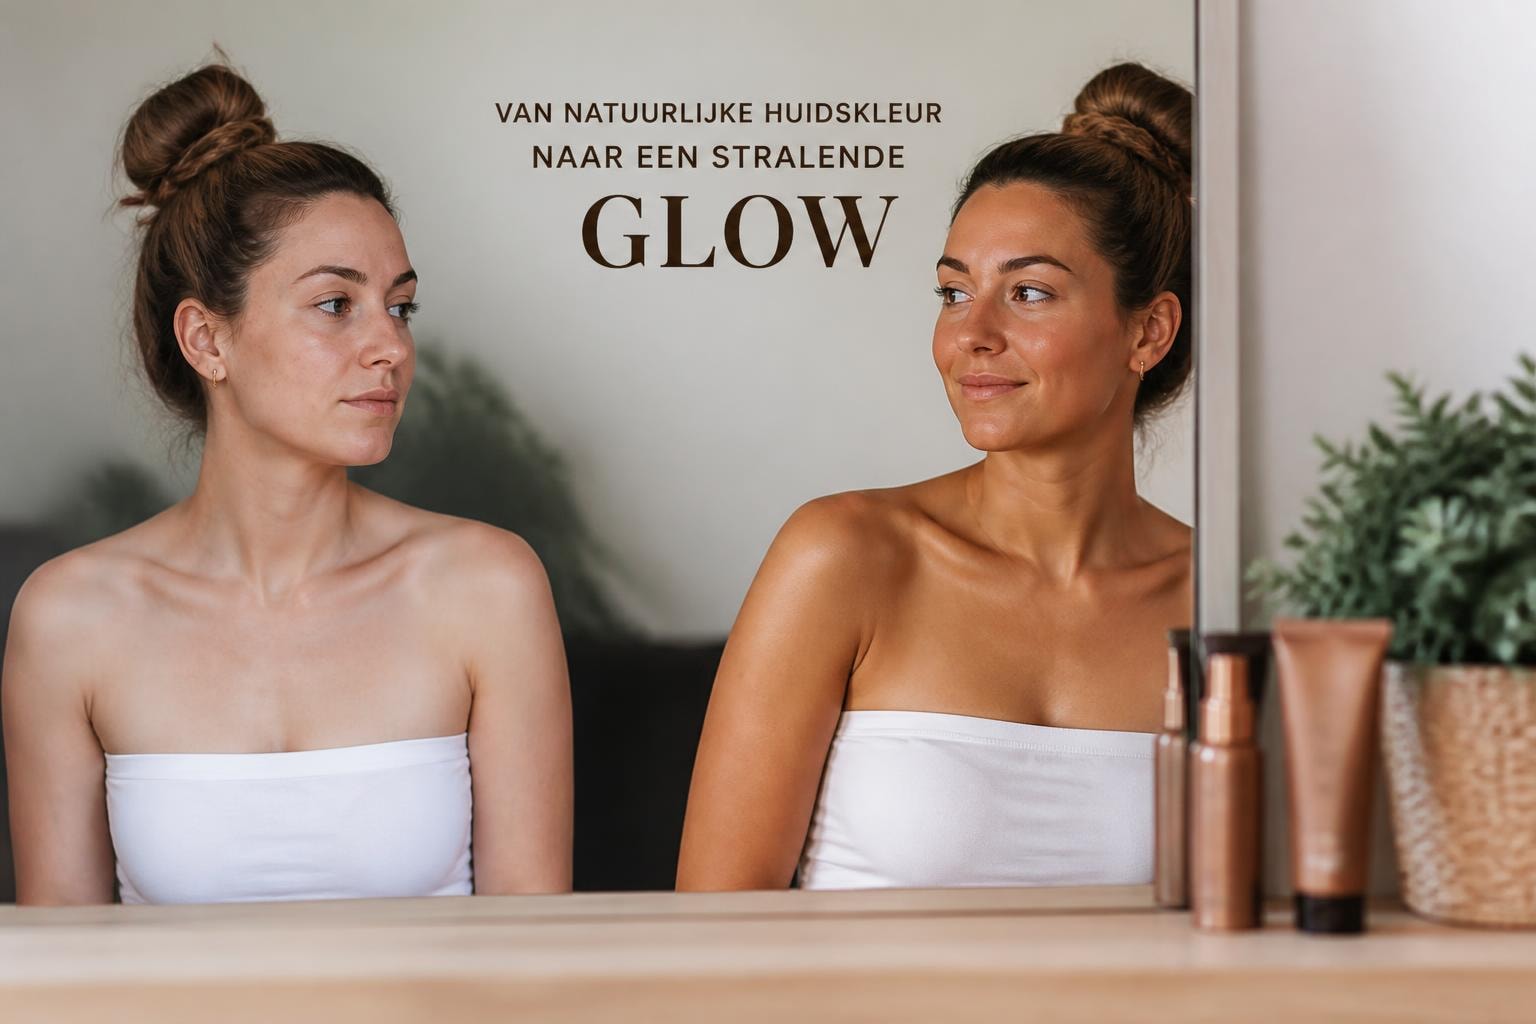
Discover how sunless tanning gives you an even, natural tan without the sun. Tips, benefits, and proper application for a radiant glow.
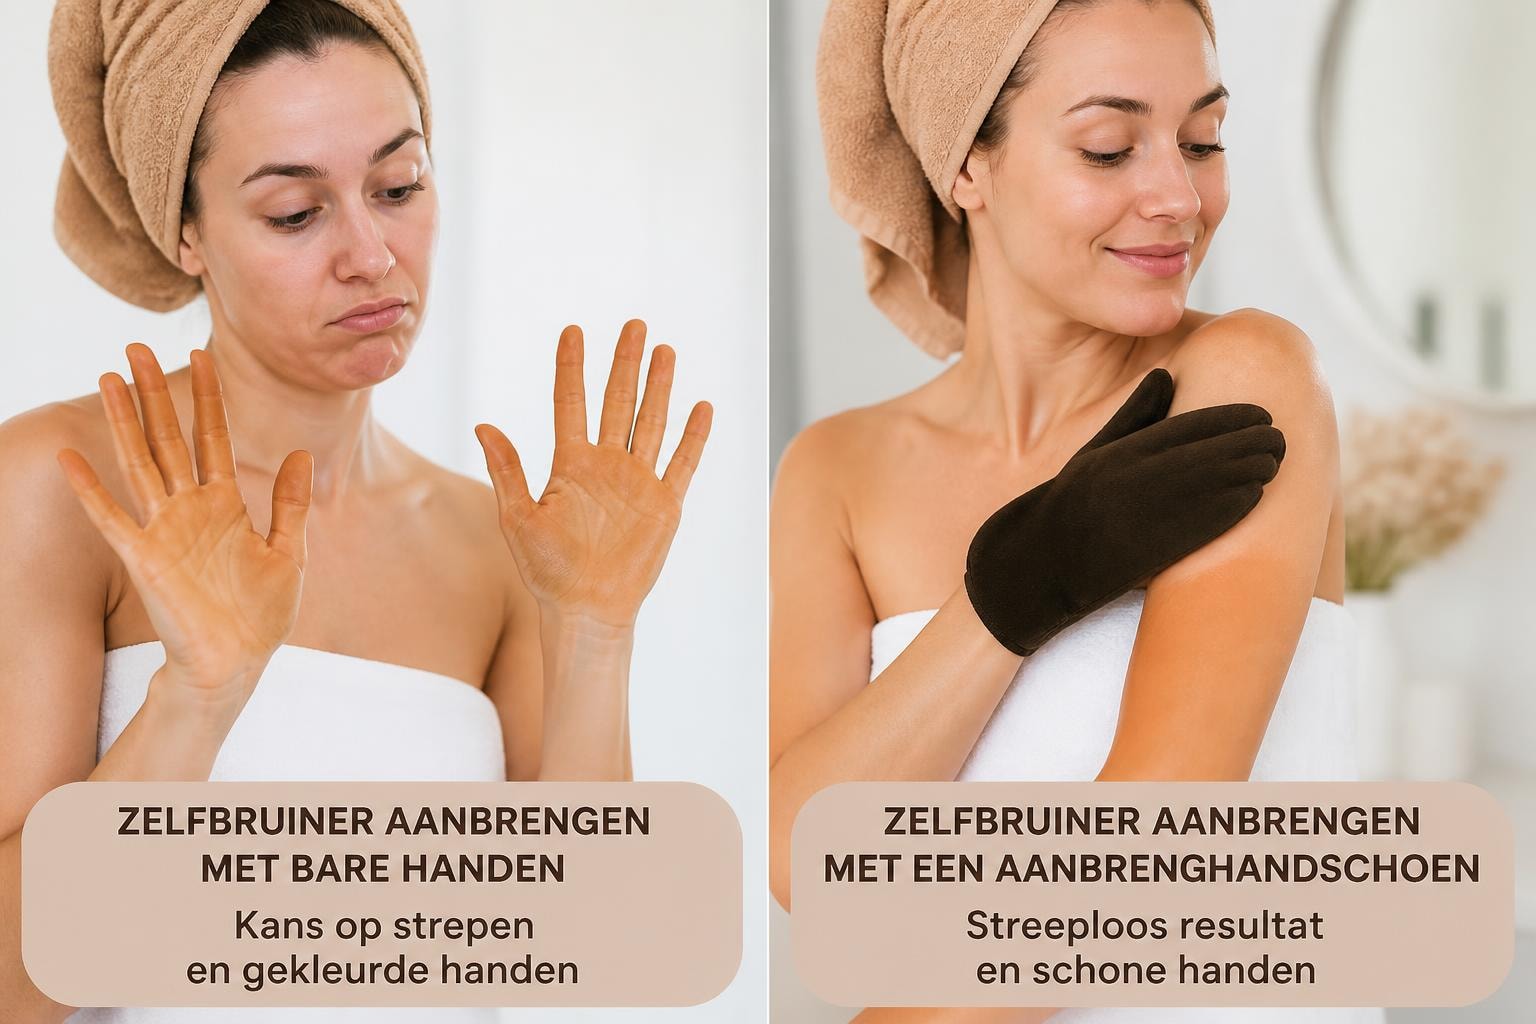
Discover why a tanning mitt is essential for an even self-tan. Tips, techniques, and everything you need to know for a perfect glow.