
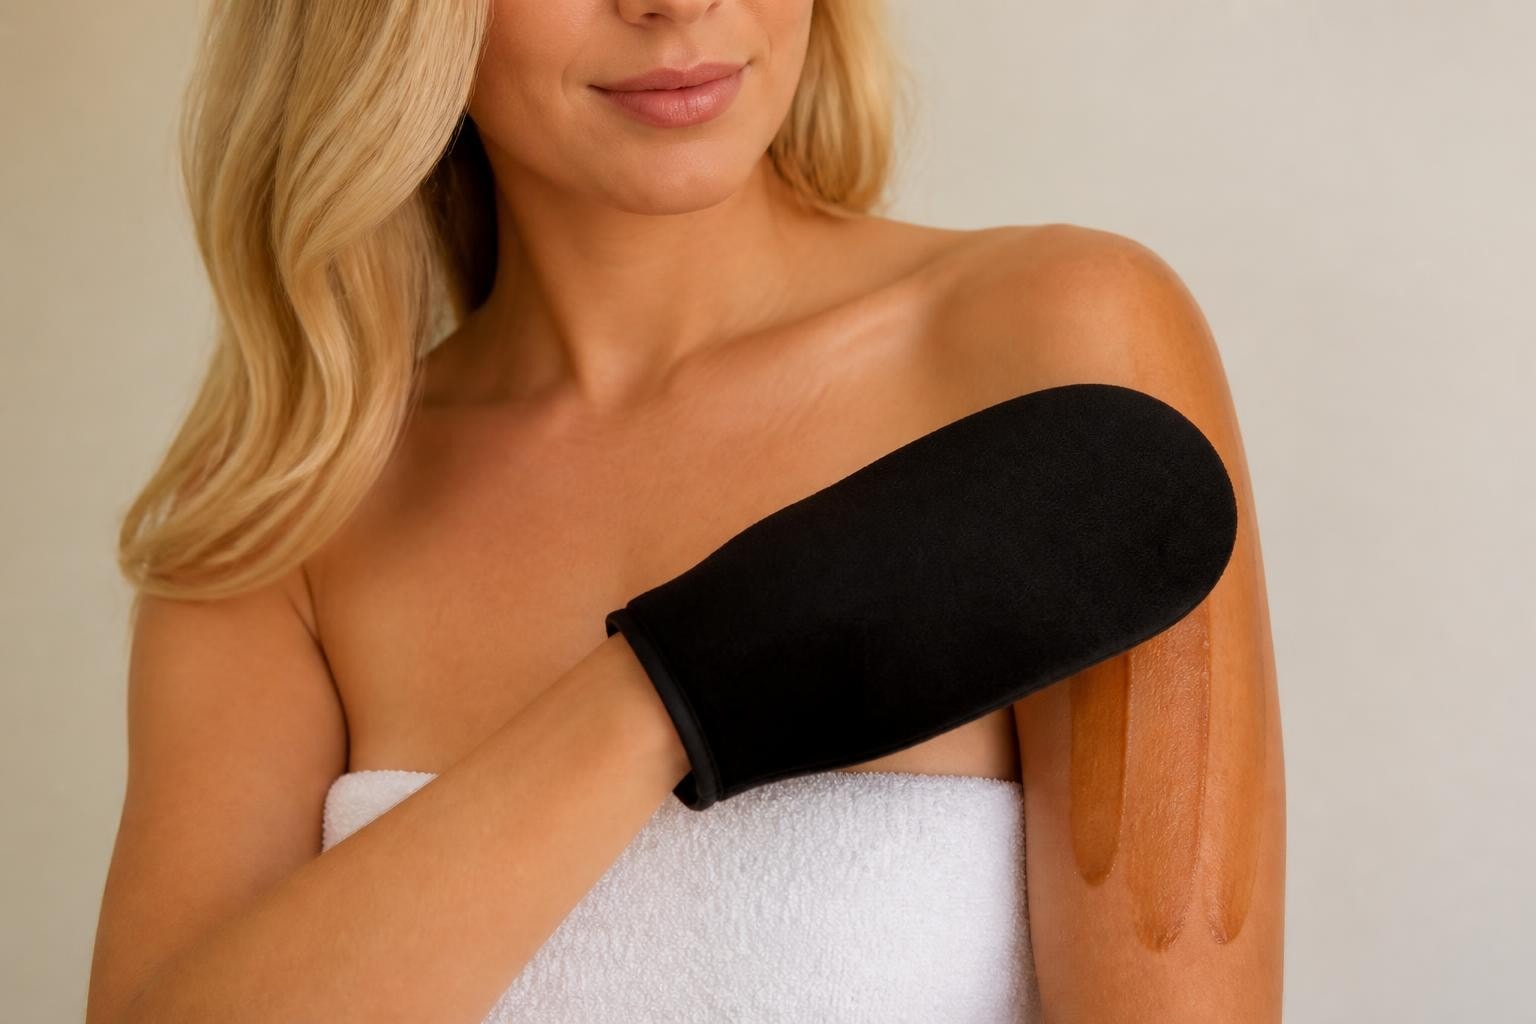
Self-tanning mitt: the key to an even, streak-free glow
A sunny, golden tan without streaks or orange patches – that's what every self-tanner enthusiast strives for. The right preparation, the perfect product, and a good application technique together make the difference between a natural glow and a disappointing result. But there's one tool that makes the difference between a professional finish and visible streaks: the self tan mitt. This soft applicator glove not only protects your hands from discoloration but also ensures an even distribution of your self-tanner all over your body. In this article, you'll discover everything about its use, benefits, and the best choices for a flawless, radiant tan that lasts for days.
Why the tanning glove is essential for your tanning routine
Applying self-tanner with bare hands might seem like the easiest option, but it almost always leads to undesirable results. Your palms absorb a lot of product, resulting in streaky, orange hands that take days to fade. Moreover, you lack control over product distribution, leading to an unevenly colored body.
A self tan mitt solves these problems by acting as a barrier between your hand and the product. The glove creates a smooth surface that effortlessly spreads your self-tanner over your skin, without staining your hands. This means you can wash your hands immediately after application and continue with your day.
The benefits of a professional applicator
Using a self tan mitt offers more than just protection against staining. The soft, velvet texture of high-quality gloves ensures an even distribution that you'd never achieve with bare hands. The material absorbs excess product and prevents you from applying too much self-tanner in one spot.
The main benefits at a glance:
Protection against staining of your palms
Even distribution of product over your entire body
Professional results without streaks or patches
Control over the amount of product you use
Faster application due to better grip and freedom of movement
Longer lasting self-tanner due to more efficient use
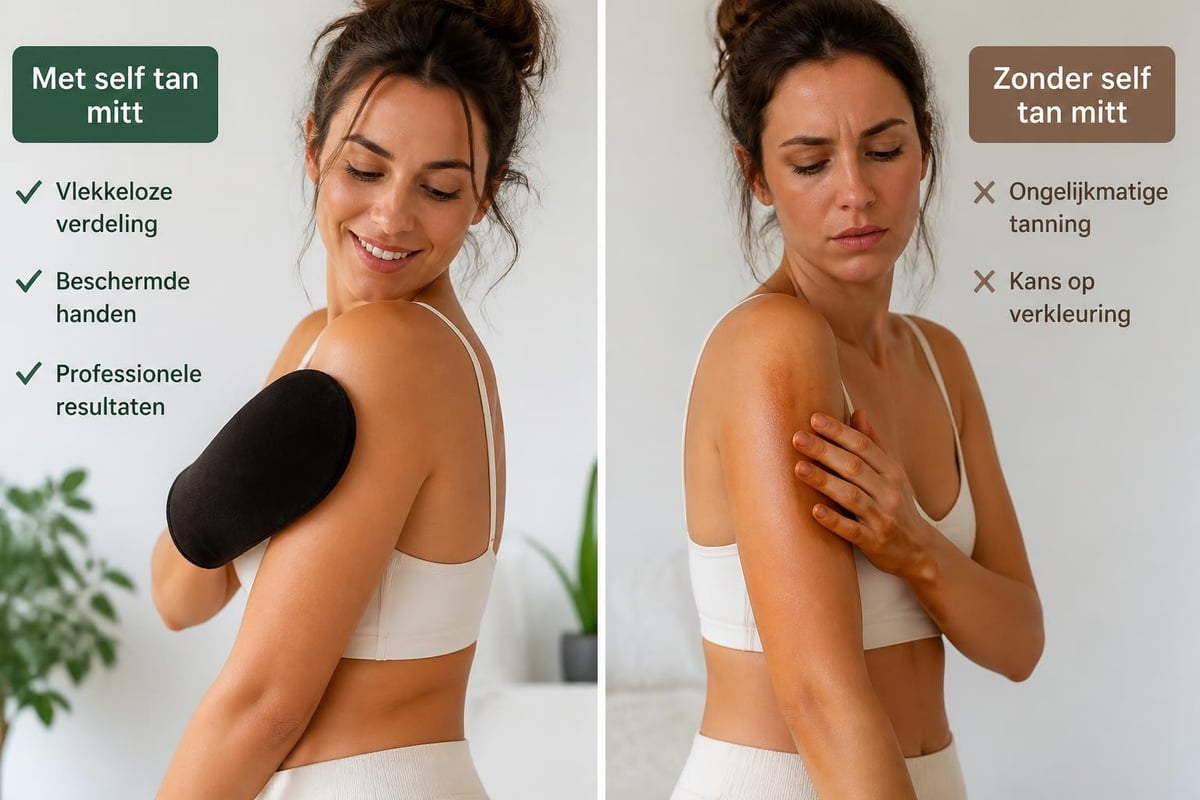
The structure of a good applicator glove also makes hard-to-reach areas like your back, shoulders, and the back of your legs much more accessible. With your bare hand, the product often slides off or stays in one spot, while a self tan mitt spreads it evenly with minimal friction.
How to choose the best tanning glove for your skin
Not every self tan mitt is the same. The quality of the material, shape, and size all determine how well your glove performs. A glove that's too small won't fit comfortably and restricts your movement, while one that's too large will slip off your hand during application.
The material is perhaps the most important factor. Cheap gloves made of synthetic fabrics can pill, distribute product unevenly, or even leave fibers on your skin. High-quality velvet or microfiber gloves feel soft, remain intact after multiple washes, and consistently give beautiful results.
Material and texture comparison
Material Type |
Advantages |
Disadvantages |
Best for |
|---|---|---|---|
Velvet |
Soft, even distribution, reusable |
Higher price |
Professional results |
Microfiber |
Absorbs well, quick drying |
Can feel rough |
Frequent users |
Synthetic foam |
Cheap, disposable |
Uneven distribution |
Single use |
Cotton blend |
Natural, softer |
Less durable |
Sensitive skin |
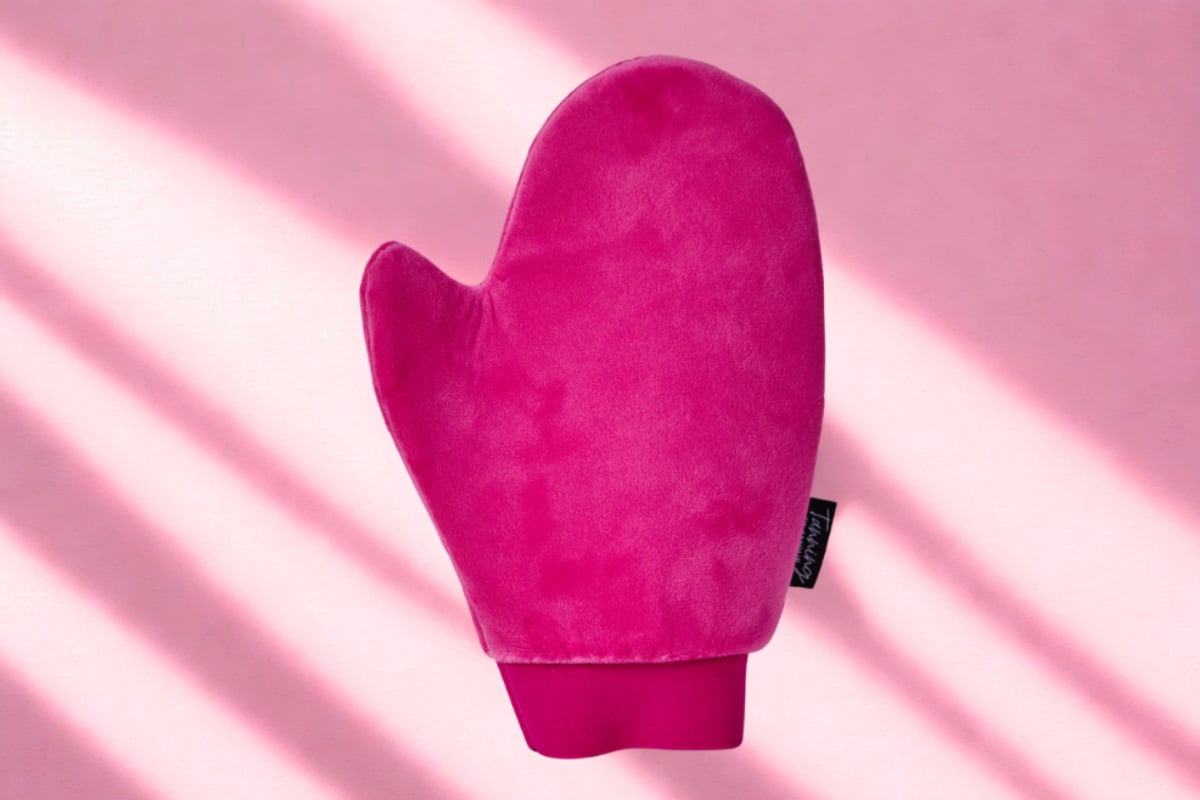
The Luxe Velvet Tanning Glove combines the benefits of high-quality velvet material with a perfect fit for all hand sizes. Its soft structure effortlessly spreads your lotion and protects your hands from staining, while its durable construction ensures your glove lasts for months.
Size and fit for optimal comfort
A good self tan mitt should fit comfortably on your hand without being too tight or too loose. Gloves that are too tight restrict your freedom of movement and make it difficult to make smooth motions. Gloves that are too loose will slip off your hand, especially when they become damp with product.
Most high-quality gloves come in a universal size that fits most hand sizes. Look for elastic or an adjustable opening at the wrist – this keeps the glove securely in place without uncomfortable squeezing. For people with smaller hands or for precision work on the face, mini versions of the self tan mitt are also available.
The perfect application technique with your tanning glove
Even with the best self tan mitt, you need the right technique for a flawless result. The way you apply the product, the amount you use, and the movements you make all determine how natural your tan looks.
Always start with clean, exfoliated skin. Dead skin cells cause uneven absorption of your self-tanner, resulting in patchy areas or darker zones. Wash your skin with a scrub the day before and ensure your body is completely dry before you begin.
Step-by-step application for beginners
Apply a small amount of product to your self tan mitt – about the size of a walnut for one body part
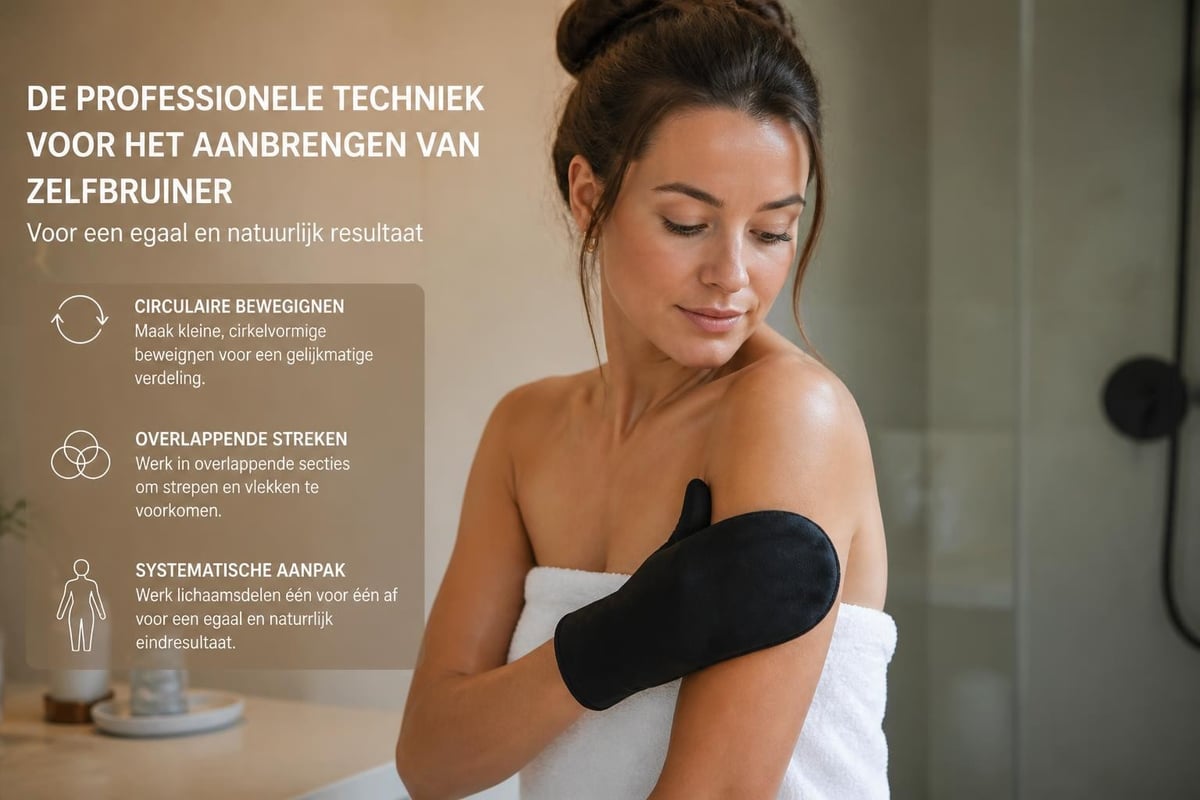
Start at your ankles and work upwards with long, smooth, circular motions
Blend carefully at your wrists, ankles, knees, and elbows where skin is thicker
Use residual product for your hands, feet, and face by lightly dabbing instead of rubbing
Allow your skin to dry before dressing – at least 10 minutes, ideally 20 minutes
The technique of long, overlapping strokes prevents clear lines between applied areas. Work systematically so you don't miss any spots: first legs, then arms, then torso, and finally your face and neck.
Mastering difficult zones
Certain body parts require extra attention when using a self tan mitt. Your knees, elbows, ankles, and wrists have thicker skin that absorbs more product and thus becomes darker. Blend these zones extra well by working with minimal product in circular motions.
Special considerations:
Feet and hands: Use only the residual product on your glove
Knees and elbows: Bend your joints during application for even coverage
Neck and face: Work from the inside out to avoid hairlines
Back: Use a special back strap or ask for help for full coverage
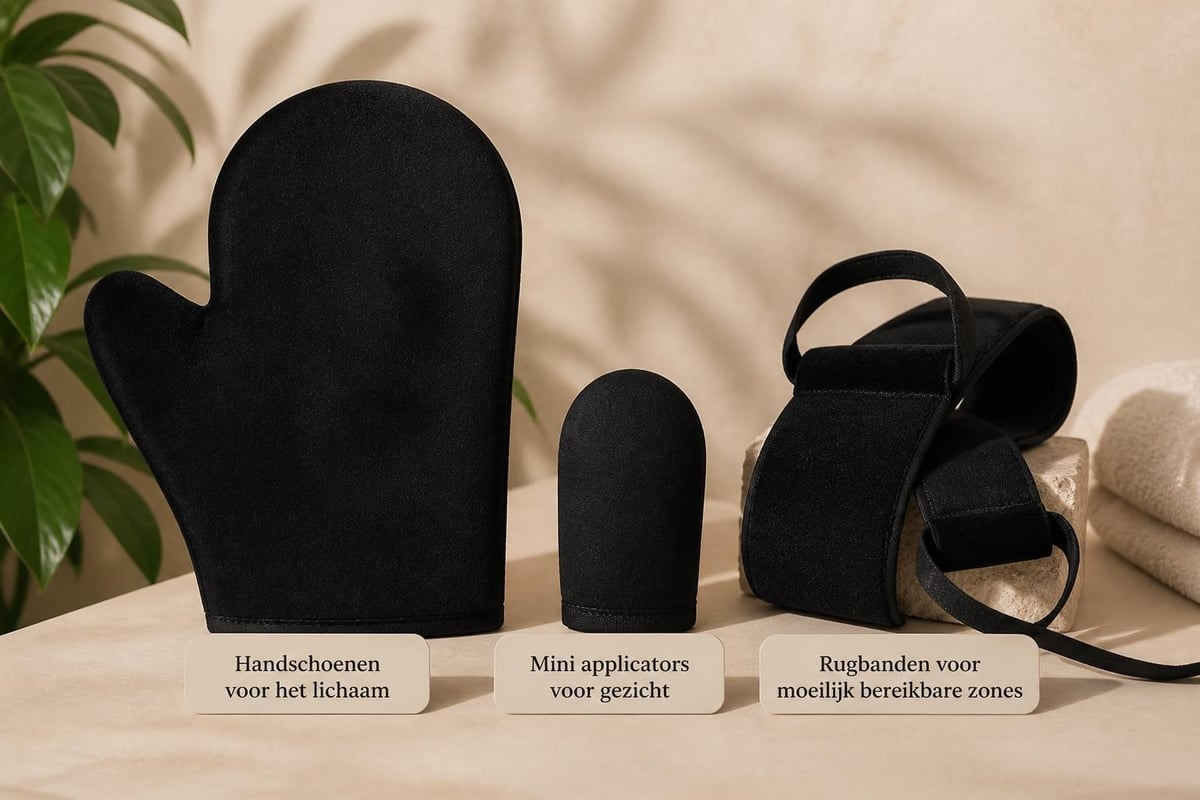
For your back and shoulders, which are difficult to reach yourself, some brands offer extended applicators or back straps. These work on the same principle as a self tan mitt but with a design that extends your reach. A comprehensive guide to using a self-tanner glove offers more details on advanced techniques.
Maintenance and hygiene of your tanning glove
A well-maintained tanning glove can last for months, sometimes even a year. After each use, your glove is full of product, skin cells, and oils that accumulate in the fibers. Without regular cleaning, the material becomes hard, uneven, and less effective at distributing product.
Wash your glove immediately after use or within 24 hours. Don't leave it for days with dried product in it – this will stiffen the fibers and permanently damage the structure. Rinsing with lukewarm water and a mild soap is usually sufficient for daily maintenance.
Cleaning and storage for longer lifespan
Cleaning Method |
Frequency |
Benefits |
Tips |
|---|---|---|---|
Hand wash with soap |
After each use |
Gentle on material |
Squeeze well, do not wring |
Washing machine (30°C) |
Weekly |
Thorough cleaning |
Use laundry bag, no fabric softener |
Vinegar rinse |
Monthly |
Removes product residue |
1:4 ratio with water |
Air dry |
Daily |
Prevents bacterial growth |
Hang open, not in plastic |
Never wring your self tan mitt hard – this damages the fibers and alters its shape. Gently squeeze out excess water and hang the glove to dry, preferably out of direct sunlight. Never store your glove damp in an enclosed space, as this creates an ideal environment for mold and bacteria.
Common mistakes when using a tanning glove
Even experienced users sometimes make classic mistakes that affect their results. Using too much product is perhaps the most common oversight. A little self-tanner goes a long way when you use a good self tan mitt, as the glove spreads the product efficiently.
Another common mistake is putting on clothes immediately after application. Even when your skin feels dry, the product remains active and can transfer to your clothes, sheets, or furniture. Wait at least 20 minutes, and ideally an hour, before putting on anything tight-fitting.
What to avoid for optimal results
Rubbing too hard damages your skin and causes uneven absorption
Application on damp skin dilutes the product and gives patchy results
Forgetting to clean your mitt leads to bacterial growth and reduced effectiveness
Applying product directly to your skin instead of your glove wastes product
Skipping exfoliation beforehand results in patchy areas
Too many layers too quickly prevents each layer from developing properly
Learn from the experiences of others by reading more about common self-tanner application tips that specifically address avoiding these classic mistakes. The right preparation and technique make the difference between a professional glow and a disappointing result.
Different types of tanning gloves for specific needs
The market offers various types of self tan mitts, each designed for specific applications. In addition to the standard glove for your body, there are mini versions for your face, extended back straps for hard-to-reach areas, and even double gloves for both hands simultaneously.
Face-specific self tan mitts are smaller and have a finer texture. The delicate skin surface of your face requires softer material and more control, which makes a standard glove too large and coarse. These mini versions fit perfectly on one or two fingers for precise application around your nose, eyes, and hairline.
Specialist applicators for your routine
For the body:
Standard self tan mitt for arms, legs, and torso
Velvet gloves for extra soft, even distribution
Water-resistant variants for use with spray-on products
For the face:
Mini applicator gloves for precision work
Flat pads for contouring and detailed work
Kabuki-style gloves for blending hairlines
For difficult zones:
Back straps with handles for independent application
Extended gloves with extra length for flexibility
Double gloves for faster, symmetrical application
Products like the Self Tanning Mitt from Rituals or the Bondi Sands Application Mitt show the variety in design and functionality within this product category. Different brands emphasize different aspects: some focus on durability, others on softness or washability.
Combining your tanning mitt with different products
Not every type of self-tanner works the same with a self-tan mitt. Lotions, mousses, sprays, and drops each require a slightly adapted approach for optimal results. The consistency of the product determines how much you apply to your mitt and how you distribute it.
Thick lotions and creams work excellently with velvet mitts because they remain workable on the surface for longer. You have time to blend the product before it absorbs. Mousse formulas are lighter and absorb faster, meaning you need to work quicker and apply smaller amounts at a time.
Adapting technique per product type
When working with a self-tanning body lotion, the consistency is often creamy and easy to spread. Apply a generous amount to your self-tan mitt and work in large, fluid circles. The product remains liquid long enough to blend well without rushing.
Spray formulas require a different approach. First, spray the product onto your mitt and then spread it over your skin, or spray directly onto your body and use your mitt to distribute it evenly. The second method works better for large areas, while the first method offers more control for precision work.
Products and their best application method:
Lotions: Generously on mitt, long strokes, plenty of time to blend
Mousses: Small amount at a time, quick circular movements
Sprays: Mist and then blend with mitt for even distribution
Drops: Mix with body lotion first, then standard application
Gels: Minimal product, light touch for transparent finish
For those who want tanned legs without streaks, a self-tan mitt offers the best control over the even distribution of product over large areas like thighs and calves. The mitt prevents product residue from accumulating in knee bends or around ankles.
Professional tips from tanning experts
Beauty professionals and makeup artists who work with self-tanners daily swear by certain techniques that make the difference between a good and a perfect result. One of the most valuable tips: lightly warm your product before application. Place your bottle in warm water for five minutes – this makes the formula more fluid and easier to spread with your self-tan mitt.
Another professional tip is to build your tan in layers over several days instead of one thick layer. This gives a more natural result that lasts longer. Use your self-tan mitt to apply a thin layer each day until you reach the desired depth.
Advanced techniques for a flawless glow
Primer first: Apply a light moisturizer to dry areas like knees and elbows
Work from bottom to top: Start at your feet and work upwards to prevent drips
Cross-hatch method: Apply product in vertical streaks, then blend horizontally
Double layer technique: Let the first layer dry, then apply the second layer after 4 hours for a deeper color
Mist over finish: Lightly spray with water after completion for extra even distribution
Products like the MineTan Bronze On Self-Tanning Mitt are specifically designed to support these professional techniques with material that can withstand frequent, intensive use sessions.
Durability and reusability of quality mitts
In an era where sustainability is increasingly important, high-quality self-tan mitts offer an environmentally friendly alternative to disposable applicators. A good mitt lasts months, sometimes even years, with proper care, while disposable variants end up in the trash after a single use.
Investing in a durable self-tan mitt not only means less waste but also better results. The structure of reusable mitts remains consistent, while disposable applicators vary in quality and often start to fray or fall apart after a few minutes of use.
Long-term cost-benefit analysis
Aspect |
Reusable Mitt |
Disposable Applicators |
|---|---|---|
Initial cost |
€8-15 |
€1-3 per piece |
Lifespan |
6-12 months |
1-2 uses |
Cost per use |
€0.05-0.10 |
€1-3 |
Environmental impact |
Low (1 item) |
High (50+ items/year) |
Result quality |
Consistently high |
Variable |
Maintenance required |
Wash after use |
None (disposable) |
A one-time investment in a quality self-tan mitt from brands like Sundance or similar pays for itself after about ten applications compared to disposable alternatives. After those ten uses, you are using the mitt for free and actively saving on both costs and waste.
Maintenance is minimal: rinse after use, wash regularly, and let dry. This small investment in time and attention results in an applicator that continues to deliver consistently beautiful results for months. For those who use self-tanner weekly, this means hundreds of euros in savings per year and a significantly smaller ecological footprint.
Getting the most out of your self-tanner investment
A self-tan mitt is more than just an accessory – it's an essential tool that makes the difference between product waste and efficient use. When you apply self-tanner with your bare hands, your skin absorbs a lot of product that never makes it onto your body. A mitt prevents this waste by acting as a barrier.
The even distribution made possible by a self-tan mitt also means your tan lasts longer. Streaky applications fade unevenly, with some spots fading quickly while others remain dark. An even base fades uniformly over your entire body, resulting in a longer period with a beautiful, natural glow.
Maximize your results with the right tools
For optimal performance:
Always use a clean, dry mitt for each application
Combine with high-quality product for synergistic effects
Invest in multiple mitts for body, face, and back-up
Rotate between two mitts to extend lifespan
Store your mitt in a dry, well-ventilated area
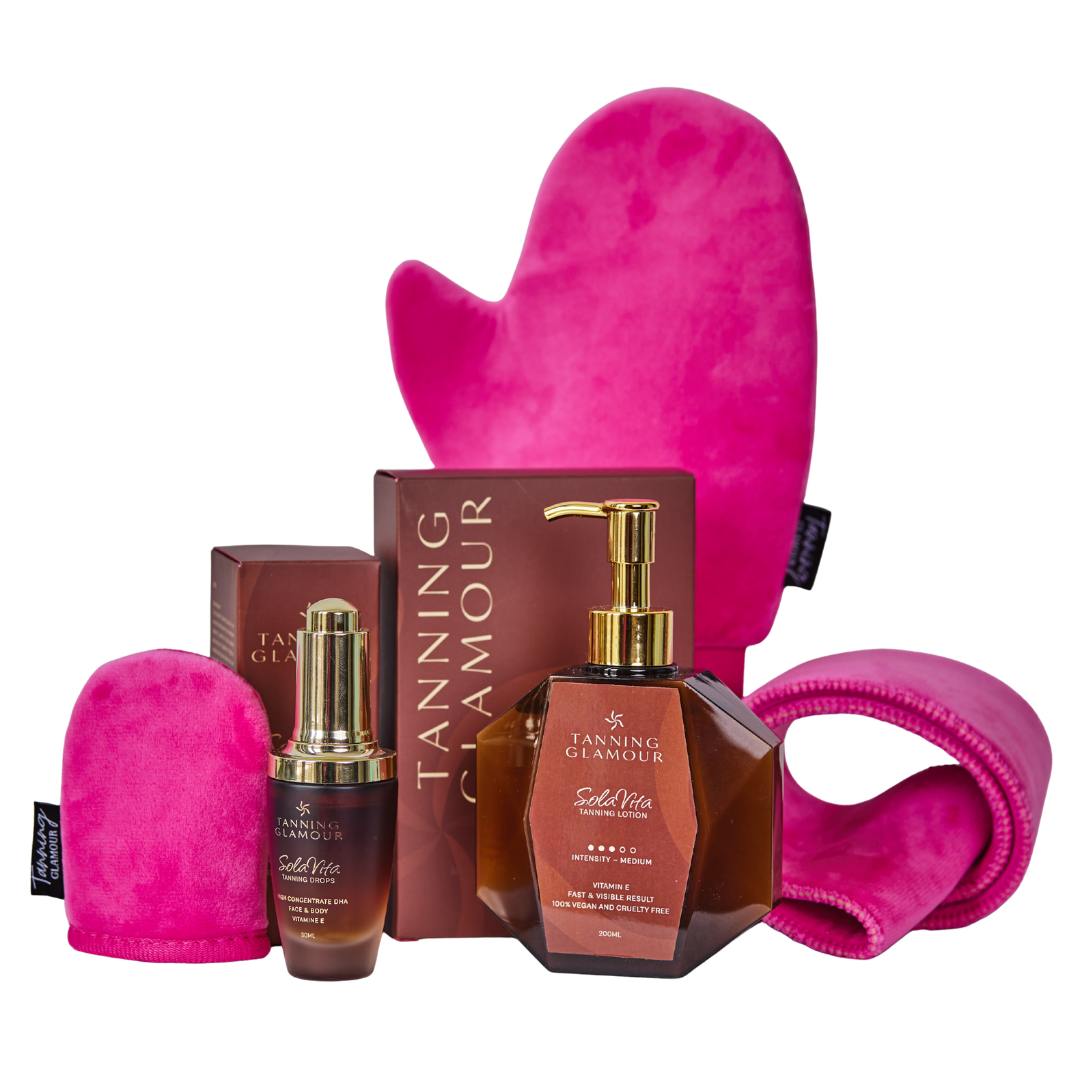
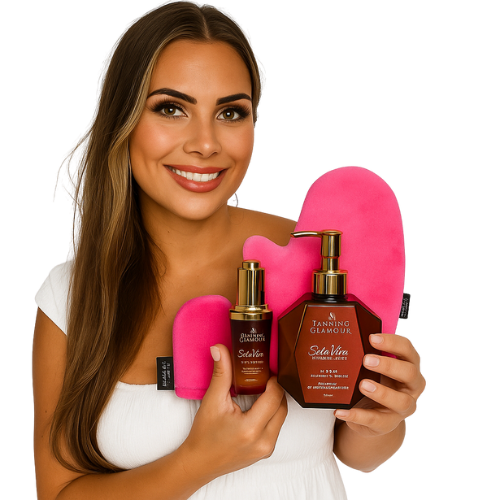
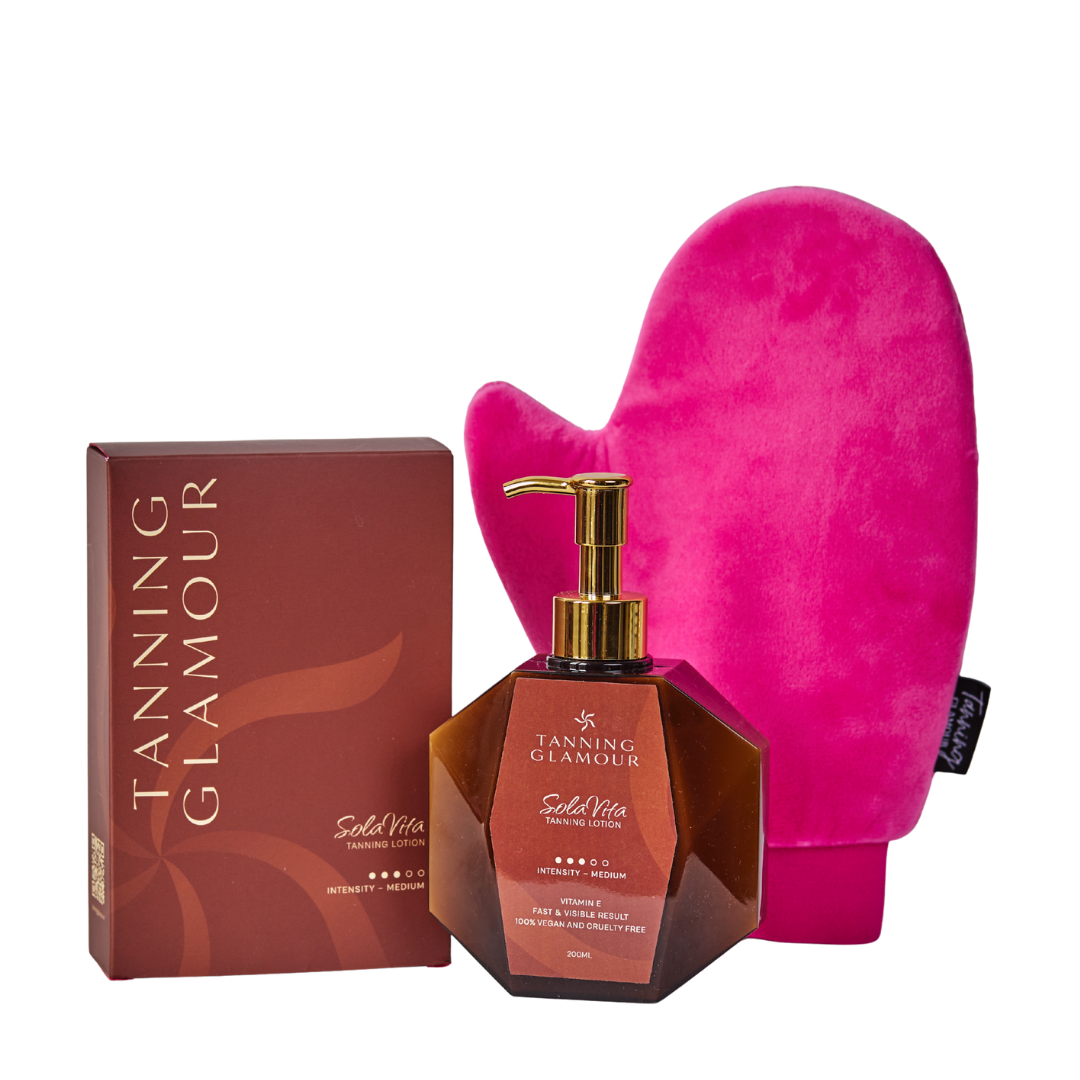
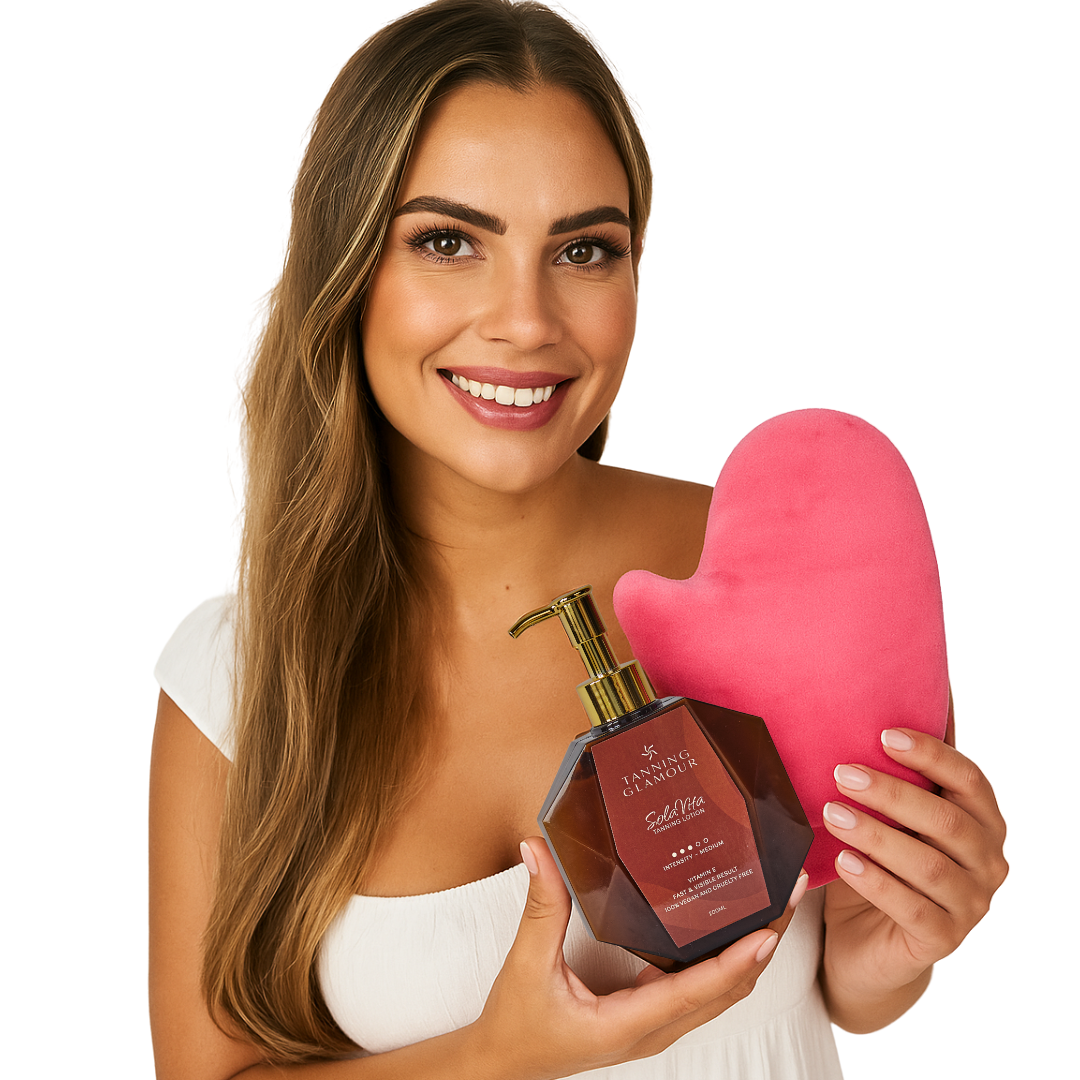
The combination of a professional self-tan mitt with a high-quality product as offered on Tanning Glamour creates synergy where both components enhance each other's strengths. A good mitt brings out the best in a great product, while a superior product still yields decent results even with less-than-perfect technique.
A self-tan mitt transforms your self-tanning experience from a potentially frustrating chore into a relaxing skincare ritual with professional results. The investment in a high-quality mitt pays for itself in time, product, and especially in the confidence you gain from a flawless, natural tan. At Tanning Glamour, you'll find not only the perfect applicator tools but also natural self-tanners that provide an even, long-lasting glow in just a few hours without streaks or orange undertones – for that sunny, well-groomed look you crave.
Ontdek jouw mooiste glow
Verzorgende zelfbruiners van SolaVita - streeploos, geen oranje.
Read more
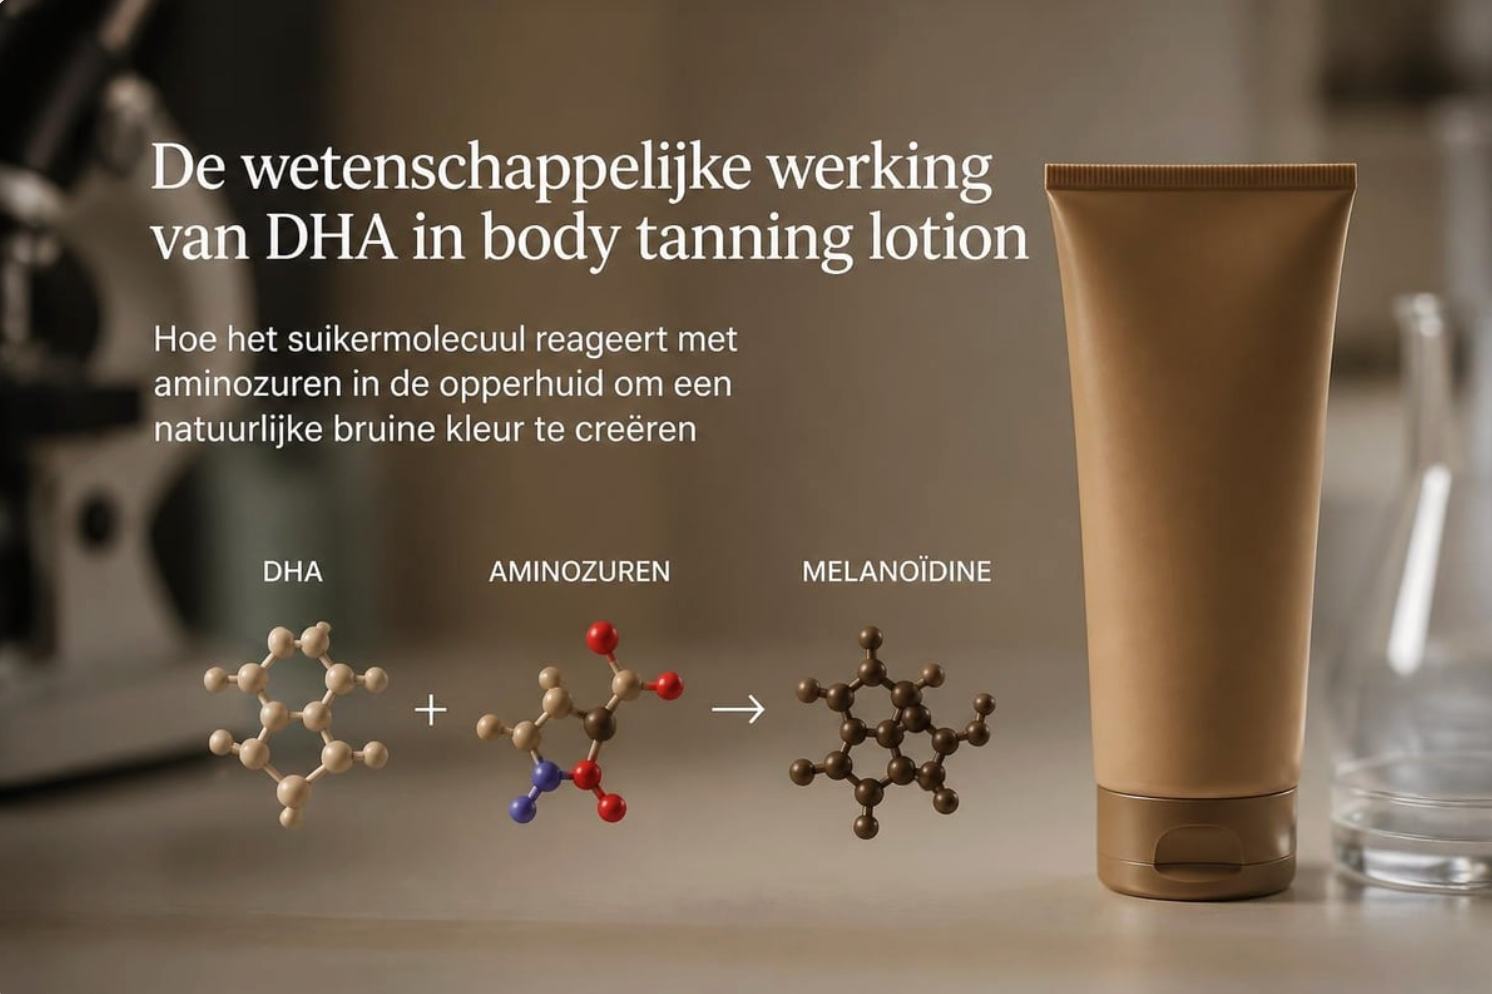
Discover everything about self-tanning lotion: how to apply it, its benefits, and how to create a natural, even tan without sun.
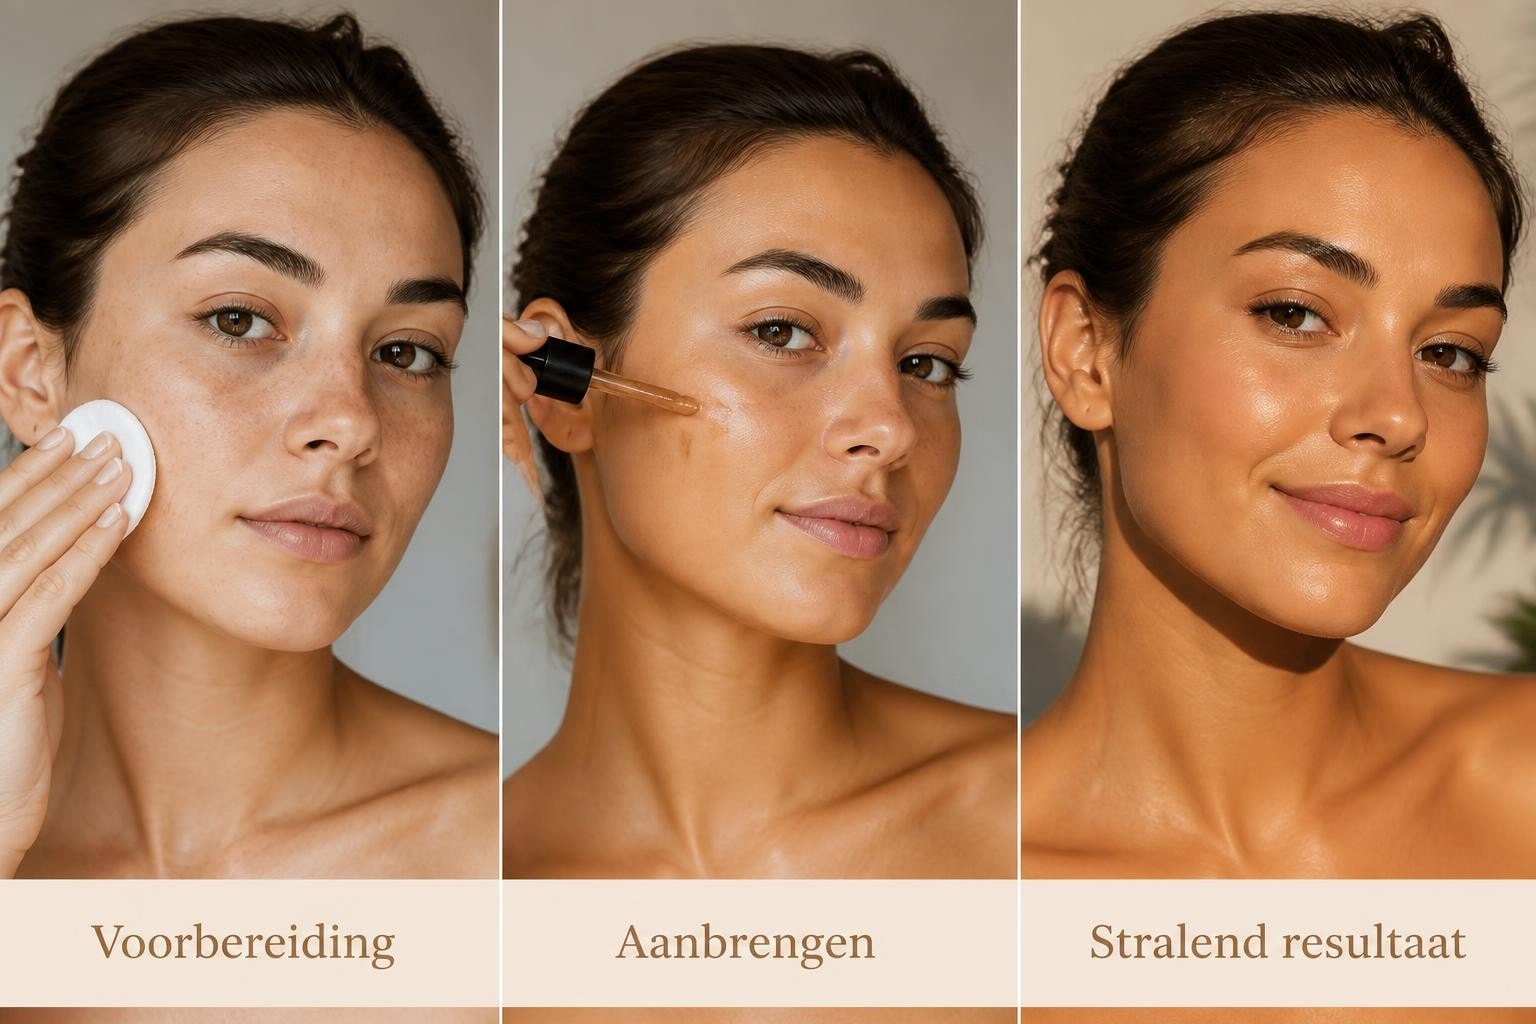
Discover the best self-tanner for your face for a natural glow. Tips for application, product choice, and long-lasting, streak-free results.