
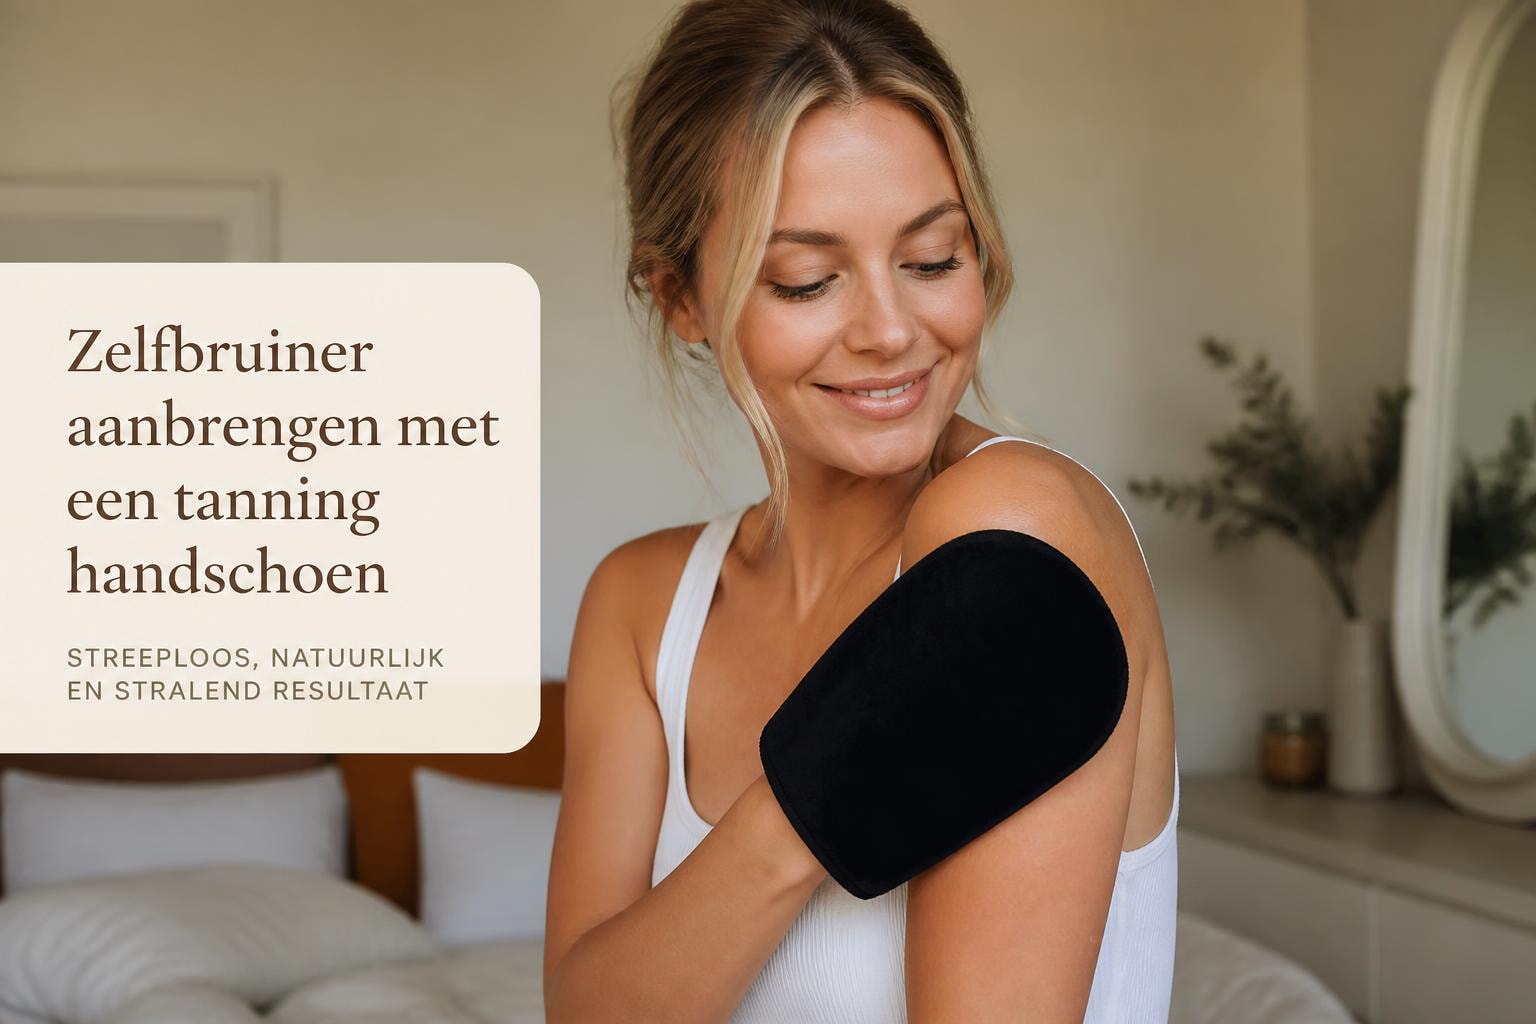
Self-Tanning Mitt: Your Guide to an Even and Streak-Free Tan
A radiant, sun-kissed complexion without having to expose your skin to harmful UV radiation: that's the promise of self-tanners. But the difference between a natural, golden glow and a streaky or patchy result often lies in the application method. A self-tanning mitt is the secret weapon for anyone who loves a professional, even tan. This applicator mitt helps you distribute self-tanner evenly over your skin, protects your palms from discoloration, and gives you the control you need for that perfect sun-kissed result. In this article, you'll discover everything you need to know about using a self-tanning mitt, from its benefits to the best techniques for a radiant end result.
Why you need a self-tanning mitt
Applying self-tanner with your bare hands may seem simple, but it rarely delivers the results you're looking for. Your palms absorb much more product than the rest of your body, leading to orange discoloration in areas where your skin is naturally lighter. Moreover, it's virtually impossible to achieve a perfectly even distribution without streaks or patches using your fingers.
A specialized applicator mitt elegantly solves these problems. The soft velvet material or fine microfiber structure effortlessly distributes the product over your skin in smooth, even strokes. This allows you to build up a natural-looking, professional tan layer by layer.
The benefits of a professional applicator
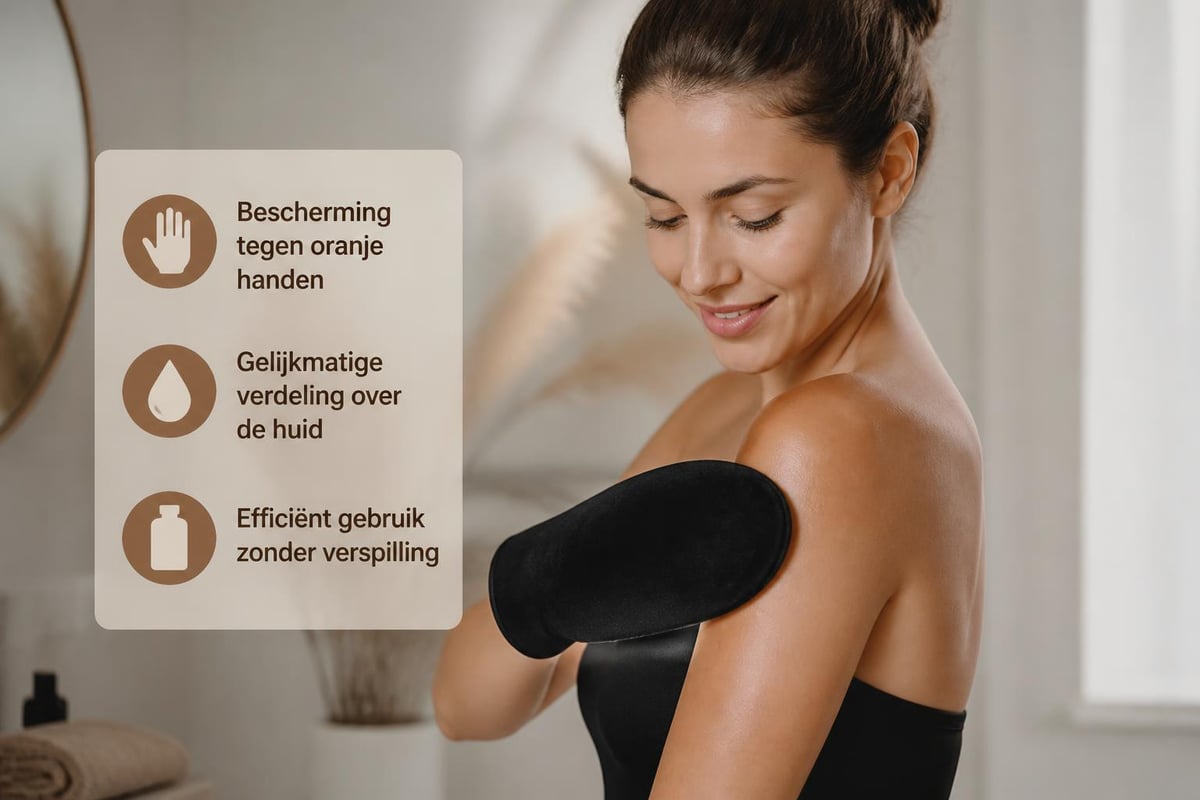
Protection against orange palms: the material prevents your hands from discoloring
Streak-free result: the even distribution eliminates harsh transitions
Long-lasting: a quality mitt lasts for months with proper maintenance
Hygienic: your hands stay clean, and the product is not absorbed by your fingers
Savings: you use less product because the distribution is more efficient
Different types of self-tanning mitts
The market offers various types of applicator mitts, each with its own specifications and applications. It's important to understand which type best suits your situation.
Mitt type |
Material |
Best for |
Lifespan |
|---|---|---|---|
Velvet mitt |
Soft velvet |
Body and large areas |
6-12 months |
Microfiber |
Fine fibers |
Face and precision work |
4-8 months |
Double-sided |
Two textures |
Versatile use |
8-12 months |
Mini mitt |
Compact velvet |
Face and tricky areas |
4-6 months |
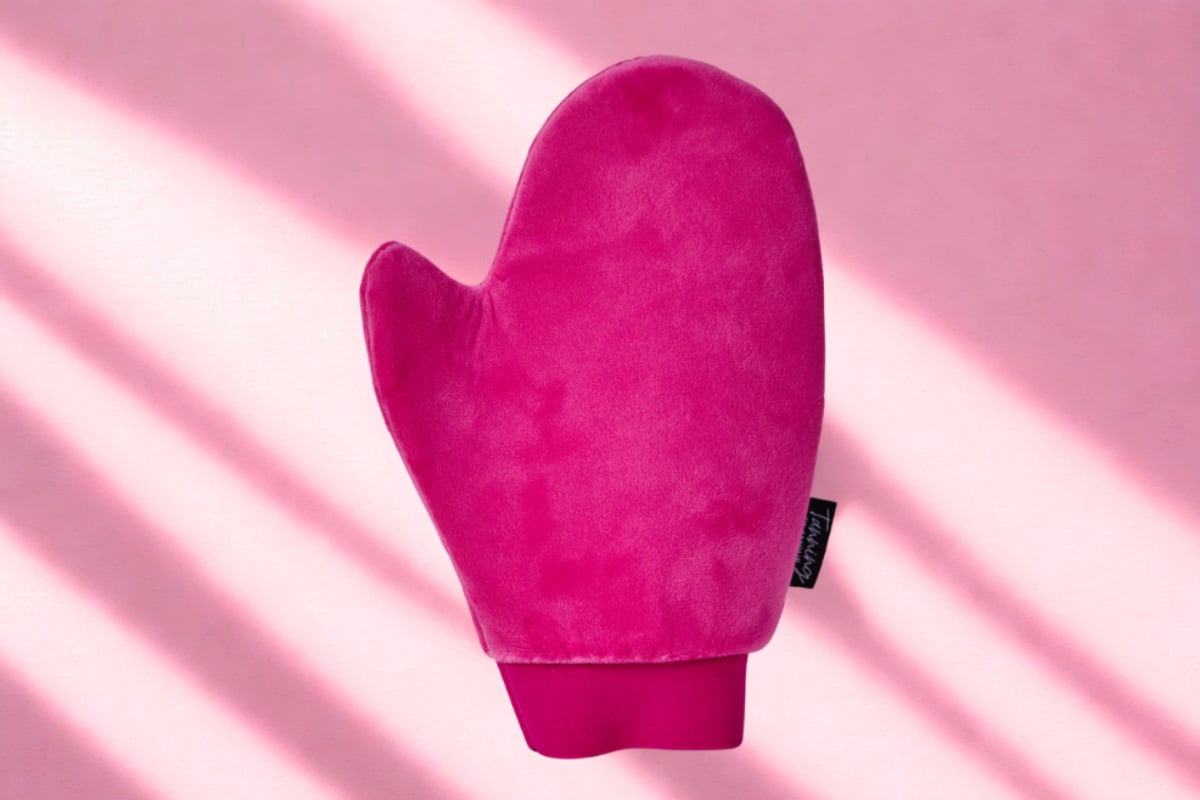
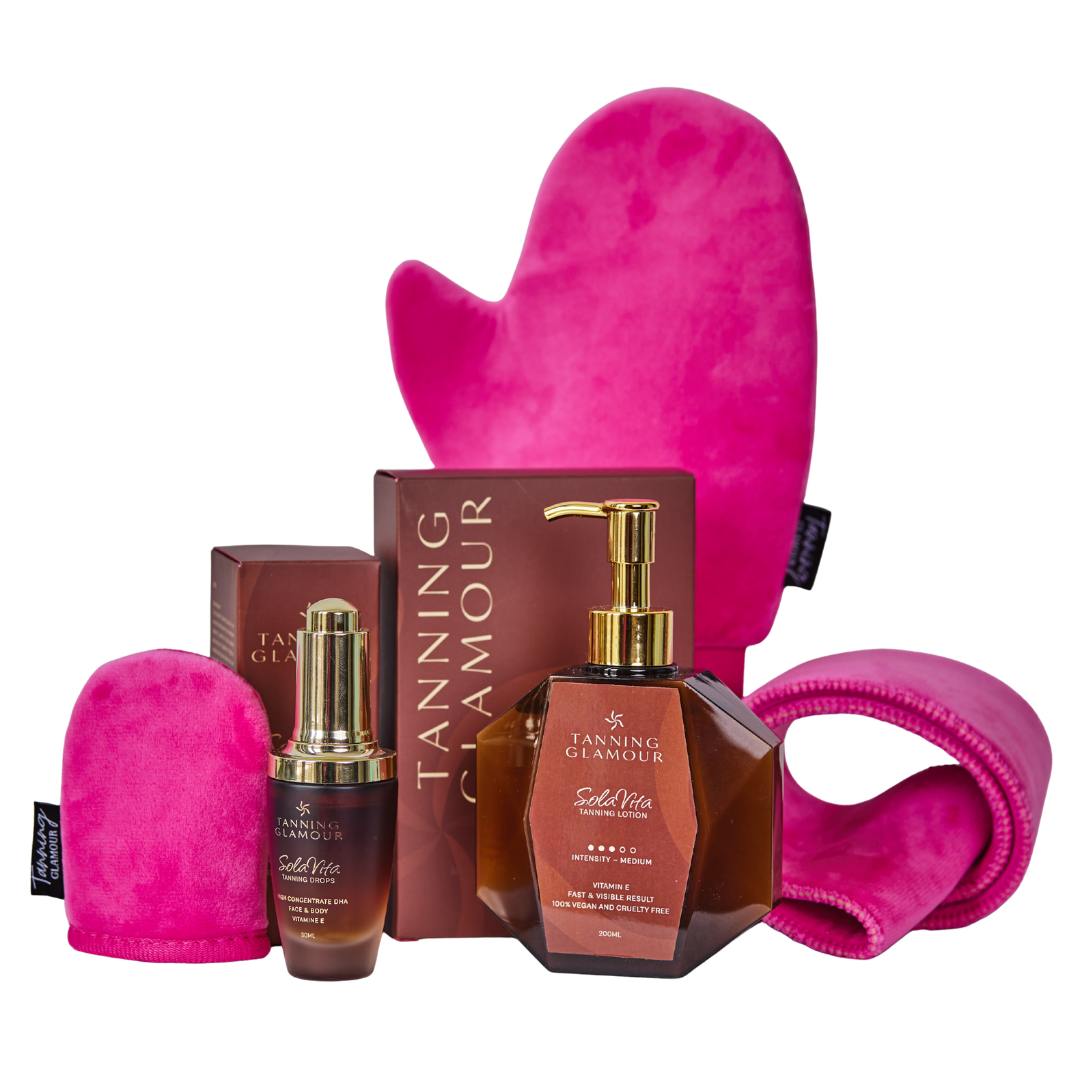
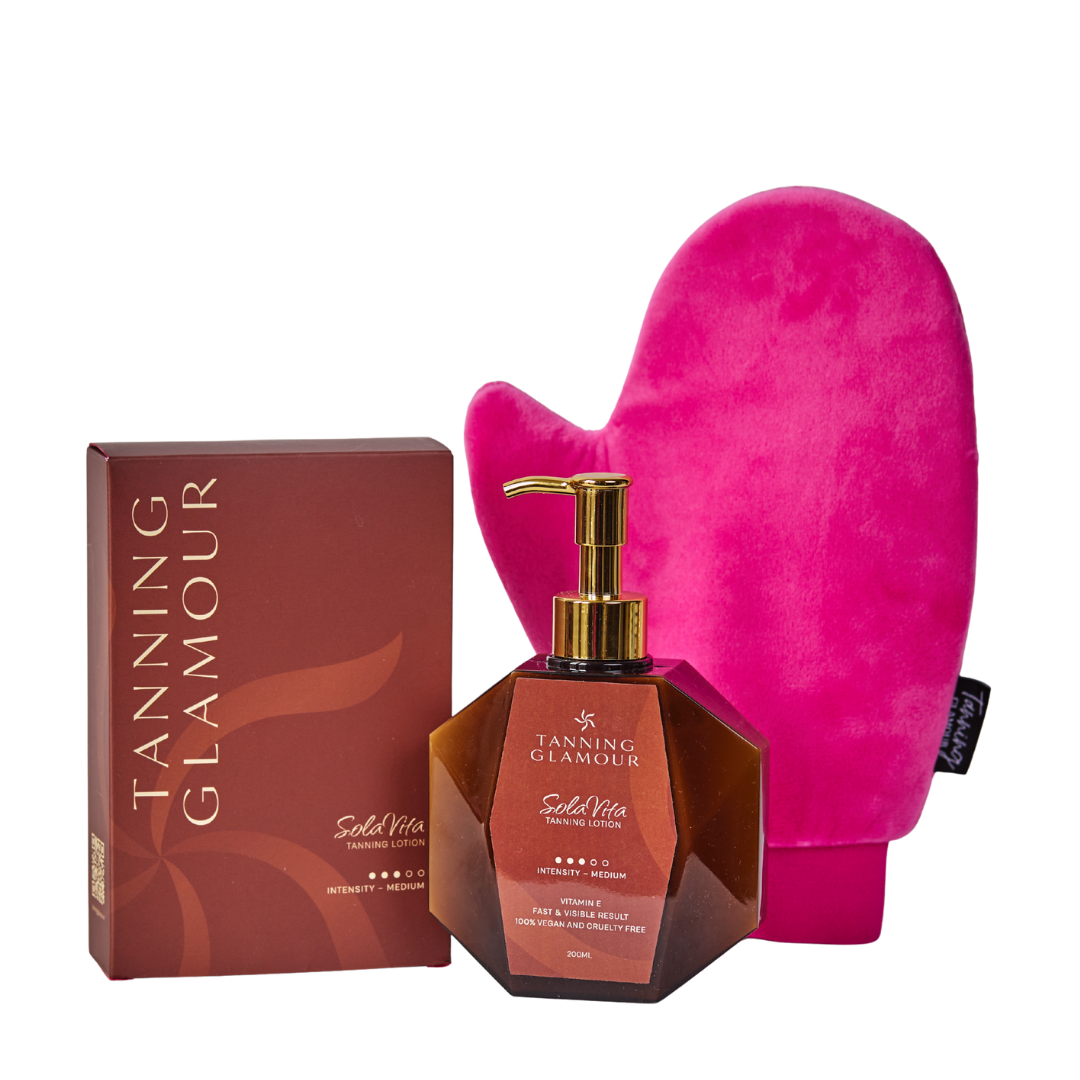
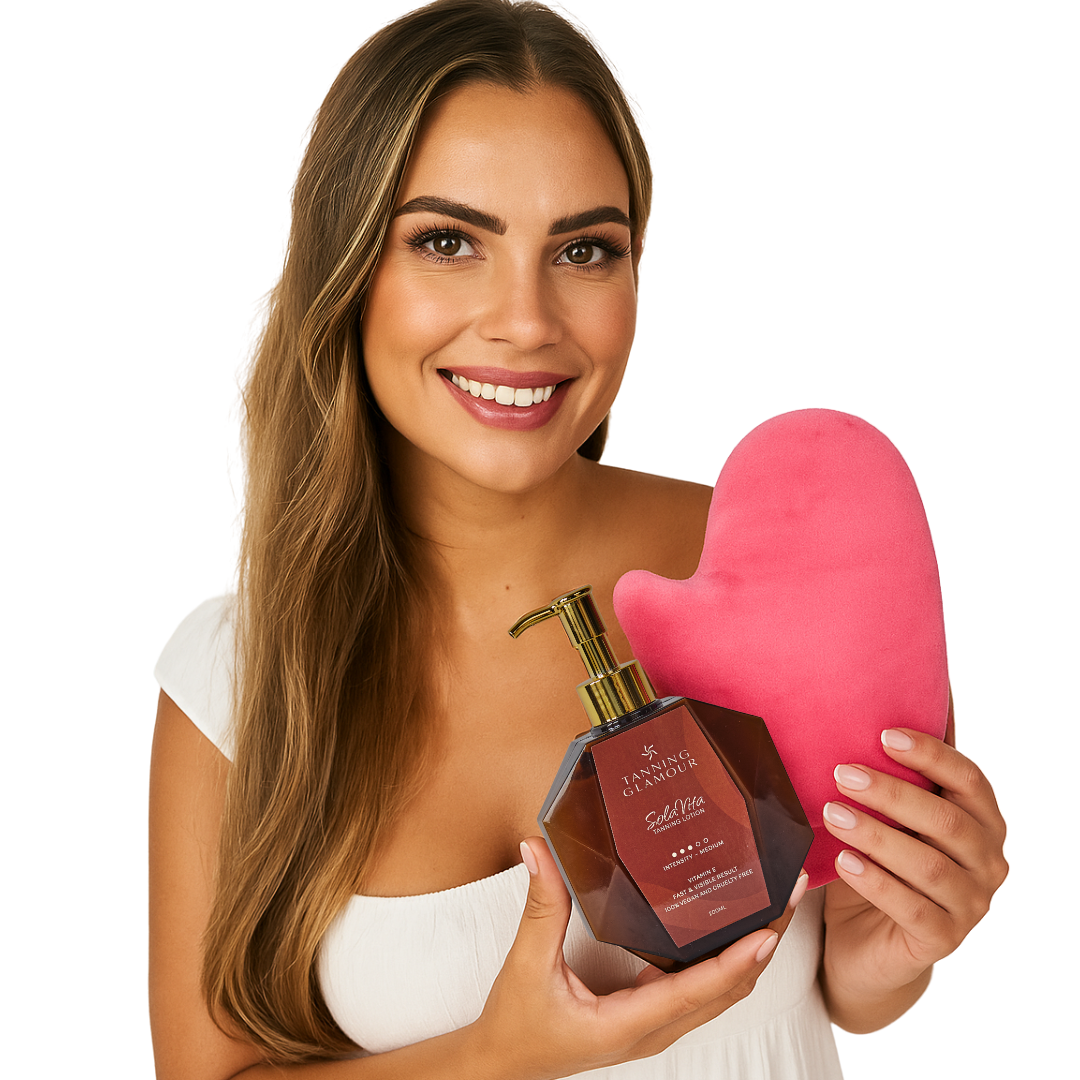
The Luxury Velvet Tanning Mitt is specially developed for a streak-free and even result. The soft velvet fabric effortlessly distributes the lotion over your skin, prevents streaks, and protects your hands from discoloration, so you always create a professional, natural finish.
Velvet versus microfiber
Velvet mitts have a luxurious, velvety texture that is ideal for applying lotions and mousses. The fabric glides smoothly over your skin and ensures a warm, even distribution without absorbing too much product.
Microfiber applicators, on the other hand, have a finer structure that is perfect for more precise work, such as around your face or in difficult areas like ankles and wrists. Both materials are washable and reusable, making them a sustainable investment.
The perfect application technique with a self-tanning mitt
Using a self-tanning mitt requires a specific technique to get the most out of your product. The right movements and order make the difference between a professional result and a disappointing outcome.
Step-by-step to an even tan
Exfoliate your skin 24 hours before application: remove dead skin cells for a smooth surface
Do not apply body lotion on the day of application: this can interfere with the self-tanner's adhesion
Put the mitt on your dominant hand for optimal control
Apply product to the mitt instead of directly to your skin
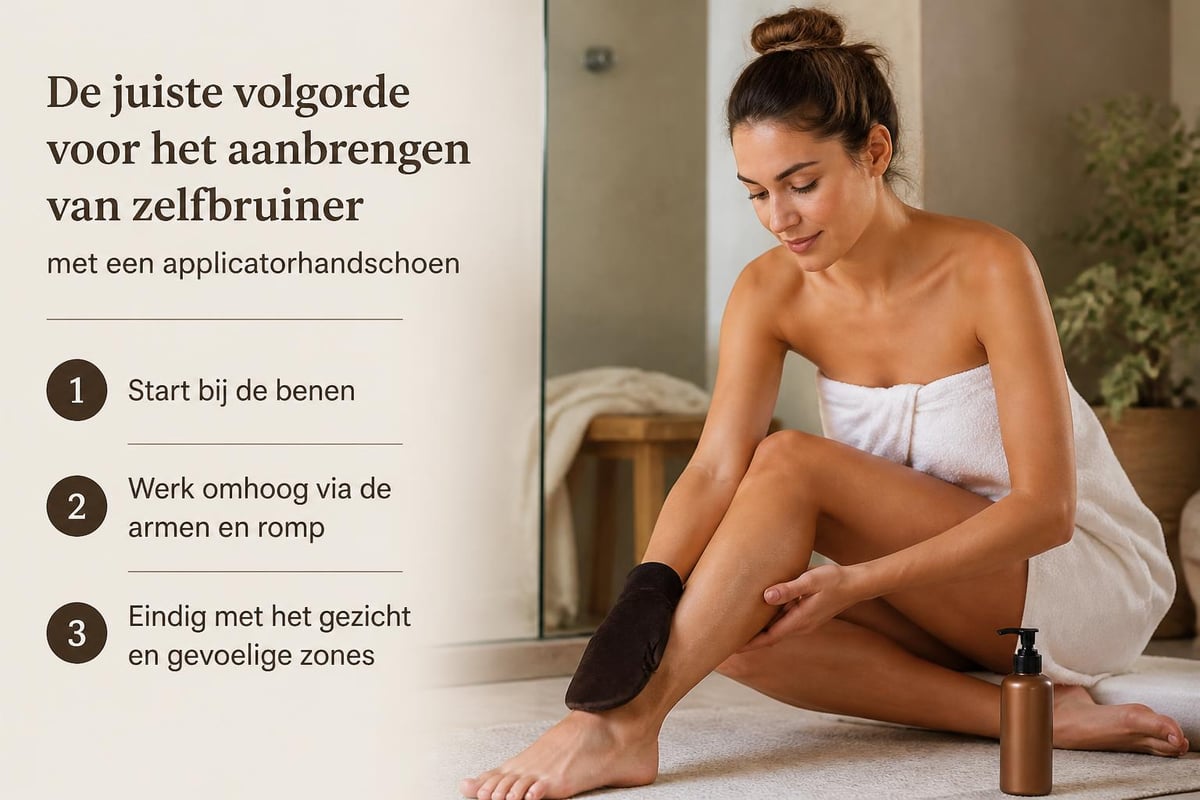
Work in sections: start with your legs and work your way up
Use circular motions for an even distribution
Blend carefully at knees, elbows, and ankles where product can accumulate faster
Use less product on palms, feet, and face
The movement you make is essential: circular patterns work best for large areas like legs and arms, while vertical movements are ideal for your torso. For the face, switch to gentle, upward movements to follow the natural contours.
Common mistakes and how to avoid them
Even with a quality self-tanning mitt, things can go wrong if you don't know what to look out for. This knowledge will help you achieve a perfect result, time after time.
Problem: streaks and patches
Streaks usually result from uneven product distribution or too much product in one spot. Solve this by:
Always applying the product to the mitt first, not directly to your skin
Working in thin, even layers instead of one thick layer
Paying extra attention to transitions between body parts
Regularly cleaning the mitt between applications
Problem: orange undertones
An orange tint is not caused by the mitt, but by the quality of your self-tanner or an overdose of product. The mitt actually helps to create a natural tan by distributing the product evenly. Always opt for self-tanners with natural DHA formulas that provide a warm, golden glow.
Problem: dark knuckles and fingers
This happens when you don't hold the mitt properly or if product leaks from the inside. Always check that the mitt is waterproof and fits snugly around your wrist before use. If in doubt, you can wear an extra plastic glove under your applicator mitt.
Maintenance and care of your applicator mitt
A self-tanning mitt is an investment that will last for months if properly cared for. Proper maintenance not only ensures a longer lifespan but also better results with each use.
Cleaning after each use
Immediately after applying your self-tanner, you should thoroughly clean the mitt. Rinse it under lukewarm running water until the water runs clear. You can use a mild soap, but avoid aggressive detergents that can damage the fibers.
Gently squeeze the mitt without twisting or wringing, which can deform the structure. Hang it in a dry place with good ventilation to dry, preferably not in direct sunlight, which can discolor the material.
Deep cleaning regularly
Once a month, your applicator mitt deserves a thorough cleaning:
Soak the mitt in warm water with a mild soap for 15 minutes
Gently massage the material to loosen any accumulated product
Rinse several times until the water is completely clear
Let it dry completely before storing
Do |
Don't |
|---|---|
Rinse immediately after use |
Put in the washing machine |
Air dry naturally |
Put in the dryer |
Store in a dry place |
Store damp |
Replace after 6-12 months |
Use bleach |
Special applications and tricky areas
Some body parts require extra attention and an adapted technique, even with a self-tanning mitt. These areas often determine whether your final result looks natural or artificial.
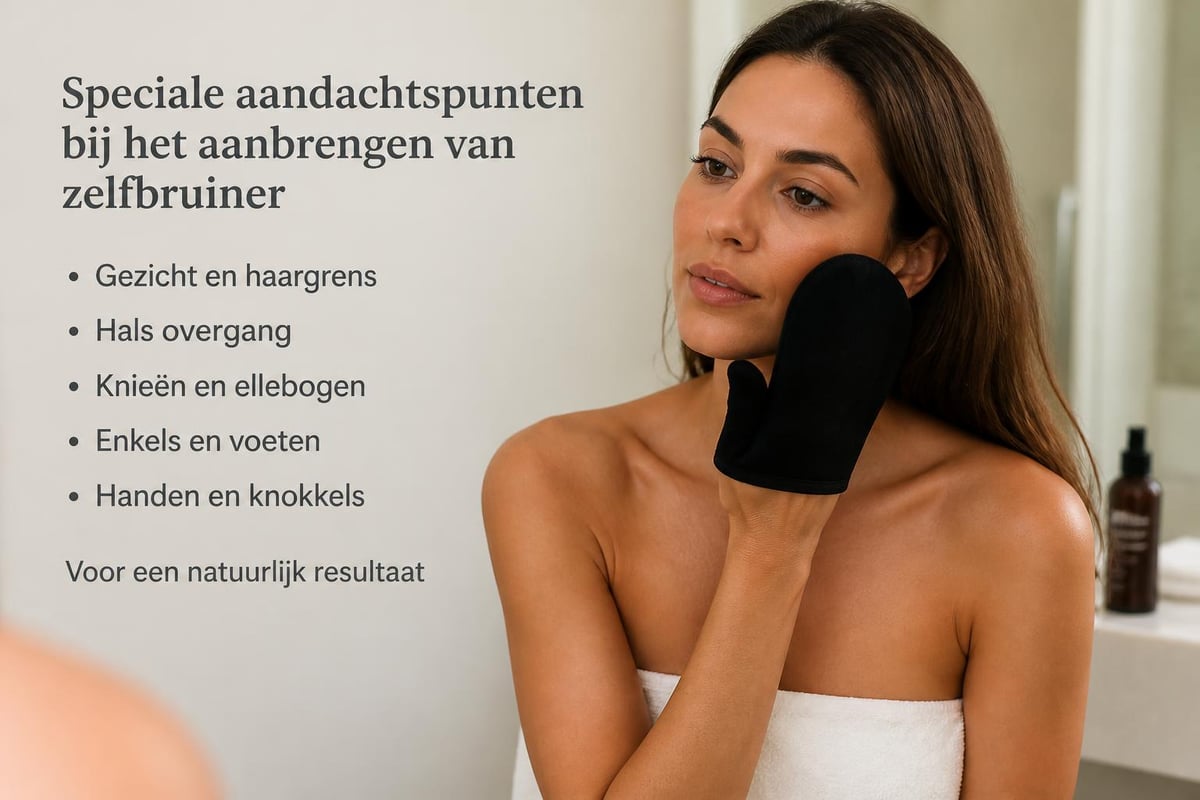
The face and neck
For your face, you ideally use less product than for your body. First, apply a thin layer to your forehead, cheeks, and chin, then carefully blend towards your hairline and jawline. The transition to your neck is crucial: here you need to take extra time to create a natural blend that shows no harsh lines.
Also pay attention to your eyebrows and hairline: gently wipe these areas with a damp cloth after applying the product. This prevents dark spots where the product has accumulated in hairs.
Hands, feet, and ankles
These areas absorb product differently than the rest of your body. For best results:
Use minimal product on palms and soles of feet
Blend extra carefully around your ankles where the skin is thicker
Wipe your knuckles with a damp cloth for a subtle result
Work in very thin layers that you can build up
More information about the correct application of self-tanner can be found in our comprehensive guide.
Combination with other applicators
While a standard self-tanning mitt works excellently for most of your body, there are situations where you might want to combine multiple tools for optimal results. This combination gives you the flexibility to treat each area perfectly.
The back applicator for hard-to-reach spots
Your back is notoriously difficult to treat evenly yourself, even with a mitt. A specialized back applicator with velvet covering solves this problem. This accessory has a long handle that allows you to easily distribute the product over your entire back without needing help from others.
The technique is simple: apply product to the strap, place it on your lower back, and move it upwards in vertical strokes. The Tanning Glamour products are designed to work together for a complete streak-free result.
Mini mitts for precision work
For your face, hands, and other small areas, a mini version of the applicator mitt is ideal. This compact size gives you more control and precision, which is essential for sensitive areas such as around your eyes or near your hairline.
What experts say about applicator mitts
Professional spray tan specialists and skincare experts are unanimous in their advice: a self-tanning mitt is essential for anyone who wants to achieve a salon-worthy result at home. Various brands offer their own versions, each with its own specifications.
Why professionals always use mitts
In professional tanning studios, work is never done with bare hands. The reason is simple: consistency and control. A mitt ensures:
Repeatable results that are equally good every time
Efficient product use without waste
Protection of the applicator from skin oils and product
A hygienic working method that prevents skin irritation
Buying a self-tanning mitt: what to look for
When purchasing an applicator mitt, several factors determine its quality and usability. A good choice ensures years of enjoyable use and consistent results.
Quality characteristics
A high-quality self-tanning mitt has:
Double seams: prevents tearing and leakage
Elastic wrist: seals well without pinching
Tightly woven material: does not absorb too much product
Washable construction: retains its shape after multiple washes
Ergonomic fit: comfortable for prolonged use
Understanding price differences
Self-tanning mitts range in price from a few euros to twenty euros or more. This difference is due to:
Material quality and fiber density
Durability and washability
Brand positioning and design costs
Extra features such as a waterproof lining
A mid-priced model around ten euros usually offers the best balance between quality and value. Cheaper models like the Sundance mitt can work fine, but may not last as long.
Tips for beginners with a self-tanning mitt
If you're new to using an applicator mitt, it might take some getting used to. These beginner tips will help you quickly become familiar with the technique and achieve good results right away.
Start with less product
The most common mistake beginners make is using too much product. A little goes a long way, especially with a good mitt that distributes the product efficiently. Start with a walnut-sized amount for each leg, and build up if you find you need more.
Practice your movements
Before applying the actual product, practice your movement pattern with a regular body lotion first. This gives you a feel for the correct pressure, speed, and direction without the immediate risk of streaks or patches.
Ensure good lighting
Always work in a well-lit area where you can clearly see all areas of your body. Natural daylight is ideal, but a bright bathroom light also works well. This helps you immediately spot and correct any missed spots or unevenness.
Keep it simple
Don't try to immediately implement a complex routine with multiple products and techniques. Choose one quality product for a natural tan and focus on perfecting your basic application with the mitt. Once you've mastered that, you can experiment with drops, mousse, or other formulas.
Self-tanning mitt for different skin types
Not all skin reacts the same to self-tanner, and your approach with the mitt can vary depending on your skin type and color. Personalization is key to achieving a natural result that suits your unique complexion.
Light skin types
For light skin, subtlety is essential. Use the mitt to apply very thin layers, building them up over several days. This prevents an abrupt color change that looks unnatural. Focus on creating a sun-kissed glow rather than a deep tan.
Olive and medium skin tones
These skin types can tolerate a little more product and benefit from a richer formula. The mitt helps to distribute the product evenly for a warm, golden tan that complements your natural undertone. Be sure to choose the right formula that doesn't leave an orange tint.
Dark skin types
Self-tanner can also create a beautiful glow on dark skin, especially when evening out color differences or accentuating certain areas. The self-tanning mitt is extra important here to distribute the product as evenly as possible, preventing patchy areas that are more noticeable on darker skin.
Seasonal use and maintenance
The use of your self-tanning mitt can vary by season, and its maintenance also requires adjustments depending on the time of year. This cyclical approach helps you maintain a radiant tan all year round.
Summer strategy
In the summer months, you might want a lighter, more natural glow that matches the sunny vibe. Use the applicator mitt for thin, frequent applications instead of one intense session. This gives a fresh, sun-kissed look that's perfect for the season.
Also, ensure your mitt dries extra thoroughly between uses in the summer, as higher humidity can promote mold growth. Hang it in a well-ventilated area and regularly check for odors or discoloration.
Winter routine
During the colder months, your skin may be drier, which affects how self-tanner adheres. Exfoliate extra carefully and ensure good hydration before using the mitt. The applicator helps to massage the product deeper into the skin, ensuring a long-lasting tan despite the dry winter air.
Frequently asked questions about self-tanning mitts
How long does a self-tanning mitt last?
With proper maintenance and regular cleaning, a quality applicator mitt will last 6 to 12 months. Replace the mitt when the fibers start to fray, the material loses its elasticity, or when you notice that the product is no longer distributed evenly.
Can I use multiple products with the same mitt?
Yes, you can apply different self-tanner formulas with the same mitt, as long as you clean it thoroughly between applications. This prevents products from mixing and causing unexpected results. For optimal hygiene, consider having separate mitts for your body and face.
Do I need to replace the mitt if it's discolored?
Discoloration is normal and does not mean that the mitt loses its functionality. The brown residue from the DHA can settle in the fibers, but this does not affect performance as long as the mitt is clean and does not have an unpleasant odor. However, it is aesthetically more pleasing to replace a heavily discolored mitt.
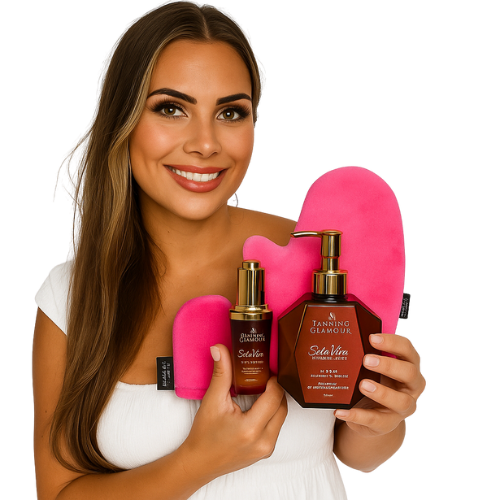
A self-tanning mitt is the key to a professional, even tan without streaks or orange spots. By using the right techniques and maintaining your applicator properly, you can create salon-comparable results at home. Tanning Glamour combines natural self-tanners with professional applicators so you can achieve a radiant glow in 2-3 hours that lasts beautifully for 5-7 days. Discover today how easy it is to give your skin a warm, sun-kissed look that appears natural and boosts your confidence.
Ontdek jouw mooiste glow
Verzorgende zelfbruiners van SolaVita - streeploos, geen oranje.
Read more

Discover the best tips for sunless tanning. Learn how to achieve a natural, even tan that lasts for days with self-tanner.
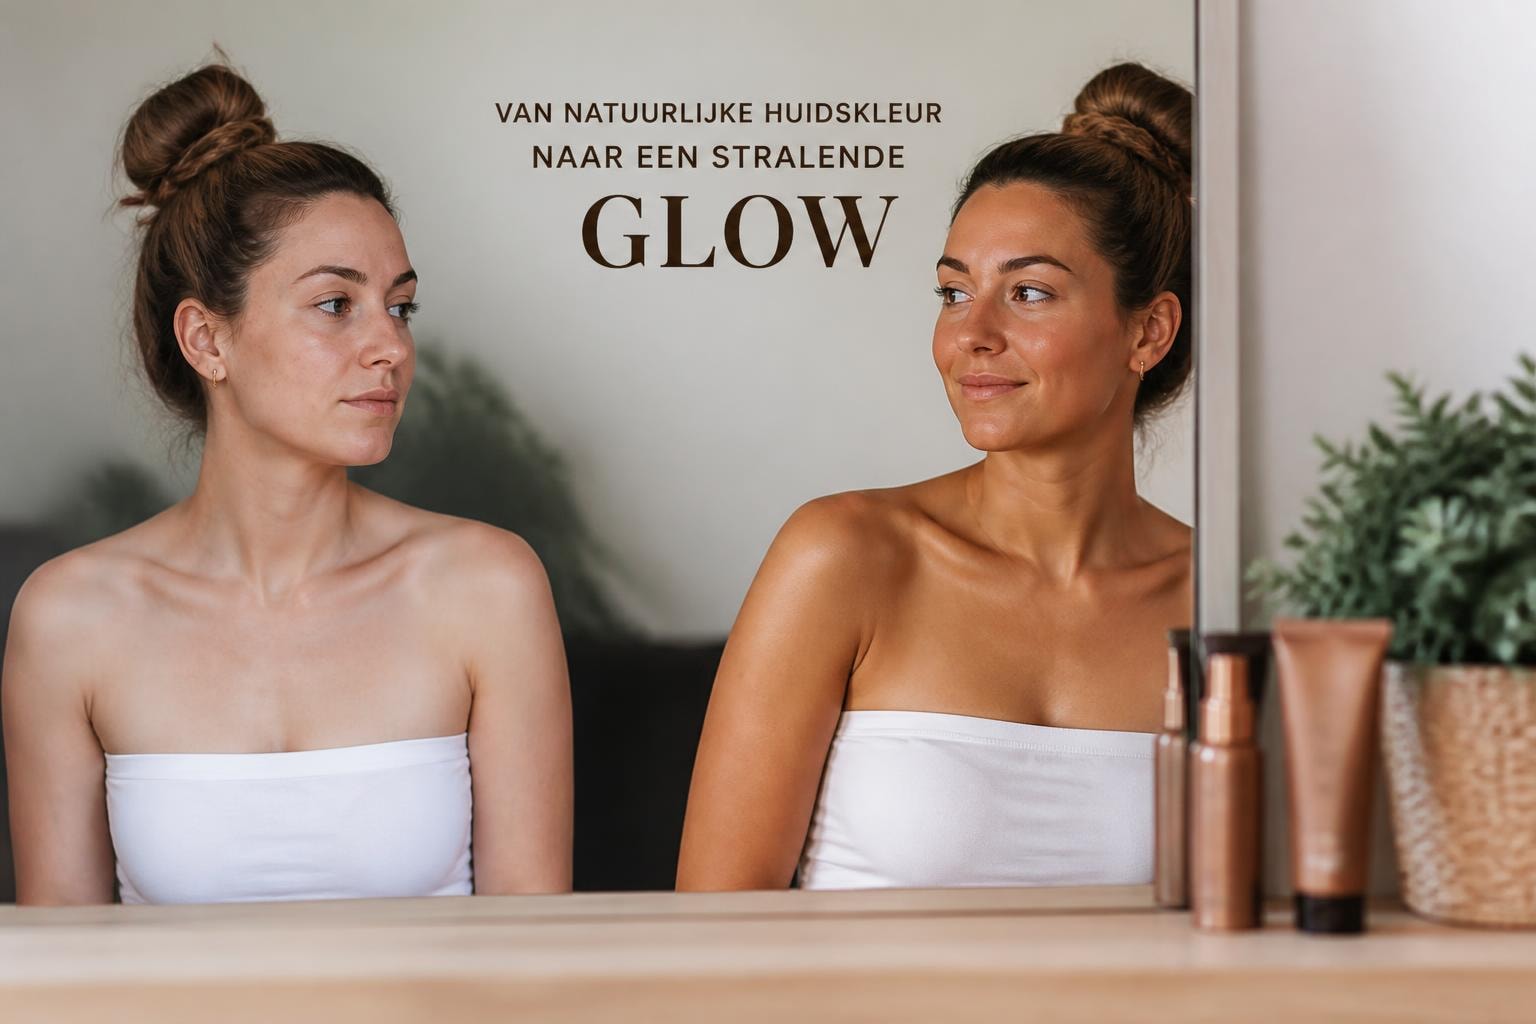
Discover how sunless tanning gives you an even, natural tan without the sun. Tips, benefits, and proper application for a radiant glow.