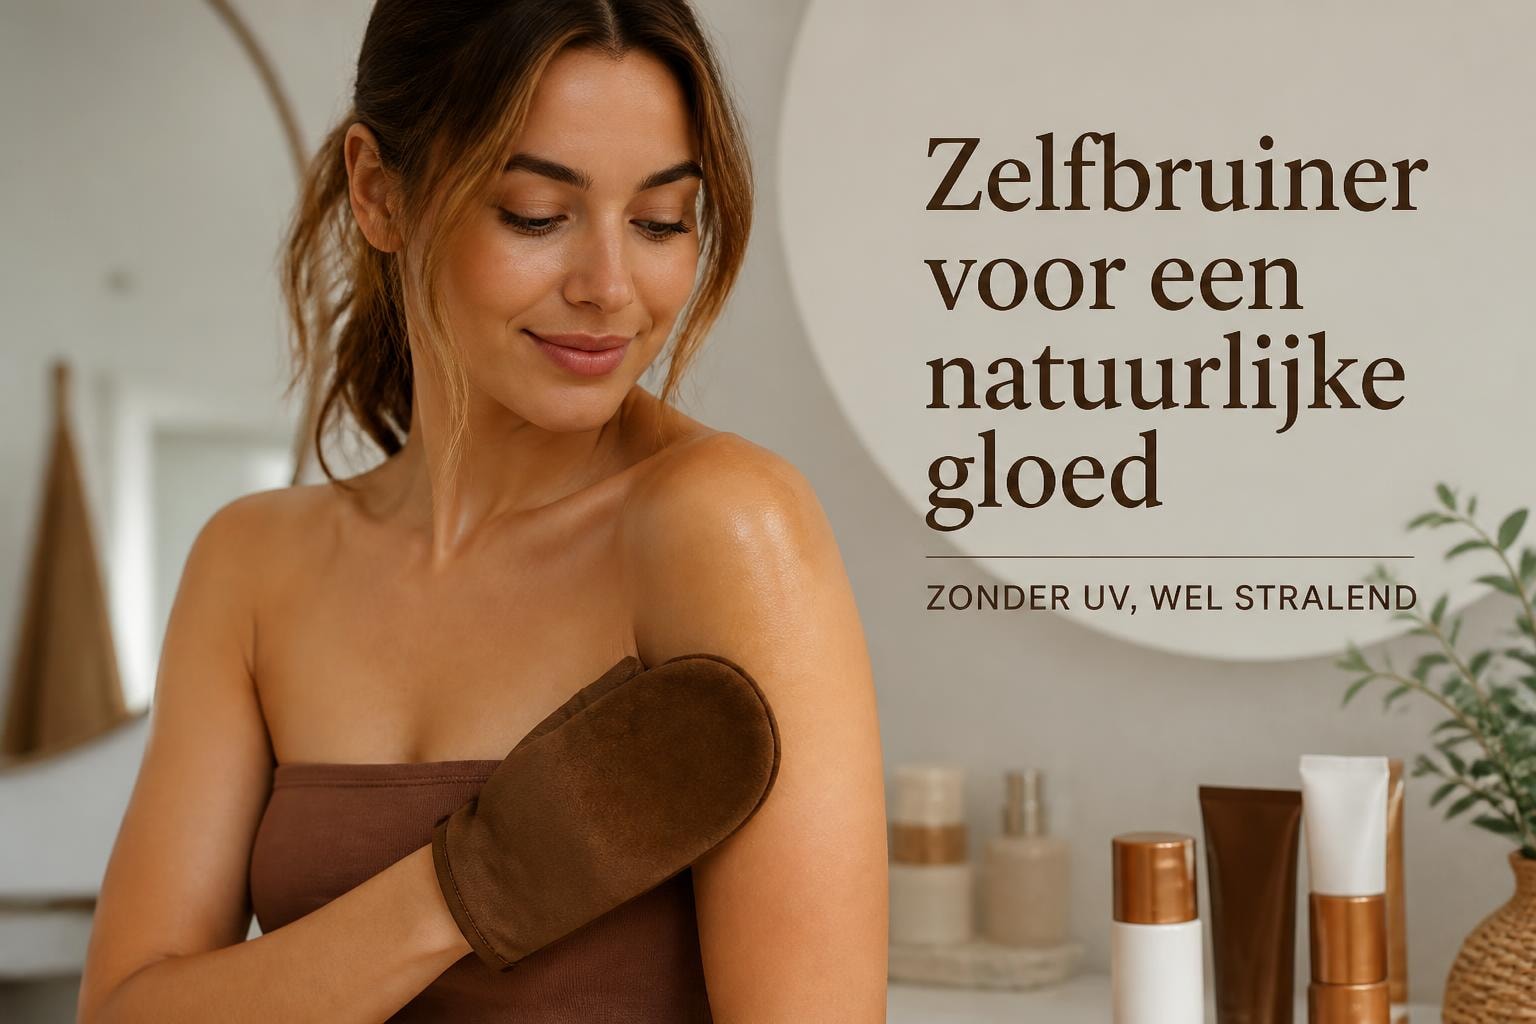
Self-tanner best tips for a natural glow
A golden, sunkissed complexion without spending hours in the sun – it might sound too good to be true, but with the right approach and products, it's perfectly possible. More and more people are consciously choosing the best sunless tanning solutions because they want a healthy glow without the risks of UV radiation. Whether you have a special occasion, simply want more confidence in your skin, or just love a well-groomed look: self-tanners offer a safe and effective way to achieve that radiant result. In this article, we share the best tips, techniques, and insights to make sunless tanning a success.
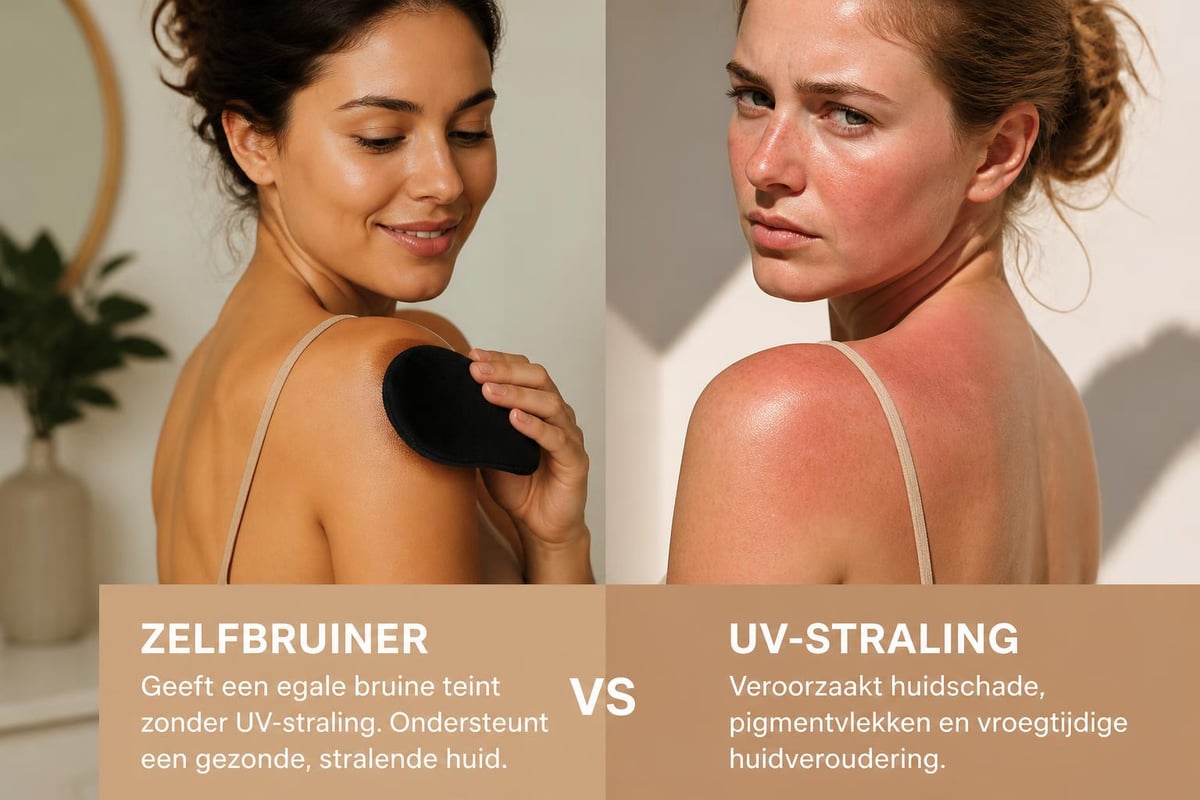
Why choose sunless tanning
The benefits of an artificial tan go beyond aesthetics. Tanning beds and prolonged sun exposure carry demonstrable health risks, including premature skin aging, hyperpigmentation, and an increased risk of skin cancer. By opting for self-tanners, you protect your skin from harmful UV radiation while still enjoying a warm, natural glow.
The main benefits at a glance:
- No exposure to harmful UV radiation
- Direct control over the intensity of your tan
- Suitable for every season and every skin type
- Results visible within a few hours
- No risk of sunburn or skin damage
- Cost-effective compared to tanning salon subscriptions
Modern research confirms that the active ingredients in quality self-tanners, such as DHA (dihydroxyacetone), react safely with the top layer of the skin. This reaction creates a natural discoloration that looks like you just returned from vacation, without the disadvantages of actual sun exposure.
The best self-tanner products for every skin type
Not all self-tanners are created equal, and choosing the right product makes a world of difference. If you're looking for the best sunless tanning results, it's essential to find a formula that suits your skin type and needs.
Lotions for quick, even application
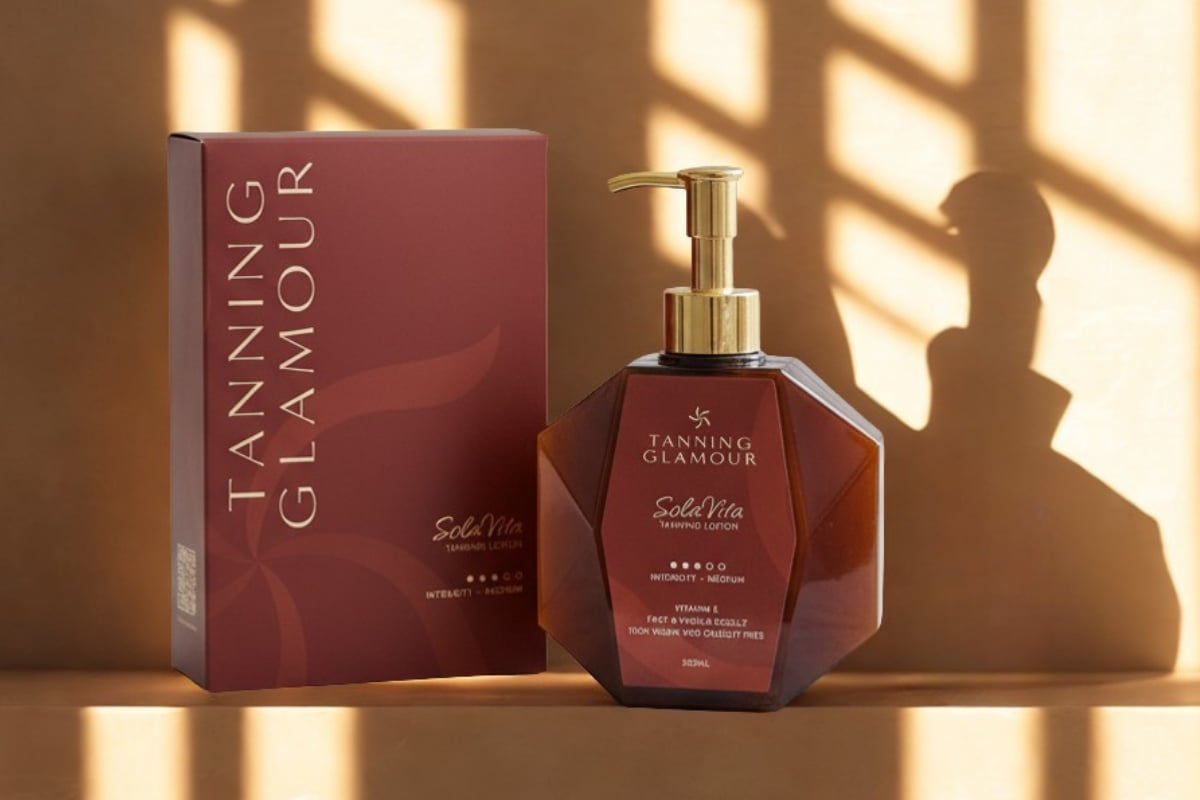
Self-tanning lotions are ideal for those who want a quick and predictable result. These products absorb easily into the skin and provide a visible tan within 2-3 hours. Their consistency makes it possible to efficiently treat large areas such as legs, arms, and back.
For a professional result, it's important to prepare your skin well beforehand by exfoliating and moisturizing. With products like the SolaVita Self-Tanning Lotion, you get an even, natural tan that lasts beautifully for up to 5-7 days, even after showering.
Drops for personalized intensity
Self-tanning drops offer maximum flexibility. You mix a few drops with your daily face cream, body lotion, or serum, allowing you to control how intense your tan becomes. This makes them perfect for facial application or for those who want to gradually build a subtle glow.
| Product type | Benefits | Ideal for |
|---|---|---|
| Lotion | Quick application, predictable | Body, fast results |
| Drops | Adjustable intensity, mixing | Face, gradual build-up |
| Mousse | Light, easy to spread | First-time users, dry skin |
| Spray | Easy to reach spots | Back, quick touch-ups |
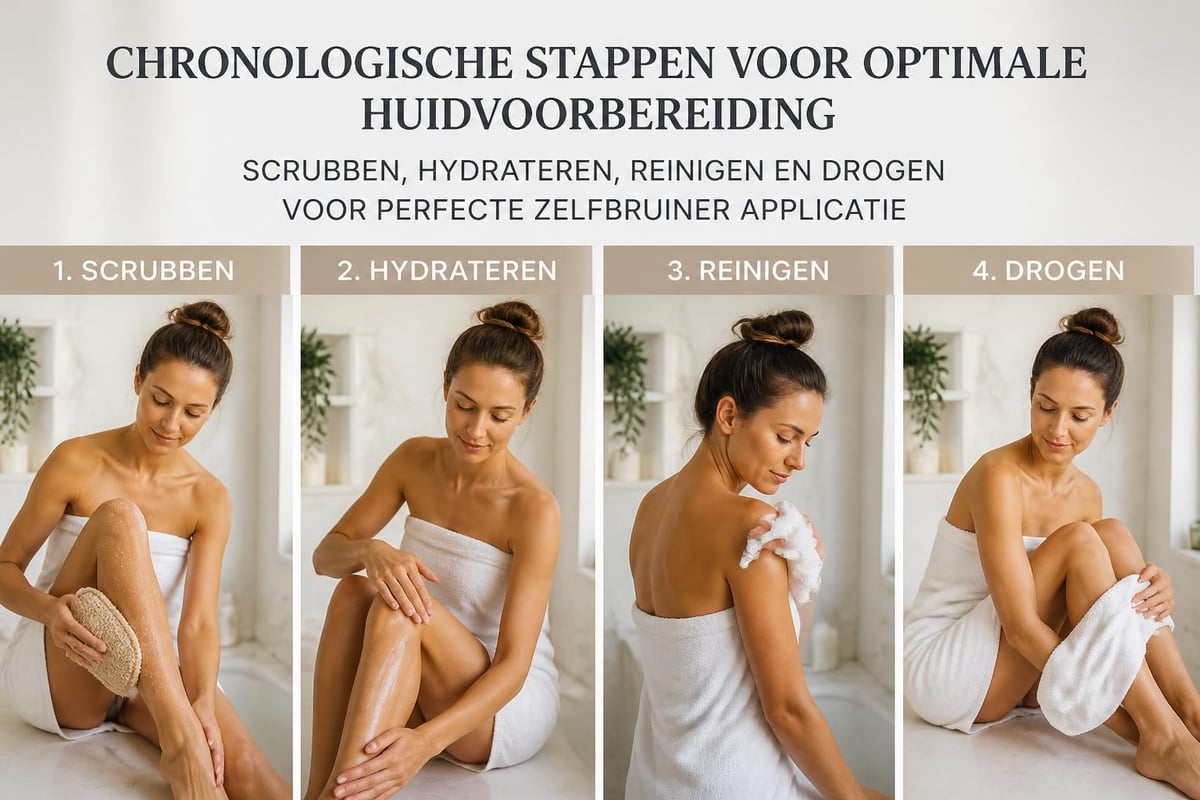
Perfect preparation for an even tan
The key to the best sunless tanning results lies in good preparation. An even base prevents spots, streaks, and uneven coloring. Invest a few extra minutes in these steps, and you'll immediately see the difference.
Step-by-step preparation routine:
- Exfoliate your skin thoroughly 24 hours before application with a gentle scrub
- Shave or epilate at least 12 hours beforehand to prevent irritation
- Hydrate dry areas such as elbows, knees, and ankles
- Cleanse your skin right before application with a mild soap
- Dry your skin completely with a clean towel
- Wait 30 minutes after showering before applying the self-tanner
Pay special attention to areas where dead skin cells accumulate. Elbows, knees, ankles, and feet often need more attention. A light, extra moisturizing cream on these areas helps prevent excessive pigmentation.
Choosing the right timing
Preferably apply your self-tanner in the evening so the product can absorb quietly overnight. Wear loose, dark clothing to prevent stains and sleep on old sheets that you don't mind getting stained.
Application techniques for a streak-free result
The way you apply your self-tanner largely determines the final result. Even the best product can become uneven if you use the wrong technique. Follow these professional tips for a flawless finish.
Use application tools
Using your bare hands is a common mistake that leads to orange palms. Professional application mitts are essential for an even result. They help distribute the product evenly and protect your hands from discoloration.
Always start at your feet and work your way up to your face. Use long, fluid movements in a circular direction. This prevents streaks and ensures a natural transition between treated and untreated areas.
Tips for difficult areas:
- Face: Use less product and blend well along the hairline
- Hands and feet: Apply minimal product and wipe off excess
- Back: Consider a special back applicator for hard-to-reach areas
- Neck and décolletage: Blend carefully downwards for a natural transition
How much product to use
Less is often more with self-tanners. Start with a small amount – about the size of a walnut for each leg, arm, or your back. You can always add more, but removing excess product is difficult.
Maintenance and care of your tan
Achieving a beautiful, golden glow is one thing, but maintaining it requires proper care. With the best approach, your best sunless tan results will stay radiant and even for up to a week.
Hydration is essential
Dry skin exfoliates faster, meaning your artificial tan will fade sooner. Hydrate your skin daily with a nourishing body lotion, especially after showering. Choose a formula without heavy oils that can break down the self-tanner.
| Care tip | Why it's important | Frequency |
|---|---|---|
| Moisturizing lotion | Prevents flaking | Daily |
| Short, lukewarm showers | Preserves pigmentation | As needed |
| Soft towel | Avoids rubbing | Every shower |
| No scrubbing | Preserves color layer | During tanned period |
What to avoid
Certain activities and products can cause your carefully built tan to fade faster. Avoid prolonged baths, chlorinated swimming pools, and intensive scrubbing. Products with high alcohol content can also break down the self-tanner more quickly.
When showering: use lukewarm water instead of hot water, pat your skin dry instead of rubbing, and apply a hydrating lotion immediately afterward. These simple adjustments significantly extend the life of your artificial tan.
Common mistakes and how to avoid them
Even with the best intentions, many people make the same mistakes when applying self-tanner. Recognition is the first step to improvement, so let's discuss the most common pitfalls.
Classic mistakes:
- Applying too much product at once
- Forgetting to extra hydrate dry areas
- Putting on clothes immediately after application
- Sweating before the product has absorbed
- No exfoliation beforehand
- Unrealistic color expectations
A natural, subtle glow is always more beautiful than an overly dark tan. If in doubt, choose a lighter shade and build gradually. You can always apply a second layer for more intensity.
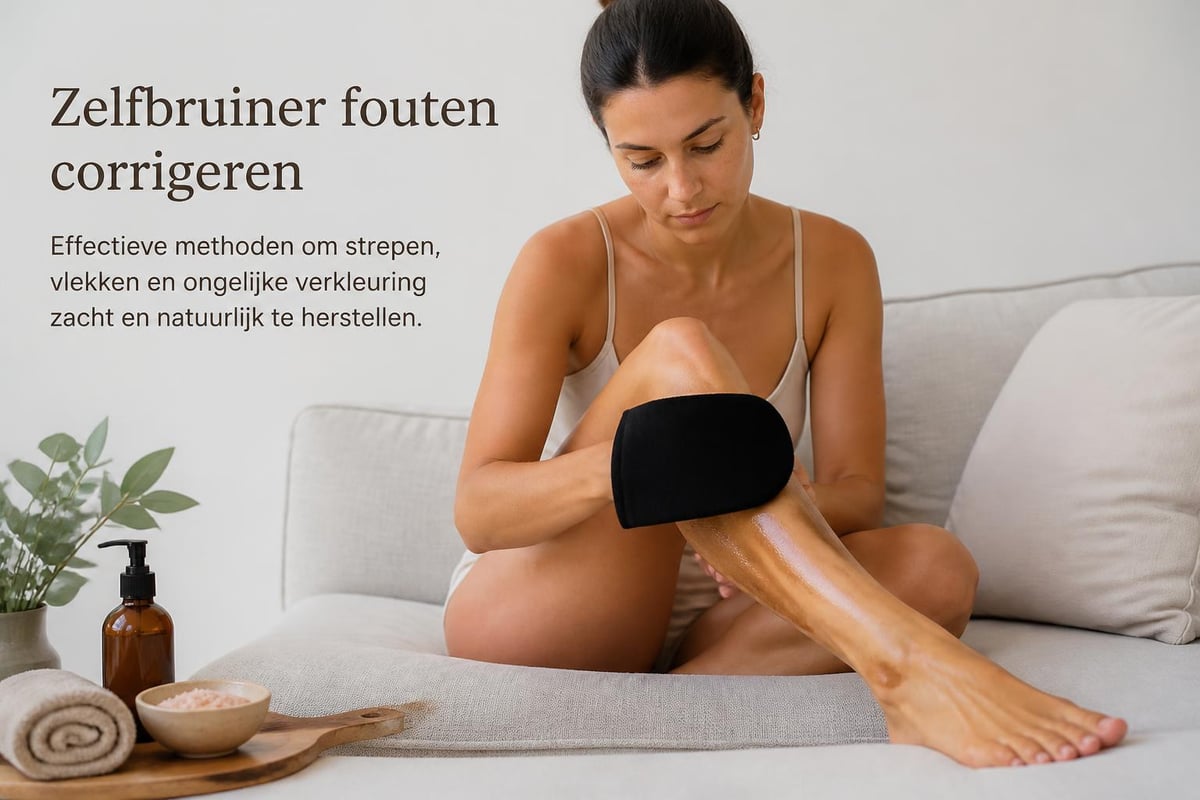
Correcting spots and streaks
Did something go wrong? Don't panic. Fresh spots can usually be removed immediately with a damp cloth. For stubborn streaks: use a gentle scrub or a special correction product. Lemon juice also works as a natural bleacher, but use it sparingly to avoid irritation.
Seasonal tips for sunless tanning
Your skincare and self-tanning routine may vary by season. Temperature, humidity, and your lifestyle affect how your skin reacts to self-tanners. Adapt your approach for optimal results year-round.
Winter: extra hydration needed
In winter, your skin is often drier due to heating and cold outdoor air. This means your skin exfoliates faster, and your tan will therefore last for a shorter period. Intensify your hydration routine and perhaps apply an extra layer of self-tanner to maintain the color.
Winter is actually the perfect season to experiment with getting a tan without the sun. A warm glow gives you a healthy appearance on gloomy days and compensates for the lack of natural sunlight.
Summer: maintenance and protection
Even with an artificial tan, you still need sun protection in the summer. Self-tanners do not offer UV protection. Always use an SPF product when going outside, especially during the first few hours after application when the skin may be more sensitive.
In summer, you sweat more, which means your self-tanner can fade faster. Consider a water-resistant formula or apply a fresh layer more often for a consistent result.
Combining self-tanner with other skincare
A frequently asked question is how self-tanner fits into an existing skincare routine. The good news: with the right timing, you can perfectly combine both without affecting the effectiveness of your products.
Order is important
Always apply your regular skincare products first – think serums, eye creams, and treatments. Wait at least 10-15 minutes before applying the self-tanner. This gives your skin a chance to absorb the active ingredients of your skincare products.
For the face, you might consider mixing self-tanner drops with your day cream. This gives a more natural, gradual build-up and seamlessly integrates the self-tanner into your routine. More information about effective techniques can be found in our article on sunless tanning.
Compatibility with other products:
- Retinol: Wait 24 hours after retinol use before applying self-tanner
- AHA/BHA: These exfoliating ingredients can cause your tan to fade faster
- Vitamin C: Safe to combine, but apply it before the self-tanner
- Oils: Can affect the binding of self-tanner, use sparingly
Realistic expectations and results
One of the biggest reasons people get disappointed with self-tanners is because their expectations are unrealistic. Modern formulas have improved enormously, but it remains important to understand what is and isn't possible.
Quality products give you a natural, warm tan that resembles a vacation tan. They do not produce an orange undertone or unnatural colors, provided they are applied correctly. The color develops gradually over 2-4 hours and reaches its full intensity after about 8 hours.
What influences your end result
Your natural skin tone plays an important role in the final result. Very fair skin types will get a subtler, golden glow, while medium to olive skin types can achieve a deeper, richer tan. This is normal and natural – embrace the result that suits your skin.
| Skin type | Expected result | Recommended approach |
|---|---|---|
| Very fair | Soft, golden glow | Start with a light formula |
| Fair to medium | Natural, vacation tan | Standard formula works excellent |
| Medium to dark | Warm, deepened tan | Choose medium to dark formula |
| Dark | Subtle, rich enhancement | Use sparingly for glow |
The role of ingredients in quality self-tanners
For the best sunless tanning results, it's helpful to understand what ingredients are in your product and what they do. This helps you make informed choices and optimize your application.
DHA: the tanning hero
Dihydroxyacetone (DHA) is the most commonly used active ingredient in self-tanners. It reacts with amino acids in the top layer of your skin, resulting in a brown discoloration. This reaction is temporary and completely safe, without affecting the DNA of your skin cells.
The concentration of DHA largely determines how dark your final result will be. Formulas with 2-5% DHA give a subtle glow, while products with 8-10% DHA create a deeper, more intense tan.
Supporting ingredients that make a difference:
- Erythrulose: Works with DHA for a longer-lasting, more natural result
- Hyaluronic acid: Hydrates and plumps the skin during the tanning process
- Aloe vera: Soothes and softens, ideal for sensitive skin
- Vitamin E: Antioxidant that protects during color development
- Natural extracts: Provide extra care and a pleasant scent
Modern formulas avoid parabens, sulfates, and artificial fragrances that can cause irritation. Natural ingredients are not only friendlier to your skin but also produce more beautiful, balanced results.
Special considerations for the face
Your face deserves extra attention when applying self-tanner. The skin here is more sensitive, more visible, and often has a different texture than the rest of your body. With the right approach, you can create a natural, radiant glow that flatters your features.
Always start with a light formula or use self-tanner drops mixed with your day cream. This gives you more control over the intensity and reduces the risk of streaks. Avoid the direct eye area and eyebrows, where the product can accumulate.
Contouring with self-tanner
An advanced technique is to use self-tanner for subtle facial contouring. Apply slightly more product to the areas you want to define: along the jawline, on the cheekbones, and along the sides of your nose. Blend carefully for a natural effect that accentuates your features.
Be careful with the hairline and ears – these areas can accumulate product and become unnaturally dark. Use a damp Q-tip to immediately remove any excess product.
With the right products, techniques, and care, a beautiful, natural tan without sun is within reach. By properly preparing your skin, choosing quality products, and paying attention to application and maintenance, you'll enjoy a radiant, sunkissed glow for weeks. Tanning Glamour understands that you are looking for more than just a product – you want a beautiful, natural tan that gives you confidence and protects your skin. Discover our collection of natural self-tanners that provide an even tan within hours and remain beautiful for up to a week, without streaks or orange undertones.
Read more
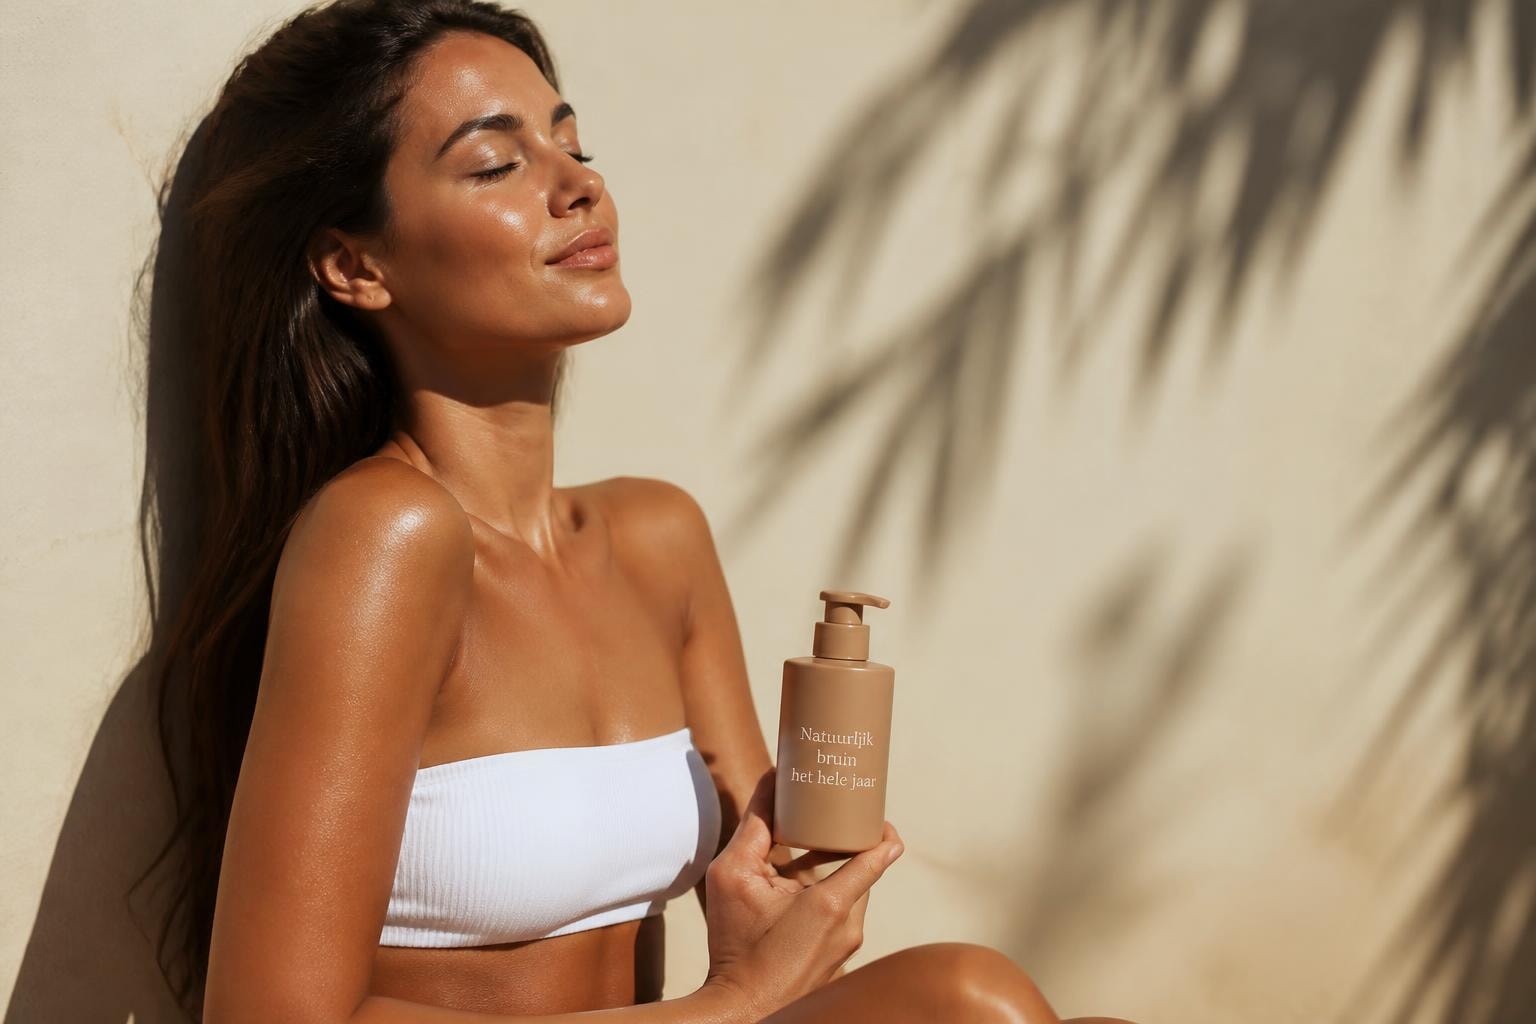
Discover how to get sun-kissed skin without sunbeds or harmful UV radiation. Tips for a natural, even tan all year round.
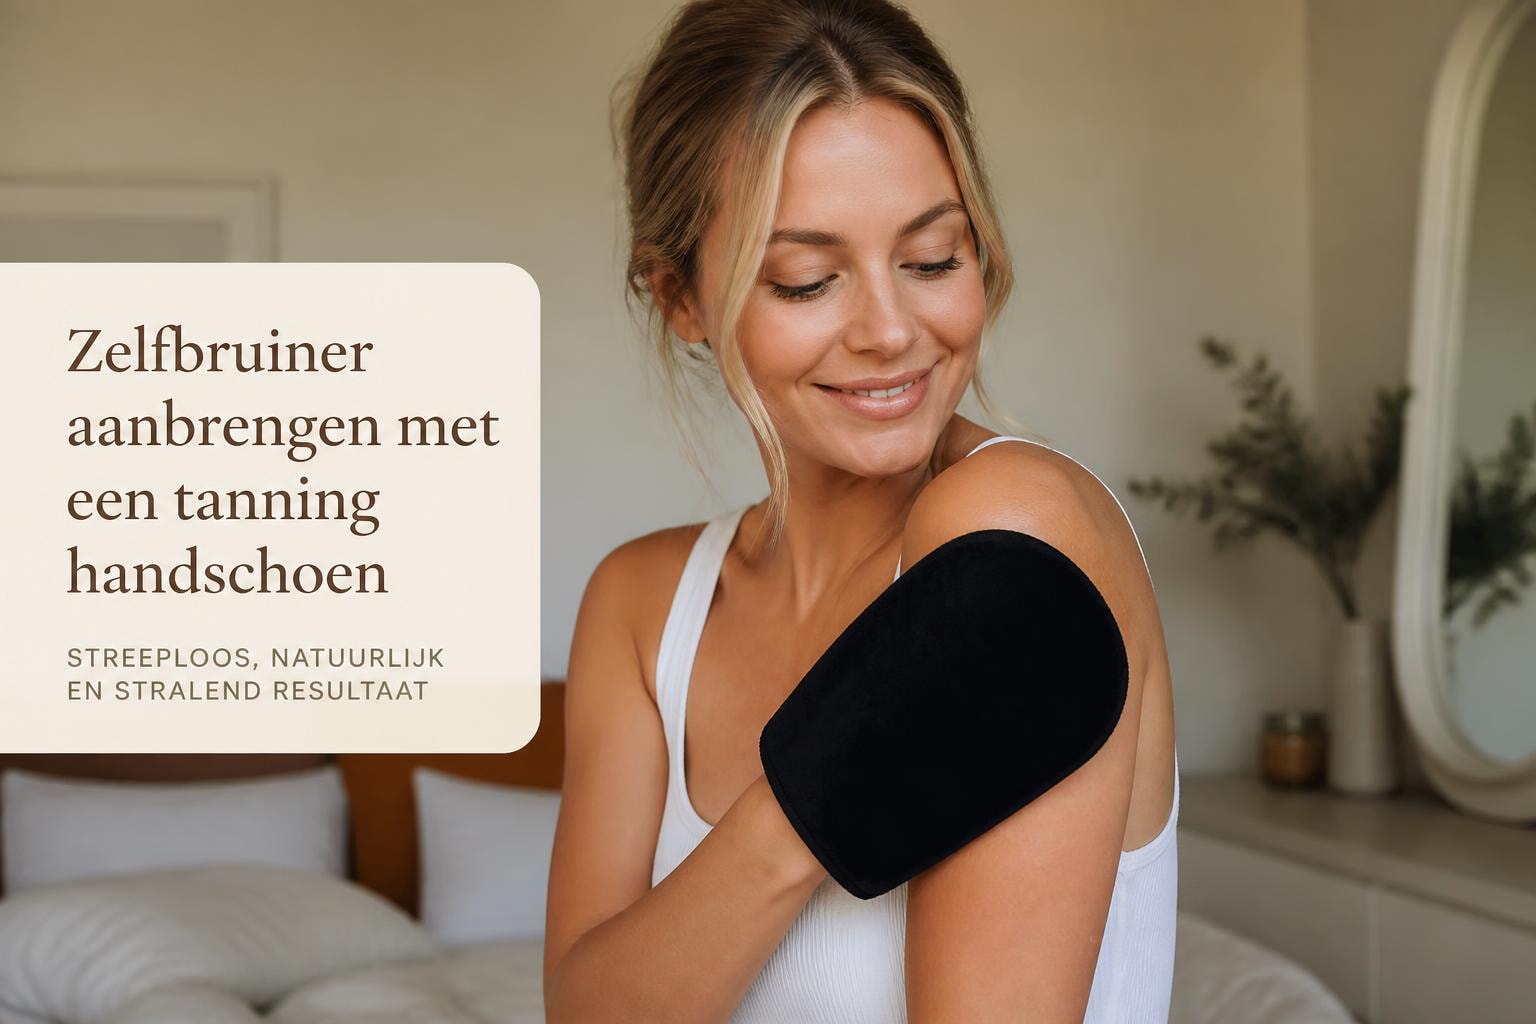
Discover everything about the self-tanning mitt: how to apply self-tanner streak-free and prevent stains on your hands. Tips for an even glow.