
Tanning lotion for a natural brown glow
A beautiful, tanned complexion instantly gives a well-groomed appearance and a feeling of self-confidence. But sunbathing carries risks for your skin. That's why more and more people are choosing tanning lotion: a safe, natural way to create a golden glow without the sun. In this article, you'll discover everything about this handy self-tanner, from its function and benefits to practical tips for a streak-free result.
What exactly is tanning lotion?
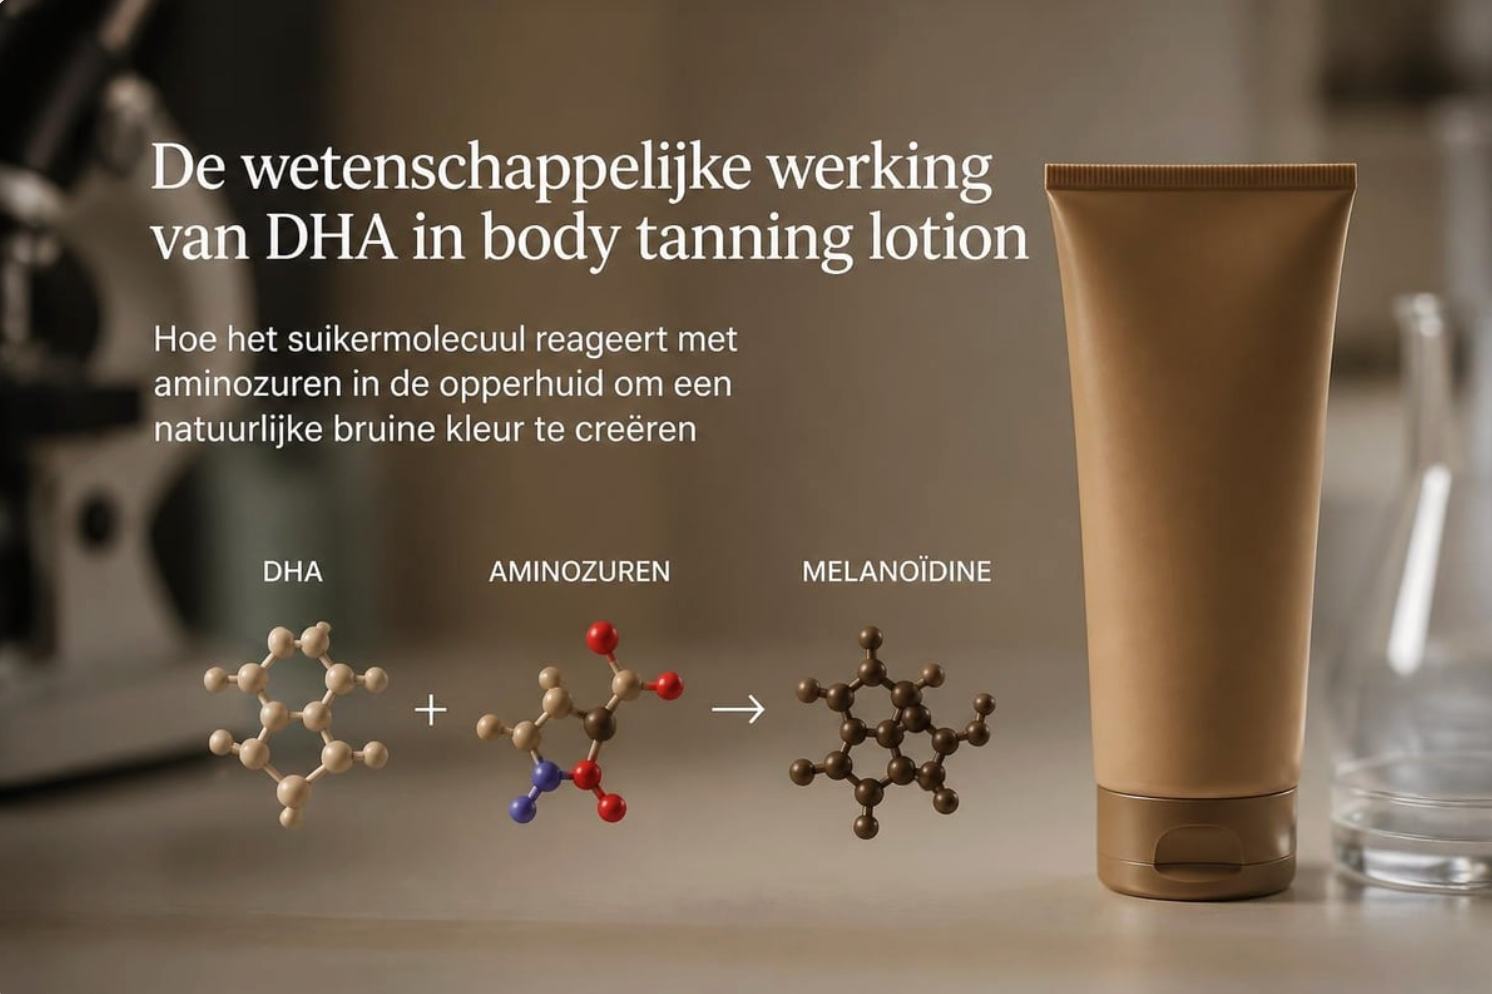
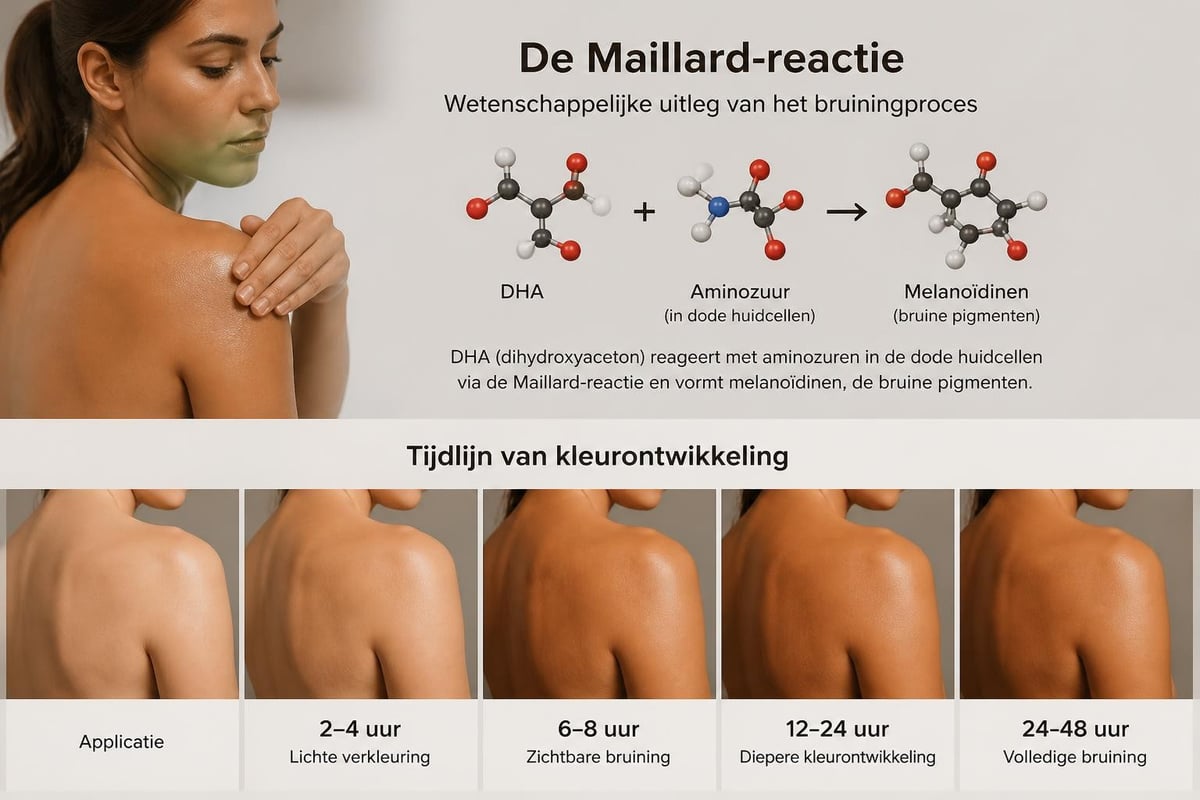
Tanning lotion is a self-tanning product in lotion form that gives your skin a natural brown color without exposure to UV radiation. The formula contains DHA (dihydroxyacetone), a sugar molecule that reacts with the dead skin cells in the top layer of your skin. This chemical reaction causes a temporary brown discoloration that resembles a natural summer tan.
The main characteristics of a good tanning lotion:
- Fast absorption time (usually visible within 2-3 hours)
- Even distribution without streaks or spots
- Natural brown tint without an orange undertone
- Lasts for 5-7 days
- Hydrating effect for nourished skin
How does the tanning actually work?
The mechanism of action is fascinating. When you apply tanning lotion, the DHA immediately starts to work. The sugar molecules penetrate the top layer of your skin and bind to the amino acids in the dead skin cells. This process is called the Maillard reaction and is the same chemical reaction that occurs when baking bread.
The tan develops gradually. You'll see the first results after two to three hours, but the full color only fully develops after eight to twelve hours. Because only the top layer of skin is colored and your skin is constantly renewing itself, the tan naturally fades after about a week.
The benefits of tanning lotion over sunbathing
The popularity of tanning lotion has exploded for good reason. The use of self-tanner offers numerous benefits that traditional sunbathing or tanning beds cannot match.
Health benefits:
- No UV damage to your skin
- Reduced risk of skin aging
- No increased risk of skin cancer
- Protection against pigment spots and wrinkles
- Suitable for every skin type, even very light skin
Practical benefits:
- Complete control over intensity
- Tanning possible in any season
- No waiting times or expensive sun holidays
- Results visible within a few hours
- Affordable and easy to use at home
According to dermatologists, this is the safest way to get a tan. Your skin doesn't suffer any damage, while you enjoy a radiant, healthy appearance.
The right preparation for perfect results
An even, natural tan doesn't start with applying your tanning lotion, but with preparing your skin. These steps make the difference between a professional result and disappointing streaks.
Exfoliation is essential
Start one day before application with a thorough scrub. Use a gentle body scrub and pay extra attention to rough areas such as knees, elbows, ankles, and heels. These areas have more dead skin cells and can therefore darken more.
Also, remove excess hair by shaving or waxing. Do this at least 24 hours before applying your tanning lotion, so your pores have time to close. Immediate shaving before application can lead to spots and irritation.
Hydrate for an even base
Well-hydrated skin absorbs tanning lotion more evenly. After showering, apply a light, non-greasy moisturizer to your entire body. Pay special attention to dry areas, but use a minimal amount there to prevent buildup.
| Body part | Preparation | Points of attention |
|---|---|---|
| Knees & elbows | Extra exfoliation | Thin layer of moisturizer |
| Ankles & feet | Thorough scrub | Use minimal product |
| Hands | Light exfoliation | Apply extra carefully |
| Face | Gentle scrub | Consider a separate facial formula |
Step-by-step plan for applying tanning lotion
Correctly applying your tanning lotion determines the end result. With the right technique, you'll create a natural, streak-free glow that looks like you just returned from vacation.
Step 1: Ensure clean, dry skin
Always start with a fresh shower. Do not use oily shower gel or body lotion right before application. Pat your skin dry with a towel and wait a few minutes for your skin to be completely dry.
Step 2: Use an applicator mitt
This is crucial for a professional result. A special mitt distributes the product evenly and prevents brown hands. The soft velvet fabric glides smoothly over your skin and ensures even distribution without streaks.
Step 3: Apply the lotion in sections
Work methodically from bottom to top. Start at your feet and work your way up through your legs, thighs, buttocks, stomach, back, chest, arms, and finally your face. Use circular motions and blend the edges well.
Step 4: Dosage per body part
- Legs: one pump per leg
- Arms: half a pump per arm
- Torso: two pumps (front and back)
- Face: very small amount
Step 5: Treat difficult areas
Dilute the tanning lotion on knees, elbows, and ankles by lightly wiping over them with an almost dry mitt. This prevents dark spots. For your brown legs, it is important to treat the ankles extra carefully.
As experts advise, the first twenty minutes after application are crucial. Stay upright, avoid sitting or lying down, and let the product absorb completely before putting on clothes.
Tips for a long-lasting, even tan
After applying your tanning lotion, you naturally want the tan to last as long as possible. With these care tips, you'll keep your glow fresh and even.
Immediately after application
Wait at least four hours before showering. Most formulas need eight hours to fully develop. Wear loose, dark clothing that doesn't fit too tightly on your skin. Avoid exercising or activities that make you sweat.
Sleep on a dark towel the first night to prevent stains on your bedding. Although modern formulas hardly rub off, caution is better than cleaning up afterwards.
Maintenance for longer durability
Daily care:
- Moisturize your skin twice a day with a gentle body lotion
- Take short, lukewarm showers instead of hot baths
- Pat your skin dry instead of rigorously rubbing
- Avoid exfoliating products and scrubs
What to avoid:
- Chlorine water (swimming pools)
- Very hot showers or saunas
- Tight clothing that rubs
- Alcohol-based perfumes directly on the skin
The average shelf life of a good tanning lotion is five to seven days. As your skin renews itself, the tan gradually and naturally fades. For continuous color, you can reapply every five days.
Common mistakes and how to avoid them
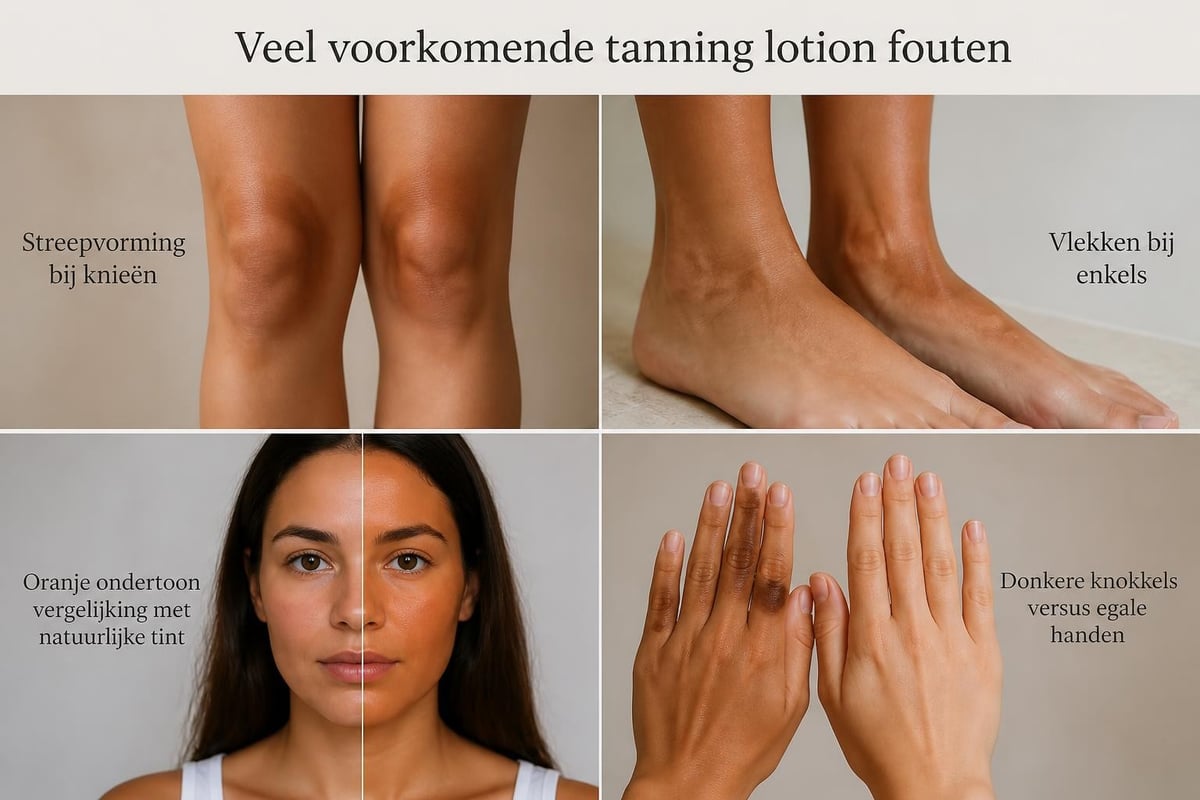
Even experienced users sometimes make mistakes when applying tanning lotion. Do you recognize these situations?
Streaks and spots
Cause: Too much product in one place or uneven distribution.
Solution: Work in thin layers and blend well. Always use an applicator mitt for even distribution. For hard-to-reach areas like your back, a special back applicator can help.
Orange undertone
Cause: Wrong product choice for your skin type or too much product.
Solution: Choose a formula that matches your natural skin tone. Start with a thin layer and gradually build up. Natural formulas without artificial colorants give the best results.
Dark knuckles and palms
Cause: Product got on your hands during application.
Solution: Always use a mitt. Wash your hands immediately after application with soap and a nail brush. Clean your palms with a little body lotion on a cotton pad.
| Problem | Prevention | Correction afterwards |
|---|---|---|
| Streaks | Good distribution, thin layer | Exfoliate and reapply |
| Spots | Dry skin, blend well | Local scrub with lemon |
| Orange tint | Choose the right formula | Exfoliate, leave on for less time |
| Dark knees | Minimal product, blend well | Scrub and moisturizer |
Different types of tanning products
Besides classic tanning lotion, various formulas are now available, each with its own advantages. It's important to know which variant best suits your routine and wishes.
Tanning lotion versus other formulas
Mousse: Lighter in texture, dries faster but can be harder to distribute evenly. Ideal for quick application.
Spray: Convenient for large areas, but requires good technique to avoid streaks. Can be difficult to control.
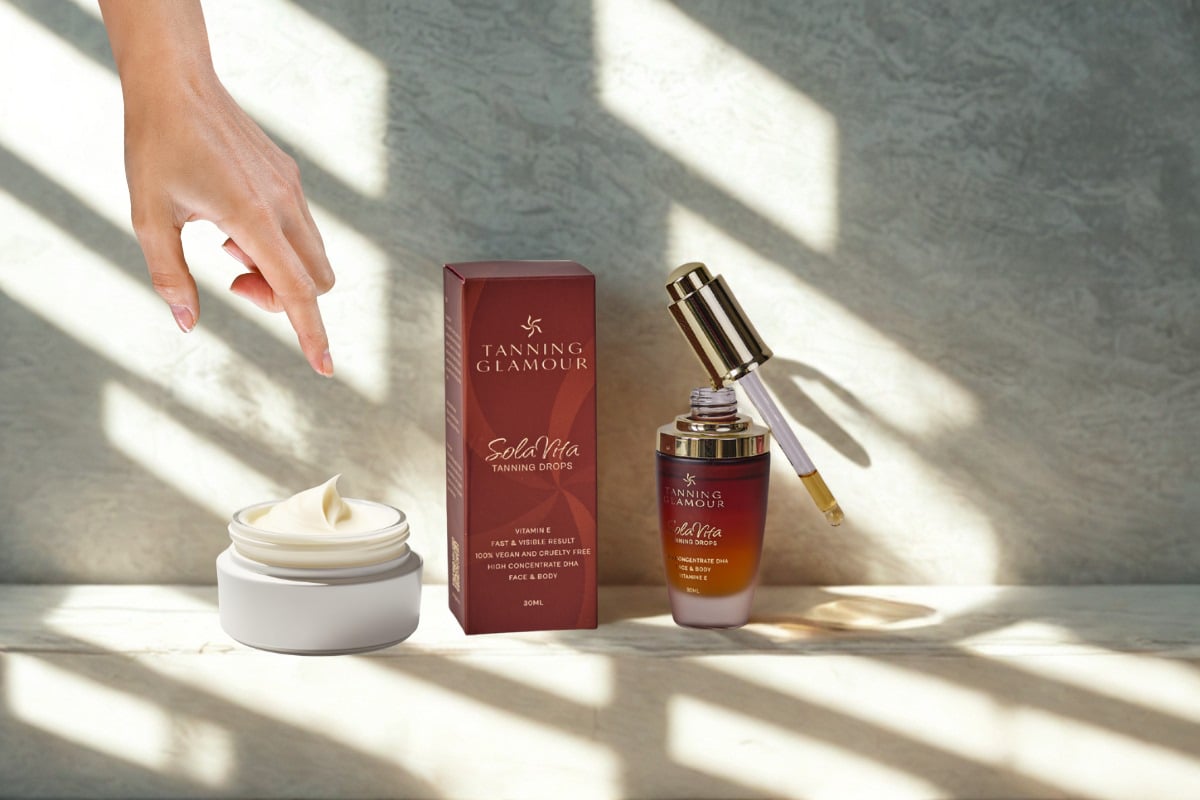
Drops: Flexible option that you mix with your daily moisturizer. Perfect for gradual build-up and intensity adjustment. This option is suitable if you want complete control over your tan.
Lotion: The most classic form, creamy and easy to spread. Gives good control and is suitable for beginners and experienced users.
Which formula suits you?
For beginners, tanning lotion is often the best choice. The creamy texture gives you time to spread the product well and provides more control. The formula is forgiving and allows you to work calmly without rushing.
Experienced users can experiment with different formulas or even combine them. For example, you can use drops for a subtle daily glow and lotion for special occasions when you want a more intense tan.
Seasonal use and adjusting intensity
Your tanning lotion routine can vary depending on the season and your personal preferences. The beauty is that you always determine the intensity yourself.
Summer tan
In summer, you might want a more intense tan that matches the season. Build up the color by applying two to three times in quick succession (with a day in between). This gives a deeper, richer tint that goes well with summer outfits.
Combine your tanning lotion with daily SPF for optimal skin protection. Remember that self-tanner does not offer sun protection.
Winter glow
During colder months, you can opt for a subtler approach. A light, natural complexion gives your skin a fresh, healthy look without being overdone. Use a thinner layer or mix drops with your body lotion for a soft glow.
Adjusting intensity per season:
- Spring: Light to medium tan, gradual build-up
- Summer: Medium to deep, maintain every 5-7 days
- Autumn: Medium tan, natural transition
- Winter: Light to medium, subtle glow
Tanning lotion and your daily skincare
A beautiful tan starts with a good base. Integrate your tanning lotion smartly into your existing skincare routine for optimal results.
Morning routine
Start your day with a mild cleanser and light moisturizer. On days you apply tanning lotion, use products without active ingredients like retinol or AHAs. These can affect the tan.
Always apply an SPF, even if you are tanned. Self-tanner offers no protection against UV radiation. Good sun protection protects your investment in healthy skin.
Evening routine
Evenings are often the best time to apply tanning lotion. Your skin has all night to develop, and you don't have to wait before putting on clothes.
Cleanse your skin thoroughly, but avoid harsh scrubs. Use a gentle body lotion on extra dry areas and wait ten minutes before applying the tanning lotion. As beauty experts emphasize, timing is essential for a beautiful result.
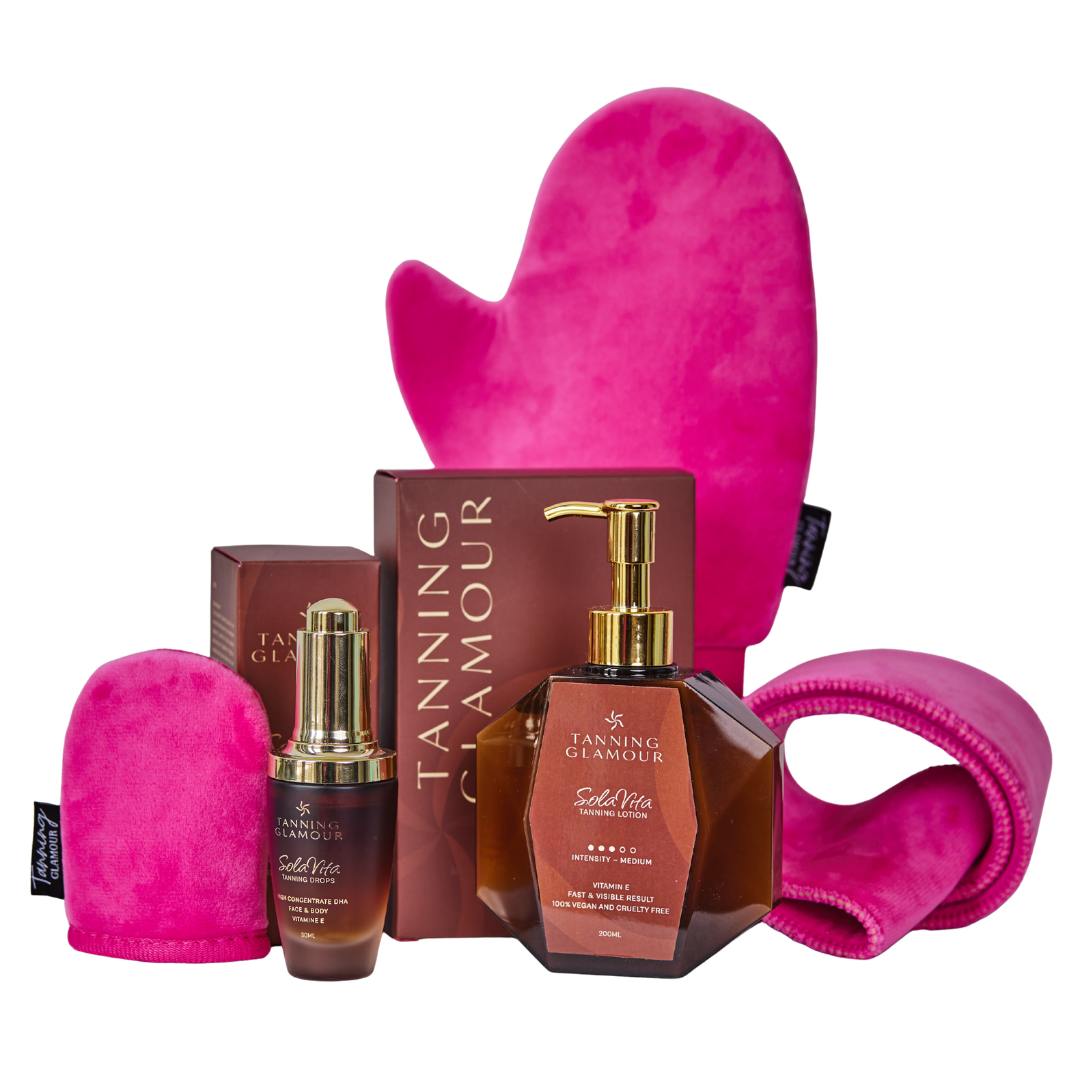
For those looking for maximum flexibility, a product where you determine the intensity yourself can be interesting. For example, the SolaVita Self-Tanner Drops allow you to decide how many drops you mix with your day cream, so you create a completely personalized glow that suits your skin and wishes.
Face versus body: different approaches
Your face often requires a different approach than your body. The skin is more sensitive and delicate, and you want to be extra careful with the dosage.
Facial application
Always use a minimal amount for your face. A small drop the size of a pea is sufficient. Distribute the product with gentle, upward motions and blend well into your hairline, ears, and jawlines.
Points of attention for the face:
- Avoid the eye contour
- Blend well at eyebrows
- Pay attention to the hairline and hair part
- Dilute product at the jawlines
- Gently rub over the ears
Body
For your body, you can be more generous, but stick to the recommended amounts. Large areas like legs and back require more product, but always distribute it evenly.
Hard-to-reach areas like your back can be challenging. Ask for help if necessary or use special applicators designed for these areas. Many tanning tips emphasize the importance of a systematic approach.
The role of ingredients in quality
Not all tanning lotions are created equal. The quality of ingredients determines how natural your tan looks and how good the product is for your skin.
Important ingredients
DHA (Dihydroxyacetone): The active ingredient that causes tanning. Quality products use pure DHA in the correct concentration (between 2-10%).
Erythrulose: Often combined with DHA for a more natural, long-lasting tan. Works slower but gives better results.
Hydrators: Glycerin, aloe vera, and hyaluronic acid keep your skin hydrated during and after the tanning process.
Antioxidants: Vitamin E and green tea extract protect your skin and extend the durability of your tan.
What to avoid
Steer clear of products with these ingredients:
- Parabens and sulfates
- Synthetic fragrances that can cause irritation
- Alcohol as the first ingredient (dries out the skin)
- Artificial colorants that give an orange tint
Natural formulas are not only better for your skin but also provide the most beautiful, natural-looking tan. They work in harmony with your skin rather than against it.
Tanning lotion for different skin types
Every skin type has specific needs when it comes to tanning lotion. Do you recognize your skin type and know what it needs?
Light skin
For a light or very pale skin, it is important to build up gradually. Start with a light formula or use drops mixed with your moisturizer. Build up slowly over several days.
Tips for light skin:
- Start with a minimal amount
- Choose formulas for light to medium shades
- Test on a small patch of skin first
- Build up in thin layers
Medium skin tone
Medium skin tones have more flexibility. You can opt for regular to more intense formulas. Make sure to choose products that give a warm and natural colour instead of orange.
Dark skin
Dark skin can also benefit from tanning lotion. Choose formulas specifically developed for dark skin types that provide a rich, deep tint. The tan will be more subtle but will give a beautiful, even glow.
| Skin type | Formula intensity | Application frequency | Result after 8 hours |
|---|---|---|---|
| Very light | Light/gradual | Every 2-3 days | Subtle golden |
| Light | Light to medium | Every 5-7 days | Naturally tanned |
| Medium | Medium | Every 5-7 days | Warm tan |
| Dark | Medium to dark | As needed | Rich, deep complexion |
Special occasions and quick results
Sometimes you need a beautiful tan quickly for a special event. With the right planning and technique, this is perfectly possible.
Planning for events
For optimal results on a specific date, plan your application three days in advance. This gives you time to correct any imperfections and ensures that the tan is at its best during your event.
Timeline for a perfect event tan:
- Day 1 (3 days before): Exfoliate and first application
- Day 2: Evaluate and possibly second layer
- Day 3 (event): Enjoy a perfect glow
Express formulas
Some tanning lotions are designed for faster development. These express formulas provide visible results within 1-2 hours. Perfect for last-minute situations, but require more precision during application.
Please note: faster action means less time to correct mistakes. Make sure you master the technique before using express formulas for important occasions.
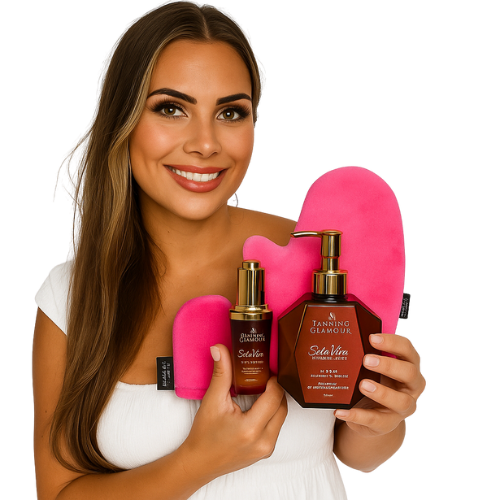
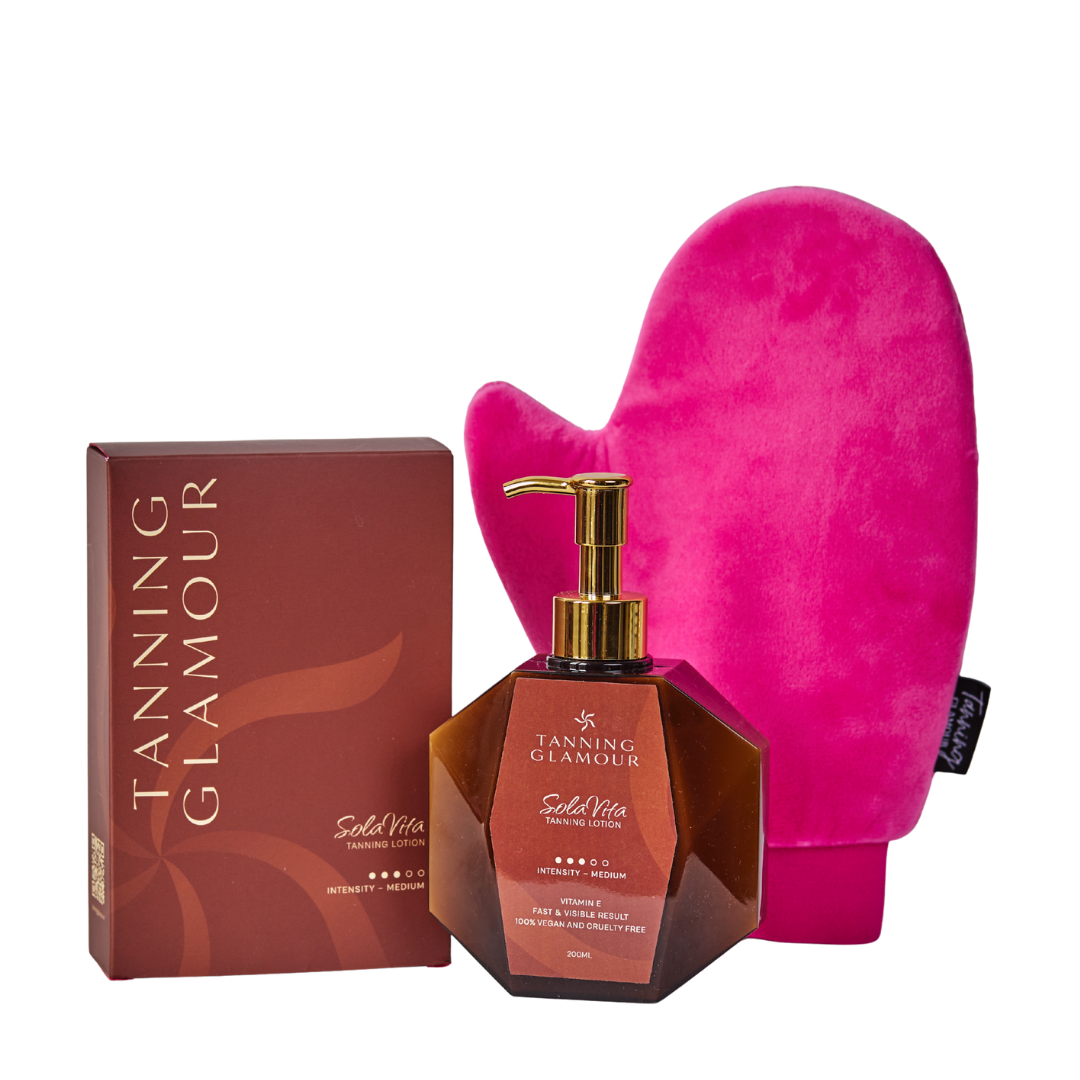
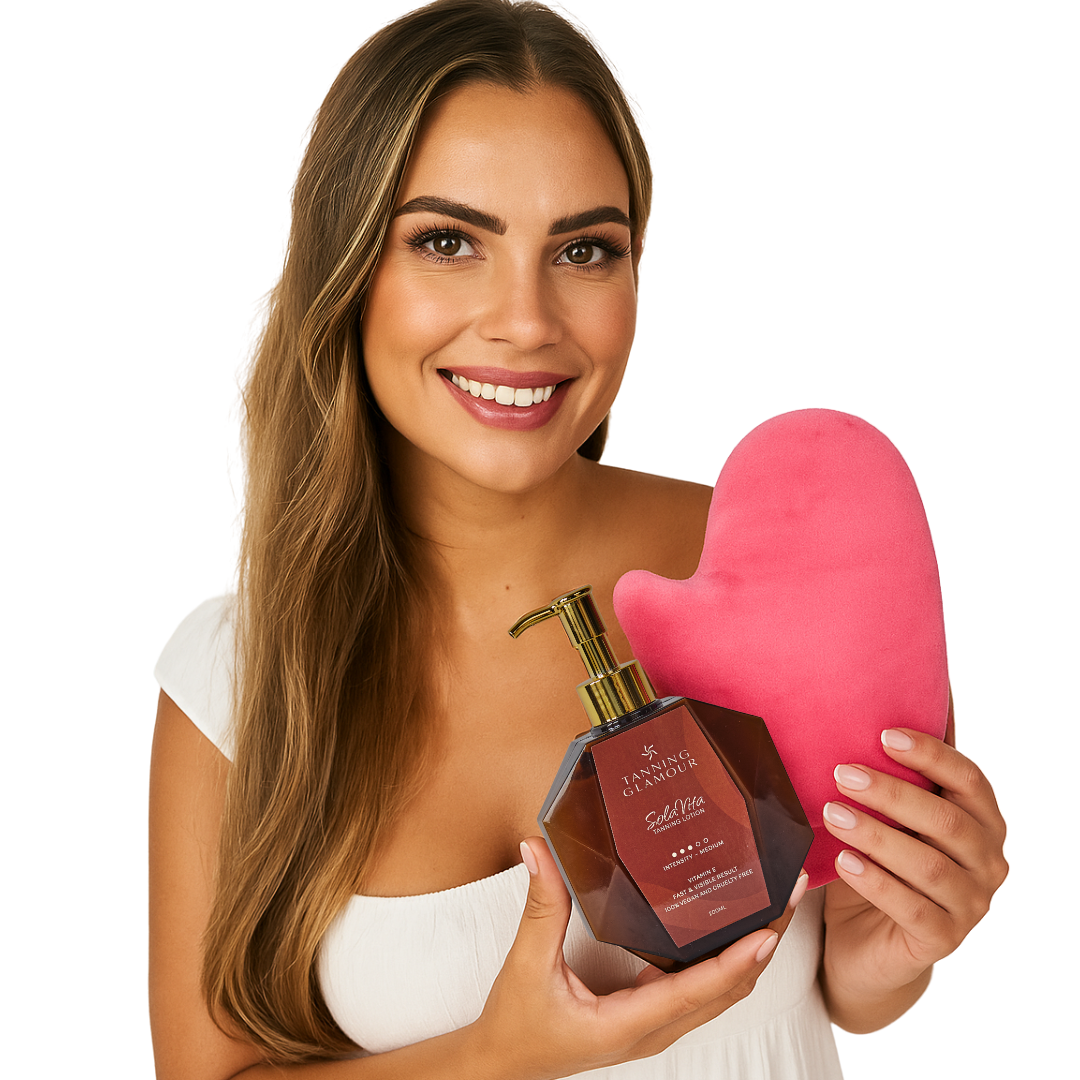
A beautiful, natural tan without sun is achievable for everyone with the right tanning lotion and technique. By properly preparing your skin, applying carefully, and providing good aftercare, you create a radiant glow that lasts beautifully for up to a week. Tanning Glamour helps you with natural self-tanners that are quickly visible, last beautifully, and give your skin an even, warm complexion without streaks or orange undertones.
Ontdek jouw mooiste glow
Verzorgende zelfbruiners van SolaVita - streeploos, geen oranje.
Read more

Discover how body tanning lotion gives you an even, natural tan without the sun. Tips for application, benefits, and long-lasting results.
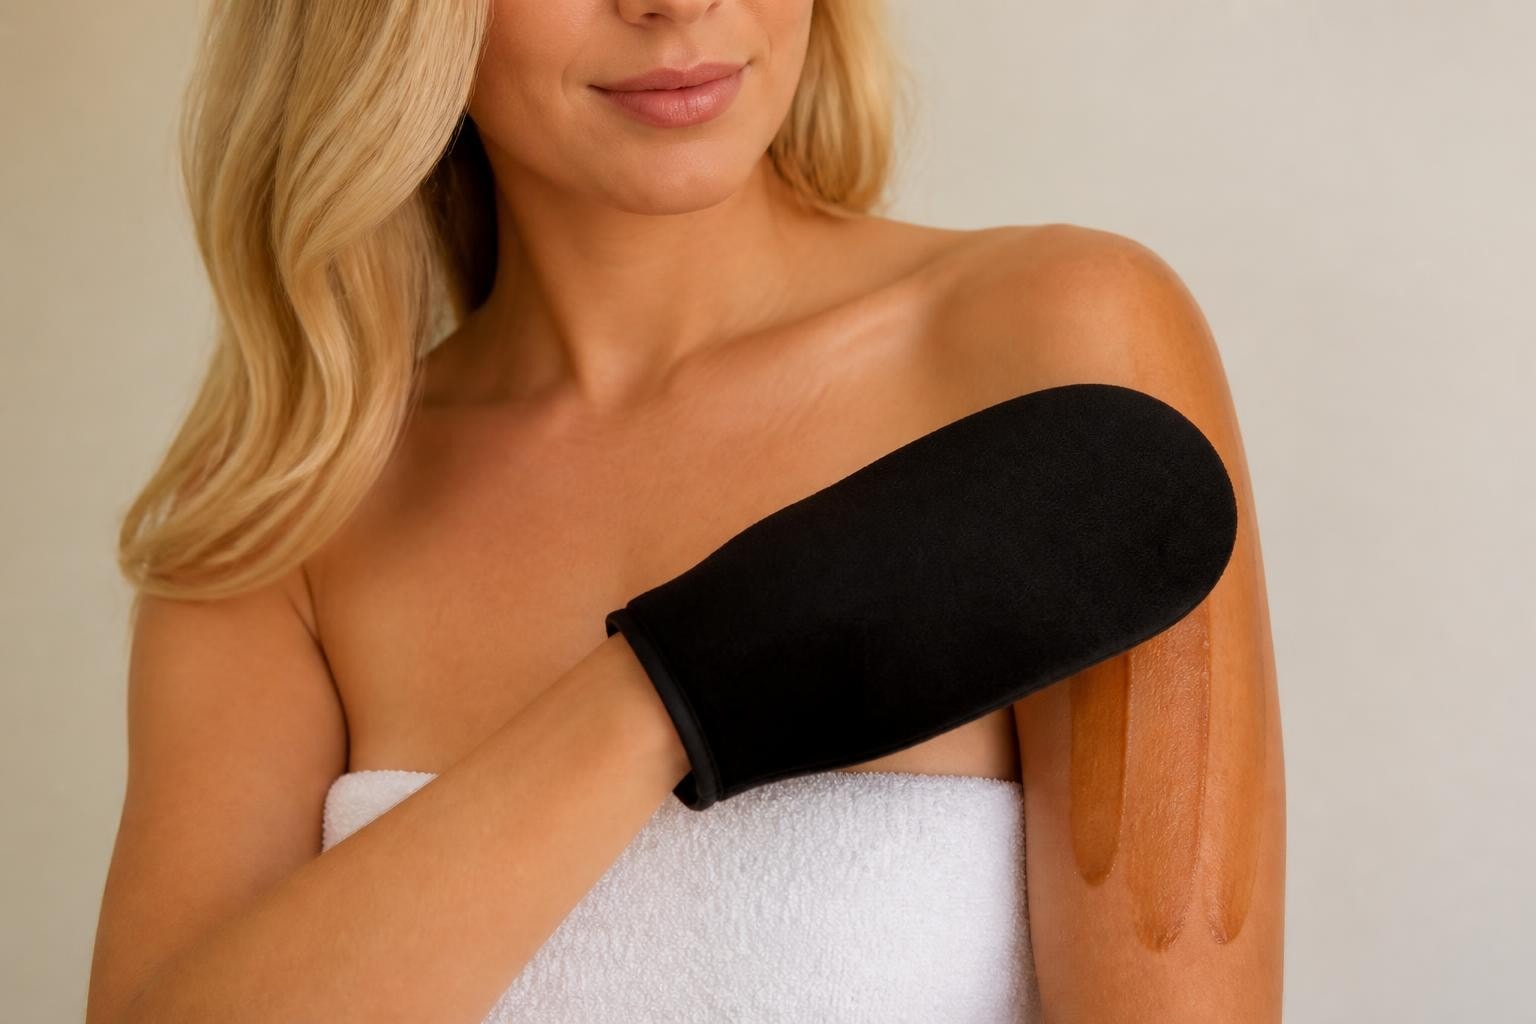
Discover how a self tan mitt transforms your self-tanning experience. From flawless application to long-lasting results: all the tips for a perfect tan.