
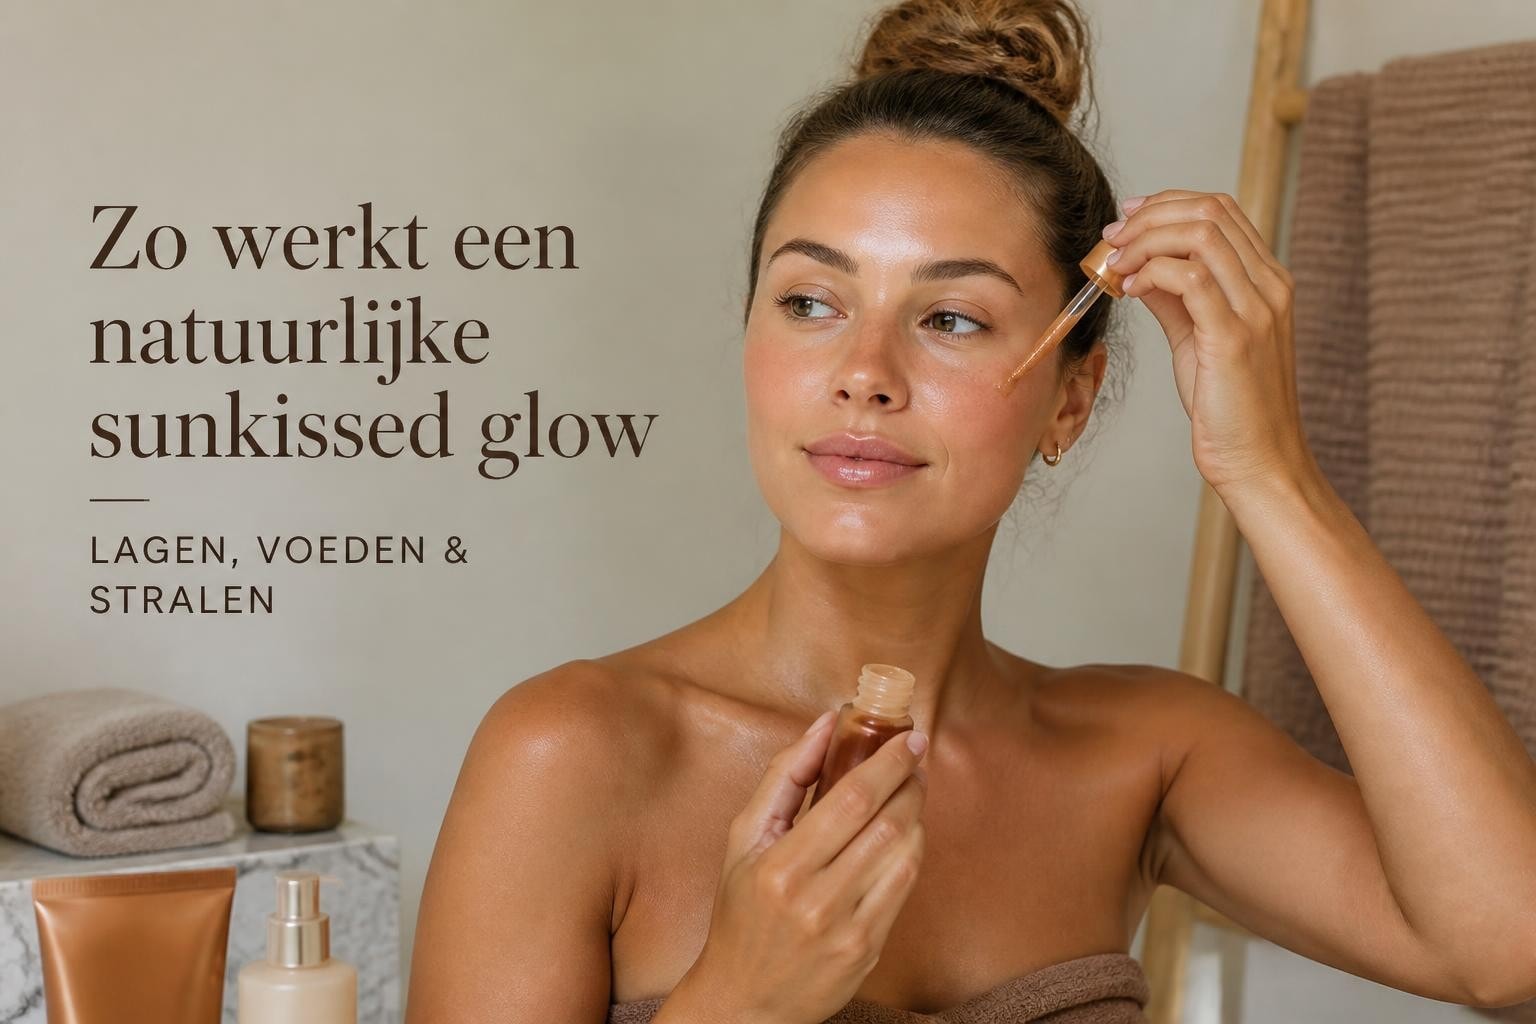
Sunkissed glow: tips for a natural sun-kissed complexion
A radiant, natural complexion immediately gives a well-groomed and confident appearance. The sunkissed glow, that warm radiance as if you just returned from a sunny vacation, is one of the most sought-after beauty goals. But how do you create that perfect golden tan without harmful sun exposure? In this article, you'll discover everything about achieving and maintaining a natural sunkissed glow, from the right preparation to the most effective techniques.
The foundation of a natural sunkissed glow
A beautiful sunkissed glow starts with a good foundation. Your skin needs to be healthy and well-cared for to achieve an even result. This means you need to pay attention to exfoliation, hydration, and choosing the right products.
Skin preparation for an even result
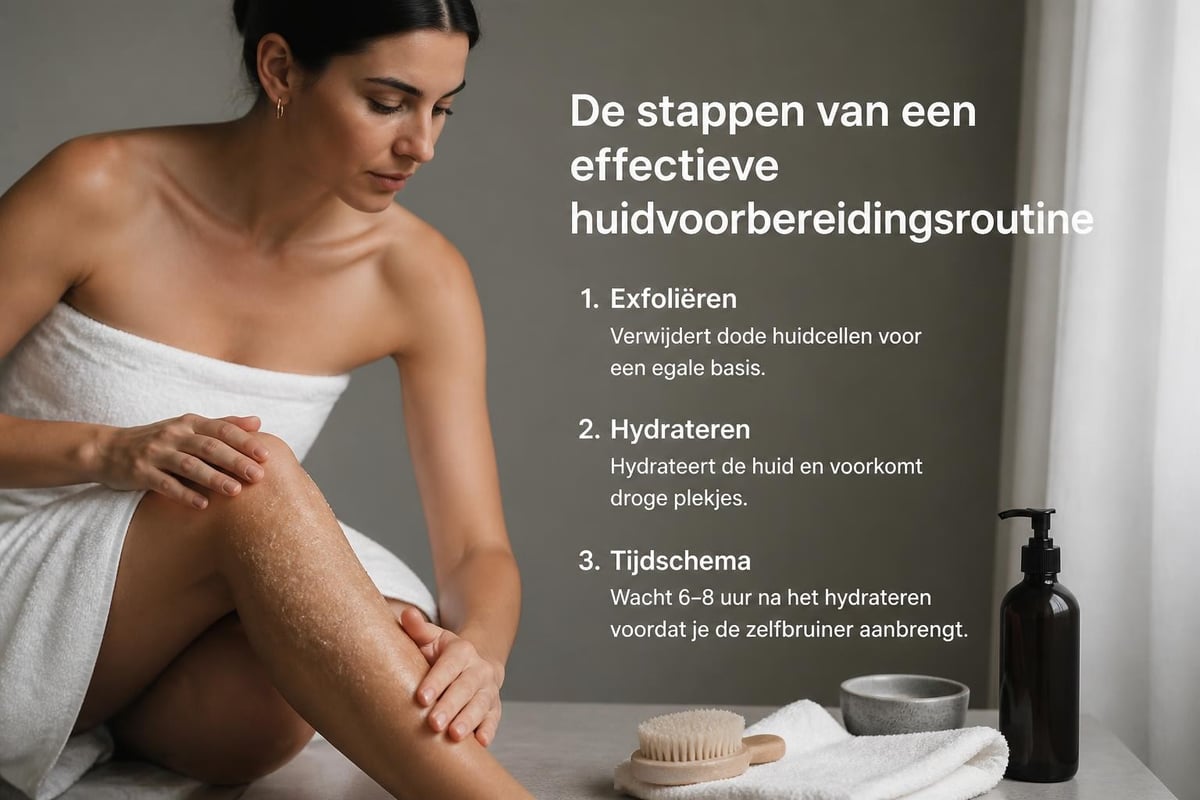
For a streak-free result, it's essential to prepare your skin properly. This process starts a few days before you apply your self-tanner.
Key steps for optimal preparation:
- Exfoliate your skin thoroughly 24 hours before application
- Remove all dead skin cells with a gentle scrub
- Pay extra attention to knees, elbows, and ankles
- Hydrate your skin with a light moisturizer
- Wait at least 30 minutes after applying body lotion
The foundation for a beautiful self-tanning complexion lies in this preparation. When your skin is smooth and even, self-tanners can work optimally.
Choosing the right products
Not all products give the same result. For a natural sunkissed glow, formulas with DHA (dihydroxyacetone) are the most effective option. These ingredients react with the top layer of your skin, creating a temporary tan.
| Product Type | Suitable For | Development Time | Durability |
|---|---|---|---|
| Self-tanning lotion | Body and face | 2-3 hours | 5-7 days |
| Tanning drops | Face, adjustable intensity | 4-6 hours | 4-6 days |
| Spray tan | Fast, full coverage | 6-8 hours | 5-10 days |
| Gradual tanners | Gradual build-up | 3-5 days | 3-5 days |
Modern self-tanners have evolved significantly. High-quality formulas provide a natural color without an orange tint and smell pleasantly fresh.
Application techniques for professional results
The way you apply your self-tanner largely determines the final result. With the right technique, you create an even, natural-looking sunkissed glow.
The applicator makes the difference
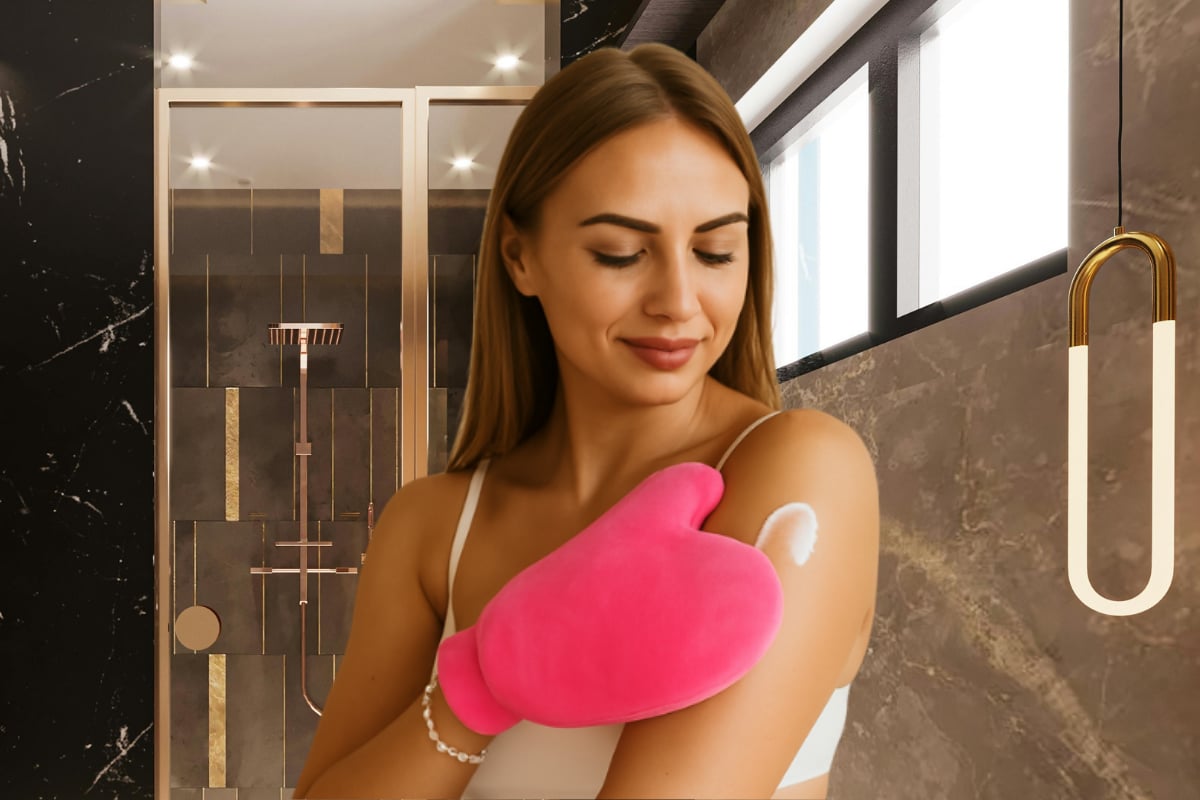
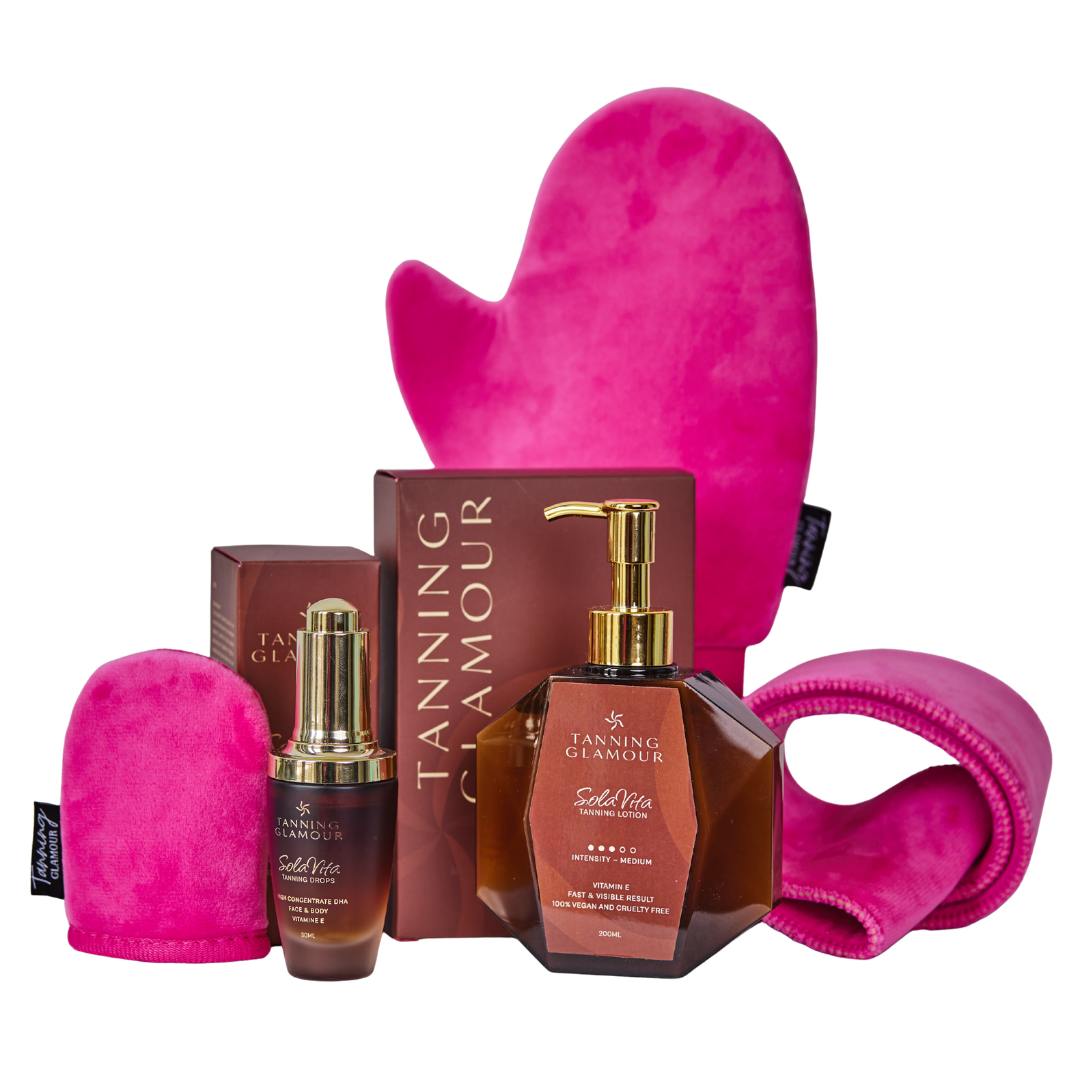
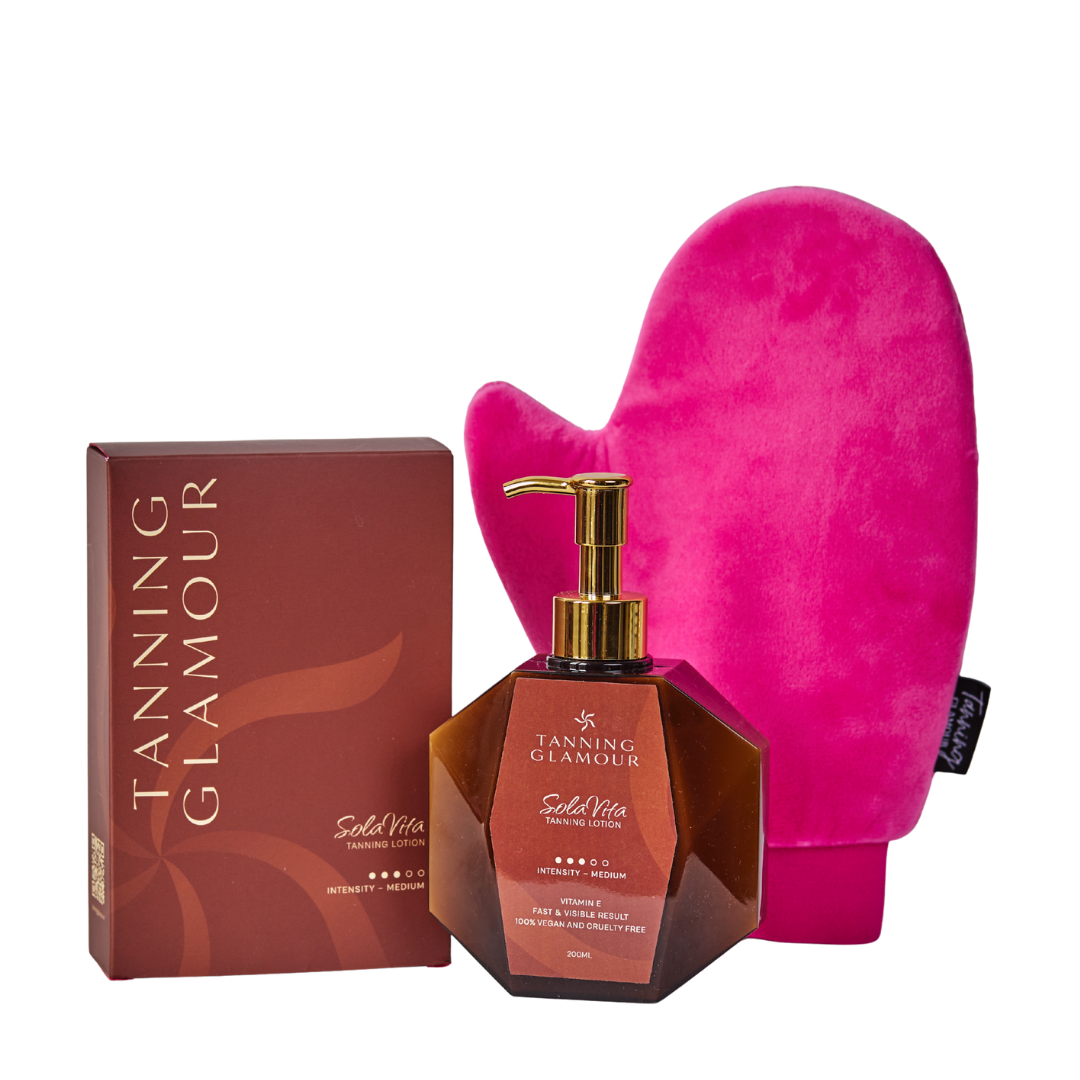
A professional applicator is essential for a streak-free result. Your hands can become blotchy and don't provide even distribution. The Luxe Velvet Tanning Mitt effortlessly and evenly distributes your self-tanner over your skin, prevents streaks, and protects your hands from discoloration.
Benefits of an applicator mitt:
- Prevents orange hands and fingers
- Ensures even product distribution
- Reduces product waste by 40-50%
- Reaches difficult areas like the back and shoulders
- Gives a professional salon result at home
Always start at your ankles and work your way up. Use circular motions and apply less product to knees, elbows, and wrists. These areas absorb more product and can therefore become darker.
Facial application for a sunkissed look
Your face deserves extra attention. The skin is more sensitive and visible, so precision is essential. Start with a small amount of product and build up gradually.
Start at the center of your face and blend outwards. Pay extra attention to the hairline, eyebrows, and jawline. These transitions must be seamless for a natural effect.
For an authentic sunkissed skin, you can apply a little more product to the areas where the sun would naturally shine: forehead, cheekbones, bridge of the nose, and chin.
Makeup techniques for extra dimension
Self-tanners give you a beautiful base color, but with clever makeup techniques, you can further enhance your sunkissed glow. These methods are perfect for special occasions or when you want extra radiance.
Combining bronzer and blush
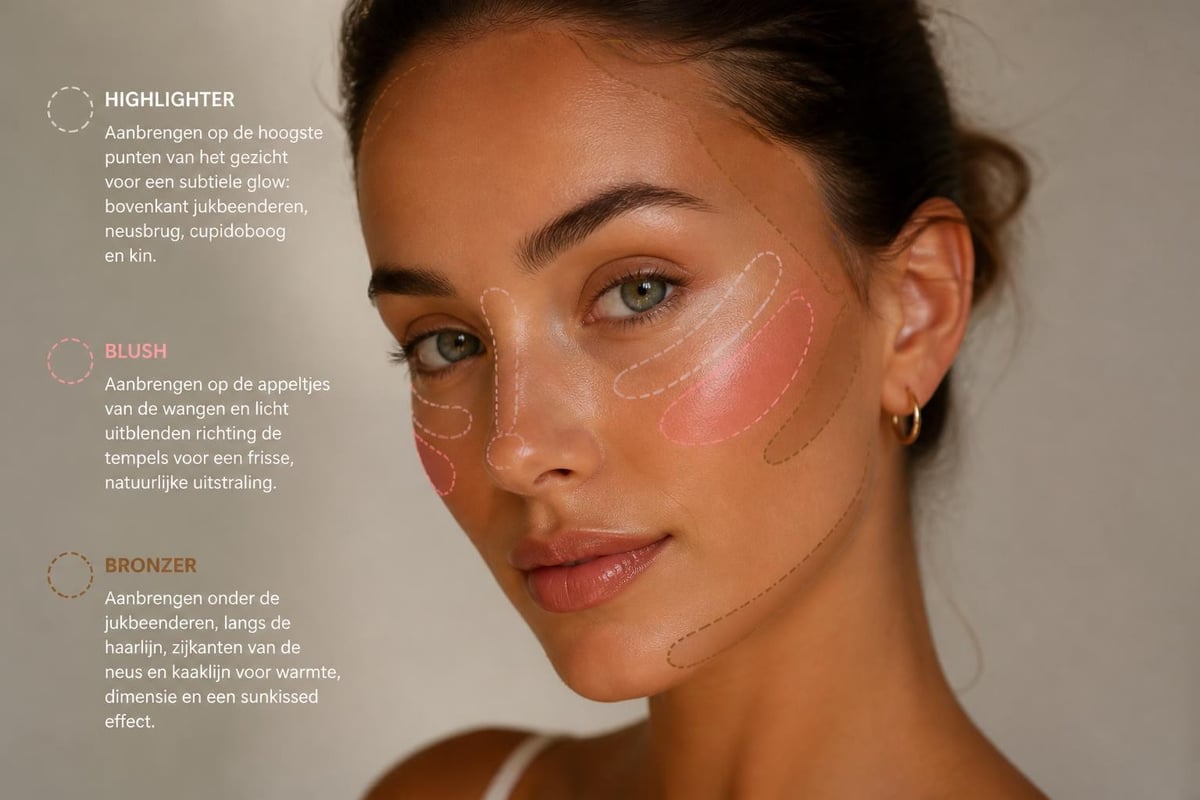
The technique of 'blonzing' combines bronzer and blush for a natural, summer look. This method mimics the way your face naturally colors after a day in the sun.
- First, apply a light foundation or BB cream
- Use a cream bronzer on cheekbones, temples, and jawline
- Add a peachy blush to the apples of your cheeks
- Blend everything seamlessly
- Finish with a liquid highlighter on the high points
This layered approach creates depth and dimension. Your face gets a healthy flush that perfectly complements your radiant complexion.
Sunkissed strobing technique
Strobing focuses entirely on accentuating light. This technique, inspired by the sunkissed strobing method, emphasizes the natural contours of your face.
Strobing hotspots for a sunkissed glow:
- Top of cheekbones
- Middle of your forehead
- Bridge of the nose
- Cupid's bow (above your upper lip)
- Inner corners of the eyes
- Just below the brow bone
Use a champagne-colored or golden highlighter that matches your undertone. Creamy formulas give the most natural result and blend seamlessly with your skin. Powder formulas are suitable for a more intense effect.
Maintaining your natural tan
A beautiful sunkissed glow requires good maintenance. With the right care, your tan will remain beautifully even and extend the life of your self-tanner.
Hydration is essential
Dry skin causes your tan to fade faster and flake off unevenly. Hydrate your skin daily with a nourishing body lotion. Focus on areas that dry out quickly, such as knees, elbows, and shins.
| Care Moment | Recommended Product | Purpose |
|---|---|---|
| Immediately after showering | Light body lotion | Restore moisture balance |
| Daily (morning) | Hydrating cream | Maintain even complexion |
| Before bed | Richer body butter | Deep nourishment |
| Weekly | Gentle scrub | Remove dead skin cells |
Avoid products with AHAs or BHAs immediately after applying your self-tanner. These ingredients can cause your tan to fade faster.
Extension techniques
To maintain your sunkissed glow for as long as possible, you can apply various extension techniques. Gradual tanners are perfect for maintaining your color between full applications.
Shower with lukewarm water instead of hot water. High temperatures open your pores and cause your tan to fade faster. Pat your skin dry instead of rubbing. This protects the top layer where your DHA tan is located.
Consider adding a light layer every 3-4 days. This keeps your color fresh and prevents you from having to start over with the full application process.
Seasonal adjustments
Your approach to a sunkissed glow can vary by season. In 2026, we are seeing more and more people adapting their routine to the weather and their lifestyle.
Summer strategy for lasting glow
During warm months, you sweat more and shower more often. This affects the longevity of your self-tanner. Adjust your routine by using a lighter product and reapplying more often.
Summer tips for a lasting sunkissed glow:
- Use water-resistant formulas when visiting the pool
- Apply a hydrating spray after swimming
- Switch to tanning drops for subtle daily build-up
- Exfoliate more gently but more regularly
- Increase your fluid intake for better skin condition
In summer, you probably want a deeper color. Build up gradually instead of going for a dark shade right away. This prevents an unnatural result.
Winter strategy for a natural look
During colder months, your skin is often drier. This requires extra hydration and caution when applying self-tanners. The dry indoor air can cause your tan to fade unevenly.
Focus on intensive skin care. Use richer creams and increase your scrub routine to twice a week. This prevents flaky spots that can disturb your complexion.
In winter, you may prefer a more subtle sunkissed glow. Sunless tanning is perfectly achievable with an adapted approach that suits the season.
Avoiding common mistakes
Even with the best products, certain mistakes can ruin your sunkissed glow. By knowing and avoiding these pitfalls, you will consistently achieve better results.
Using too much product
The most common mistake is applying too much product at once. This leads to an unnaturally dark color, streaks, and uneven patches. Less is more with self-tanners.
Always start with a thin layer. You can always add a second layer the next day for more intensity. It is much easier to add color than to correct an overly dark result.
Remember that your final color develops within 2-3 hours. What initially seems light can become significantly darker after full development.
Neglecting difficult areas
Hands, feet, ankles, and knees require special attention. These areas often have dry skin and creases that can accumulate product.
For your hands and feet: use minimal product and blend carefully. Immediately after application, wipe over your nails and cuticles with a damp cloth. This prevents orange nails.
For knees and elbows: first apply body lotion to these dry areas, wait 5 minutes, then use minimal self-tanner. The body lotion creates a barrier that prevents these areas from becoming too dark.
Advanced techniques for a professional finish
Once you've mastered the basics, you can experiment with advanced techniques. These methods give you results you'd normally only expect in a professional salon.
Contouring with self-tanner
Just as you can contour with makeup, you can also do it with self-tanner. This technique gives your body more definition and accentuates your natural curves.
Apply slightly more product to areas you want to highlight: abs, collarbones, shoulder definition, and legs. Blend carefully to avoid harsh lines. The difference should be subtle, not obvious.
This technique works best if you already have a base layer. Use the second application for contouring. This creates natural depth and dimension.
Mixing techniques for personalized color
Tanning drops give you complete control over your color level. Mix them with your daily moisturizer, serum, or body lotion for a completely personalized sunkissed glow.
- Start with 1-2 drops for a subtle tint
- Increase to 3-4 drops for medium intensity
- Use 5-6 drops for a deeper sunkissed color
- Mix thoroughly before applying
- Apply with round, circular motions
This method is perfect for beginners and for people who want to vary their intensity. You can adjust different areas of your body to your preferences.
Troubleshooting and corrections
Even the most experienced users sometimes make mistakes. Knowing how to troubleshoot is just as important as correctly applying your self-tanner.
Fixing streaks and patches
Do you discover streaks or dark patches? Act quickly. The sooner you act, the easier the correction.
Immediate correction steps:
- Moisten an exfoliating mitt with warm water
- Gently scrub the dark areas in circular motions
- Use lemon or baking soda for stubborn stains
- Hydrate the area immediately after correction
- Reapply the next day with less product
For prevention: always use an applicator mitt and carefully blend all transitions. Pay extra attention to tricky areas like ankles, wrists, and knees.
Neutralizing orange undertones
Some formulas can turn orange, especially on paler skin types. This is due to the DHA reaction with your specific skin chemistry. Not all products work the same on every skin.
Choose formulas with violet or olive undertones. These neutralize orange tones and give a more natural brown color. Always test a new product on a small patch of skin before applying it to your entire body.
If you already have an orange tint, you can partially neutralize it with a violet toner or a body lotion with green undertones. This color correction is subtle but effective.
Combining natural and artificial techniques
For the most natural-looking sunkissed glow, many people combine different techniques. A layered approach gives you more dimension and realism.
Natural sun and self-tanner
If you do spend some time in the sun (with protection), you can combine this with self-tanner. Start with a light layer of self-tanner as a base. This gives you an even start.
Always use at least SPF 30 when in the sun. Your self-tanner does not offer sun protection. The combination of natural and artificial tanning can give a very natural result, but safety is paramount.
Keep in mind that natural sun exposure accelerates skin aging. Experts advise limiting sun time and focusing on safe alternatives for a healthy glow.
Makeup as a finishing touch
Self-tanner gives you a beautiful base color, but makeup adds that extra dimension. A light liquid highlighter on your collarbones, shoulders, and shins creates a beautiful shimmering effect.
Use a bronzing body lotion with shimmer for special occasions. This gives your skin a luxurious, radiant look that is perfect for evening events or photo opportunities.
Don't forget your décolletage. This area catches a lot of light and can transform your entire look. A combination of self-tanner and a subtle highlighter gives a red carpet-worthy result.
A natural sunkissed glow is within reach with the right knowledge and products. By preparing your skin well, using high-quality formulas, and applying the right techniques, you create a radiant complexion that looks like you just came back from vacation. Whether you choose a subtle daily glow or a more intense summer tan, the key lies in consistency and careful application. Tanning Glamour offers natural self-tanners that provide an even, long-lasting tan in just a few hours without streaks or orange undertones, so you can enjoy that perfect sunkissed look all year round.
Ontdek jouw mooiste glow
Verzorgende zelfbruiners van SolaVita - streeploos, geen oranje.
Read more
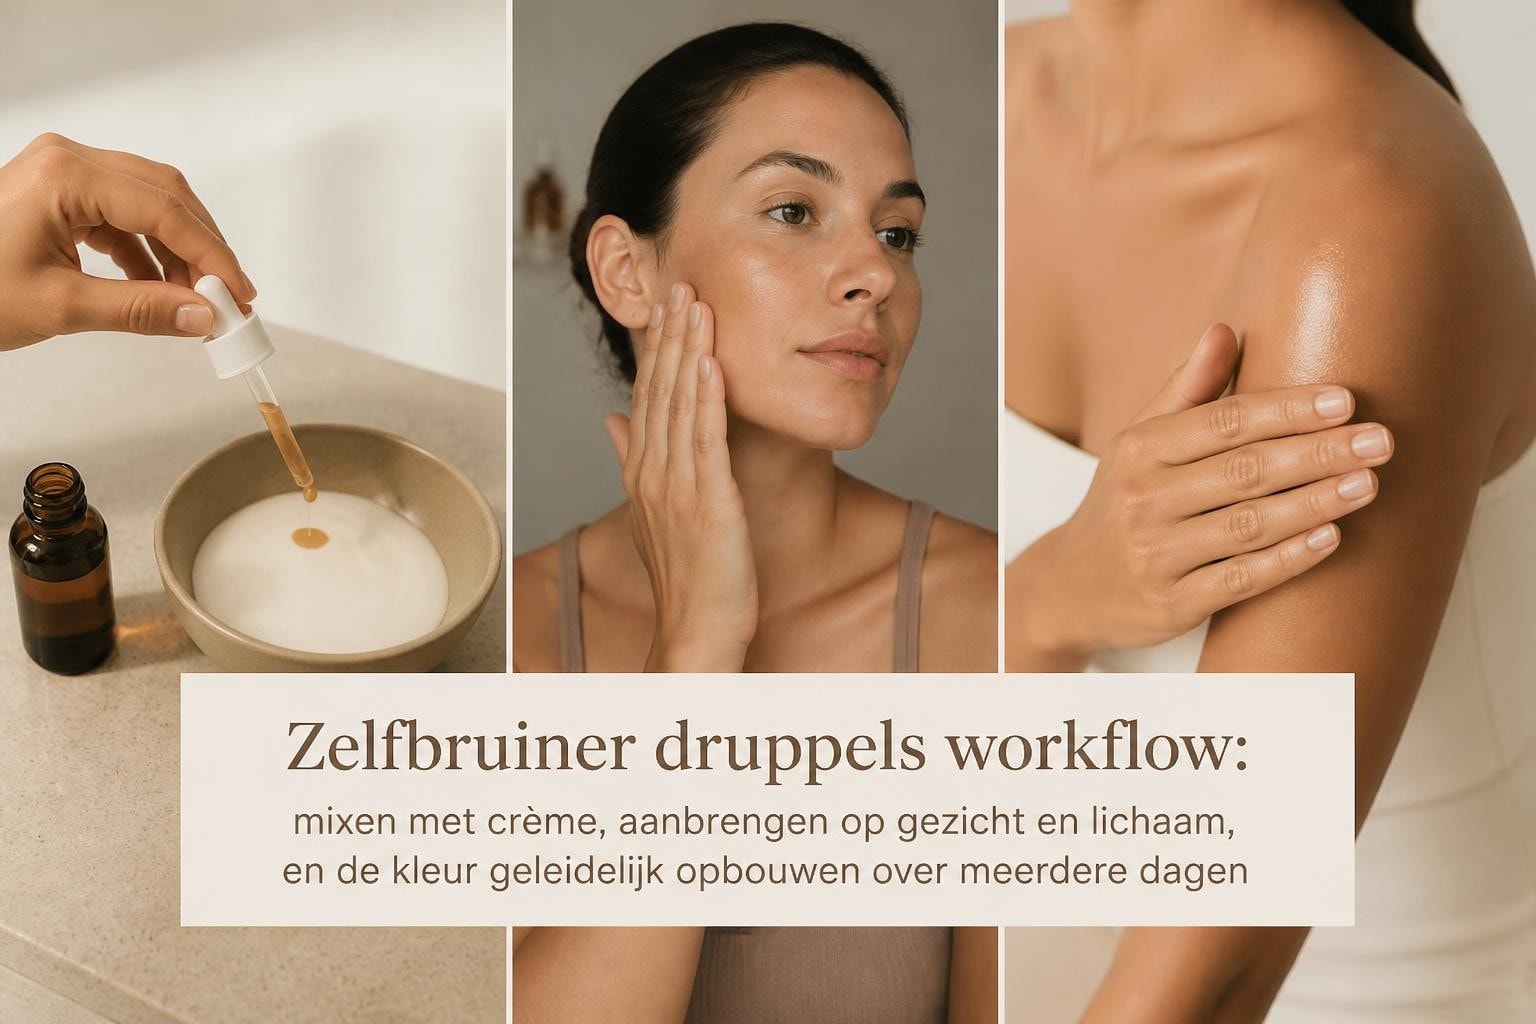
Discover everything about self-tanning drops: how to use them, their benefits, and how to create an even, radiant complexion without the sun.
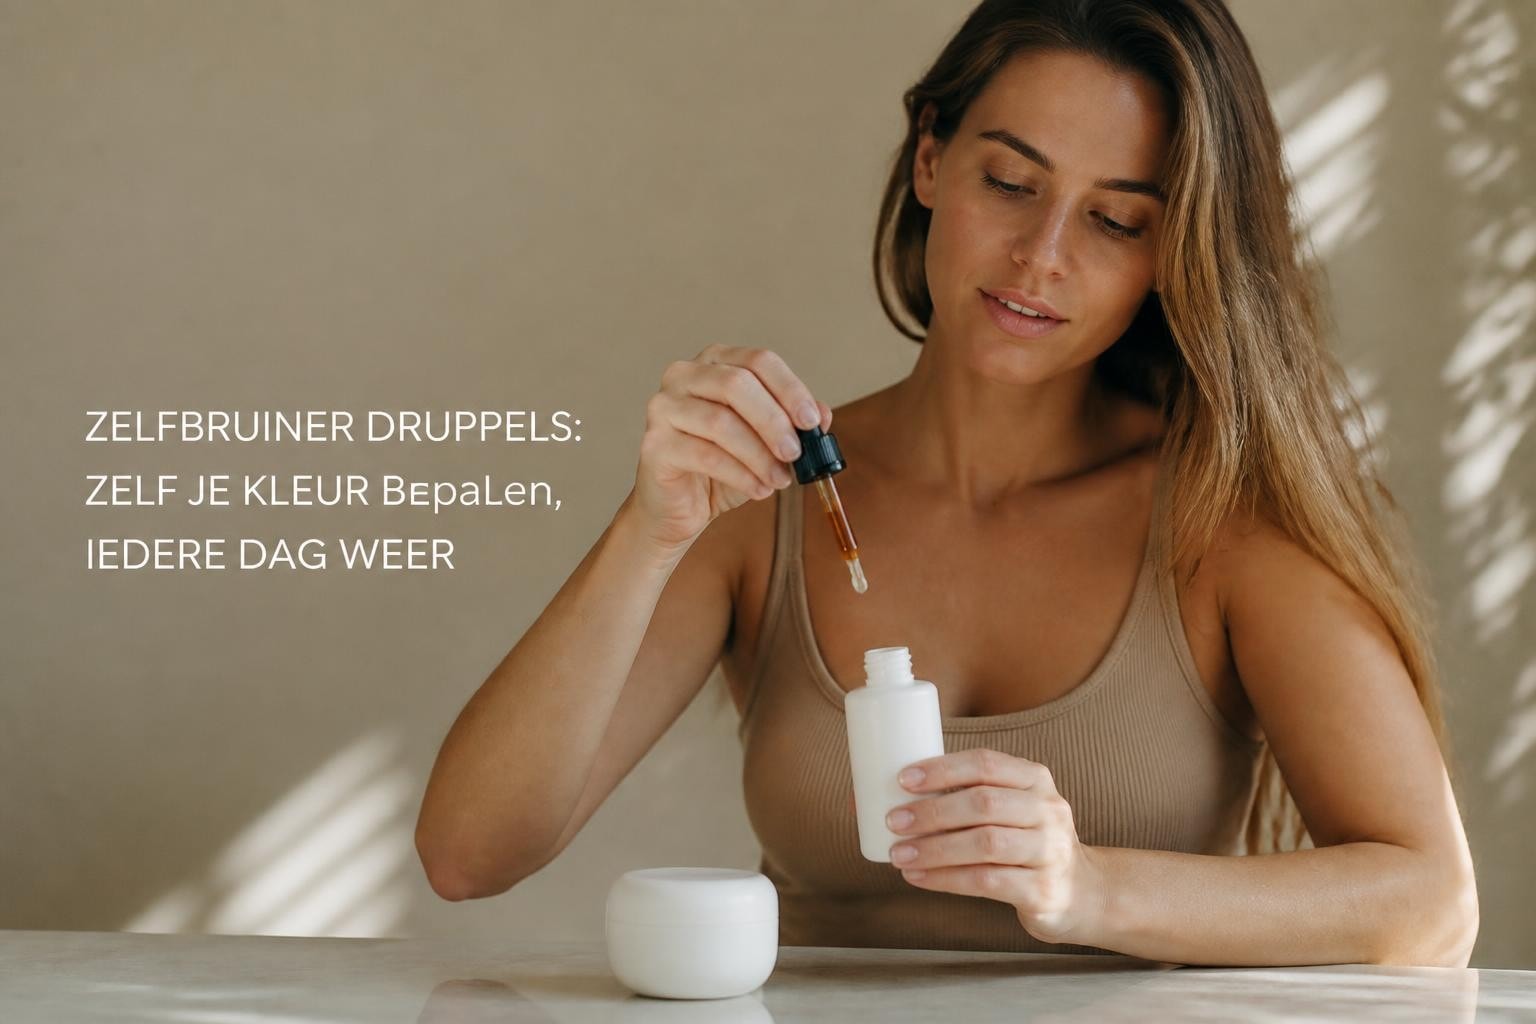
Discover how self tan drops work and how to apply them for a natural glow. Tips for use, dosage, and the best results.