
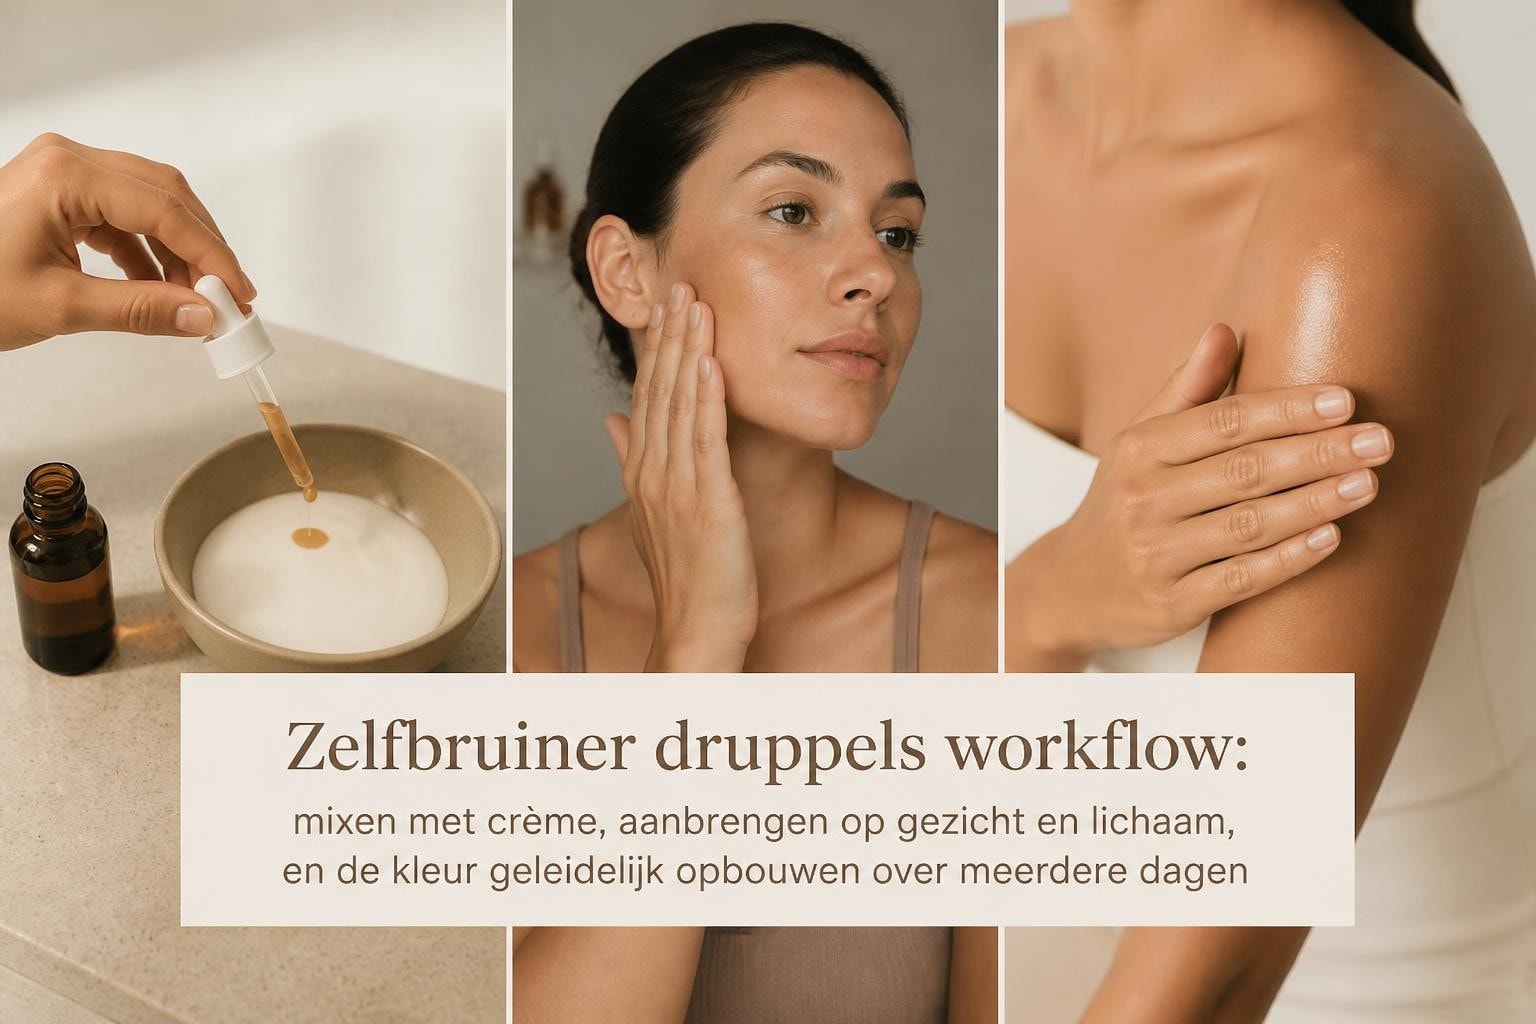
Self-tanning drops: your guide to a natural glow
A radiant, sun-kissed complexion without harmful UV rays. It may sound too good to be true, but with self-tanning drops, you can create exactly that effect. These versatile formulas have become a favorite product in the world of natural self-tanners in recent years. They offer complete control over the intensity of your tan, seamlessly integrate into your existing skincare routine, and deliver a result that looks like you've just spent a week at the beach. Whether you're looking for a subtle glow for everyday wear or a deeper tan for a special occasion, these drops make it all possible.
What exactly are self-tanning drops?
Self-tanning drops are concentrated formulas that you mix with your favorite day or night cream, serum, or body lotion. The active ingredients in these drops, usually DHA (dihydroxyacetone), react with the amino acids in the outermost layer of your skin to create a natural-looking tan.
The biggest difference from traditional self-tanners is the flexibility. Instead of a fixed percentage of DHA in a lotion or mousse, you determine how many drops you add to your skincare product. This means you can adjust the intensity entirely to your liking.
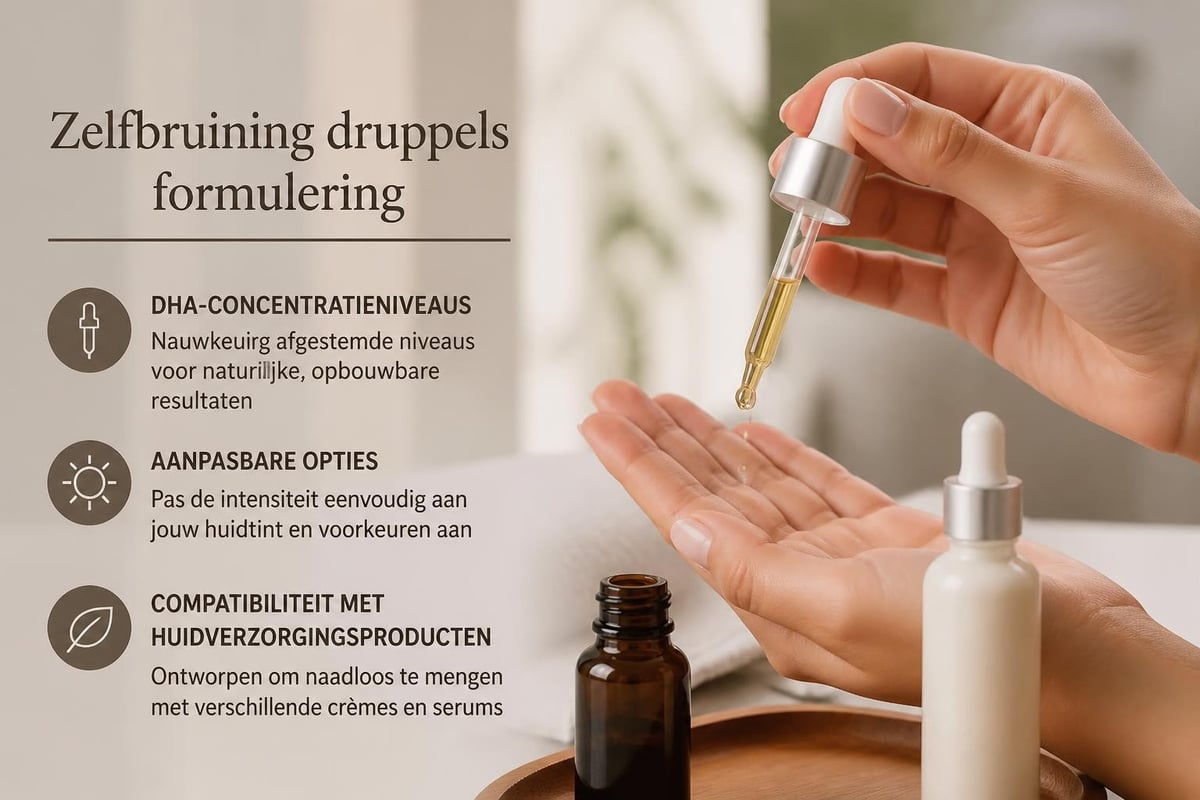
The science behind the golden glow
The mechanism of action is fascinatingly simple. When you mix the drops with your cream and apply it to your skin, DHA begins to interact with the dead skin cells in the outer layer of your epidermis. This chemical reaction, known as the Maillard reaction, produces melanoidins that give your skin a brown color.
Key features of the reaction:
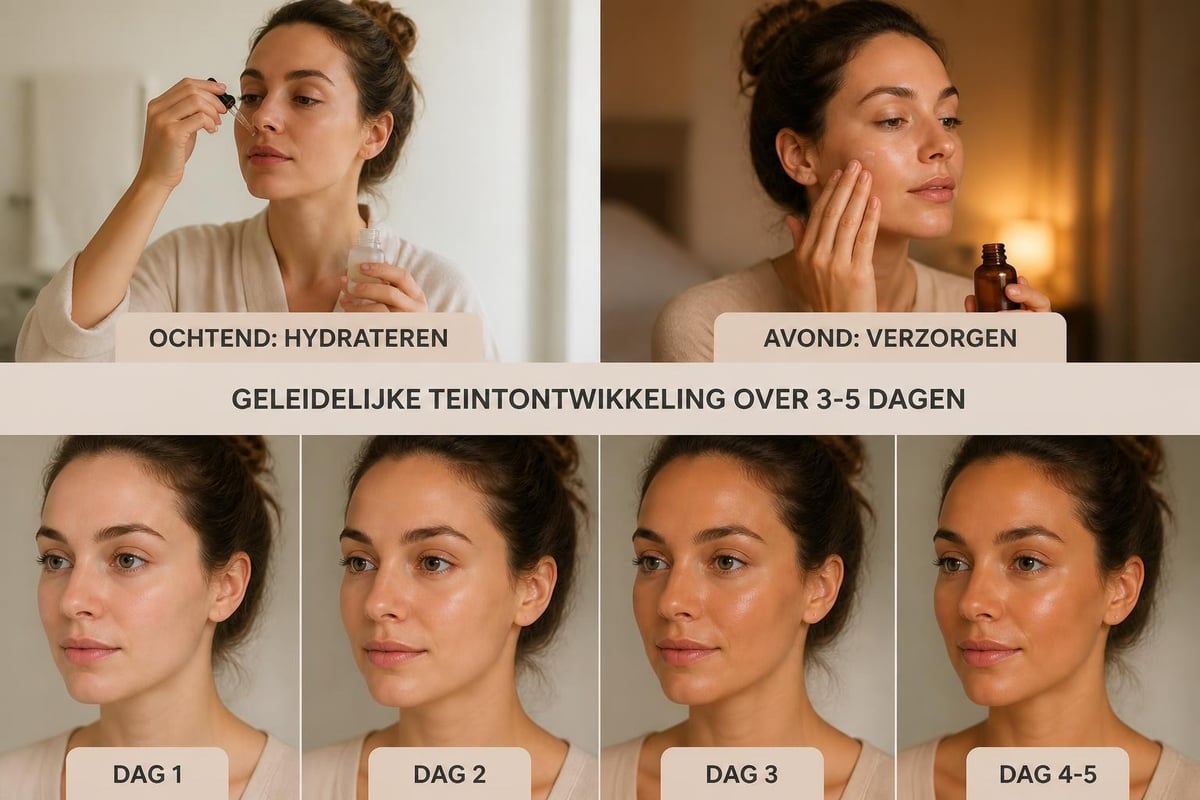
- Starts within 2-3 hours after application
- Reaches full development after 6-8 hours
- Remains visible for an average of 5-7 days
- Fades gradually due to natural skin renewal
The process is entirely superficial and temporary. Because your skin continuously renews itself, the tan gradually disappears as old skin cells shed and are replaced by new ones.
Advantages over other self-tanners
Self-tanning drops distinguish themselves from classic self-tanning products in several ways. Flexibility is paramount, but there are more reasons why more and more people are opting for this format.
Customization for your skin
With traditional self-tanners, you buy a fixed percentage of DHA. This means you're stuck with one intensity level. Self-tanning drops, on the other hand, offer ultimate customization options.
| Number of drops | Intensity | Ideal for |
|---|---|---|
| 1-2 drops | Subtle glow | Daily freshness, fair skin |
| 3-4 drops | Medium tan | Weekend look, average skin tone |
| 5+ drops | Deep tan | Special occasions, darker complexion |
You can vary the number of drops per body part. For your face, you might choose a more subtle shade, while for your body, you might prefer a deeper color. This flexibility also makes it easy to follow seasonal variations. In the summer, you gradually build up a deeper tan, while in the winter, you switch back to a softer glow.
Integration into your skincare
One of the biggest advantages is that you don't have to give up your favorite skincare products. Simply mix the drops with your trusted day cream, and you'll get both your usual hydration and a beautiful tan.
This saves time, money, and bathroom cabinet space. No more separate self-tanner that may not perfectly suit your skin's needs. You continue to use what your skin already knows and appreciates, supplemented with that sun-kissed effect.
Correct application for optimal results
Applying self-tanning drops requires a slightly different approach than applying a regular lotion. With the right technique, you can avoid streaks and patches and create an even, natural result.
Preparation is key
Always start with clean, exfoliated skin. This is crucial for an even distribution of color. Dead skin cells create an uneven texture where the product can accumulate.
Preparation steps:
- Exfoliate your skin 24 hours before application
- Shower just before use with a mild soap
- Dry your skin thoroughly
- Pay extra attention to rough areas like knees, elbows, and ankles
Make sure your skin is completely dry before you start. Moisture can affect the distribution of the product and lead to patchy results. For more detailed information on preparing your skin, check out our comprehensive guide on applying self-tanner.
Mixing and applying
Dispense your usual amount of face or body cream into your palm. Add the desired number of self-tanning drops and mix thoroughly with your finger until the color is uniformly distributed through the cream.
Apply the mixture with circular motions, just as you would apply a normal moisturizer. Start with your face and work downwards. For your body, you can use an application mitt for even more even distribution.
Points of attention per zone:
- Face: Use less product around the hairline and eyebrows
- Hands and feet: Dilute extra with pure cream or omit entirely
- Knees and elbows: Apply less product to these dry areas
- Décolletage: Work product into the neck for a natural transition
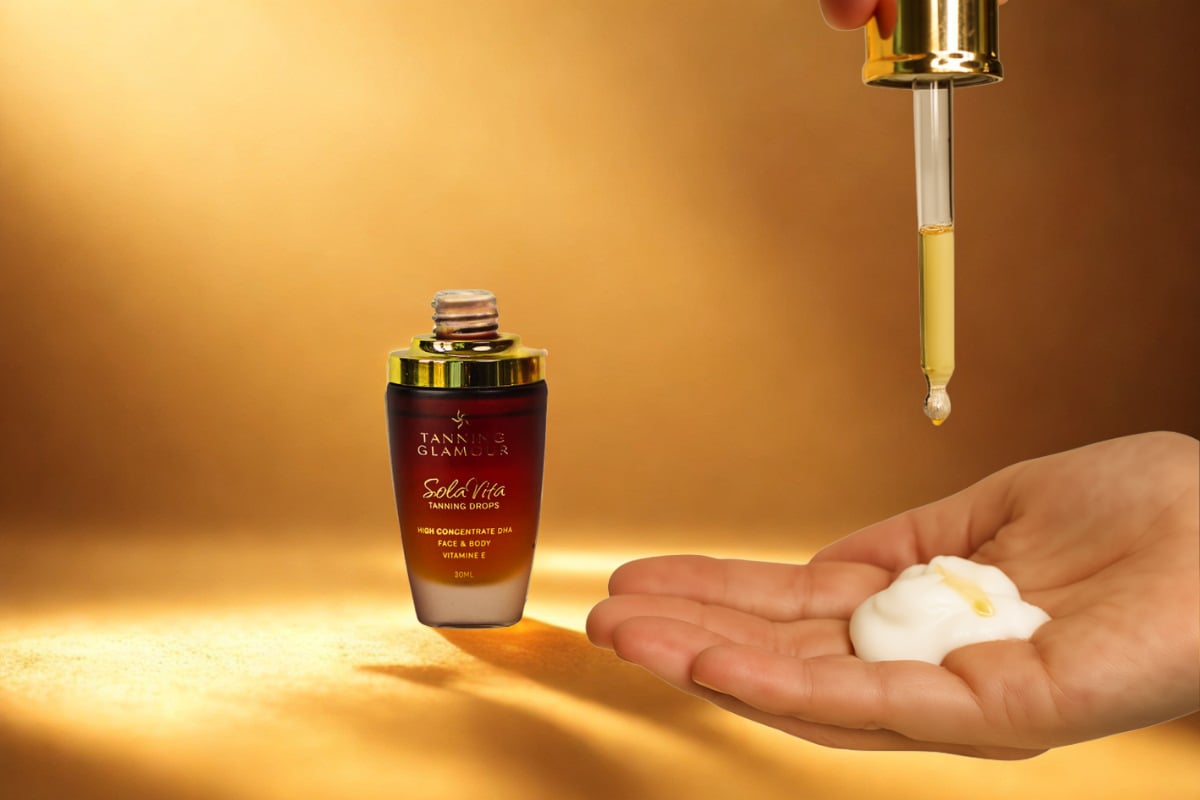
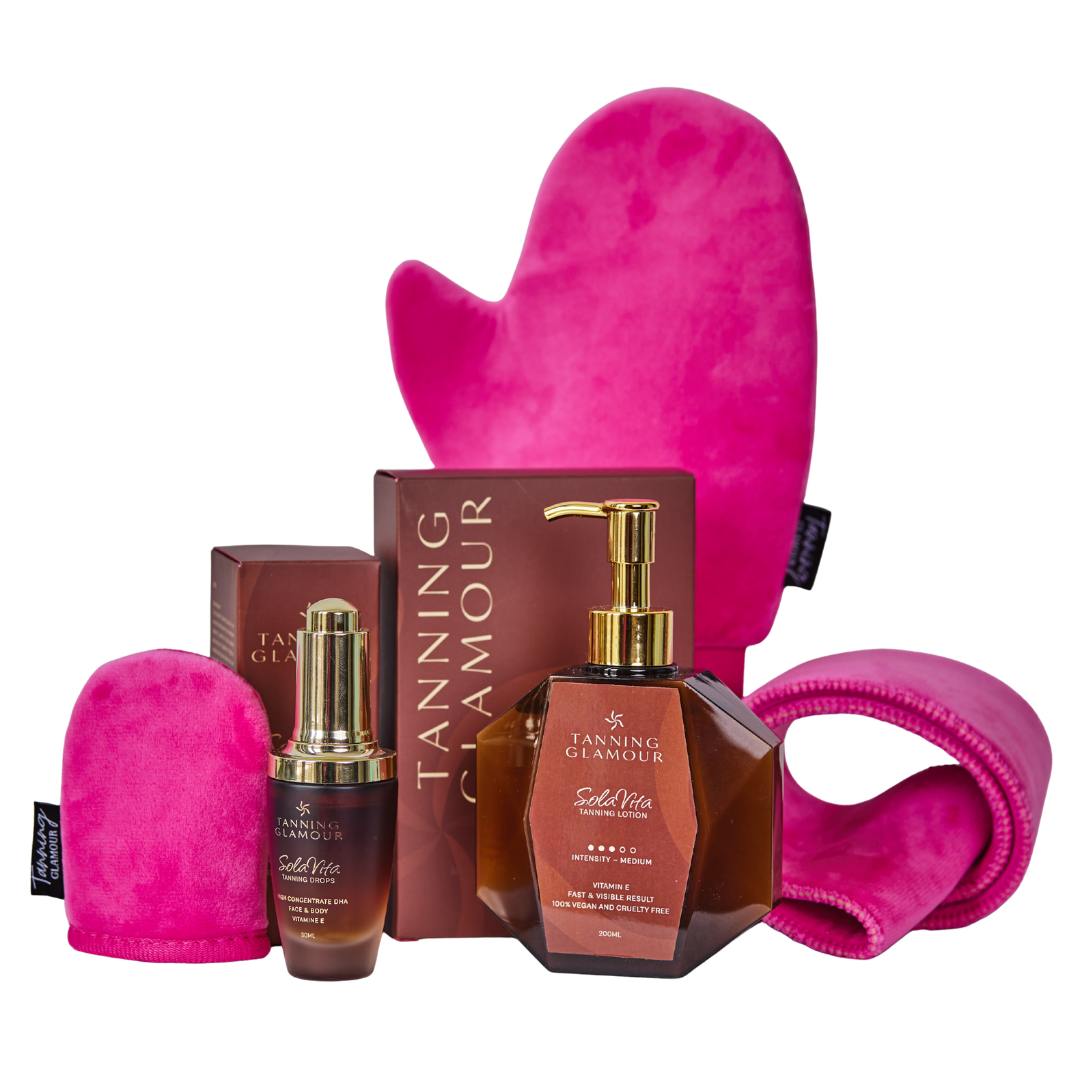
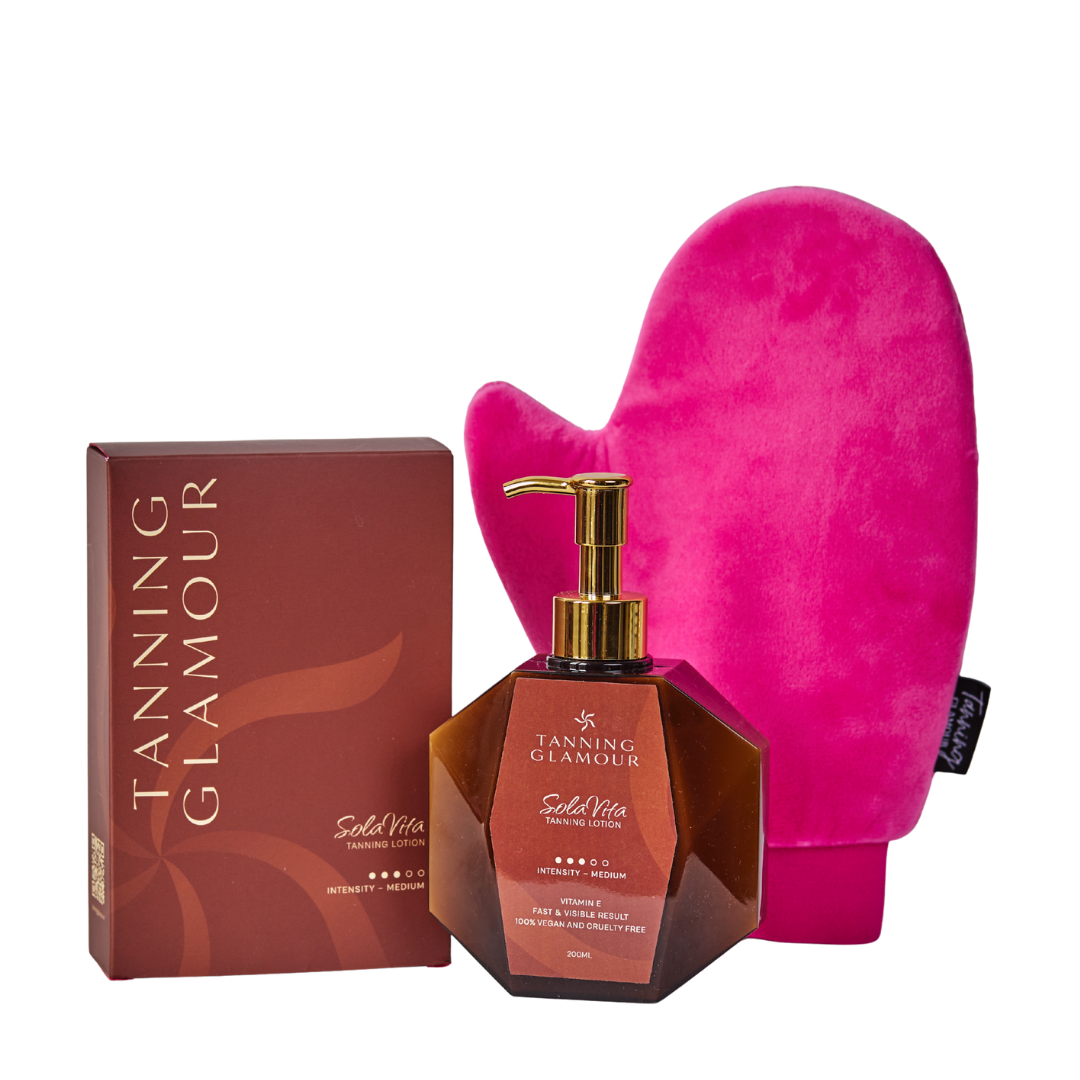
The SolaVita Self-Tanning Drops are specially developed to effortlessly blend with your favorite skincare products. They dissolve quickly, absorb easily, and give you a natural, even tan within hours that lasts beautifully for up to a week.
Timing and development
After application, you'll need some patience. The first signs of color development usually appear within 2-3 hours, but the full result only becomes visible after 6-8 hours.
Plan your application strategically. Many people apply their self-tanning drops in the evening so that the color can develop overnight. You'll then wake up with a fresh, radiant complexion.
Different applications and combinations
The versatility of self-tanning drops extends beyond just mixing with your day cream. There are countless ways to use these products for different effects and occasions.
Face versus body
For your face, you often need a more subtle approach than for your body. Facial skin is more sensitive and more visible, so here you want to be extra careful with the intensity.
| Application | Recommended number of drops | Best combination |
|---|---|---|
| Face morning | 1-2 drops | Light day cream with SPF |
| Face evening | 2-3 drops | Night cream or serum |
| Body | 4-6 drops | Rich body lotion |
| Dry zones | 1-2 drops | Extra moisturizing cream |
For your body, you can experiment with higher dosages, especially if you have already built up a base tan. Don't forget that you can always build up. Start conservatively and gradually increase if you like the result.
Mixing with different products
The possibilities are virtually endless. Self-tanning drops are compatible with most skincare products, as long as they have a creamy or oily base.
Popular combinations:
- Hyaluronic acid serum for extra hydration and glow
- Anti-aging night cream for care and color
- Body lotion with shea butter for dry skin
- Facial oil for a natural, radiant finish
Avoid mixing with products that contain many active ingredients such as retinol or strong exfoliants. These can affect color development or make your skin more sensitive.
Common mistakes and solutions
Even with the best instructions, things can go wrong. Fortunately, most problems with self-tanning drops are easy to prevent or correct.
Streaky or patchy results
This is by far the most common complaint. Streaks usually occur due to uneven product distribution or accumulation on dry skin patches.
Prevention:
- Always exfoliate thoroughly before use
- Mix the drops completely into your cream
- Use enough product for even distribution
- Pay extra attention to transition zones
If you already have streaks, you can soften them by exfoliating the areas with a gentle scrub. For subtle corrections, you can also apply extra pure cream to the darker areas and massage it in. Do you want to know more about preventing and removing streaks? Read our tips on self-tanner streaks.
Orange undertone
An orange tint is frustrating and usually results from too high a DHA concentration for your specific skin tone, or from a formula that doesn't suit your skin type.
The solution is simple: use fewer drops. Start with 1-2 drops and gradually build up. It is always better to use multiple lighter layers than one too dark layer that turns orange.
Quick fading
If your tan has faded significantly within a few days, it is probably due to hydration and skin renewal.
Tips for longer lasting results:
- Hydrate your skin daily with a good moisturizer
- Avoid prolonged hot water and excessive scrubbing
- Pat your skin dry instead of rubbing
- Do not use products with strong exfoliants
- Gradually build up your tan with lower dosages
Well-hydrated skin significantly extends the life of your tan. Invest in a quality body lotion and use it every day. More insights on maintaining your tan can be found in our article on sunless tanning.
Seasonal use and build-up
Self-tanning drops are perfect for seasonal variation. Your skin tone doesn't have to be the same all year round, and with drops, you can easily adjust.
Spring and summer
In the warmer months, you might want a deeper, vacation-like tan. Start a few weeks before the season with low dosages to allow your skin to adjust.
- Week 1-2: 1-2 drops per day for a subtle base
- Week 3-4: 2-3 drops to intensify the color
- Week 5+: 3-4 drops for maintenance of the desired tan
This gradual build-up ensures a natural result without sudden color differences. You build up a tan that resembles natural sun exposure, but without the damage.
Autumn and winter
In the colder months, you can opt for a softer glow that keeps your skin fresh and healthy, even if you see less sun. Gradually reduce the number of drops to return to a natural winter tan.
Winter strategy:
- Reduce to 1-2 drops for a subtle freshness
- Mainly use on your face for a healthy appearance
- Focus on hydration to prevent dry winter skin
- Apply as needed, not daily
This flexible approach means your tan always suits the season and never looks artificial.
Combining with other self-tanning products
Self-tanning drops don't have to work in isolation. You can perfectly combine them with other products from your self-tanner arsenal for different effects and applications.
Drops plus mousse or lotion
For extra fast results, for example for a weekend event, you can use a traditional self-tanner as a base layer and then maintain it with drops. The mousse or lotion provides an immediate, deep color, while the drops keep this tint fresh.
The other way around also works: use drops for a gradual build-up during the week, and add an express mousse to specific body parts for extra definition, for example on your legs for a night out.
Targeted application
Some areas need more attention than others. Your face may require different treatment than your body. This is where the power of self-tanning drops really comes into its own.
For your face, use a serum-based mixture with 1-2 drops for a natural, fresh glow. For your body, mix 4-5 drops with a rich body lotion for a deeper tan. This differentiated approach gives the most natural result.
Ingredients and skin-friendliness
When choosing self-tanning drops, it's important to look beyond just the DHA percentage. The best formulas contain additional ingredients that nourish your skin and improve the final result.
What to look for
Quality drops often contain natural ingredients that hydrate, soothe, and optimize color development. Think of aloe vera, vitamin E, hyaluronic acid, and natural oils.
Beneficial ingredients:
Avoid formulas with too much alcohol, parabens, or synthetic fragrances if you have sensitive skin. These can cause irritation and dry out the skin, leading to faster fading.
Suitable for all skin types
A major advantage of self-tanning drops is that you can adapt them to your own skin type by mixing them with products specifically developed for your skin.
Do you have dry skin? Mix your drops with an extra rich, nourishing cream. Oily skin? Choose a light, oil-free moisturizer as a base. Sensitive skin? Use a fragrance-free, hypoallergenic cream. The drops adapt to your needs.
Professionalism versus home use
Self-tanning drops hold an interesting position in the self-tanner landscape. They are used by professionals in salons as well as by consumers at home, which says a lot about their versatility and effectiveness.
Salon-quality at home
Many spray tan professionals use drops to create custom blends for their clients. They mix different concentrations for different skin types and tones. You can now apply this professional approach yourself at home.
The difference between salon and home is primarily the expertise in application and dosage. With some practice and patience, however, you can achieve results comparable to professional treatments, for a fraction of the price.
Cost-effectiveness
A bottle of self-tanning drops lasts surprisingly long. Because you only use a few drops at a time, one bottle can last for months to even a year, depending on the frequency of use.
Compare this to traditional self-tanners that you need to apply in larger quantities. The investment in drops quickly pays for itself, both financially and in terms of results. For more information about different self-tanning options, check out our overview of self-tanners.
Practical tips for beginners
If you're new to self-tanning drops, it can take some getting used to. These tips will help you become more familiar with the product and achieve consistent results faster.
Start small and build up
The golden rule for beginners: start with less than you think you need. It's always easier to add more color than to correct a tan that's too dark.
Beginner's protocol:
- Day 1-3: Use 1 drop mixed with your daily cream
- Day 4-7: Increase to 2 drops if the result is too subtle
- Week 2+: Adjust based on your experience and desired intensity
This conservative approach prevents disappointments and gives your skin time to get used to the product.
Keep a logbook
It might sound excessive, but keeping track of what works helps tremendously. Note how many drops you used, which product you mixed it with, and what the result was.
After a few weeks, you'll have a personalized guide perfectly tailored to your skin. You'll know exactly which combination gives the best color, how long it takes to develop, and how often you need to reapply.
Always test first
For your first time, or whenever you try a new product, test it on a small, inconspicuous patch of skin. The inside of your forearm or behind your knee are ideal testing locations.
Wait 24 hours to see how the color develops and if your skin tolerates the product well. Only when you are satisfied with the result should you apply it to larger or more visible areas.
Self-tanning drops offer a flexible, natural way to enjoy a radiant complexion year-round without harmful sun exposure. With the right preparation, dosage, and application, you can create an even, long-lasting glow that perfectly suits your skin. Tanning Glamour helps you with natural self-tanners that are visible within a few hours and last beautifully for up to a week, giving you a sun-kissed look that you can confidently go about your day with.
Ontdek jouw mooiste glow
Verzorgende zelfbruiners van SolaVita - streeploos, geen oranje.
Read more
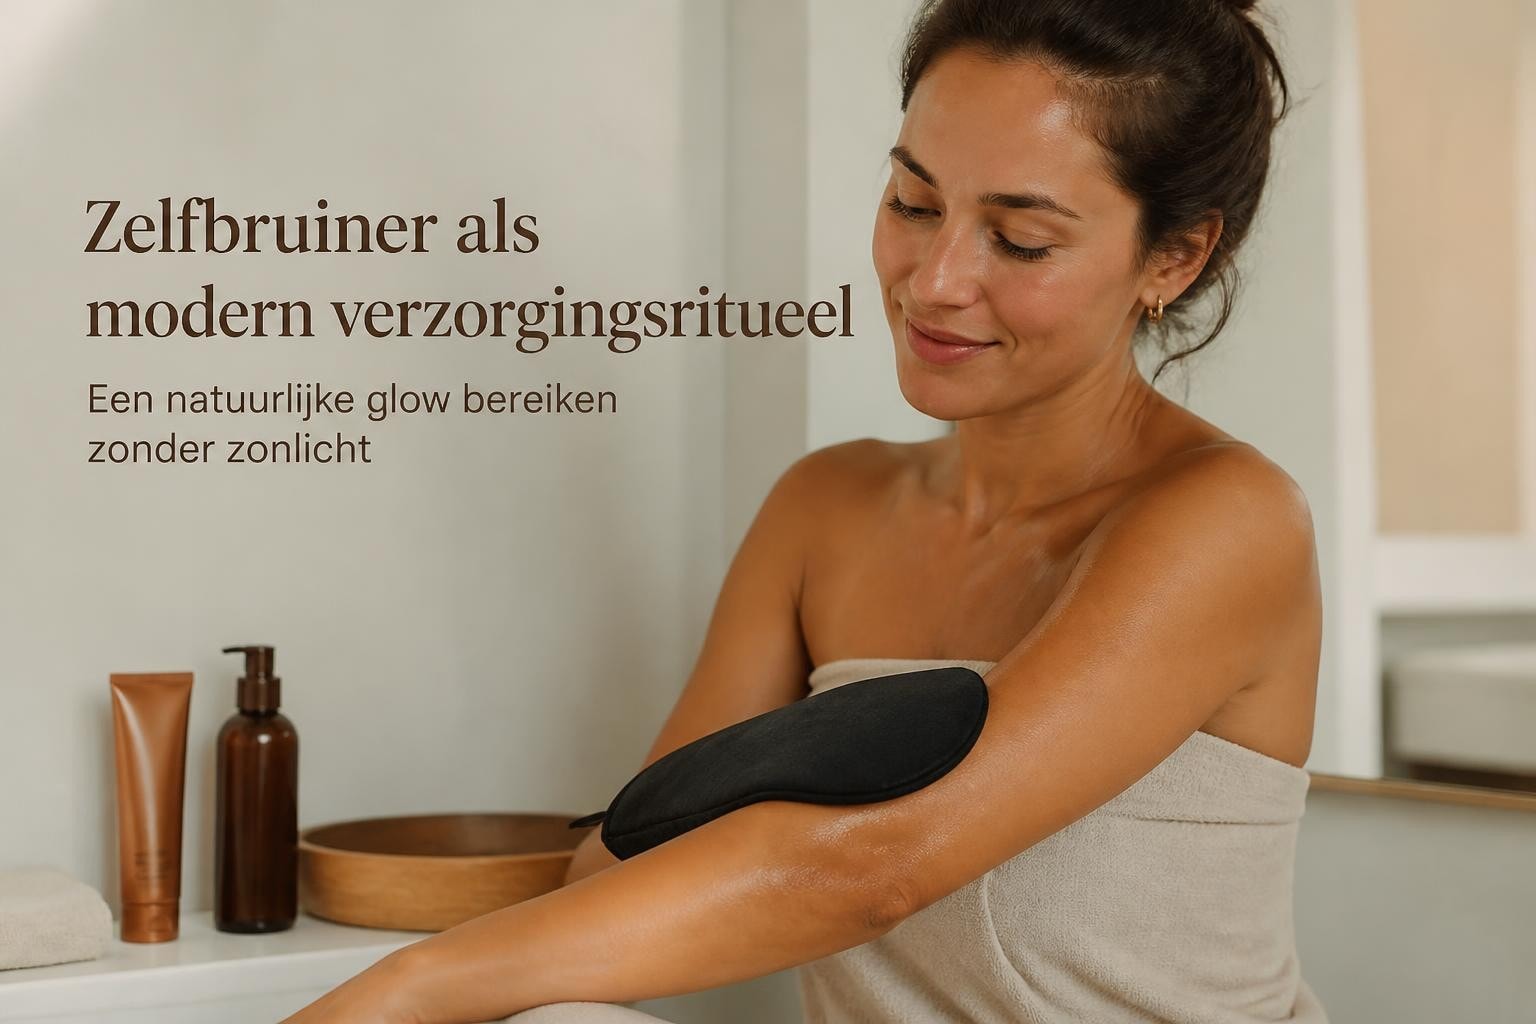
Discover everything about self-tanner: from how it works to tips for streak-free application. Get a natural, even glow without sun in 2026.
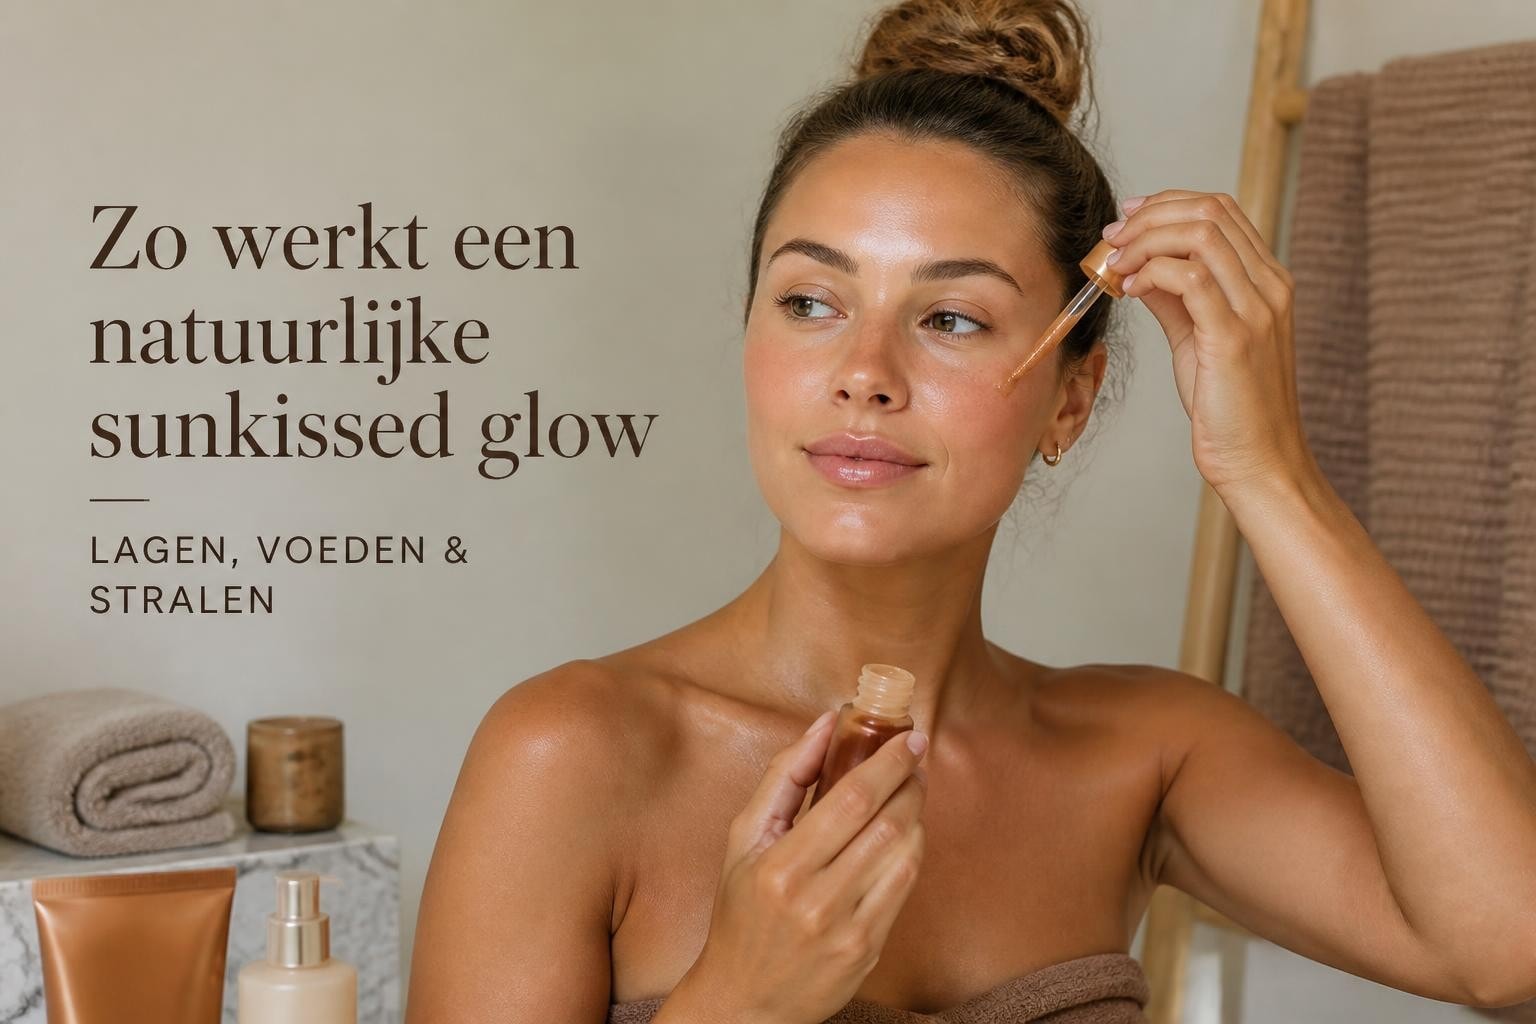
Discover how to create and maintain a natural sunkissed glow. From self-tanners to makeup techniques for a radiant complexion.