

Best self-tanner for the body: Your guide to a natural sun-kissed glow
Radiant, tanned skin immediately gives you more confidence and a well-groomed appearance. But prolonged sun exposure or visits to tanning beds come with risks your skin doesn't deserve. Fortunately, you don't have to choose between healthy skin and a beautiful tan. The best self-tanner for the body gives you a natural, even tan within hours that lasts for days, without harmful UV radiation. In this guide, you'll discover everything about choosing and using self-tanner for your body, so you always have a sunny glow.
Why choose self-tanner instead of sunbathing
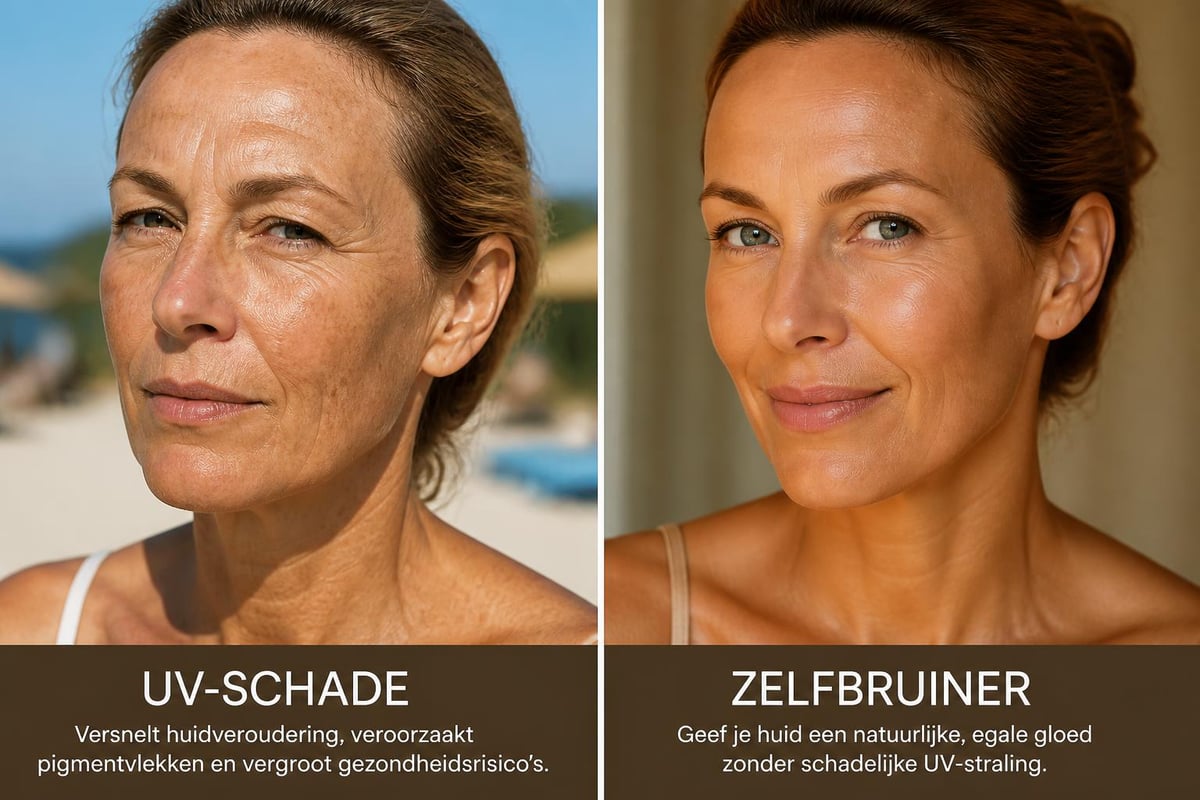
The sun feels wonderful on your skin, but the disadvantages accumulate. UV radiation accelerates skin aging, causes hyperpigmentation, and significantly increases the risk of skin cancer. Tanning bed visits are not a safe alternative, despite what some salons claim.
Self-tanner offers all the benefits without the risks:
- No harmful UV radiation
- Consistent results that you control
- Suitable for every season
- Safe for all skin types
- Cost-effective in the long run
Modern formulas are light years away from the orange, streaky products of the past. The best self-tanner for the body products give a natural tan that is indistinguishable from a real sun tan. They often also contain hydrating ingredients that nourish your skin at the same time.
How does self-tanner actually work?
Understanding how self-tanner works helps you achieve better results. The active ingredient in most self-tanners is dihydroxyacetone (DHA), a sugar molecule that reacts with the amino acids in the top layer of your skin.
The tanning process step-by-step
The process is fascinatingly simple yet effective. When DHA comes into contact with the dead skin cells on the epidermis, a chemical reaction occurs that produces melanoidins. These brown pigments give your skin that warm, sun-kissed color.
Timeline of the tanning process:
- 0-1 hour after application: Product absorbs, no visible change
- 2-4 hours: First hints of color become visible
- 6-8 hours: Tan develops fully
- 12-24 hours: Full color development achieved
The tan typically lasts 5 to 7 days, depending on your skin type and care. Because it only colors the top layer of skin, the color gradually fades as your skin naturally renews itself. That's the beauty of self-tanner: it's temporary, customizable, and completely under your control.
Which formula suits your skin type?
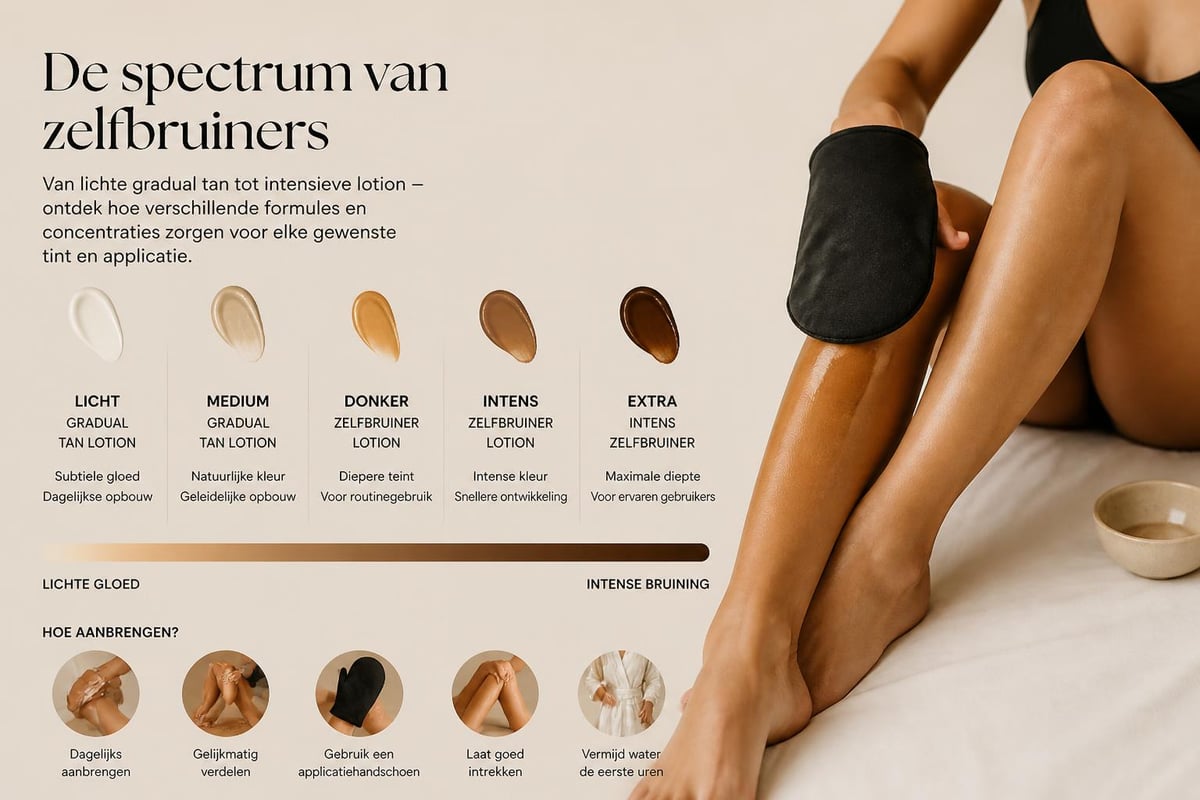
The best self-tanner for the body is not the same for everyone. Your skin type, experience, and desired result determine which formula works best. Various options are available, each with its own advantages and disadvantages.
Lotions and mousses for full body
Lotions are the most popular choice for beginners and advanced users. They offer control during application and are ideal for large areas such as legs, arms, and torso. Mousses have a lighter texture and often dry faster, perfect if you're in a hurry.
| Formula Type | Best for | Drying Time | Suitable for Beginners |
|---|---|---|---|
| Lotion | All skin types | 5-10 min | Yes |
| Mousse | Quick application | 2-5 min | Yes |
| Spray | Back and difficult areas | 3-7 min | Moderate |
| Drops | Gradual buildup | Variable | Advanced |
| Gel | Oily skin | 5-8 min | Yes |
Gradual tanners for gradual buildup
Gradual tanners are daily moisturizers with a light DHA concentration. They slowly build up your tan over several days, ideal if you want a subtle glow without immediate commitment. Perfect for those who are nervous about streaks or getting too dark.
Tanning drops for customization
You mix drops with your favorite body lotion or day cream. This allows you to precisely determine the intensity by adjusting the number of drops. This gives maximum control and is fantastic if you want to keep certain body parts lighter or darker than others.
Preparation is the secret to a streak-free result
Even the best self-tanner for the body can still cause streaks if your skin is not properly prepared. Invest time in preparation, and your results will be exponentially better.
Exfoliate for an even base
48 hours before application, you should thoroughly exfoliate. Pay extra attention to dry areas such as knees, elbows, ankles, and hands. These zones absorb more product and can become darker if you don't prepare them.
Use a body scrub or exfoliating glove with circular motions. Be thorough but not too aggressive. You want to remove dead skin cells without irritating your skin. Good skincare starts days before tanning.
Shaving and hair removal at the right time
Plan your hair removal carefully. Shaving or waxing can open your pores, which can lead to uneven coloring. Therefore, remove hair at least 24 hours before applying self-tanner. This gives your skin time to recover and your pores to close.
Hydration as a foundation
The days before tanning, your skin should be optimally hydrated. Dry skin absorbs self-tanner unevenly, leading to patches and a shorter lasting tan. Apply a rich body lotion daily, but not immediately before applying self-tanner. On the day of application, your skin should be clean and dry.
Professional application techniques for home
The difference between a home application and a professional spray tan often lies in the technique. With the right approach, you can achieve salon-level results in your own bathroom.
The right tools make all the difference
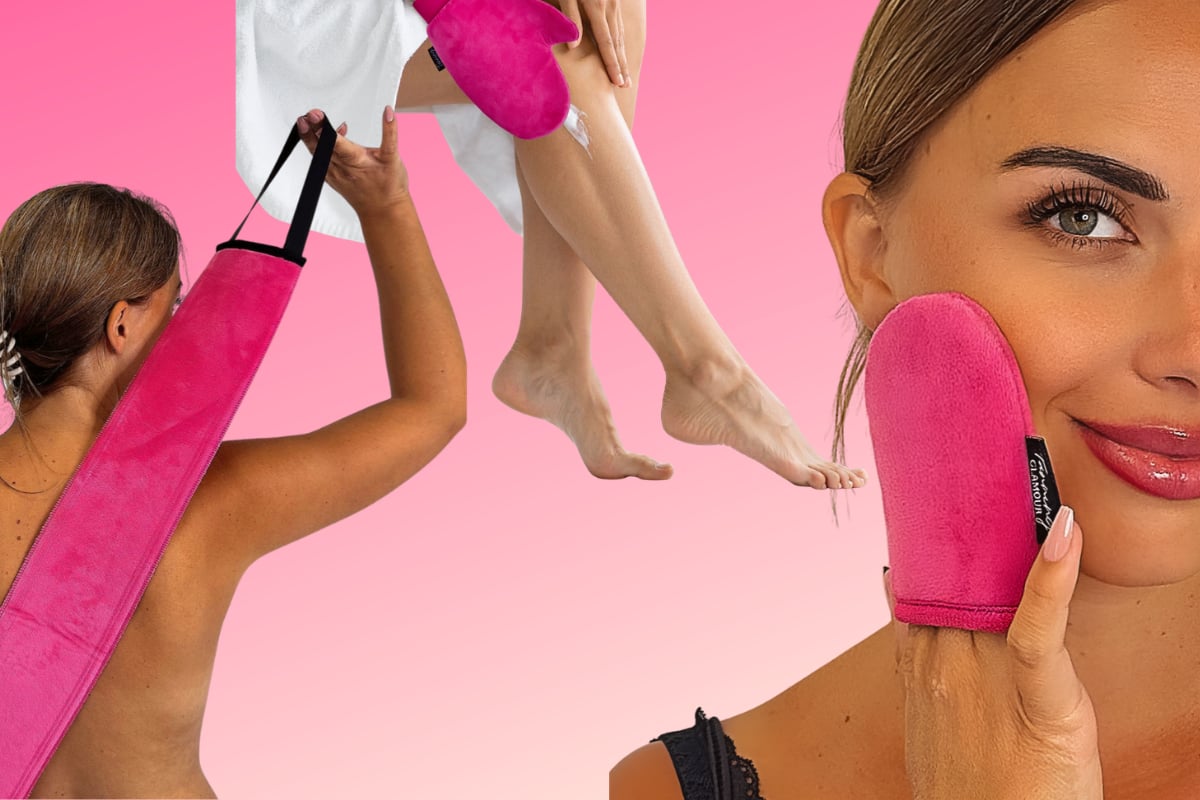
Always use an application glove or mitt. Using your hands directly will guaranteed lead to orange palms. A velvet glove distributes the product evenly and prevents product waste.
For hard-to-reach areas like your back, a special back band is indispensable. This is an elongated applicator that allows you to reach your entire back independently without assistance. This way, you get a professional result on every body part.
Step-by-step application technique:
- Start at your ankles and work your way up
- Apply product in long, even strokes
- Blend immediately with circular motions
- Use a damp cloth for knees and elbows
- Lightly over hands, feet, and wrists
- Check yourself in the mirror for missed spots
Optimize timing and drying time
After application, patience is crucial. Do not get dressed immediately. Allow the self-tanner to absorb completely for at least 10-15 minutes. Then wear loose, dark clothing that doesn't irritate your skin or rub off.
Wait to shower for at least 6-8 hours after application, preferably 12 hours for the best results. The first shower should be lukewarm, not hot, and without scrubbing. You may see some brown discoloration rinse off, which is normal. This is excess product, not your tan.
Maintenance for a long-lasting glow
You now have a beautiful, even tan. Maintenance determines how long you enjoy this result. The best self-tanner for the body stays beautiful for 5-7 days with proper care.
Daily hydration extends your tan
Moisturizing is essential. Well-hydrated skin significantly extends the longevity of your tan. Apply a rich body lotion daily, preferably without aggressive ingredients that can fade the color.
Some lotions are specially designed to extend your tan. They contain light DHA concentrations that gradually refresh your tan without full reapplication.
What to avoid
Certain habits accelerate the fading of your tan:
- Long hot baths: High temperatures open your pores and wash away color
- Aggressive scrubbing: Removes the tanned skin layer too quickly
- Chlorine water: Swimming pools can fade and discolor your tan
- Oil-rich products: Can break down DHA and cause streaks
Refreshing between applications
You don't have to wait until your tan has completely disappeared. When you see a slight fade, especially on exfoliated areas, you can do light touch-ups. Use a gradual tanner or only replenish specific areas with your normal formula.

Common mistakes and how to prevent them
Even with experience, things can go wrong. Recognize these common pitfalls and learn how to avoid them.
Streaks and unevenness
Cause: Uneven application or too much product in one spot.
Solution: Always work in sections and blend immediately. Use an application glove and apply product in thin, even layers. Two thin layers are better than one thick one. For professional results, the Self-Tanner Application Set (Gloves + Back Strap) helps you perfectly reach every body part and prevent streaks.
Orange undertone
Cause: Wrong formula choice for your skin type or too much DHA.
Solution: Choose products with adapted DHA percentages for your skin tone. Cooler undertones need formulas with violet or brown pigments that neutralize orange. Always test on a small patch of skin first.
Dark spots on dry areas
Cause: Knees, elbows, and ankles absorb more product.
Solution: Hydrate these areas extra before application. Use a minimal amount of product and blend intensively. Some experts recommend doing these areas last with the remaining product on your glove.
Wanting to see results too quickly
Cause: Applying multiple layers immediately after each other.
Solution: Patience pays off. Allow the first layer to fully develop for at least 24 hours before deciding if you want a second layer. Natural self-tanners develop gradually, and the final result is only visible after 12-24 hours.
Seasonal tanning tips
Your tanning routine may vary by season, depending on your skin condition and lifestyle.
Maintaining a winter glow
In winter, your skin is often drier due to heating and cold outdoor air. Intensify your hydration and choose richer formulas. Gradual tanners are perfect for a subtle winter glow without excessive contrast with your natural skin tone.
Winter is also ideal for experimenting. With long sleeves and tights, small mistakes are easy to conceal while you perfect your technique.
Building a summer tan
In summer, you might want a more intense tan. Start regular applications a few weeks before the holiday season to build a good base. This also gives you confidence and prevents last-minute stress.
Note: self-tanner offers no UV protection. Always use sunscreen, even with a self-tanner tan. Tanning without sun means your skin has not built up natural protection.
| Season | Recommended Intensity | Application Frequency | Extra Tips |
|---|---|---|---|
| Winter | Light to medium | Once every 7-10 days | Extra hydration |
| Spring | Medium | Once every 5-7 days | Gradual buildup |
| Summer | Medium to dark | Once every 4-6 days | Sunscreen remains essential |
| Autumn | Medium | Once every 6-8 days | Maintain holiday tan |
Ingredients to look out for
Not all self-tanners are created equal. The ingredient list tells you a lot about quality, safety, and suitability for your skin.
DHA percentage and quality
DHA concentrations typically range from 2% to 10%. Beginners are best off starting with lower percentages (2-4%) for a natural, buildable tan. Advanced users can use higher percentages for faster, more intense results.
High-quality DHA is stabilized and combined with erythrulose, a second tanning agent that works slower but lasts longer and looks more natural. This combination prevents the infamous orange undertone.
Hydrating and nourishing additives
Look for these valuable ingredients:
- Hyaluronic acid: Intense hydration that extends longevity
- Aloe vera: Soothing and moisturizing
- Vitamin E: Antioxidant that counteracts skin aging
- Glycerin: Draws moisture to the skin for suppleness
- Natural oils: Coconut oil, jojoba, argan for nourishment
What to avoid
Certain ingredients are less desirable, especially for sensitive skin:
- Parabens (preservatives with endocrine-disrupting effects)
- Sulfates (can irritate and dry out the skin)
- Synthetic fragrances (allergy risk)
- Mineral oils (can clog pores)
Organic and vegan options are gaining popularity because they use clean, skin-friendly ingredients without animal testing or animal components.
Self-tanner for specific skin challenges
Some skin conditions require extra attention when choosing and using the best self-tanner for the body.
Sensitive skin
Choose fragrance-free formulas with hypoallergenic ingredients. Always test on a small patch of skin first, for example, on the inside of your wrist. Wait 24 hours to see if irritation occurs.
Natural formulas with organic ingredients are often gentler on reactive skin. Professional recommendations help in finding suitable options.
Dry skin
Dry skin needs special attention. Exfoliate more gently to prevent irritation and opt for creamy, rich formulas. Intensify your hydration routine in the week before and after application.
Consider self-tanners with built-in moisturizers or mix your product with a light body lotion for extra hydration during application.
Acne-prone skin
Look for non-comedogenic formulas that won't clog pores. Lighter textures like gels or mousses often work better than heavy creams. Avoid application on active breakouts, which can darken and remain visible longer.
Skin with scars or pigmentation
Self-tanner can help camouflage scars and pigmentation differences by creating an even complexion. Start with light formulas and build up gradually. Going too dark can be counterproductive and accentuate differences.
Environmentally friendly and sustainable choices
Conscious consumers are increasingly opting for products that are good for their skin and the planet.
Natural and organic formulas
Organic self-tanners use plant-derived DHA and natural ingredients without synthetic additives. They are often as effective as conventional options, but kinder to your skin and the environment.
Sustainable options are becoming increasingly accessible and competitively priced, making it easier to make conscious choices without compromising on quality.
Packaging and sustainability
Look for recyclable packaging, refillable options, and brands that are transparent about their production processes. Some companies use post-consumer recycled plastic or biodegradable materials.
Airless pumps better protect the product from oxidation, extending its shelf life and reducing waste. This is both economically and ecologically advantageous.
Vegan and cruelty-free certifications
Many modern self-tanners are vegan and not tested on animals. Look for certifications such as Leaping Bunny, PETA Cruelty-Free, or Vegan Society to ensure ethical production.
The cost-benefit analysis of home tanning
Is investing in the best self-tanner for the body financially smart compared to alternatives?
Cost comparison
Annual costs of different methods:
- Home self-tanner: €60-€120 (product + applicators)
- Spray tan salon: €300-€600 (monthly visit)
- Tanning bed: €240-€480 (weekly) + health risks
- Natural sunbathing: Free + significant health risks
Home tanning wins on all fronts. The initial investment may seem higher, but the cost per application is minimal compared to salons.
Return on investment
A good self-tanning lotion lasts 8-12 full body applications. An application glove lasts months to years with proper maintenance. The skills you develop are a lasting investment that you use again and again.
In addition, you save travel time to salons, waiting times, and the discomfort of naked spray tan sessions with strangers. Comfort and privacy also have value.
Expert tips for perfect results
Professionals share their secrets for salon-level results at home.
Temperature and Environment
Apply self-tanner in a cool, well-lit room. Heat can cause sweating, which creates streaks. A bathroom mirror with good lighting helps you spot missed areas before it's too late.
The 48-Hour Rule
For events like weddings or photoshoots, plan your final application 48 hours in advance. This gives the color time to fully develop and allows for minor corrections if needed.
Layering for Intensity
Instead of one thick coat, build intensity with multiple thin layers spread over 2-3 days. This provides control over the final result and looks more natural. Top products are specifically designed for this buildable approach.
Contouring with Self-Tanner
Advanced users can subtly contour with a slightly darker product on certain areas. A little extra on collarbones, shoulders, and shins creates a sculpted effect that flatters your figure.
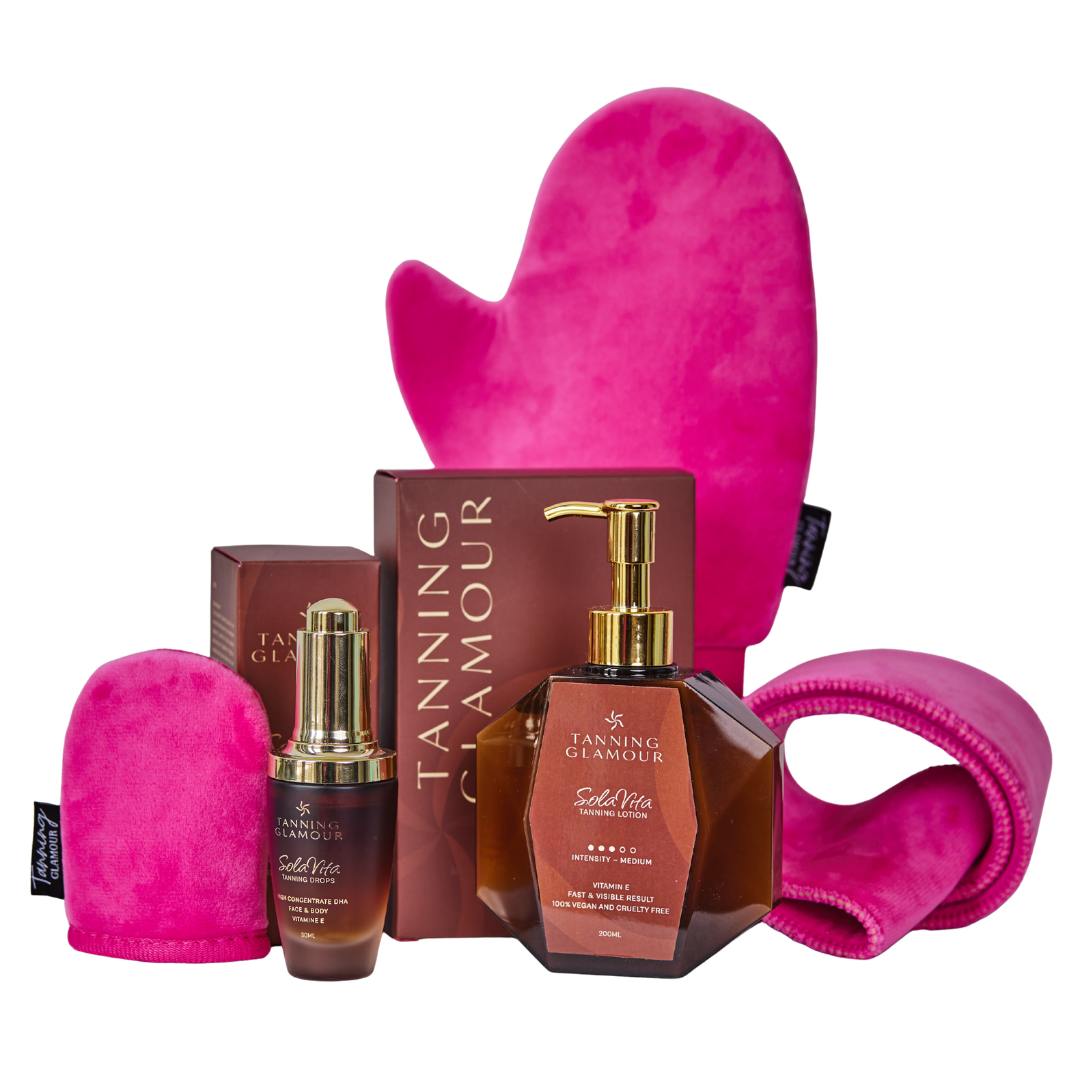
The best self-tanning body lotion gives you a radiant, natural glow that boosts your confidence without the risks of UV radiation. With the right preparation, technique, and maintenance, you can enjoy a sunny glow all year round. Tanning Glamour offers natural self-tanners that are visible within 2-3 hours, last 5-7 days, and are completely free of streaks and orange undertones. Discover the collection and start your journey to an effortless, radiant complexion at Tanning Glamour.
Ontdek jouw mooiste glow
Verzorgende zelfbruiners van SolaVita - streeploos, geen oranje.
Read more
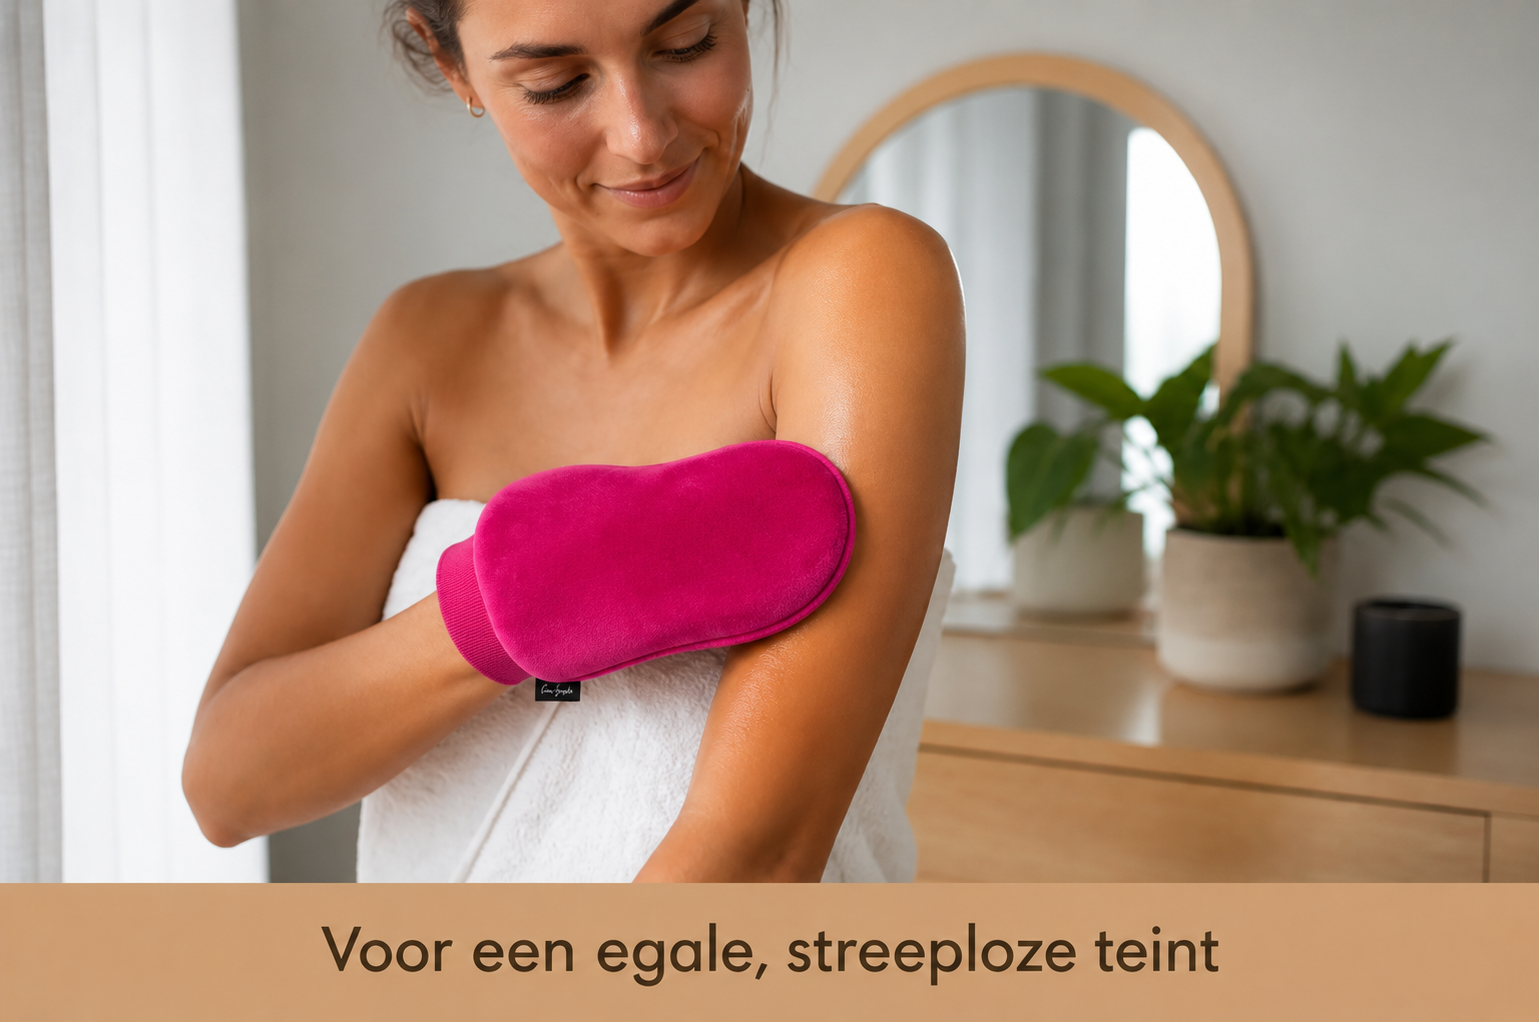
Discover why a tanning mitt is essential for an even, natural self-tan. Learn all about its use, benefits, and care.

Discover how self-tanning lotion gives you a radiant, even complexion without the sun. Tips for use, results, and a long-lasting glow.