Tanning mitt: your secret to a streak-free tan
A radiant, golden tan without streaks or patches starts with the right tools. A tanning mitt is the indispensable helper for applying self-tanner, and for good reason. Whether you're new to the world of self-tanners or already experienced, this simple accessory makes the difference between a natural glow and an uneven result. In this article, you'll discover everything you need to know about this handy glove, from how it works to its maintenance.
Why a tanning mitt is indispensable
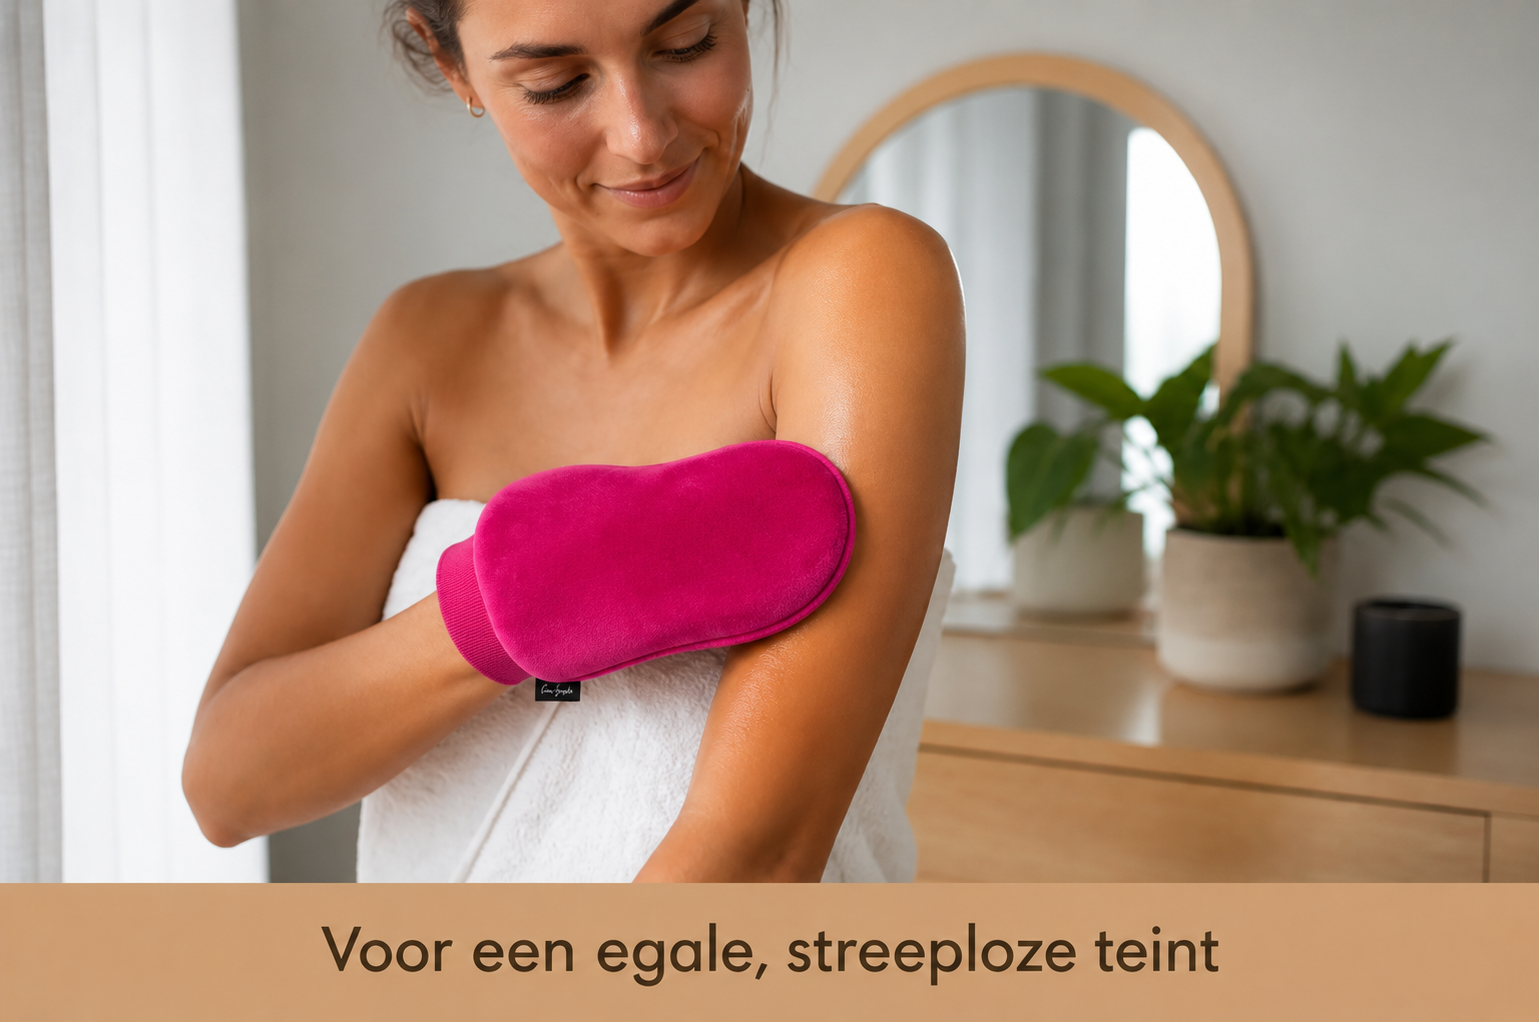
The days of discolored palms and streaky results are definitely over. A tanning mitt ensures your self-tanner goes exactly where you want it: on your skin, not on your hands.
Protection for your hands
Perhaps the most obvious benefit is the most important. Without a glove, you would apply your self-tanner with your bare hands, resulting in brown palms. This discoloration doesn't disappear quickly and immediately betrays that you don't have a natural tan. With a tanning mitt, your hands remain perfectly clean and natural in color.
The glove creates a barrier between the product and your skin. This allows you to work freely without constantly having to wash your hands in between.
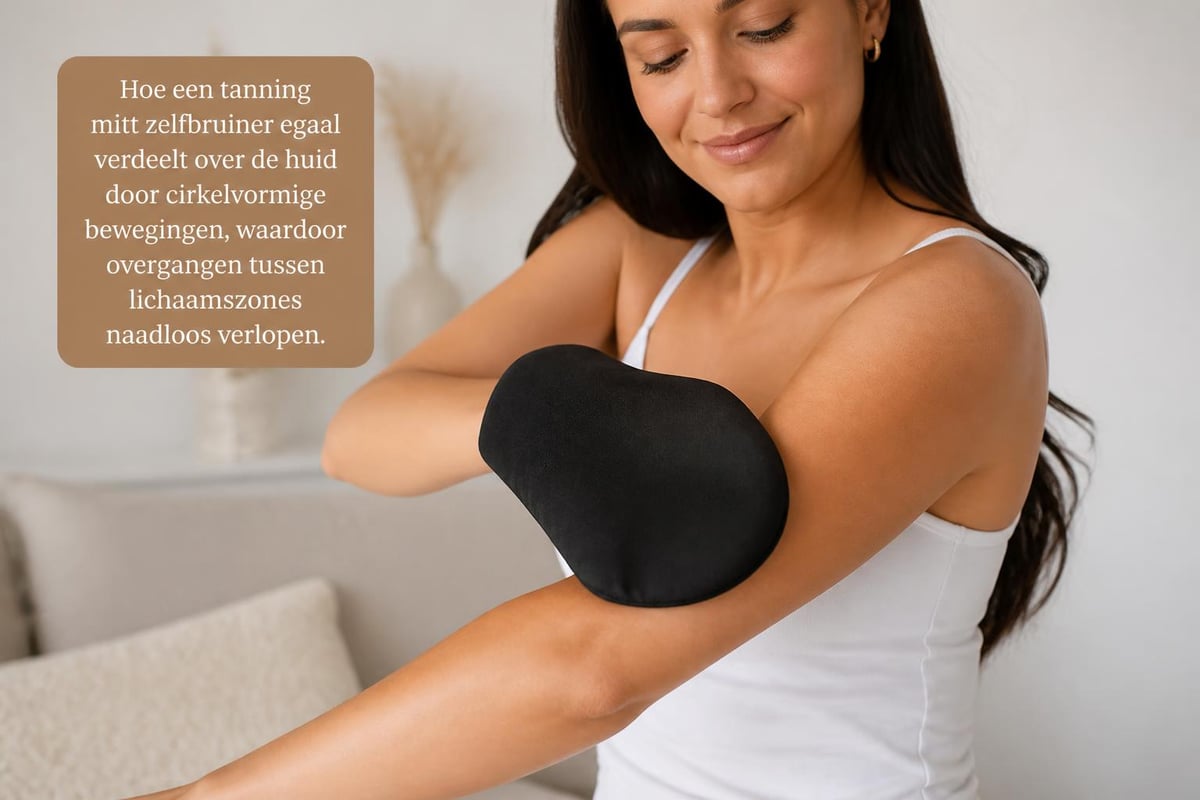
Even product distribution
A tanning mitt has a soft, velvet surface that effortlessly and evenly distributes the product. This is crucial for a natural result.
Key benefits for product distribution:
- Prevents product buildup in certain areas
- Helps spread in circular motions
- Creates a seamless transition between zones
- Significantly reduces product waste
The structure of the glove ensures that your self-tanner is applied in a thin, even layer. This prevents those familiar dark spots around knees, ankles, and elbows.
Different types of tanning mitts
Not every tanning mitt is the same. There are different materials and styles available, each with its own advantages.
| Glove type | Material | Advantages | Ideal for |
|---|---|---|---|
| Velvet mitt | Soft velvet fabric | Extra soft, luxurious feel, precise application | All skin types, daily use |
| Microfiber mitt | Synthetic fibers | Quick-drying, durable | Frequent users |
| Double-sided | Different textures | Versatile, two uses in one | Body and face |
| Mini mitt | Compact size | Precision for face and small areas | Face, neck, décolleté |
Velvet tanning mitts: the luxurious choice
Velvet gloves feel wonderfully soft and glide effortlessly over your skin. The soft texture is ideal for sensitive skin and makes you feel like you're truly pampering yourself during application.
These gloves are often washable and stay beautiful for a long time if properly maintained. The investment in a high-quality velvet mitt pays for itself in years of enjoyable use.
Microfiber variants for durability
Microfiber gloves are often a bit sturdier and dry faster after washing. They are perfect if you apply self-tanner several times a week and want to wash your mitt regularly.
The material is resistant to frequent washing without sacrificing quality. For intensive users, this is often the practical choice.
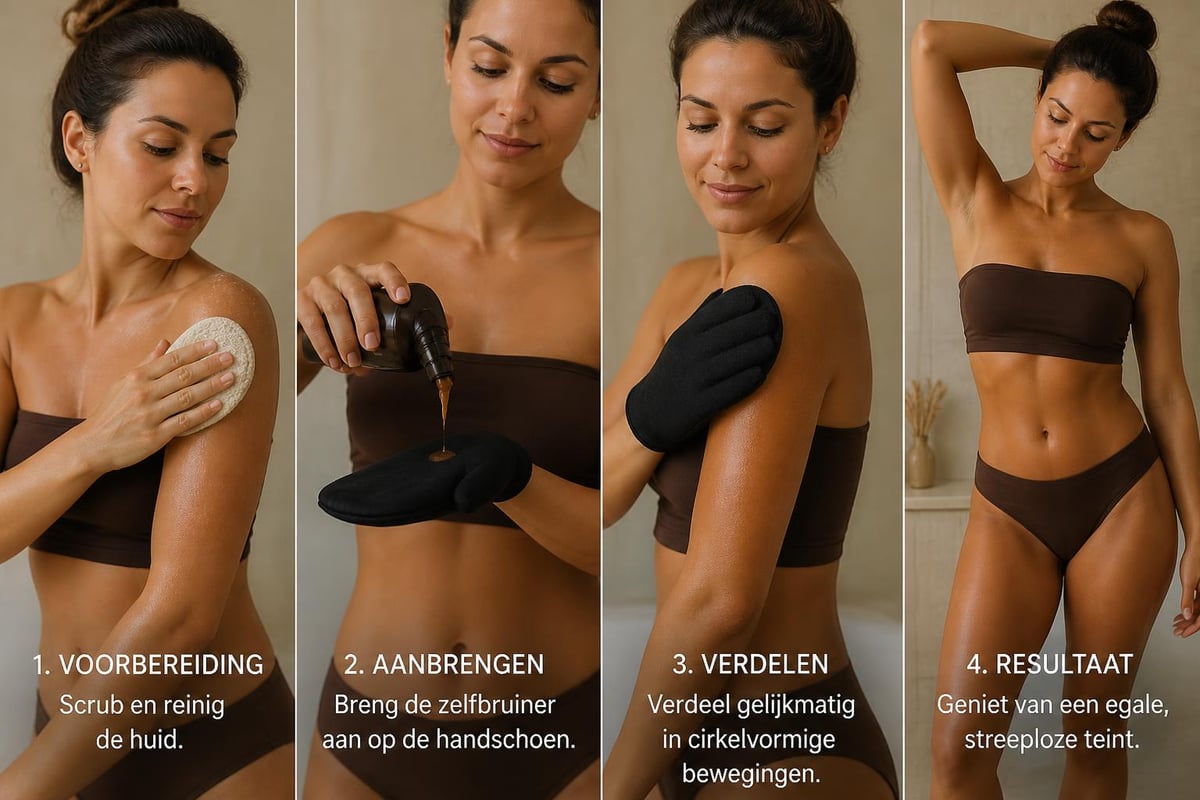
How to use a tanning mitt perfectly
Correctly using your glove is essential for that sunny, streak-free result you're looking for.
Skin preparation
Steps for optimal preparation:
- Exfoliate your skin 24 hours before application
- Ensure your skin is completely dry
- First apply a light moisturizer to dry areas
- Wait a few minutes before starting with the self-tanner
Well-prepared skin is the canvas for a beautiful, even tan. Invest time in this step for the best results.
Application with your mitt
Apply a small amount of self-tanner to your tanning mitt, not directly to your skin. This gives you more control and prevents waste.
Start with large, easy areas like your legs and arms. Work in circular motions and build up gradually. Consider the following tips:
- Use long, fluid movements on large surfaces
- Work the product well around joints
- Blend extra carefully at wrists, ankles, and neck
- Use less product on drier areas
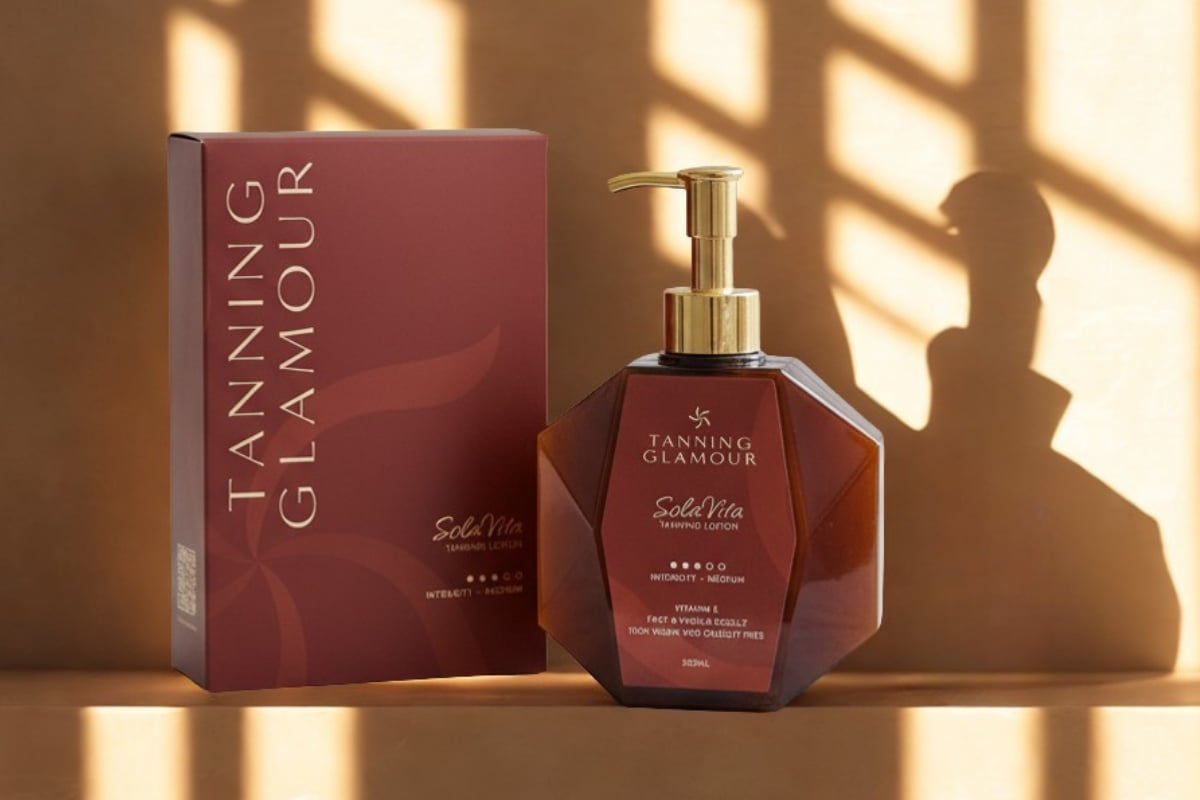
For those looking for a complete solution, SolaVita Self-Tanning Lotion offers a formula that is visible within a few hours and stays beautiful for up to 5-7 days, perfect in combination with a good tanning mitt.
Maintenance and lifespan
A well-maintained tanning mitt will last for years and continue to perform optimally. Neglect leads to product buildup, which can affect your next application.
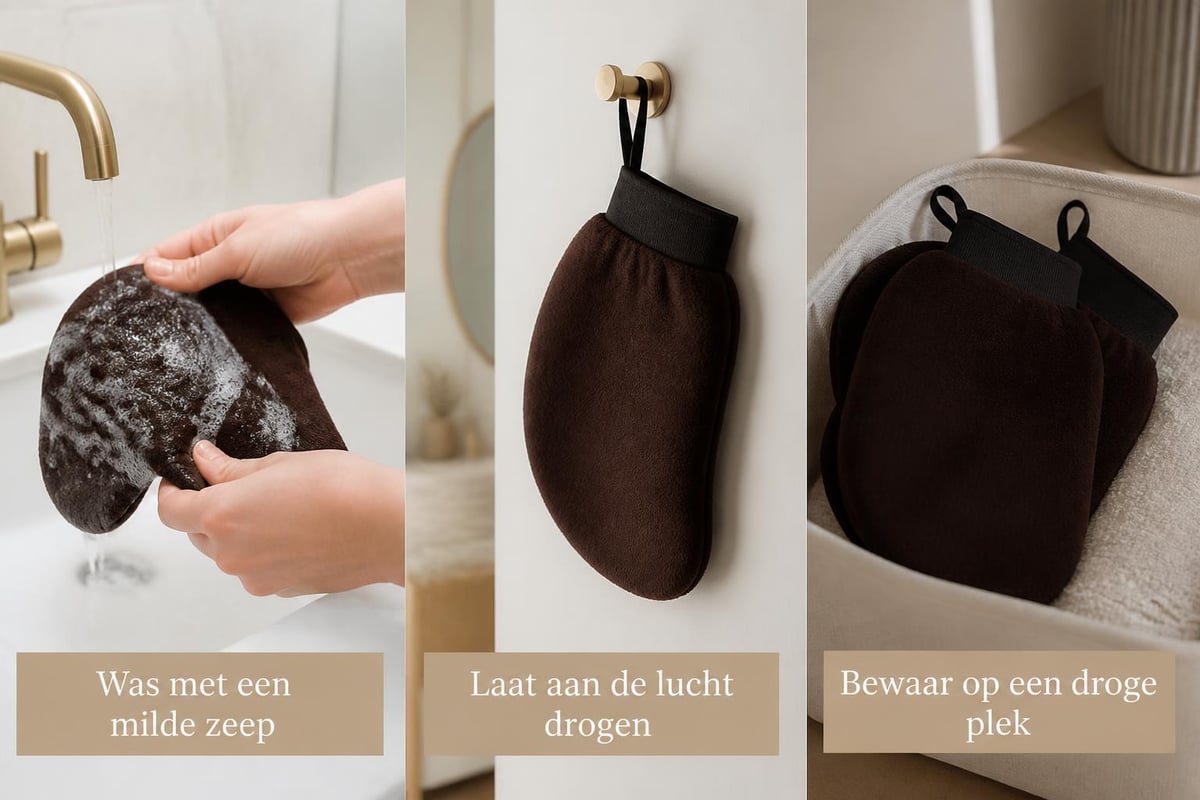
Cleaning after use
Wash your mitt immediately after use or at least within 24 hours. This prevents the product from drying and becoming stubborn.
Washing instructions:
- First rinse thoroughly with lukewarm water
- Wash with mild soap or shampoo
- Gently squeeze, do not wring
- Air dry, do not tumble dry
Some mitts are suitable for machine washing at a low temperature. Always check the label first.
When to replace your mitt
Even with perfect maintenance, no tanning mitt lasts forever. Look for these signs that it's time for a new one:
- The material feels rough or stiff
- There are visible holes or tears
- The glove leaves fibers on your skin
- Product is no longer evenly distributed
- Stains can no longer be completely washed out
Most high-quality mitts last 6 to 12 months with regular use and proper maintenance.
Avoiding common mistakes
Even with a tanning mitt, things can go wrong. Know these common pitfalls and learn how to avoid them.
Using too much product
A little goes a long way with self-tanner. Too much product on your mitt leads to buildup and dark spots. Always start with a small amount and build up if necessary.
You can always add more, but removing too much product is difficult. Use about a euro-coin sized amount of product per body part.
Forgotten areas
Certain spots are often overlooked:
- Behind the ears
- Between fingers and toes
- Back of the arms
- Lower back
Take your time to work systematically. It helps to develop a fixed routine where you treat each body part in the same order.
Getting dressed too quickly
Give your self-tanner time to absorb before getting dressed. Waiting at least 10-15 minutes is recommended. For optimal results, you can even wait 30 minutes.
Wear loose, dark clothing immediately after application to minimize transfer.
Special applications and tips
A tanning mitt is more versatile than you might think. There are several ways to get the most out of it for specific situations.
Mini mitts for facial application
For your face, precision is essential. A standard mitt is often too large for fine control around the nose, eyes, and hairline. A mini mitt or special facial applicator gives you the precision you need.
Apply less product to your face than to your body. The skin on your face is more sensitive and absorbs product faster.
Hard-to-reach areas
Your back remains a challenge, even with a glove. For these areas, there are special solutions such as back applicators with handles on both sides.
You can also ask someone to help you, but with the right tools, you are completely independent. This gives you the freedom to tan whenever it suits you.
Combining with other products
Your tanning mitt works best in combination with high-quality self-tanners. The quality of your product is just as important as the way you apply it.
Lotions versus mousse
Both formulas work well with a mitt, but require a slightly different approach.
| Product type | Application technique | Drying time | Best for |
|---|---|---|---|
| Lotion | Long, fluid strokes | 10-15 minutes | Dry skin, full body |
| Mousse | Light dabs, then spread | 5-10 minutes | Quick application, oily skin |
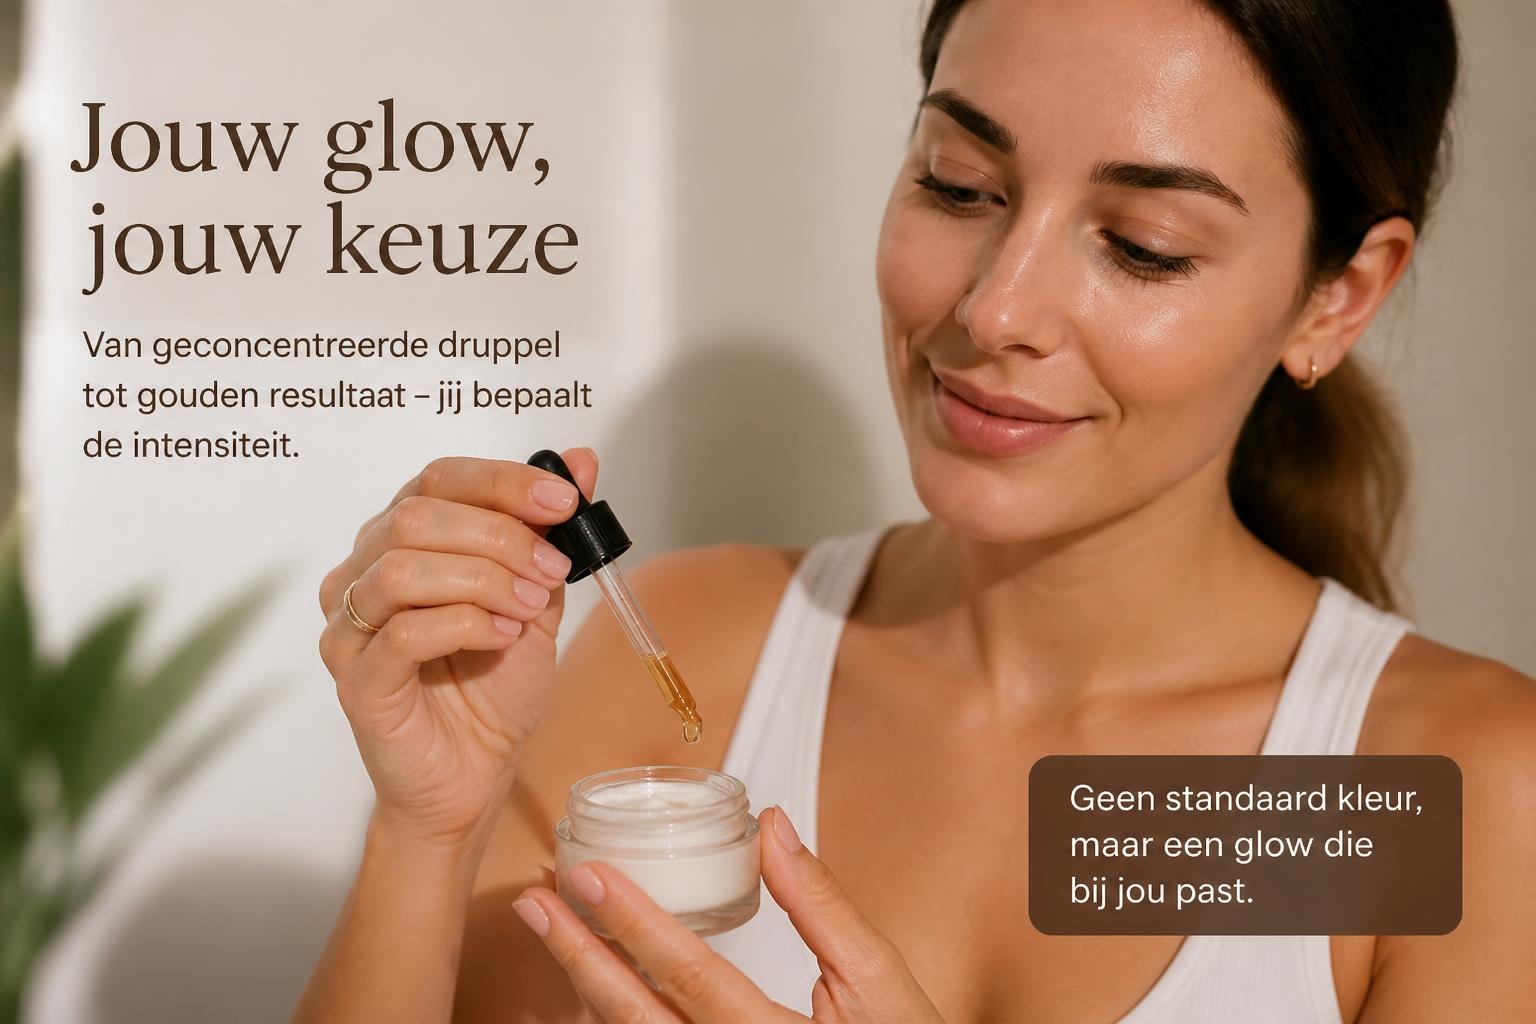
| Drops | Mixed with cream, normal application | 15-20 minutes | Gradual buildup, customization |
Primers and care
Some people like to use a primer before applying self-tanner. This creates a smooth base and can improve the result. Apply a primer thinly with your mitt and wait a few minutes before applying your self-tanner.
After your tanning result, good skincare is essential. Moisturize daily to keep your glow beautiful for longer.
Investing in quality
The price of a tanning mitt varies enormously, from a few euros to twenty euros or more. Is that investment worth it?
What determines the price
High-quality mitts use better materials that feel softer, last longer, and perform better. The seam construction is also important; some cheap variants fray quickly.
Quality features:
- Double stitching for durability
- Water-resistant inner layer
- Soft, non-linting exterior
- Comfortable fit
A good mitt doesn't have to be expensive, but the cheapest options often disappoint. Look for the balance between price and quality.
Return on investment
If you use self-tanner regularly, a quality mitt quickly pays for itself. You save product, time, and frustration. One bad application can already waste enough self-tanner to bridge the price difference.
Moreover, you may save on professional spray tans if you can achieve perfect results at home.
Sustainability and environmental considerations
In 2026, we are thinking more about the impact of our beauty routines. There are also sustainable choices to be made with tanning mitts.
Washable versus disposable
Disposable applicators are practical for travel but create unnecessary waste. A washable mitt is the environmentally friendly choice that will last you for years.
Some brands now offer biodegradable disposable options, but these remain less sustainable than a reusable variant. Choose quality and long-term use.
Material choices
Pay attention to the origin of the materials. Some brands use recycled fibers or organic materials. These options are better for the environment without compromising on performance.
Sustainability doesn't have to be a compromise. Many eco-friendly options perform excellently and even feel more luxurious than conventional variants.
Traveling with your tanning mitt
For those who travel regularly, it's convenient to take your mitt with you. This way you can maintain your sunny glow, wherever you are.
Hygiene on the go
Bring a separate plastic bag or travel case to store your used mitt until you can wash it. This prevents product residue from contaminating your other belongings.
Consider purchasing a compact travel version that takes up less space. This way you always have a clean mitt available without extra weight or bulk.
Hand luggage tips
A tanning mitt itself is not a problem in your hand luggage. Do pay attention to the amount of liquid self-tanner you bring. The standard 100ml rule also applies here.
For those looking for the best solution for home, the self-tanner glove offers a perfect combination of softness and durability.
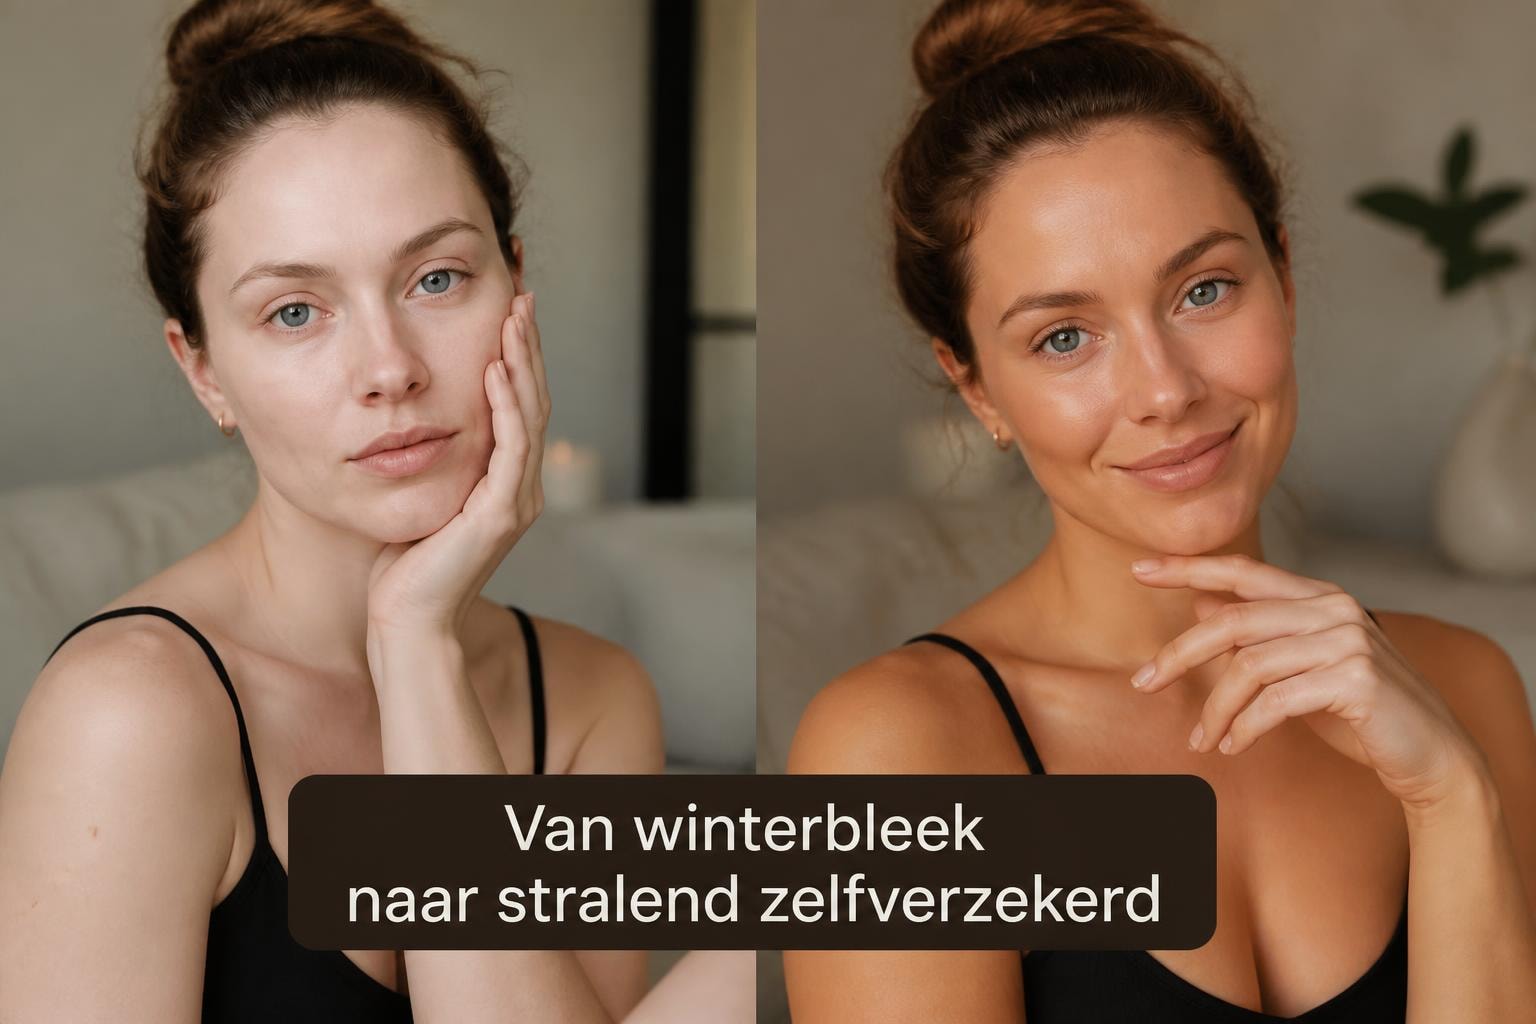
Achieving professional results at home
With the right knowledge and tools, you can achieve results at home that resemble a professional spray tan. The tanning mitt is your secret weapon for this.
Refining your technique
Practice your technique regularly. Every time you apply your self-tanner, you learn more about how your mitt moves, how much pressure is optimal, and which movements work best for your body.
Film yourself or use a mirror to check hard-to-see areas. This helps you discover blind spots and refine your technique.
Consistency is key
Develop a fixed ritual around your tanning routine. Use the same products, follow the same steps, and stick to the same schedule. This consistency leads to predictable, beautiful results.
With the right tanning mitt and technique, you can effortlessly create that coveted, natural glow. Whether you're new to the world of self-tanners or already experienced, investing in quality tools makes the difference between an okay result and a perfect, sunny tan. Tanning Glamour helps you get started with products specifically developed for an even, long-lasting tan without streaks or orange undertones. Discover today how easy it is to pamper yourself with a radiant, well-groomed look.
Read more
Discover the best tanning drops for 2026. Learn how to choose, apply, and combine tanning drops for an even, natural, streak-free glow.
Discover the best self-tanner for your body for an even, natural, streak-free tan. Tips, techniques, and advice for a radiant glow.