

Self-tanner at home: how to create an even glow
A radiant, sunny complexion without having to spend hours in the sun? With a good at-home self-tanner, it's easier than you think. Whether you want a healthy glow for a special event or simply want to maintain a natural tan year-round, at-home self-tanners offer the perfect solution. In this article, you'll discover everything about choosing and applying self-tanners, so your results not only look beautiful but also last a long time.
Why choose an at-home self-tanner?
The benefits of an at-home self-tanner are numerous. First and foremost, you protect your skin from harmful UV radiation while still enjoying a beautiful complexion. Instead of spending hours in the sun or on a tanning bed, you can create an even tan within a few hours.
Moreover, you give yourself the freedom to fully customize the result to your liking. Do you want a subtle glow for weekdays or a deeper shade for the weekend? With a self-tanner that gives quick results, you determine the intensity yourself.
Cost savings and convenience
A professional spray tan at the salon can quickly become expensive, especially if you want to maintain a fresh complexion regularly. With an at-home self-tanner, you make a one-time investment in a product that you can use for months.
The convenience speaks for itself: no appointments to schedule, no travel time, just at home at your own convenience. You just need to do some preparation and apply the product whenever it suits you.
The right preparation for an even complexion
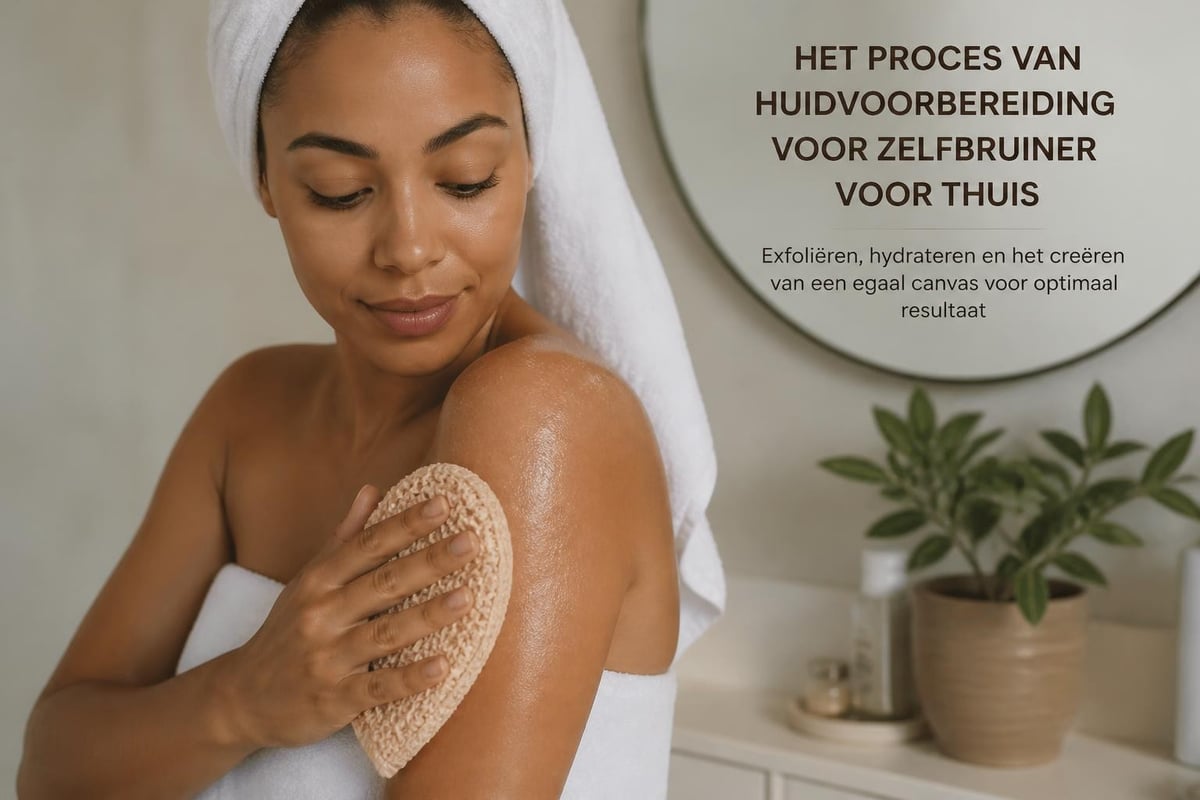
The secret to a beautiful, streak-free tan begins with good preparation. Your skin should be clean, smooth, and hydrated before applying the self-tanner.
Follow these preparatory steps:
- Exfoliate your skin thoroughly 24 hours before application
- Shave or epilate your skin at least a day in advance
- Hydrate dry areas such as knees, elbows, and ankles
- Ensure your skin is completely dry and free of oils
Exfoliating is particularly crucial. Dead skin cells cause uneven absorption of the tanning ingredients, which can lead to spots and streaks. A good scrub removes these cells and creates a smooth surface.
Special attention to dry areas
Areas such as your knees, elbows, ankles, and hands absorb more product due to drier skin. Apply a light moisturizing cream here beforehand, but let it soak in well before applying the self-tanner. This prevents these areas from becoming darker than the rest of your body.
Applying your at-home self-tanner
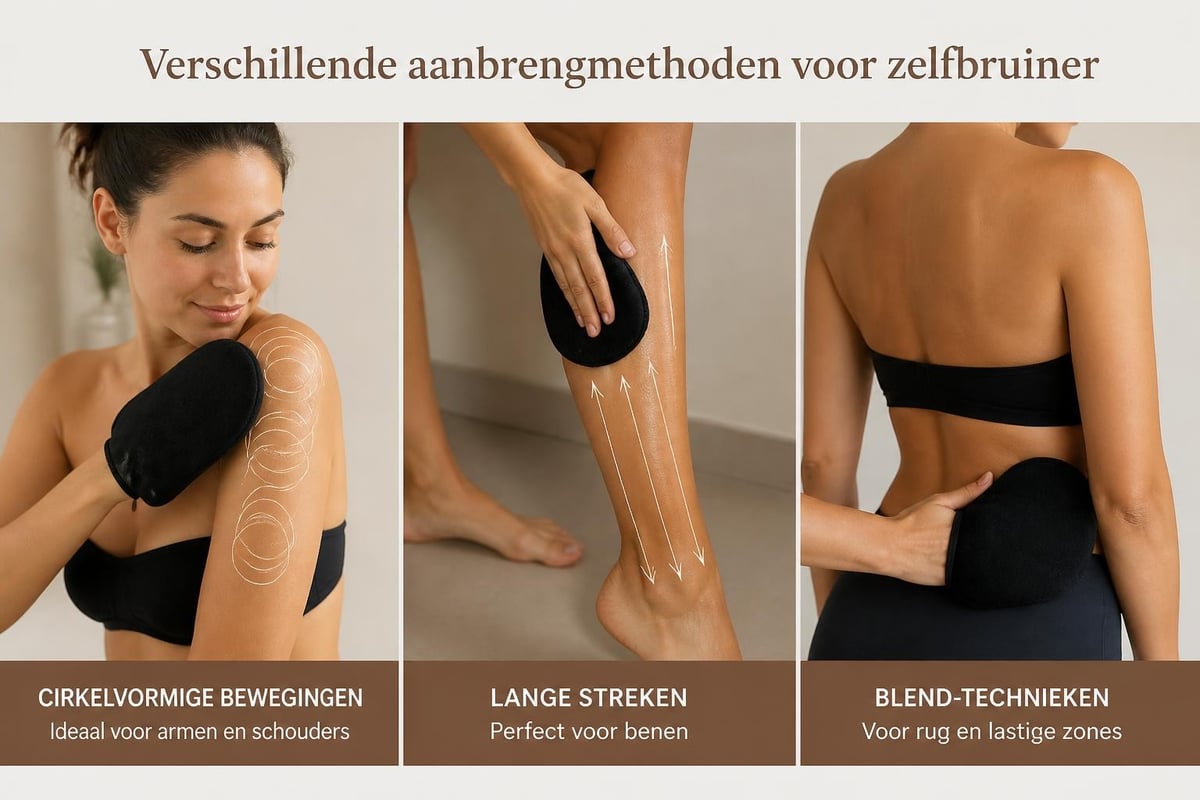
Applying an at-home self-tanner requires some technique, but with the right tools and approach, anyone can do it. Always start at your ankles and work your way up, so you don't accidentally rub over freshly applied areas.
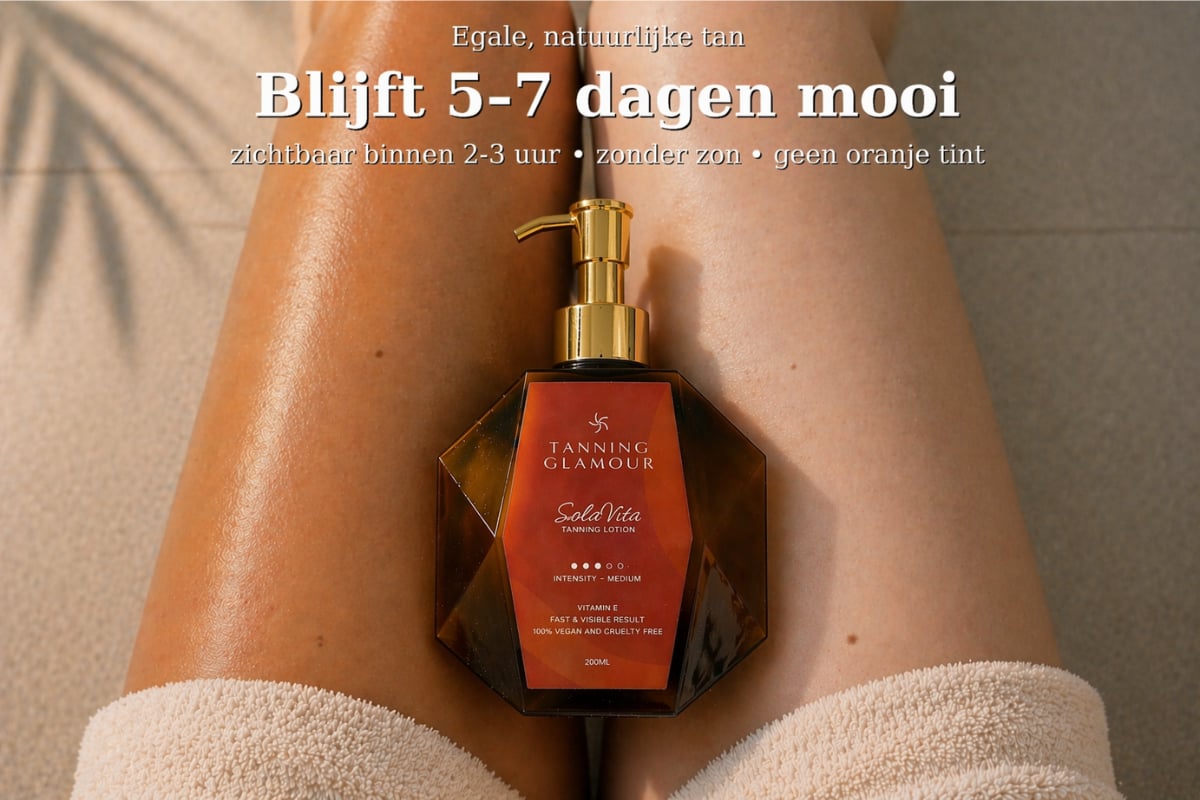
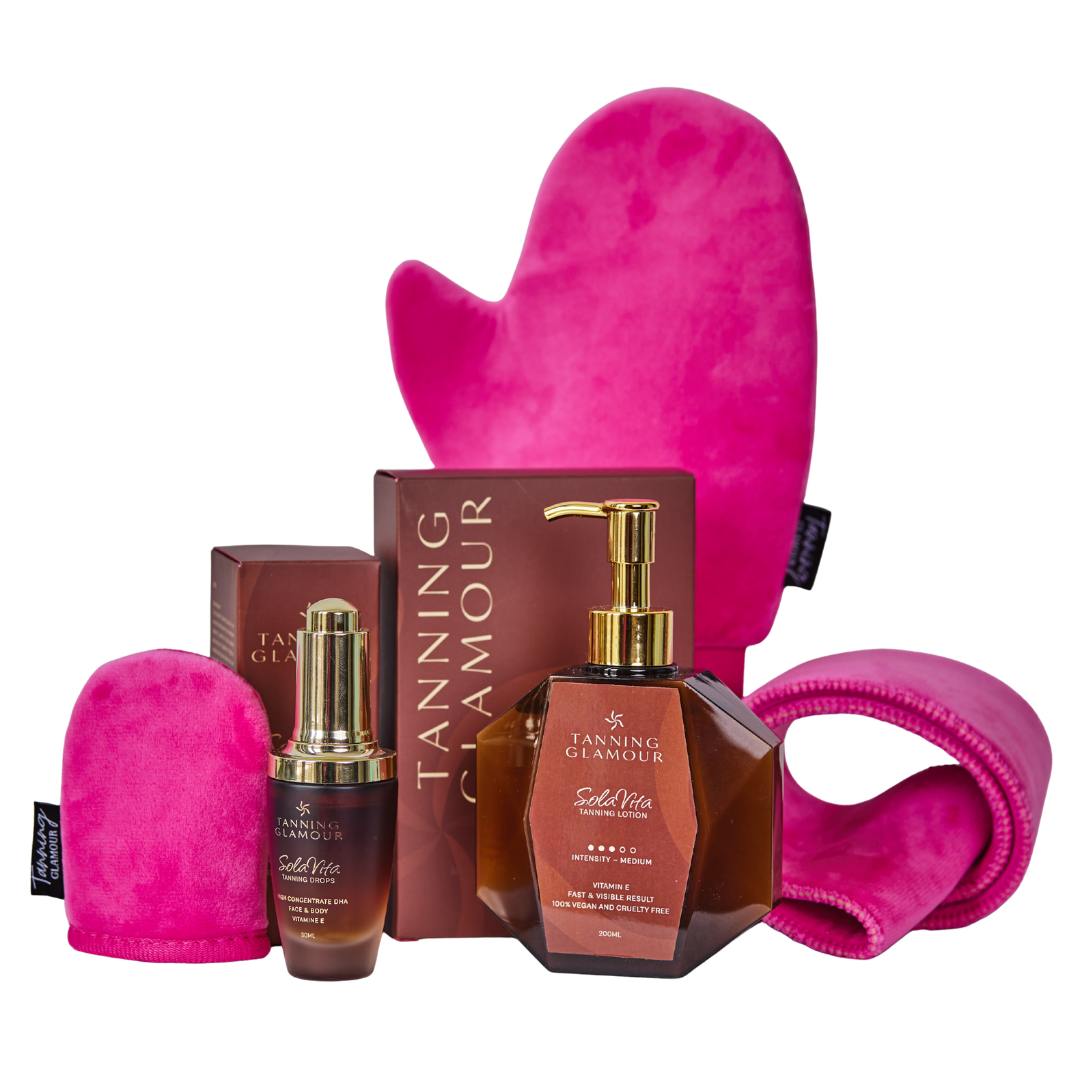
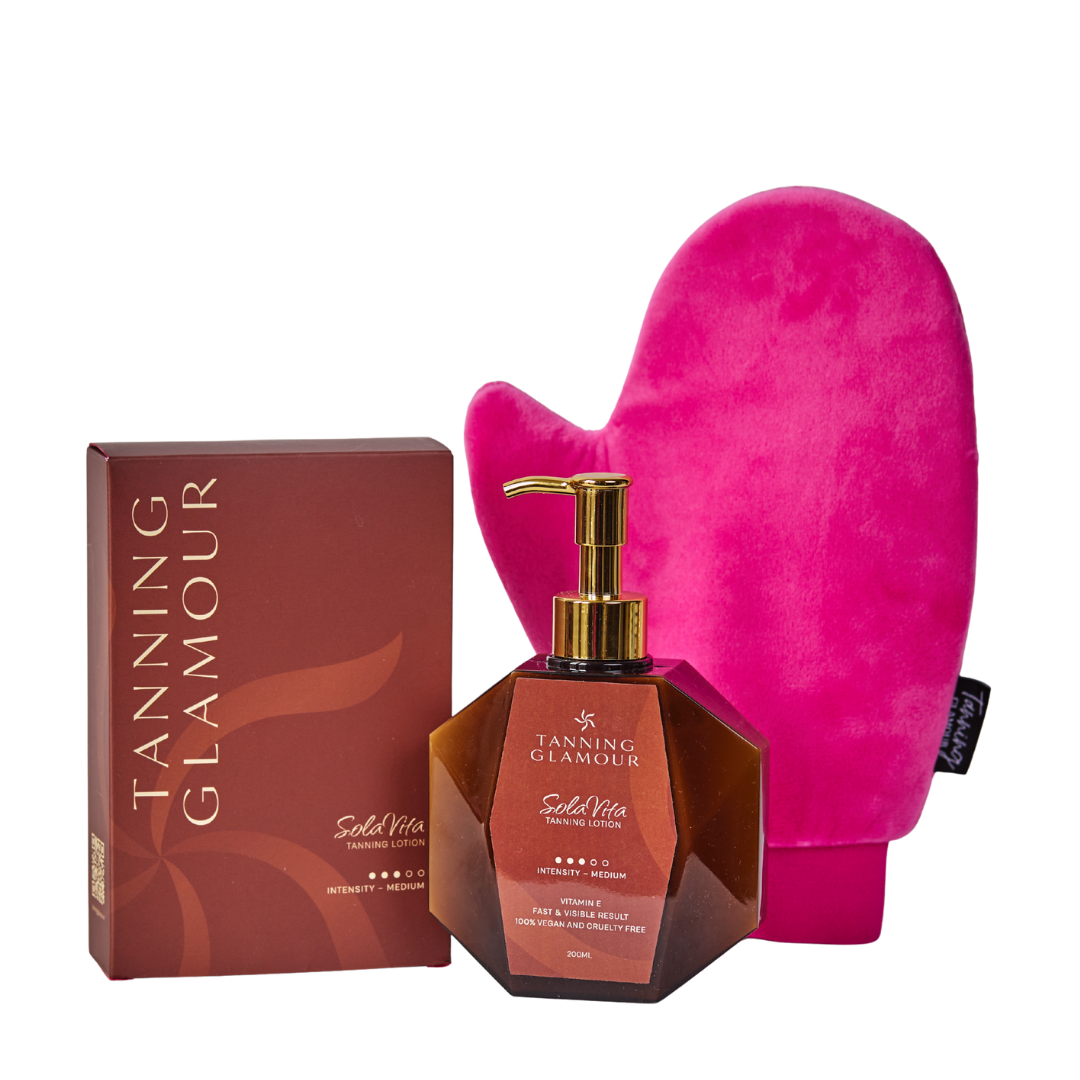
Use a professional applicator mitt for the best results. This not only ensures even distribution but also prevents discolored palms. The SolaVita Self-Tanner Lotion absorbs quickly and provides a visible, natural-looking result within 2-3 hours.
| Body Part | Application Technique | Extra Attention |
|---|---|---|
| Legs | Long, flowing strokes from bottom to top | Blend well around knees and ankles |
| Arms | From wrist to shoulder in circular motions | Extra blending at elbows |
| Torso | Horizontal movements over stomach and back | Use back applicator for hard-to-reach spots |
| Face | Thin, cautious layer with face mitt | Avoid hairline and eyebrows |
Hard-to-reach areas like your back
Your back is often the most challenging area to reach on your own. Instead of asking someone else for help, you can use a special back applicator. This gives you complete control over the result without depending on others.
Tips for a long-lasting and natural result
After applying your at-home self-tanner, the real work begins: maintaining your beautiful complexion. The first 24 hours are crucial for color development.
Adhere to these guidelines:
- Wear loose, dark clothing after application
- Avoid water, sweat, and strenuous activity for 4-6 hours
- Wait at least 8 hours before showering or swimming
- Hydrate your skin daily with a light, oil-free lotion
- Avoid prolonged contact with chlorinated water
A well-applied at-home self-tanner typically lasts 5-7 days, depending on your skin type and care. By hydrating daily, you extend its lifespan and ensure the tan fades evenly rather than patchily.
Building intensity
Start with a light layer rather than aiming for a deep tan right away. You can always apply a second layer after 24 hours for more intensity. This gives you more control and prevents disappointment. Many users prefer to build up a tan gradually, which also looks more natural.
Avoiding common mistakes
Even with the best at-home self-tanner, things can go wrong if you make certain mistakes. Fortunately, these are easy to prevent with the right knowledge.
The biggest pitfall is using too much product. More isn't always better with self-tanners. A thin, even layer gives a more beautiful result than a thick layer that can streak or stain.
Dealing with mishaps
If a streak or spot does occur, don't panic. Gently exfoliate the area with an exfoliating mitt and apply some lemon or vinegar to a cotton pad. This helps to fade the discoloration. For dark spots, you can also use special tan removers found with many self-tanner brands.
Different types of at-home self-tanners
The market offers various formulas, each with its own advantages. Lotions are popular because they are easy to control and absorb gradually. Sprays work quickly but require more skill for an even result.
Comparison of formulas:
| Type | Benefits | Best for |
|---|---|---|
| Lotion | Precise application, easy to blend | Beginners and general use |
| Spray | Quick application, light feel | Experienced users and large areas |
| Mousse | Dries quickly, visible color during application | Anyone who wants to see immediate results |
| Drops | Fully customizable intensity | Facial tanning and gradual buildup |
When applying self-tanner correctly, the product type makes a difference in technique, but the basic principle remains the same: even distribution and good preparation.
Maintaining your tanned complexion
Maintaining a beautiful complexion requires regular care. Hydration is the key to long-lasting results. Use an oil-free body lotion daily to keep your skin supple and allow the tan to fade naturally.
Exfoliate gently once a week to remove dead skin cells, but don't be too aggressive. Too much scrubbing will remove your beautiful tan faster than you'd like.
Refreshing your tan
After about 5 days, your at-home self-tanner will start to fade. This is the perfect time to apply a new layer. You don't have to start all over again: a light refresher layer is often enough to maintain your glow. This creates a year-round sun-kissed look without the ups and downs of an on-off routine.
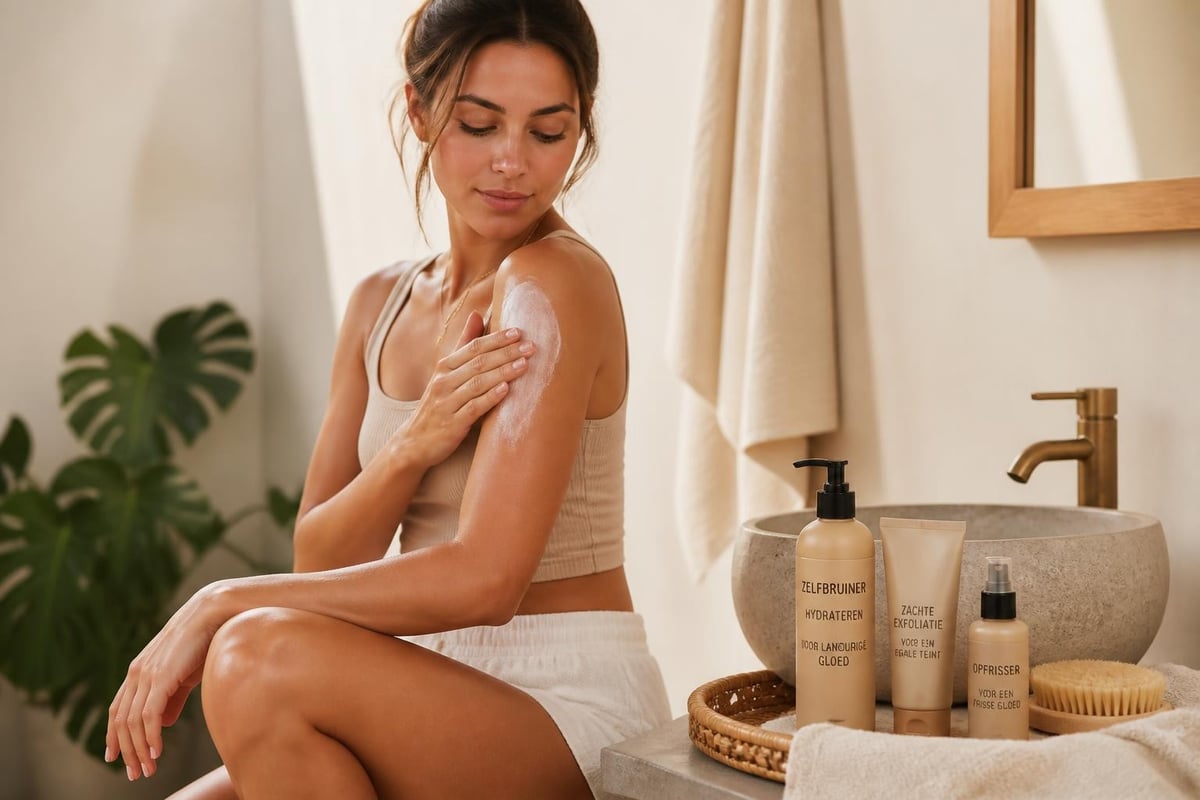
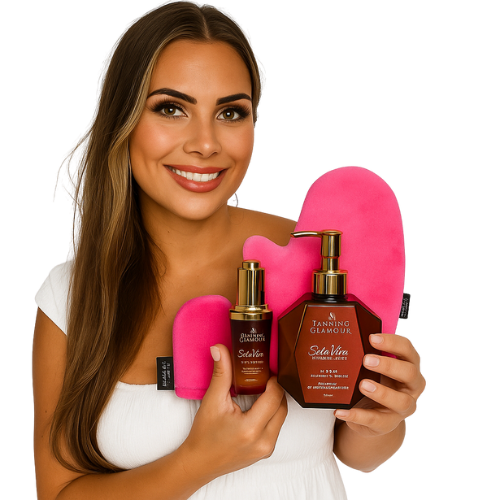
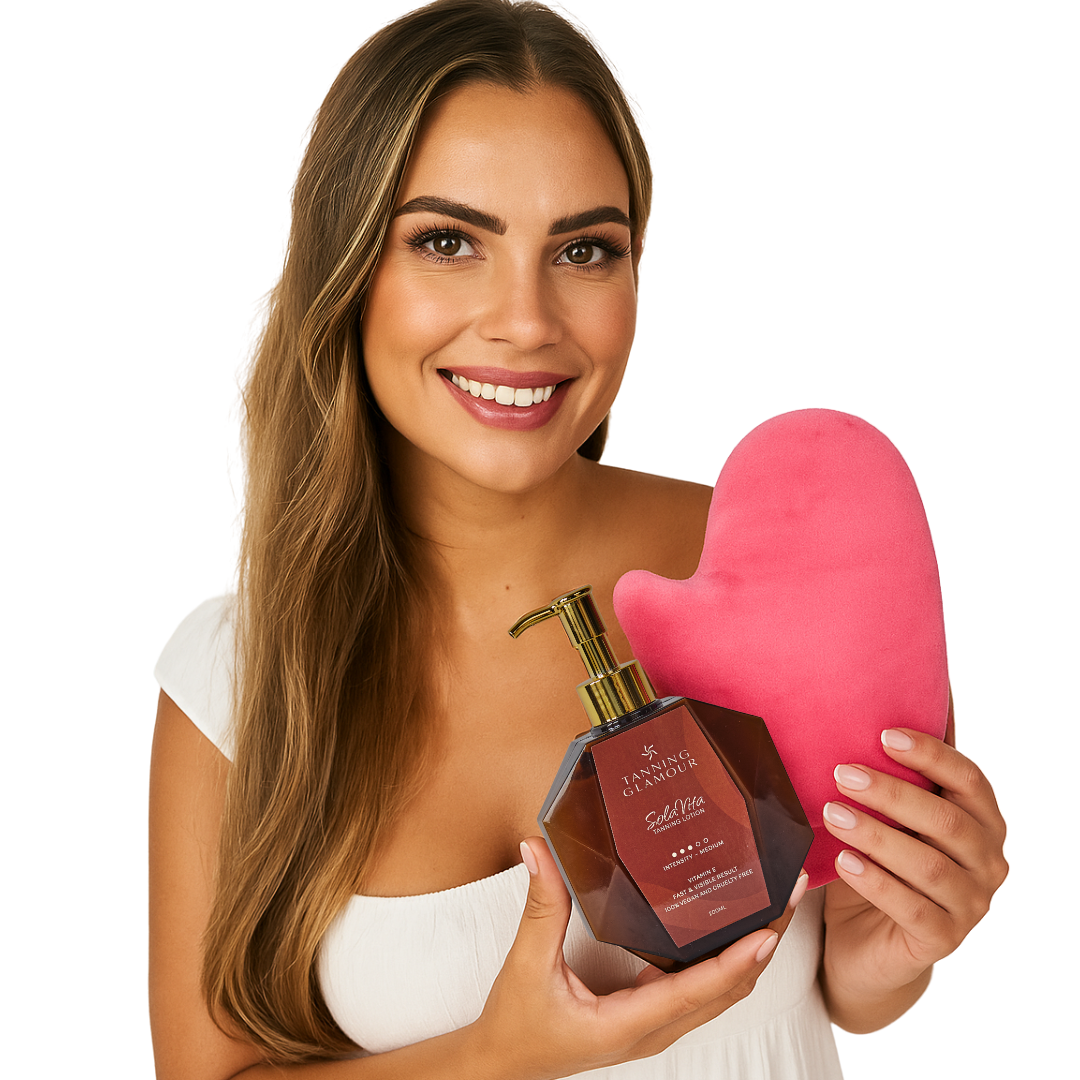
With the right preparation, application technique, and care, you can give yourself a natural, radiant tan that lasts for weeks. An at-home self-tanner not only provides a beautiful glow but also the confidence and well-groomed appearance you're looking for. Tanning Glamour helps you with natural self-tanners that are visible within 2-3 hours and last 5-7 days beautifully, completely without streaks or orange undertones. Discover today how easy a sun-kissed look can be.
Ontdek jouw mooiste glow
Verzorgende zelfbruiners van SolaVita - streeploos, geen oranje.
Read more
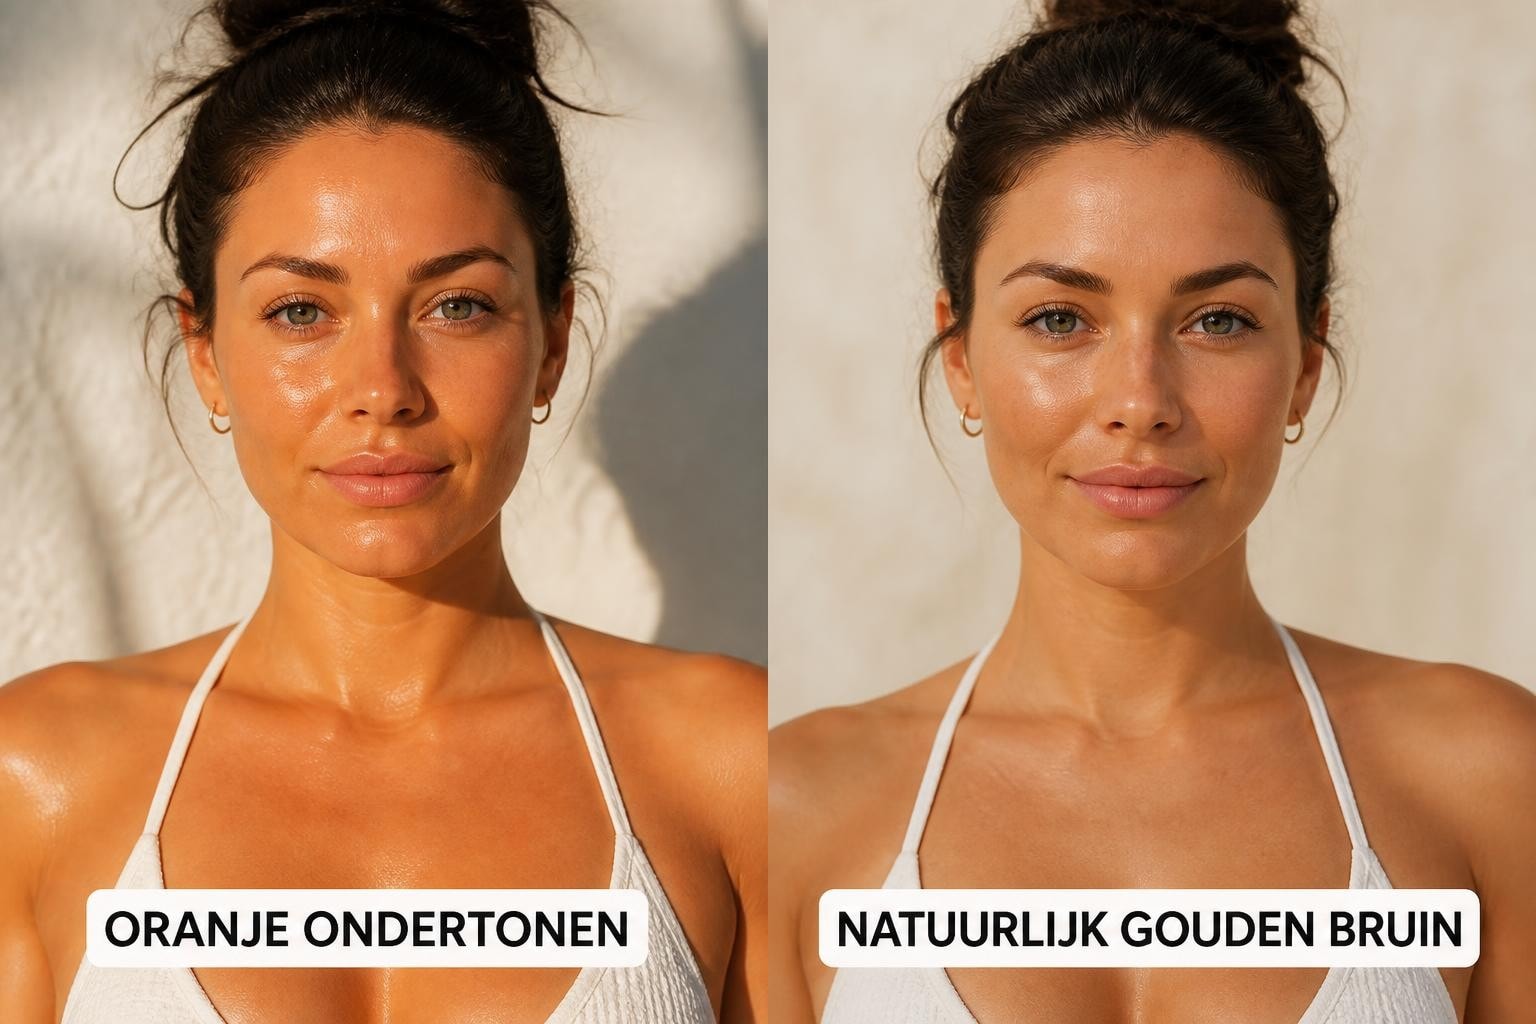
Discover how to achieve a natural, even tan without an orange tint. Read our tips for self-tanning lotion that doesn't turn orange.

Is DHA veilig voor jouw huid? Ontdek waarom deze stof in zelfbruiners onschadelijk is, hoe het werkt en waar je op moet letten bij gebruik.