Self-tanner for face: how to choose and use it properly
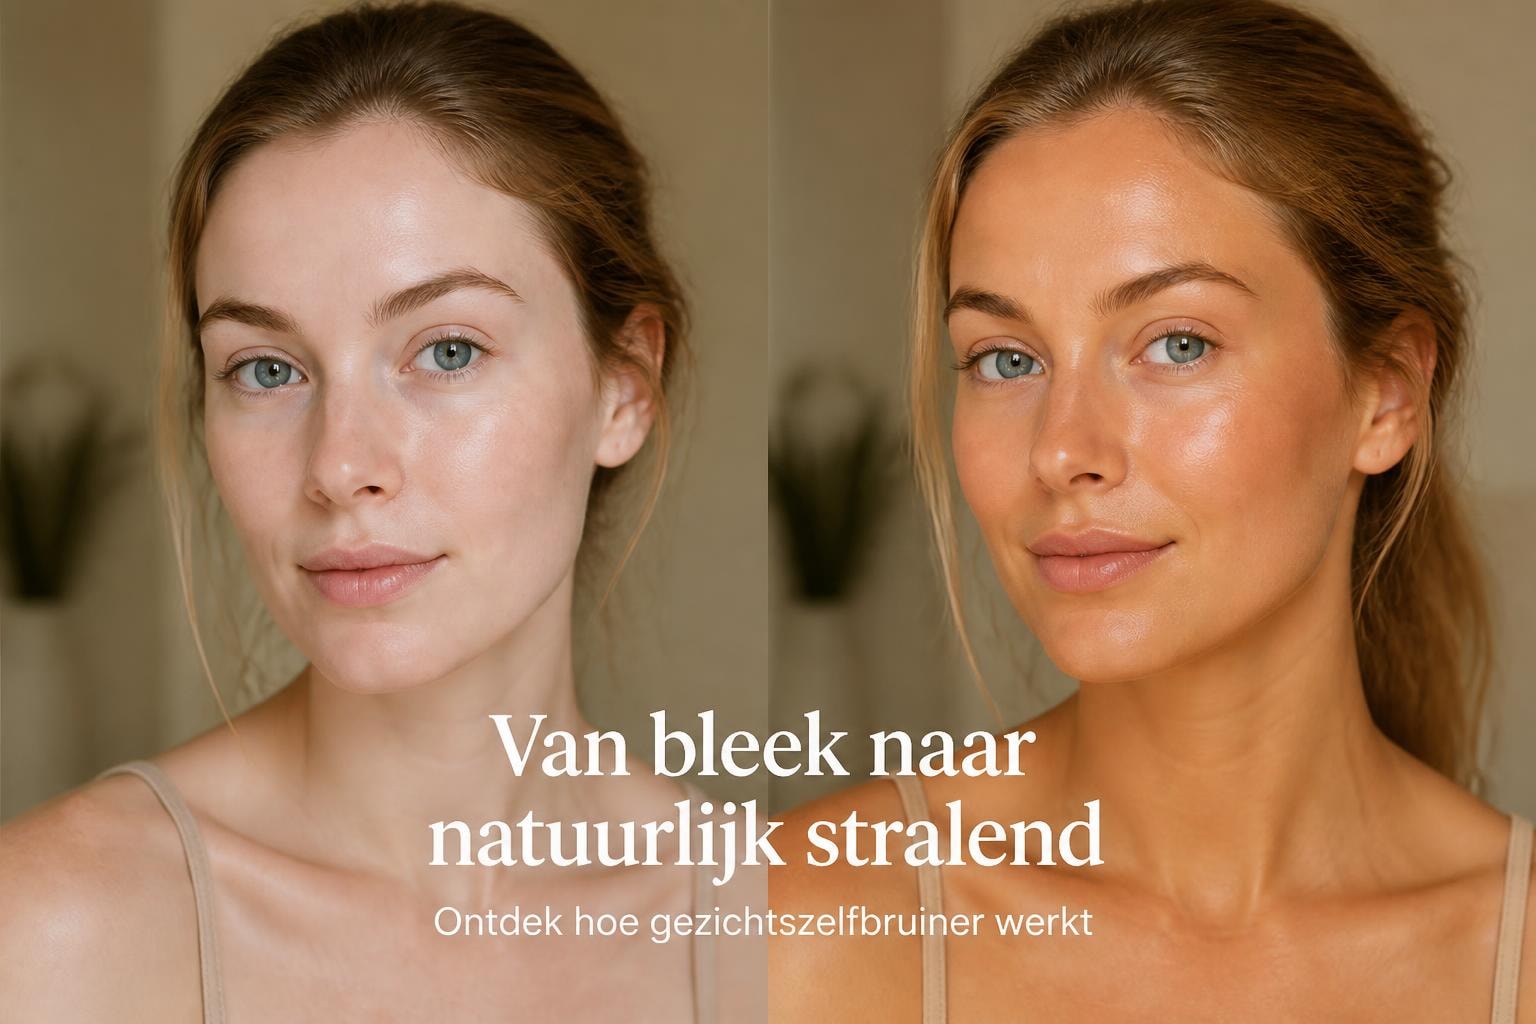
A natural, sun-kissed complexion without having to spend hours under the sun. That's exactly what a good face self-tanner can do for you. The skin on your face differs from the rest of your body and therefore requires a tailored approach. With the right self-tanner, you can create an even, radiant glow that looks like you've just returned from a wonderful vacation. In this article, you'll discover everything you need to know about choosing, applying, and maintaining a beautiful complexion with face self-tanner.
Why a separate self-tanner for your face
The skin on your face is more sensitive and delicate than that on your body. A self-tanner you use on your legs might feel too heavy or clog pores on your face. That's why brands develop special formulas for the face.
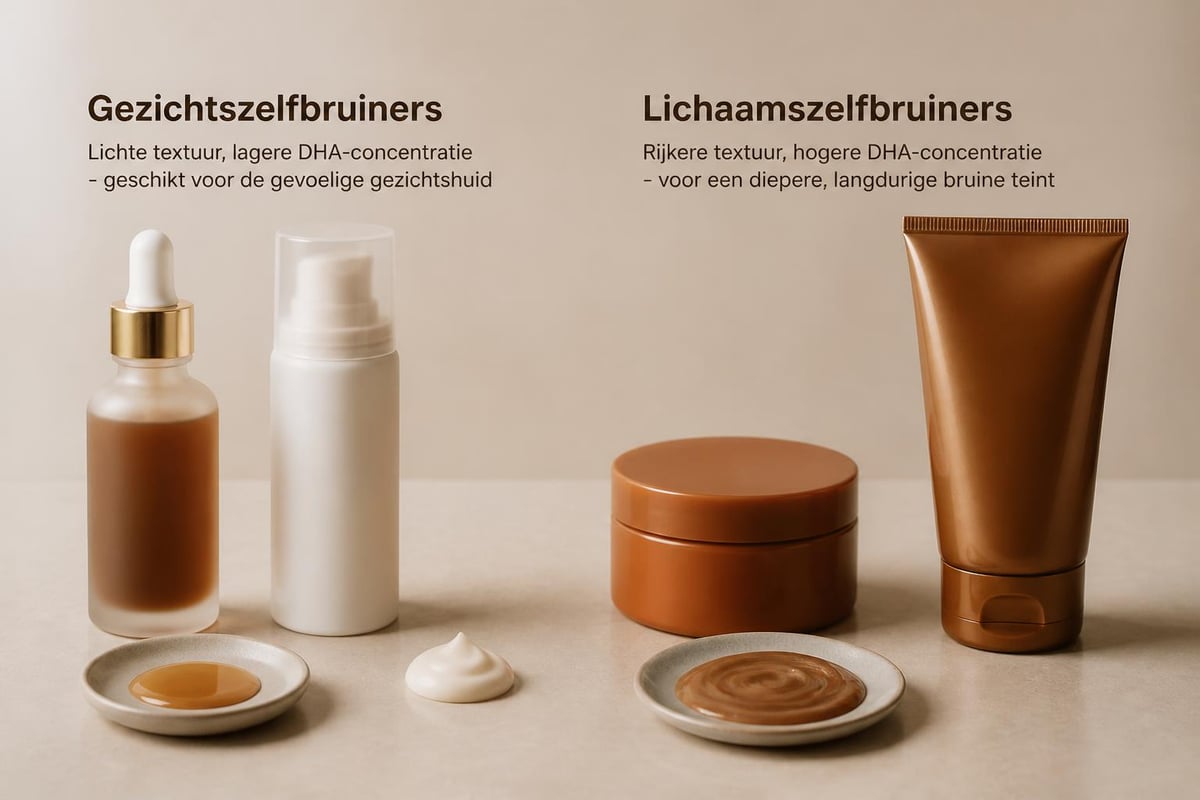
Difference between face and body self-tanners
Texture plays a crucial role. Face self-tanners are formulated to be lighter and absorb faster. They often contain hydrating ingredients like hyaluronic acid or vitamin E, which nourish your skin while tanning.
Key differences:
- Texture: Face products are often thinner and less sticky
- DHA concentration: Lower percentages for a subtler, natural shade
- Nourishing ingredients: Extra focus on hydration and anti-aging components
- Scent masking: Milder fragrances adapted for use near the nose and mouth
- Non-comedogenic formulas: Won't clog your pores and prevents breakouts
Different types of face self-tanners
The market offers various formats, each with its own advantages. Your choice depends on your experience, skin type, and desired intensity.
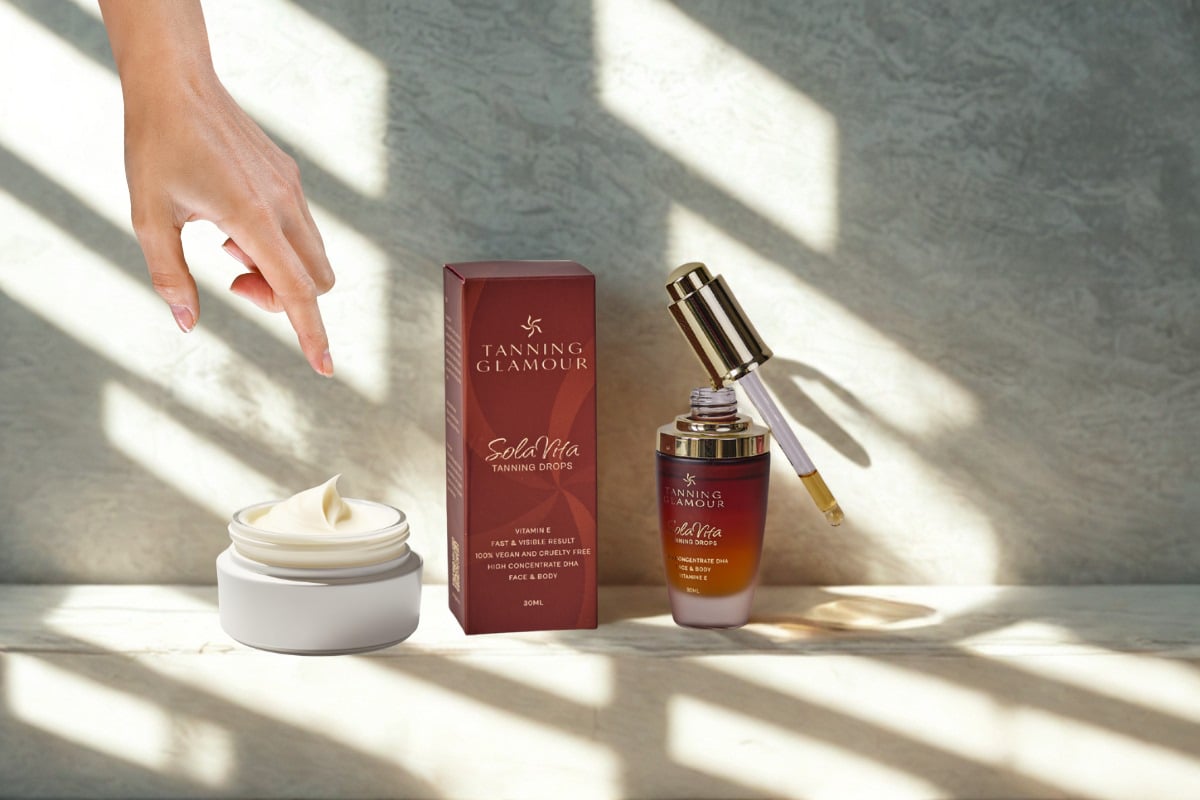
Self-tanner drops
Drops are perfect if you want to control the intensity. You mix them with your day cream or serum and decide how much color you want to build up. Start with one drop and gradually increase to two or three for a deeper shade.
Products like SolaVita Tanning Drops give you the flexibility to create your ideal sun-kissed complexion, exactly as you want it.
Lotions and creams
A classic option suitable for beginners. These formulas are ready-to-use and require no mixing. They often provide a predictable, even color that becomes visible within a few hours.
| Type | Advantages | Suitable for |
|---|---|---|
| Drops | Flexible intensity, mixable | Experienced users, various skin tones |
| Lotions | Ready-to-use, predictable | Beginners, quick routine |
| Mousses | Light texture, fast-absorbing | All skin types, warm months |
| Gels | Refreshing feel, transparent | Oily skin, summer use |
Gradual tanners
For those who prefer a very gradual build-up, gradual tanners are ideal. They contain less DHA and build a subtle tan over several days. Perfect if you're unsure about the final shade.
How to choose the right self-tanner for your skin
Your skin type and tone determine which product suits you best. A wrong choice can lead to orange undertones or uneven results.
Light to medium skin tone
For lighter skin, it's wise to start with a low DHA concentration formula. Choose products that specifically state they are suitable for light skin. Sante.nl provides useful recommendations for different skin tones.
Tips for light skin:
- Start with drops and build up slowly
- Use no more than 1-2 drops for the first application
- Choose formulas with predictable, neutral tones
- Always test on a small area first, such as your jawline
Dry versus oily skin
Dry skin benefits from creamy formulas with extra hydration. Oily skin tolerates lighter gels or water-based mousses better.
Good preparation begins with regular exfoliation and hydration. This ensures that the face self-tanner can absorb evenly.
Application: step-by-step to an even complexion
Application is just as important as the product itself. Even the best face self-tanner will streak if not applied correctly.
Preparing your skin
Start with a thorough cleansing. Remove all makeup, sebum, and impurities. Exfoliate your face 24 hours before application to remove dead skin cells that could otherwise cause streaks.
Preparation checklist:
- Cleanse your face with a mild cleanser
- Exfoliate with a gentle scrub (24 hours beforehand)
- Hydrate dry areas like eyebrows, hairline, and lips
- Wait at least 10 minutes before applying self-tanner
- Ensure your skin is completely dry
The correct application technique
Start in the center of your face and work outwards. Use small amounts and build up rather than using too much. Pay extra attention to the hairline, eyebrows, and jawline.
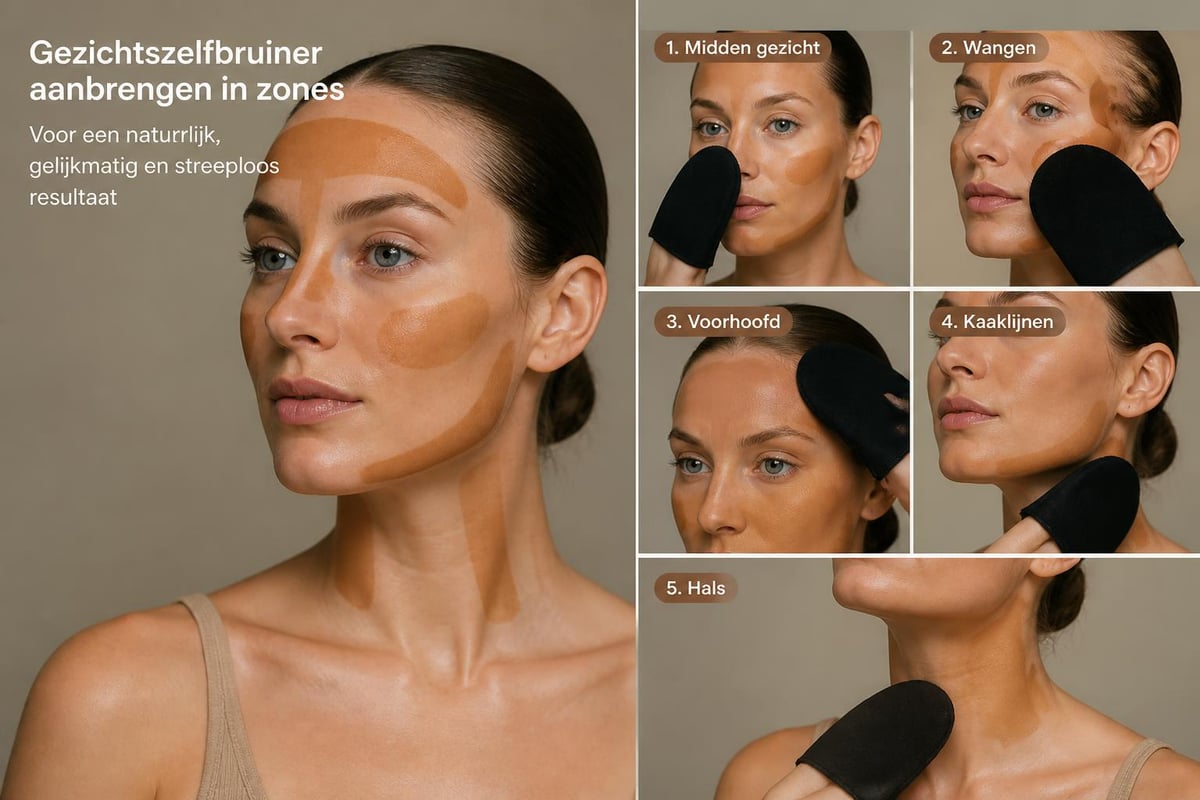
Use your fingertips in circular motions. For even better results, you can use a special applicator. Don't forget your neck, so there's no harsh line between your face and body.
Avoiding common mistakes
Streaks around the hairline often occur because product accumulates there. Therefore, use less product in these areas. Your eyebrows can also darken if you're not careful, so keep this in mind.
Mistakes to avoid:
- Using too much product at once
- Forgetting to wash your hands immediately after application
- Applying to dry, non-exfoliated skin
- Not blending at the hairline and jawline
- Showering or sweating too soon
Maintenance and long-lasting results
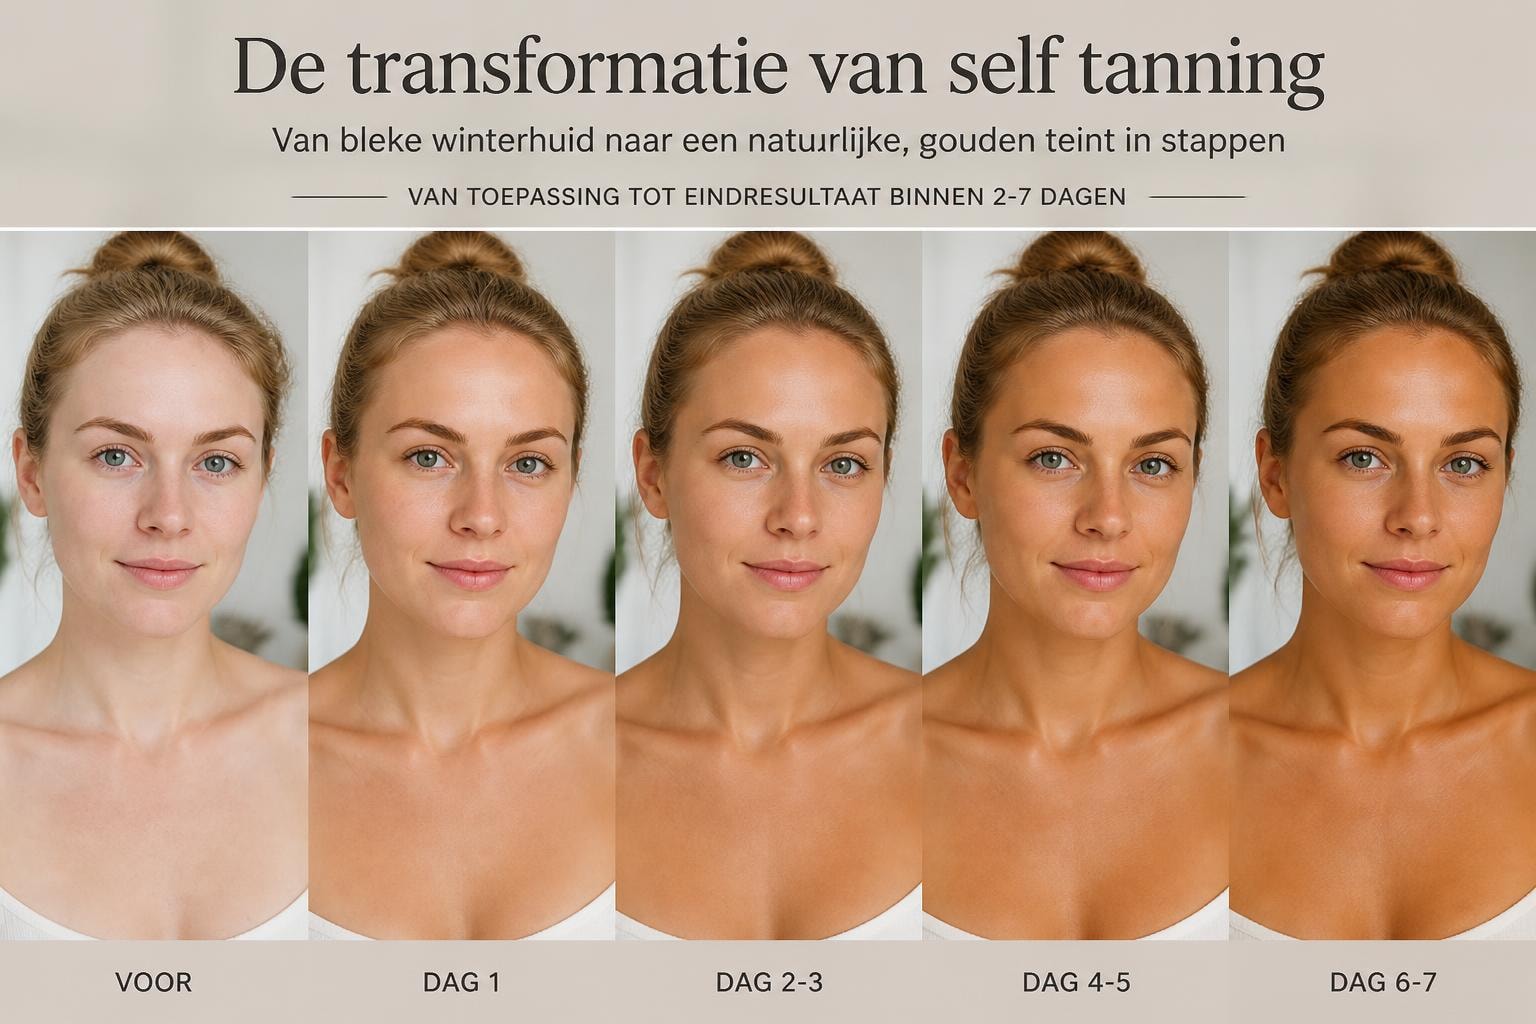
A beautiful complexion starts with the right product, but maintaining it requires consistent care. Tanning Glamour develops products that maintain their beautiful color for 5-7 days, provided you take good care of them.
Hydration is crucial
Dry skin causes self-tanner to fade faster. Invest in a good moisturizer and apply it twice daily. The better hydrated your skin, the longer and more even your tan will last.
| Day | Care Routine | Result |
|---|---|---|
| 1-2 | Hydrate only, do not exfoliate | Full color development |
| 3-5 | Gentle cleansing, intensive hydration | Maximum glow and even tone |
| 6-7 | Gentle exfoliation possible | Preparation for new application |
Refreshing your tan
After 3-4 days, you can refresh your tan with a new layer. Use less product than for the first application. This helps maintain the color without it becoming too dark.
Some people choose to add drops to their day cream every 2-3 days. This ensures a constant, natural glow without clear build-up and fade phases.
Combining with your daily skincare
A face self-tanner should seamlessly fit into your existing routine. Fortunately, this is simpler than you might think.
Order of products
First, apply your serum and wait until it's fully absorbed. Then add your self-tanner drops to your moisturizer, or use a ready-made self-tanning formula. Wait at least 10 minutes before applying SPF.
Ideal morning routine with self-tanner:
- Cleanse
- Toner (optional)
- Serum
- Self-tanner drops + moisturizer (or self-tanning cream)
- Wait 10 minutes
- SPF 30 or higher
Sun protection remains essential, even if you are tanned from a self-tanner. The DHA in self-tanners does not provide UV protection.
Makeup over self-tanner
You can apply makeup over your self-tanner without problems once it's fully absorbed. Wait at least 10-15 minutes. Preferably choose light, liquid formulas that don't pull on your skin.
Foundation often needs to be lighter or less opaque when you have a beautiful, even complexion from your face self-tanner. This saves time and provides a more natural look.
Troubleshooting and expert tips
Even with the best preparation, imperfections can sometimes arise. Don't worry, there are solutions for almost every problem.
Preventing orange tones
An orange undertone usually occurs due to an incorrect DHA match with your skin tone or too much product. Choose products that specifically state they are free of orange undertones, such as the natural self-tanners from Tanning Glamour.
For extra certainty, you can watch instructional videos that show exactly how to achieve a natural result.
Fixing streaks and patches
Did streaks appear anyway? Gently exfoliate the affected areas with a soft scrub or washcloth. Then apply a thin layer of self-tanner to even out the tone again.
Quick fixes for common problems:
- Dark eyebrows: Clean with a cotton pad and micellar water
- Harsh hairline: Use a damp cloth to gently blend
- Patchy hands: Exfoliate with lemon and baking soda
- Uneven jawlines: Blend with a damp sponge
Color adjustment for different seasons
In winter, your skin tone is often lighter than in summer. Adjust the intensity of your self-tanner accordingly by varying the number of drops or choosing a lighter formula.
The best results with professional applicators
Although you can apply face self-tanner perfectly well with your hands, a good applicator can make the difference between an acceptable and a perfect result.
Benefits of applicators
Special gloves or sponges ensure an even more uniform distribution. They also prevent your own palms from getting stained. For the face, there are mini-gloves that are perfect for small, precise areas.
The Luxe Velvet Tanning Mitt is an example of how a good applicator helps you achieve a professional, streak-free finish.
Which applicator for which area
For your forehead and cheeks, a larger applicator works well. For around your nose, eyes, and lips, it's better to use your fingertips or a mini-applicator. This way, you maintain control and prevent product accumulation in wrinkles.
Ingredients to look out for
Not all self-tanners are created equal. The ingredient list tells you a lot about the quality and suitability for your skin.
DHA: the active ingredient
Dihydroxyacetone (DHA) is the ingredient that temporarily colors your skin by reacting with amino acids in the outermost skin layer. Choose naturally derived DHA from sugar beets or sugar cane for the best results.
Nourishing additives
Good face self-tanners also contain skin-care ingredients such as aloe vera, hyaluronic acid, or natural oils. These prevent dryness and ensure more even color development.
Valuable ingredients in self-tanners:
| Ingredient | Function | Benefit |
|---|---|---|
| Hyaluronic acid | Hydration | Prevents dryness and streaks |
| Vitamin E | Antioxidant | Protects and nourishes |
| Aloe vera | Soothing | Reduces irritation |
| Glycerin | Humectant | Keeps skin supple |
| Green tea extract | Anti-aging | Improves skin texture |
What to avoid
Alcohol high on the ingredient list can dry out your skin. Strong perfumes can also cause irritation, especially for sensitive skin. When in doubt, opt for hypoallergenic formulas.
Face self-tanner for different occasions
How you use your self-tanner can vary depending on the occasion.
Daily natural glow
For a subtle, daily tan, use one drop mixed with your moisturizer. This gives a fresh, sun-kissed look without being noticeably dark. Perfect for the office or casual occasions.
Extra glow for special events
Have a wedding, party, or photoshoot? Build up your tan 3-4 days beforehand with 2-3 drops per application. This way, on the important day, you'll have a radiant, even complexion that looks beautiful in photos.
Always start well in advance if you want to achieve a specific result for an event. This gives you time to adjust if necessary.
Maintaining your holiday glow
Just back from vacation and want to maintain that sun-kissed tan a little longer? Use your face self-tanner to make the transition back to your natural skin more gradual. Mix it with your after-sun for optimal results.
Seasonal adjustments
Your skin tone and condition change with the seasons. Your self-tanner routine should adapt accordingly.
Winter months
In winter, your skin is often drier and lighter. Use richer moisturizers and start with fewer drops. Exfoliate more often as heating causes more dead skin cells.
Shorter days and less sunlight also make this the perfect time to maintain a healthy glow with self-tanner. It gives you a refreshed look that can boost your energy and mood.
Summer period
In summer, you can use your self-tanner to enhance or prolong your natural tan. Use lighter formulas that don't feel heavy in the heat. Think gels or water-based mousses.
Remember that sweating can affect longevity. Therefore, apply a thin layer more often instead of one thick layer.
With the right knowledge and products, a beautiful, natural complexion is within reach. A good face self-tanner gives you confidence and a well-groomed appearance, regardless of the season. If you're looking for products that provide an even, long-lasting tan without streaks or orange undertones, Tanning Glamour offers a range of natural self-tanners that are visible within 2-3 hours and last beautifully for up to 5-7 days. Discover which formula best suits your skin and enjoy a sun-kissed glow, all year round.
Read more
Discover how self-tanning works, what products you need, and how to create a natural, even tan without streaks or orange undertones.
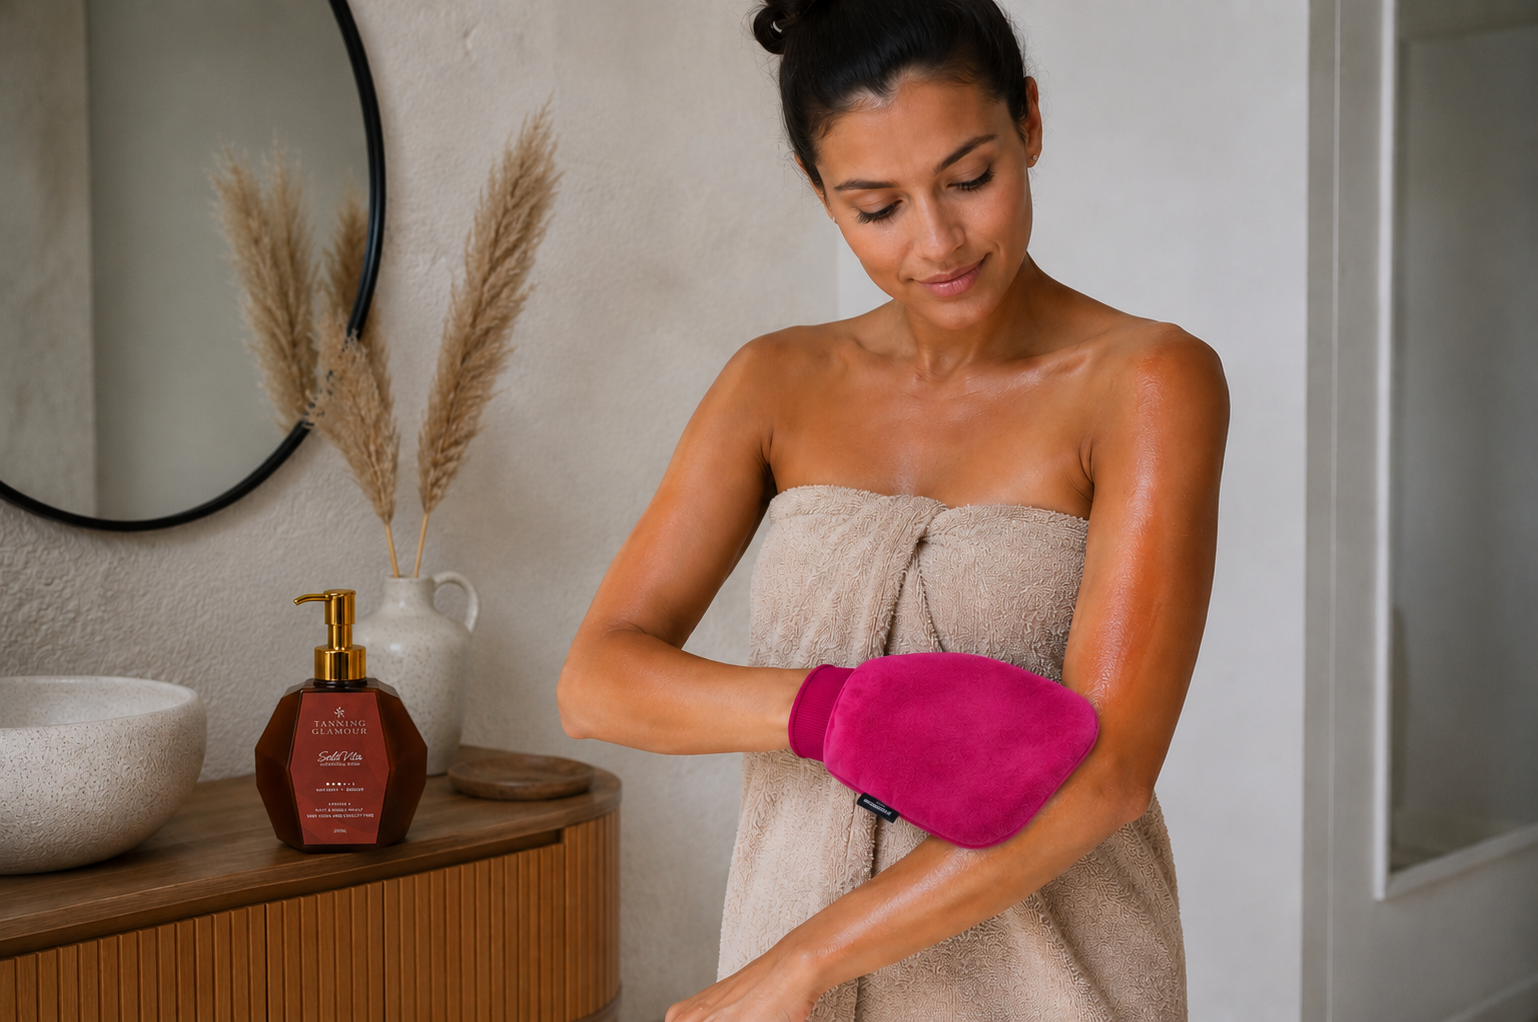
Discover how a tanning mitt helps you apply self-tanner. Prevent streaks and spots for a natural glow.