Self-tanner with mitt: how to apply evenly
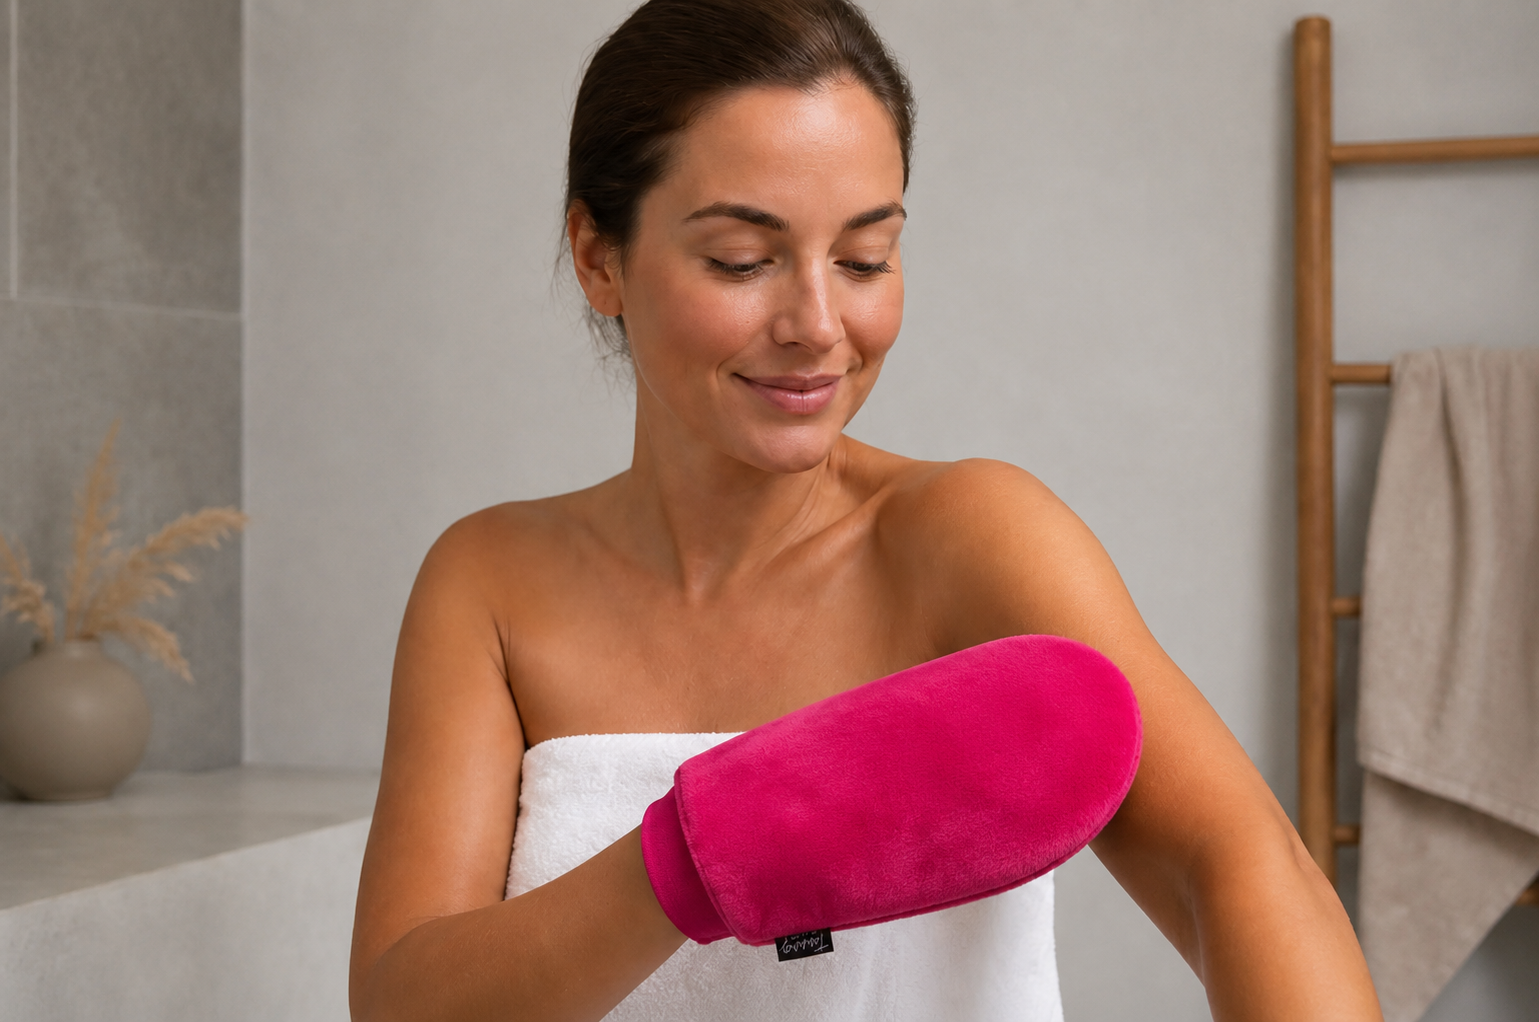
A beautiful, even tan without streaks or patches starts with the right application method. Many people find that using a self-tanner with a mitt makes all the difference between a professional result and a disappointing experience. The mitt ensures that your self-tanner is evenly distributed over your skin, while your hands remain protected from unwanted discoloration. In this article, I will guide you through everything you need to know about using an applicator mitt with self-tanner, from the benefits to practical tips for a sunny, natural-looking glow.
Why use a mitt with self-tanner
Applying self-tanner with bare hands might seem like the easiest option, but this often leads to unwanted results. Your palms absorb a lot of product, resulting in brown hands that remain visible for days. Additionally, it's almost impossible to achieve a completely even distribution with your fingers.
A professional applicator mitt directly solves these problems. The soft material, often velvet or flannel, ensures an even distribution of the product over your skin. This prevents streaks, patches, and uneven areas that occur when you apply too much or too little product in one spot.
Protecting your hands
The main advantage of using a self-tanner with a mitt is the protection it offers. Your palms remain completely clean, as the product only comes into contact with the outside of the mitt. This means you don't have to scrub your hands afterwards or walk around with orange palms for days.

The different types of applicator mitts
When choosing the right mitt for your self-tanner, you will encounter various materials and models. Each type has its own characteristics and applications.
| Mitt type | Material | Best for | Advantages |
|---|---|---|---|
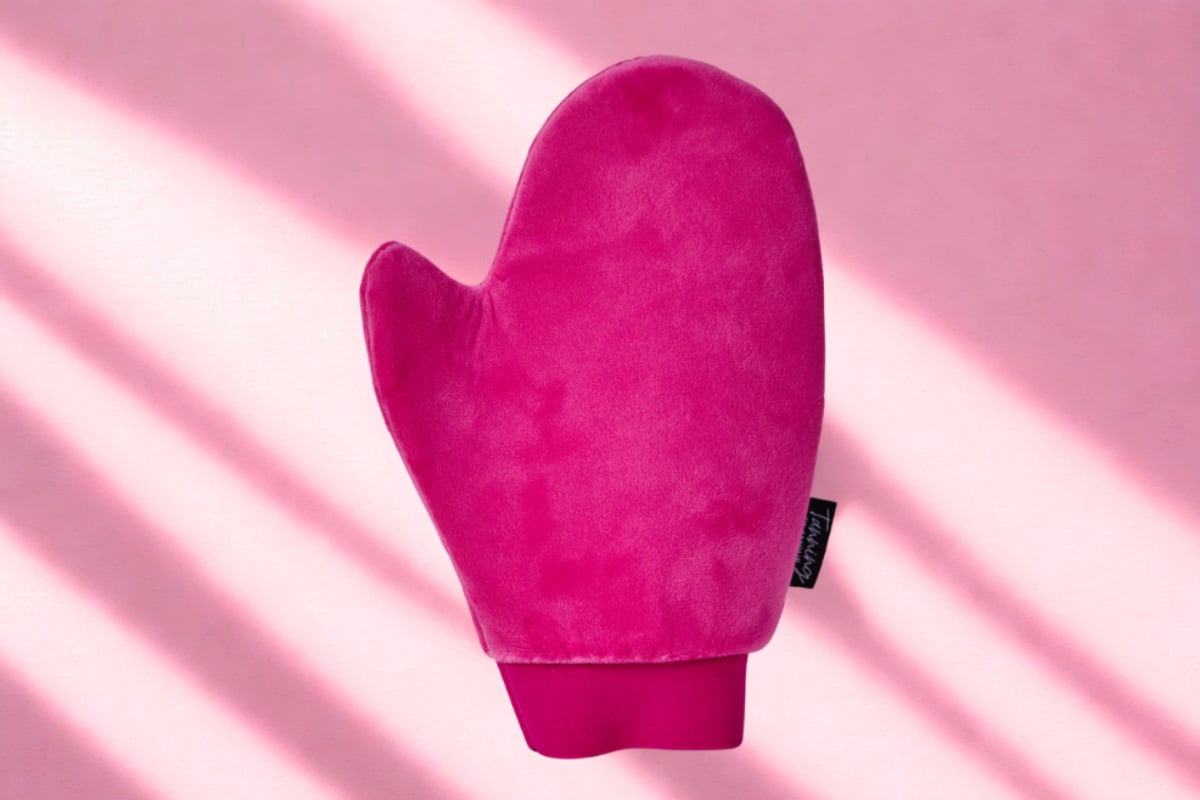
| Velvet mitt | Soft velvet | Entire body | Luxurious feel, even distribution |
| Mini mitt | Compact velvet | Face and small areas | Precision, control |
| Double-sided mitt | Microfiber | Universal use | Both sides usable |
| Mitt with back strap | Extended velvet | Back and shoulders | Reaches difficult areas |
Velvet mitts are currently the most popular due to their soft texture and excellent distribution properties. They feel luxurious on your skin and glide effortlessly over your body, making self-tanner application a true pampering experience.
Step-by-step: applying self-tanner with a mitt
The process of applying your self-tanner with a mitt requires a systematic approach for the best results. Preparation is essential.
Skin preparation
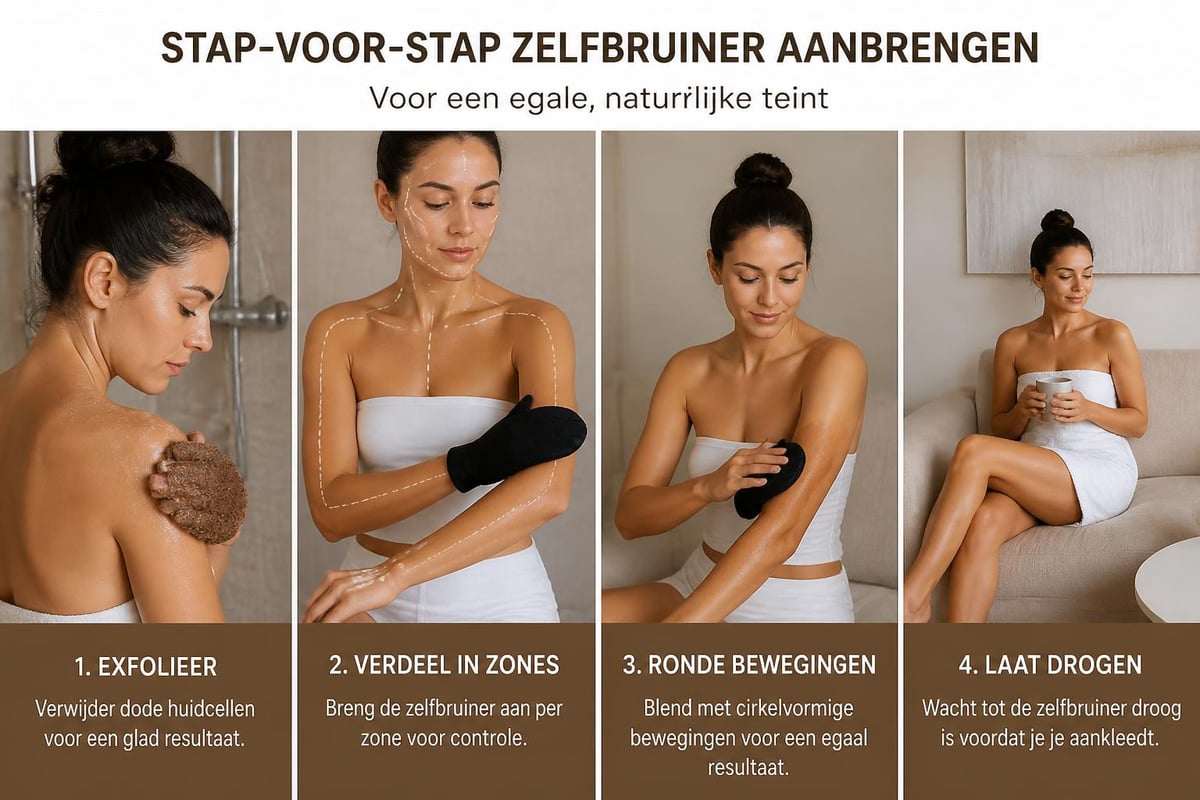
Start with thorough exfoliation, preferably the day before tanning. This removes dead skin cells and creates an even surface. Pay extra attention to rough areas such as knees, elbows, and ankles. Afterwards, wash your skin clean and make sure you are completely dry before you start.
Do not apply cream, oil, or perfume on the day you apply your self-tanner. These products can form a barrier that hinders the even absorption of the product.
The application technique
- Put the mitt on your hand and make sure it fits well
- Apply a small amount of self-tanner to the mitt
- Spread the product in circular motions over your skin
- Start with your legs and work upwards to your torso
- Use less product on knees, elbows, and ankles
- Blend well at the transition to hands and feet
- Use a mini mitt for your face
The circular motions are crucial for an even result. They ensure that the product is evenly distributed without harsh lines or streaks. Always work in the same direction and make sure you don't miss any spots.
For a completely streak-free result, the use of quality application tools is essential. The Self-Tanner Mitt, for example, offers the soft velvet texture needed for professional results at home.
Hard-to-reach areas
Your back often poses a challenge when applying self-tanner. Here, an extended mitt or special back strap is ideal. These tools have an extra-long design that allows you to easily reach your entire back without the help of others.
The back of your thighs and shoulders can also be tricky. Take your time with these areas and use a mirror to check that you have covered everything well.
Maintenance and cleaning of your mitt
A good self-tanner mitt can last for years if you maintain it properly. Cleaning after each use is essential to prevent product buildup and bacterial growth.
Washing instructions for optimal lifespan
- Rinse the mitt immediately after use with lukewarm water
- Use a mild soap or hand wash without bleach
- Gently squeeze, do not wring
- Air dry, do not tumble dry
- Wash the mitt in the washing machine at 30 degrees every 3-4 uses
- Store dry and out of direct sunlight
The velvet material may discolor due to the self-tanner, but this does not affect its functionality. Slight discoloration over time is normal and does not mean your mitt needs to be replaced.
Common mistakes when using applicator mitts
Even with the best mitt, things can go wrong if you don't follow certain basic techniques. I often see these mistakes happen.
Using too much product: More is not always better. Start with a small amount and add more if necessary. Too much product leads to dark spots and streaks, even with a mitt.
Not blending at transitions: Wrists, ankles, and neck need extra attention. Use minimal product here and blend thoroughly towards the hands, feet, and jawline.
Using a wet mitt: Always make sure your mitt is completely dry before you start. A damp mitt absorbs the product unevenly and gives a patchy result.
Working too quickly: Haste leads to mistakes. Take your time to carefully treat each area. A good application takes 15-20 minutes for your entire body.
The combination: self-tanner with mitt for different product types
Not every self-tanner has the same consistency, and this affects how you use the mitt. Tanning without sun requires the right product knowledge.
Lotions and mousses
Lotions are thick and rich, making them perfect for a mitt. Apply a small amount to the mitt and spread in thin layers. Mousses are lighter and spread more quickly. Here you need slightly less product per area.
Tanning drops and sprays
You mix drops with your day cream before applying them with a mitt. This ensures a gradual build-up of color. You apply sprays to your skin first and then spread them with the mitt for an even result.
Gradual tanners
These products slowly build up color and can be applied daily. A mitt also ensures an even distribution here, although the risk of streaks is smaller due to the gradual action.
Tips for a natural finish
The difference between a natural complexion and a clearly fake tan lies in the details. With a self-tanner and mitt, you can perfectly control these details.
Creating a color gradient
Start with more product on your legs and gradually reduce the amount as you work upwards. This mimics how the sun would naturally color your skin. Your legs usually get more sun than your torso, so a slightly more intense color there looks natural.
Matching face and neck
Use a mini mitt for your face and apply minimal product. Extend the color just past your jawline and blend well into your neck. Don't forget your ears; they also get natural sun.
The finishing touches
- Wipe knees, elbows, and ankles with a lightly damp cloth
- Apply a small amount of moisturizer to your eyebrows
- Check your hands and feet in daylight
- Wait at least 4-6 hours before showering
- Wear loose, dark clothing during development
Self-tanner with mitt for different skin types
Your skin type influences how you use self-tanner with a mitt and what results you can expect. Adjusting your technique ensures optimal results.
| Skin type | Approach | Points of attention | Result |
|---|---|---|---|
| Light skin | Gradual build-up | Start with light/medium formula | Subtle glow |
| Medium skin | Regular application | Medium formula is sufficient | Natural bronze |
| Dark skin | More intense formula | Focus on even color, not necessarily darker | Rich, warm complexion |
| Dry skin | Extra hydration | Moisturizer before and after | Longer-lasting result |
Regardless of your skin type, the mitt remains essential for an even result. The difference lies in the formula and intensity of the product, not in the application technique.
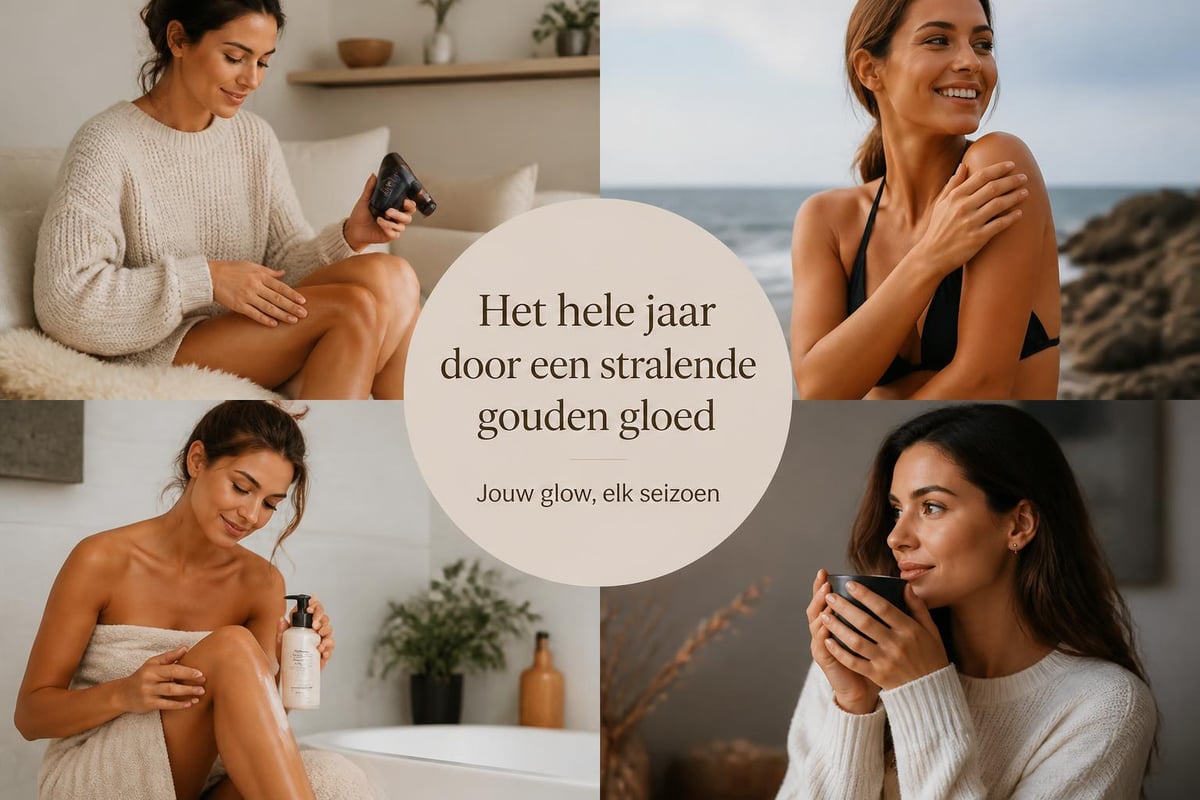
Seasonal use and maintenance of your tan
A self-tanner with a mitt is useful all year round, but your approach may vary by season. In winter, you may need a slightly lighter formula as your natural complexion fades. In summer, you might want to boost your existing tan.
Winter months
Focus on hydration in addition to your tanning routine. Dry winter skin absorbs product unevenly. Use your mitt to apply a rich moisturizer between your tanning sessions. This keeps your skin smooth and ensures your tan lasts longer.
Summer period
In summer, you might combine natural sun with self-tanner. Use your mitt to touch up color differences, such as white areas from swimwear or unevenly tanned spots. The mitt seamlessly blends these differences away.
Frequently asked questions about self-tanner with mitt
How often should I replace my mitt? With proper care, a quality mitt can last 6-12 months. Replace it when the material wears out, tears, or loses its soft texture.
Can I use the same mitt for my face and body? While possible, a separate mini mitt for your face is more hygienic and gives more control over the smaller areas around the nose, eyes, and mouth.
Do I need to use a clean mitt between layers? No, you can use the same mitt for your entire session. Only rinse it occasionally if too much product has built up.
For more information on correctly applying your tan, check the frequently asked questions on the website.
Achieving professional results at home
The combination of a good self-tanner with a mitt brings salon-quality within reach. It's about technique, patience, and the right tools. Start with clean, exfoliated skin, take your time for a thorough application, and let the product develop fully.
Investing in quality
A professional mitt costs a little more, but the difference in results is immediately noticeable. Cheap mitts can shed lint, distribute product unevenly, or wear out quickly. A high-quality velvet mitt feels soft, glides perfectly over your skin, and lasts for years.
The investment in the right tools pays off in time, product, and results. You use less self-tanner because the mitt distributes more efficiently. You make fewer mistakes, so you don't have to make corrections. And most importantly: your result looks natural and even every time.
Building a routine
Make your tanning moment a fixed ritual. Set aside time, put on your favorite music, and enjoy the process. This relaxed mindset helps you work more carefully and achieve better results.
Plan your tanning session at a time when you have time to develop afterwards. Evening applications are ideal because you develop while you sleep. The next morning you wake up with a beautiful, even glow that is ready to be seen.
The right combination of products and tools
A self-tanner with a mitt is the foundation, but additional tools can further improve your results. Think of exfoliation mitts for preparation, a back strap for hard-to-reach areas, and a mini mitt for precision work.
At Tanning Glamour, you will find not only high-quality self-tanners but also all the accessories you need for perfect application. The products are specially formulated to work together for optimal results.
Assembling your perfect kit
Start with the basics: a good self-tanner lotion or mousse and a velvet mitt. Add a mini mitt for your face and consider a back strap if you often tan alone. With this combination, you can treat your entire body without the help of others.
For a varied approach, you can also add tanning drops to your collection. You mix these with your daily moisturizer for a more subtle, gradual build-up. Alternate between intensive applications with the mitt and lighter days with drops for a naturally fluctuating complexion that mimics a real vacation tan.
With the right technique and tools, tanning without sun becomes an easy part of your beauty routine. A self-tanner with a mitt gives you control over your complexion, protects your hands, and provides that radiant, natural glow you crave. Discover how Tanning Glamour helps you with natural self-tanners that are visible within hours and stay beautiful for up to a week, completely streak-free and without orange undertones.
Read more
Discover how self-tanning lotion works and how to create an even, natural tan. Tips for the best streak-free results.
Discover how self-tanning lotion works and how to create an even, natural tan. Tips for the best streak-free results.