
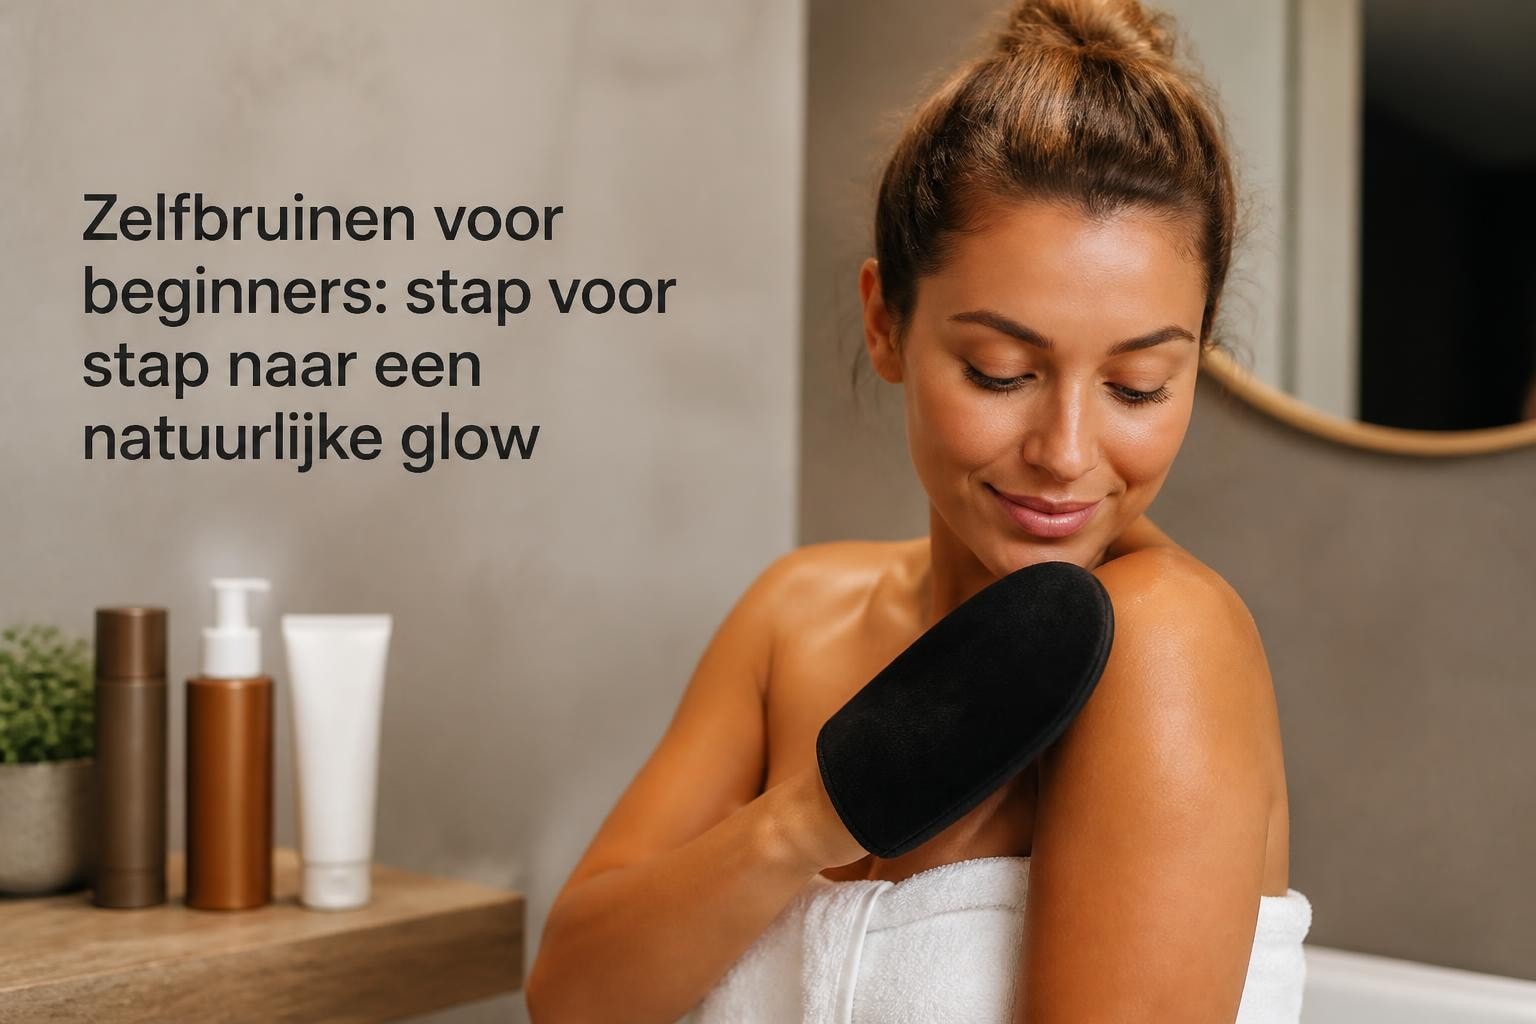
Self-tanner for beginners: a step-by-step guide for an even glow
Do you long for a radiant, sun-kissed complexion but don't know where to start with self-tanner? You are not alone. Many people postpone their first step into the world of self-tanners, afraid of streaks or an unnatural orange result. But with the right preparation and approach, self-tanner beginners can enjoy an even, natural glow within a few hours. This article will guide you step-by-step through everything you need to know for a perfect result from the very first time.
Proper preparation makes all the difference
A radiant complexion doesn't start with applying self-tanner, but with preparing your skin. This is perhaps the most important part for self-tanner beginners who want to avoid disappointment.
Exfoliation is essential
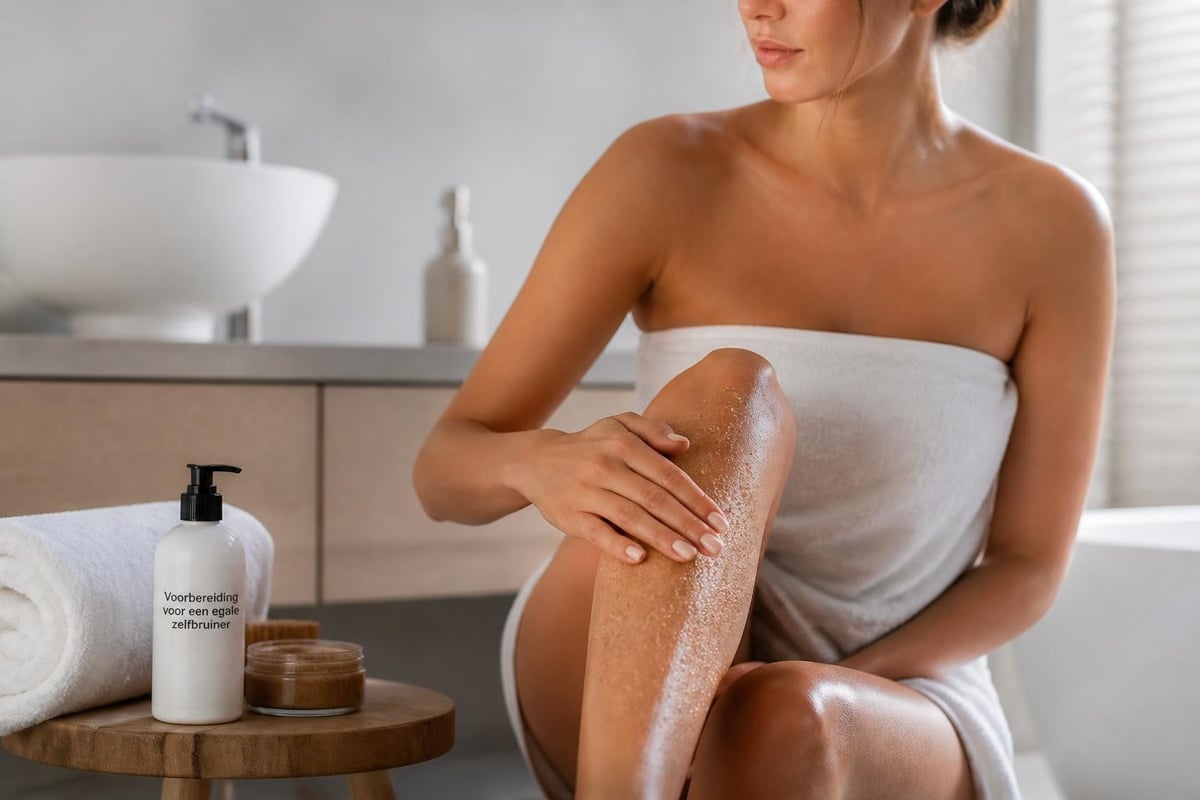
Start with a thorough scrub 24 hours before application. Pay extra attention to areas where dead skin cells accumulate: elbows, knees, ankles, and hands. Good preparation prevents uneven discoloration and ensures that the tan can develop evenly.
Pay attention to these important points when exfoliating:
- Use a fine-grained scrub, not coarse products that can irritate your skin
- Scrub your skin in circular motions for optimal results
- Shave or epilate at least 24 hours before applying self-tanner
- Rinse the scrub thoroughly with lukewarm water
Hydration for an even base
After exfoliating, good hydration is crucial. Apply a light, fast-absorbing body lotion to dry areas such as elbows, knees, and ankles. Wait at least 30 minutes before applying the self-tanner, so that the lotion is fully absorbed.
For self-tanner beginners, it's important to know that well-hydrated skin absorbs self-tanner more evenly and the result lasts longer. Professional skin experts recommend paying extra attention to your skincare in the days leading up to your self-tanning session.
Application: step by step to an even tan
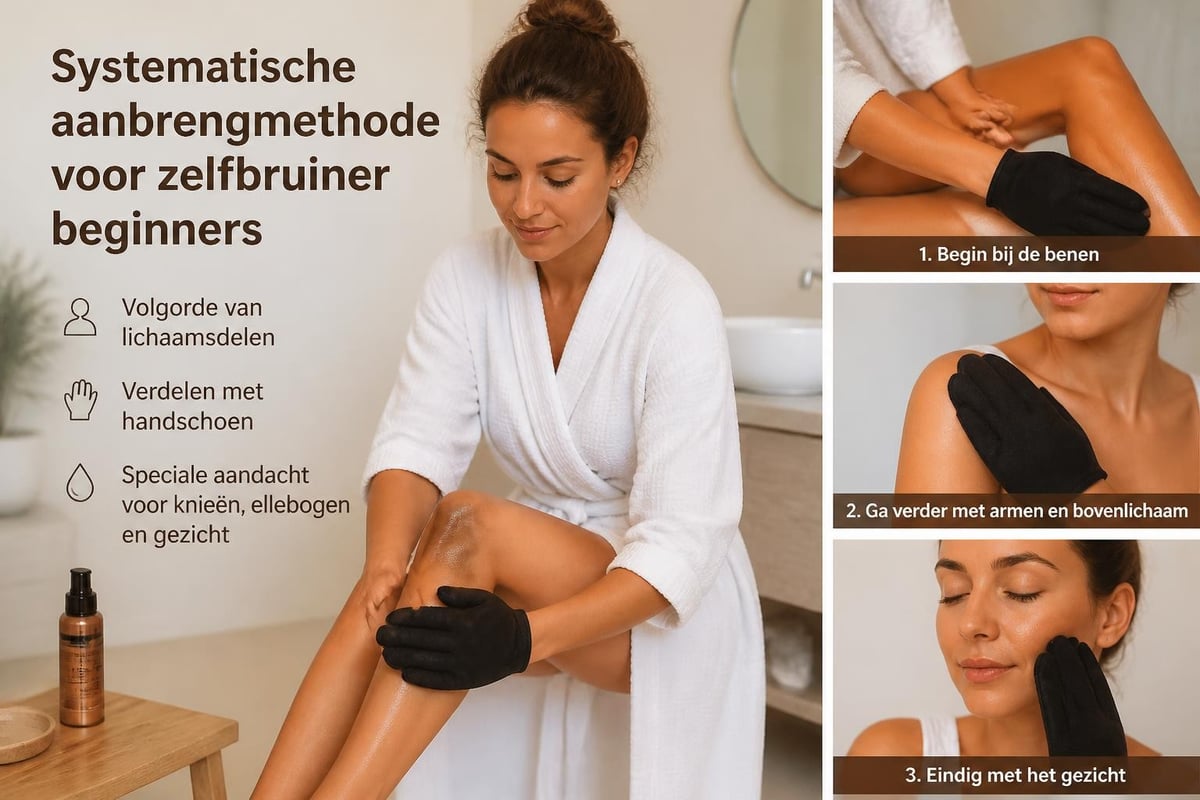
Now that your skin is perfectly prepared, the real work begins. For a streak-free tan, it's important to work systematically.
Choose the right tools
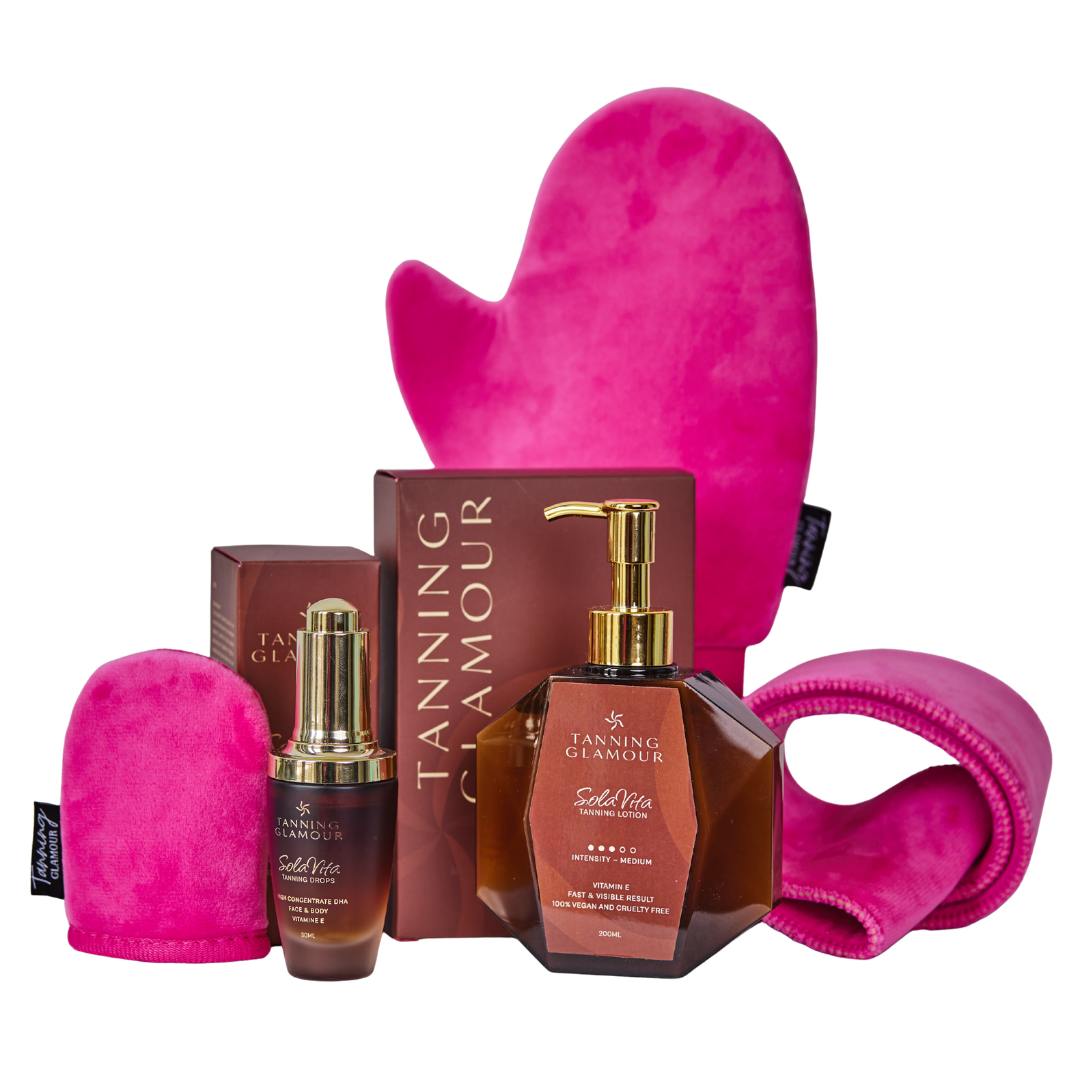
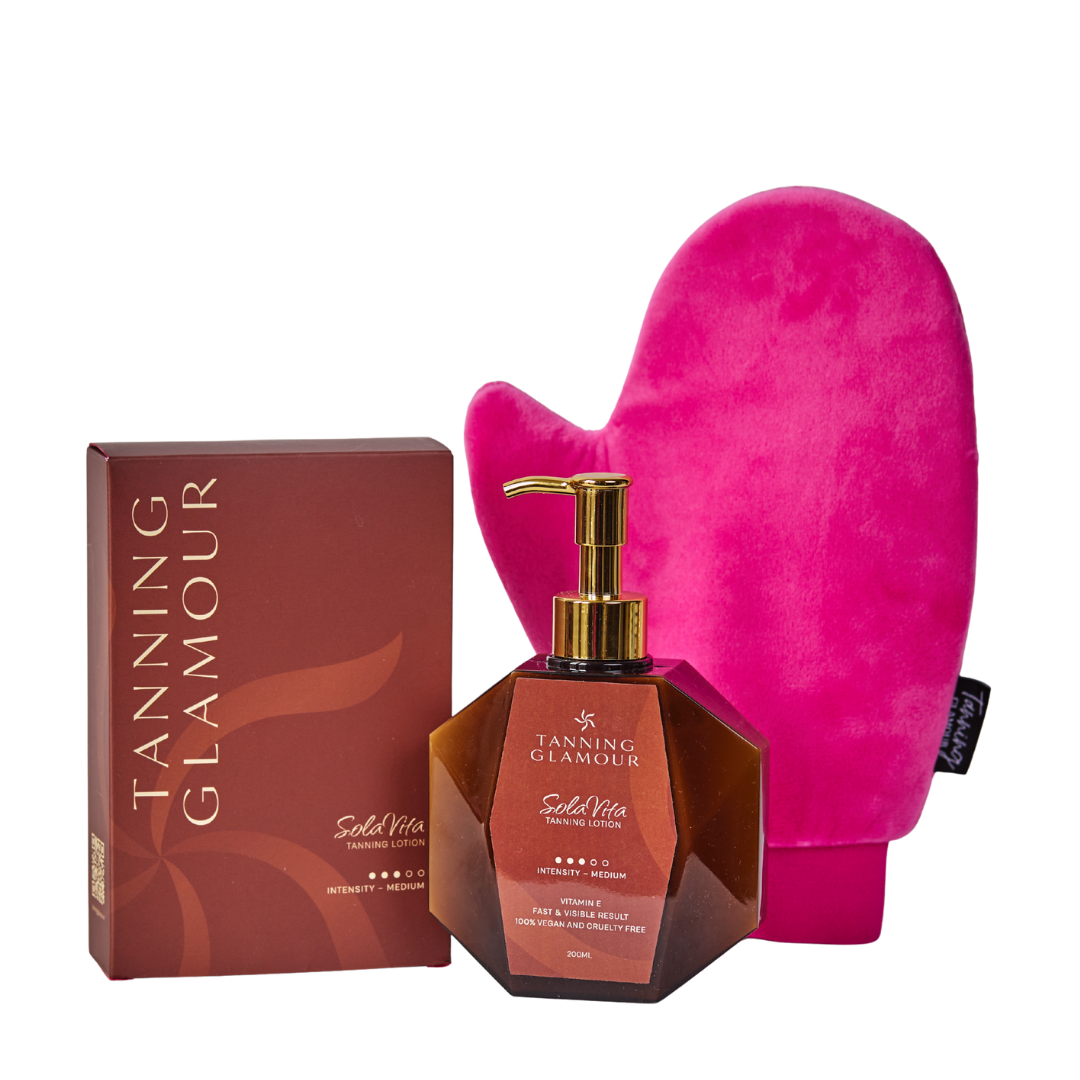
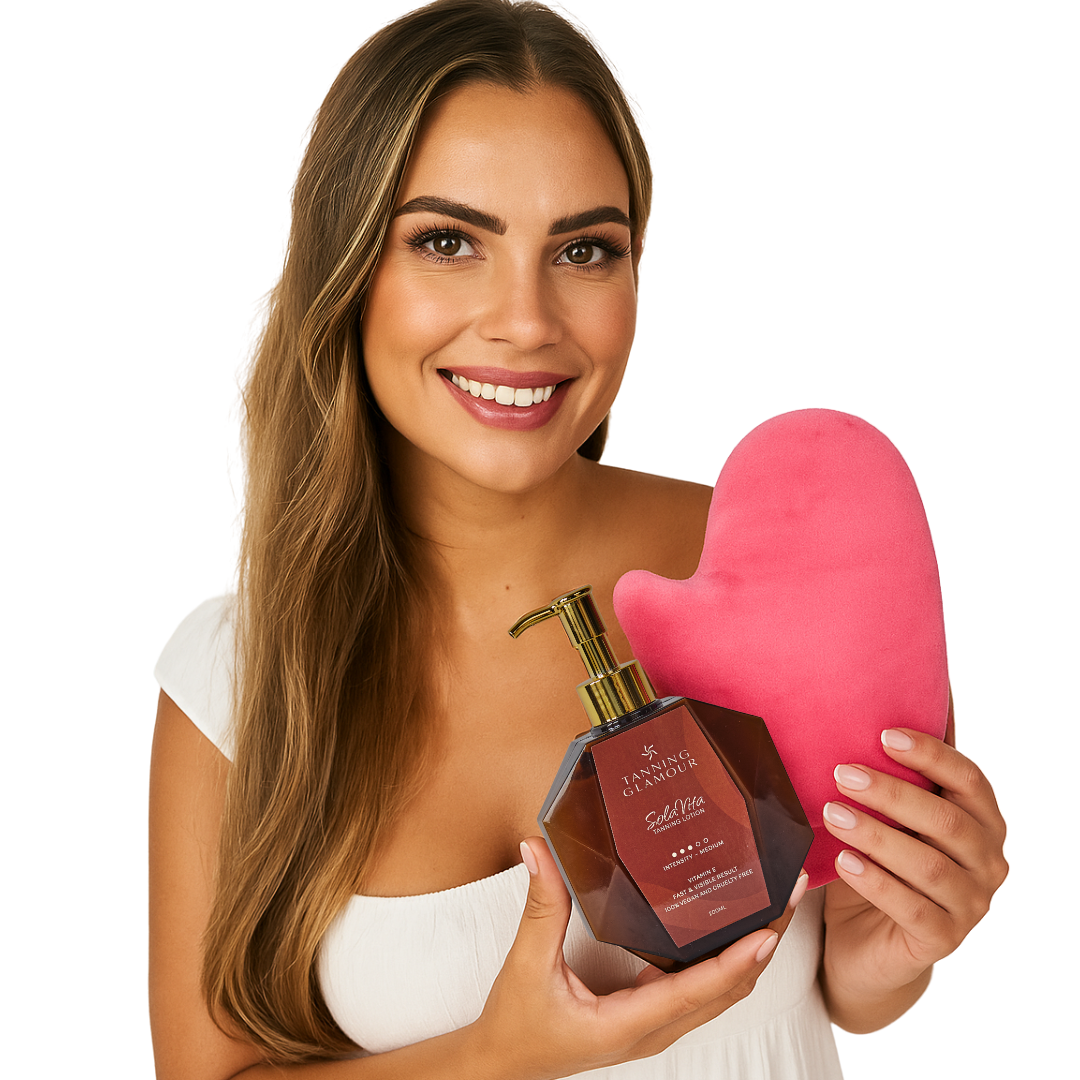
An applicator mitt is your best friend when applying self-tanner. This tool not only ensures an even distribution but also prevents stained palms. The luxury velvet mitt effortlessly spreads the product over your skin and creates a professional finish.
Always start with your legs and work your way up. This prevents you from touching freshly applied self-tanner. Santé shares practical application techniques that help achieve an even result.
| Body part | Amount of product | Points of attention |
|---|---|---|
| Legs | 2-3 pumps per leg | Dilute extra at ankles |
| Arms | 1-2 pumps per arm | Careful at elbows |
| Torso | 3-4 pumps | Spread evenly |
| Face | Small amount | Mix with day cream |
Techniques for tricky areas
Certain areas require extra attention. For self-tanner beginners, the knees, elbows, and ankles are often problem areas. Use less product here and dilute it with a little body lotion for a gradual transition.
Reaching your back without help can be difficult. A special back applicator solves this problem and provides complete autonomy in your self-tanning routine.
The first few hours after application
The period immediately after application is crucial for the final result. For self-tanner beginners, patience is now the keyword.
Respect drying time
Wait at least 10-15 minutes before putting on clothes. Choose loose, dark clothing that doesn't stick to your skin. Care for Skin emphasizes the importance of sufficient drying time for an even result.
Important points for the first few hours:
- Do not shower: wait at least 4-6 hours, preferably overnight
- Do not sweat: avoid intense training or hot environments
- Do not swim: chlorine and salt water disrupt the tanning process
- Do not rub: touch your skin as little as possible
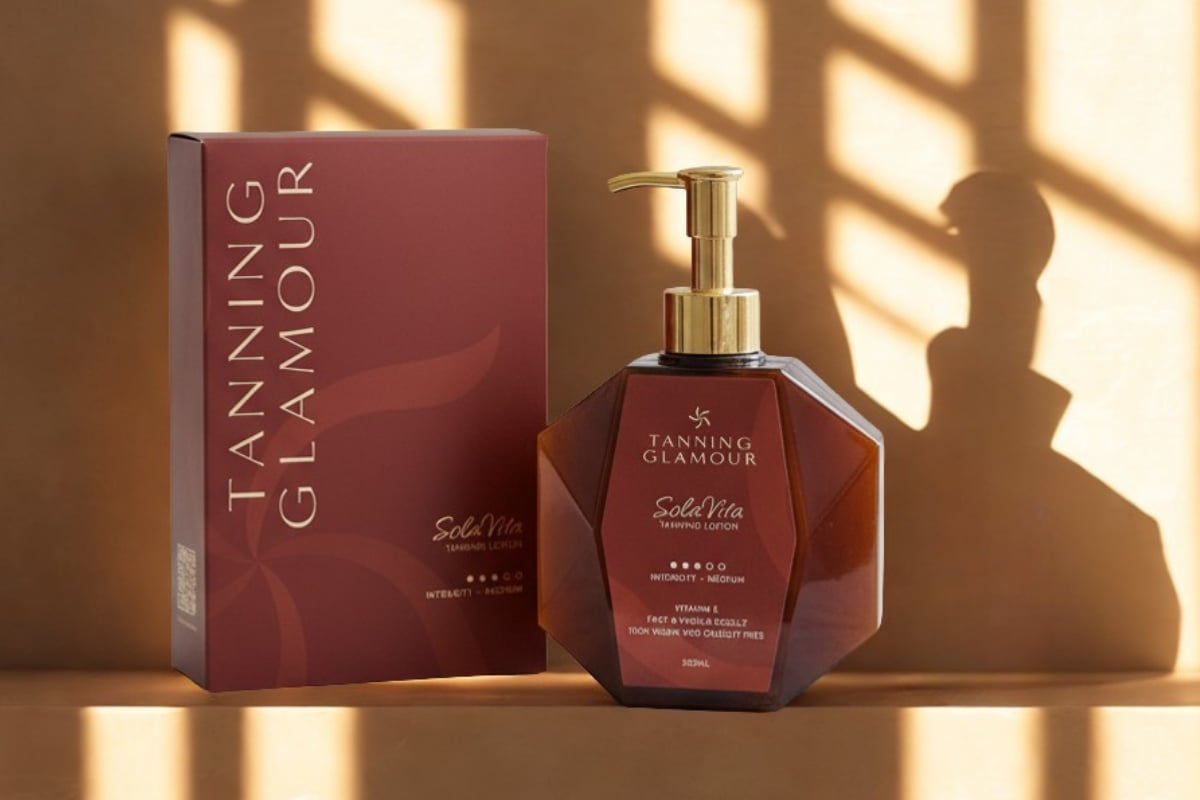
For optimal results with the SolaVita Self-Tanning Lotion, you will see a natural tan appear within 2-3 hours, which will continue to develop over the next few hours. The formula absorbs quickly and does not feel sticky, increasing comfort.
The development of your tan
The tanning process takes an average of 6-8 hours. Don't be alarmed if the color initially seems a bit darker than you want; this will normalize after your first shower. Tanning Glamour provides extensive tips on how to optimize the process.
Maintenance for a long-lasting glow
Maintaining a beautiful tan requires proper aftercare. For self-tanner beginners, this is often an underestimated part of the process.
Hydration is key
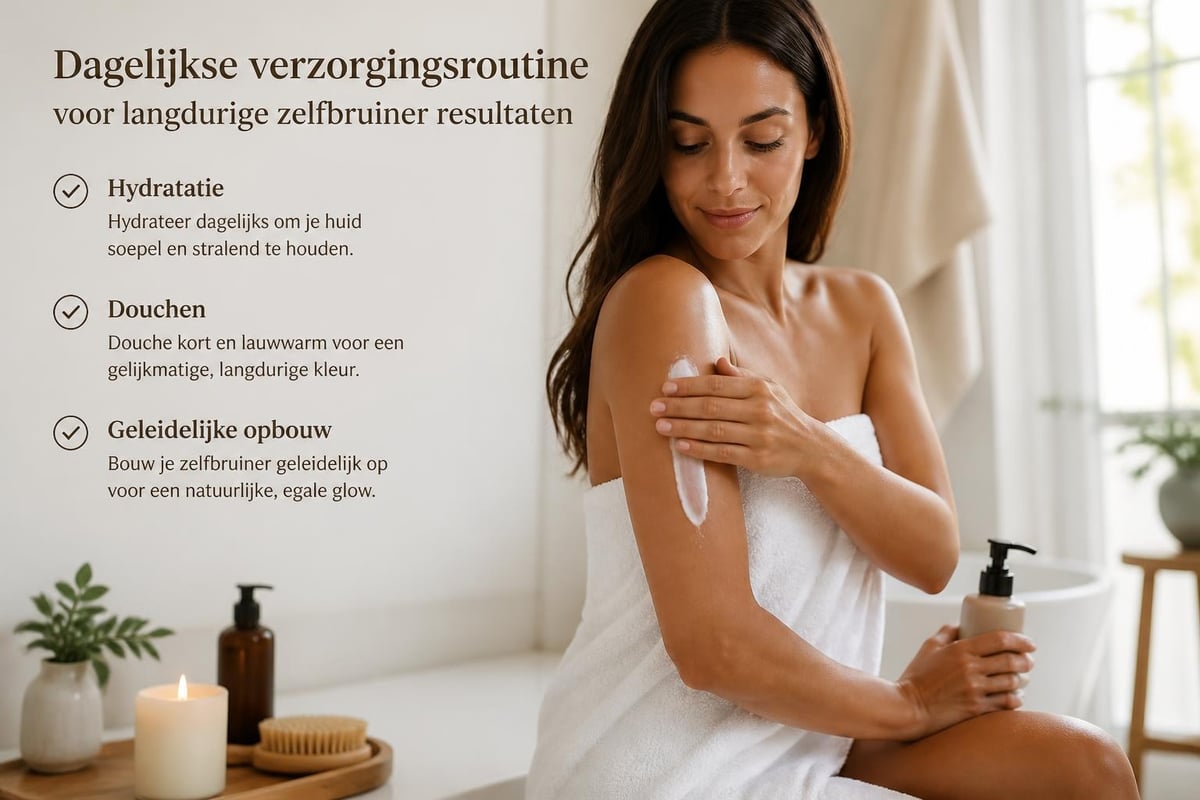
Apply a hydrating body lotion daily to keep your tan looking beautiful longer. Well-hydrated skin significantly extends the life of your self-tanner. Most quality self-tanners remain beautiful for 5-7 days, provided you take good care of your skin.
Important aftercare tips:
- Gently pat your skin dry after showering, do not rub too hard
- Use lukewarm shower temperatures, not hot water
- Avoid prolonged bathing, as this dries out your skin
- Hydrate twice daily for optimal results
- Do not exfoliate during the period you have a tan
Building up or refreshing
If your tan starts to fade, you can choose between a complete new application or a refresh. Vogue Netherlands explains how to maintain an even tan without streaks.
Avoiding common mistakes
Even with the best preparation, self-tanner beginners can encounter certain pitfalls. Knowledge of these pitfalls will help you avoid them.
| Mistake | Consequence | Solution |
|---|---|---|
| Too much product | Dark spots | Start with a small amount |
| Not exfoliating | Uneven discoloration | Always scrub 24h beforehand |
| Applying wet | Streaks and spots | Wait until skin is completely dry |
| Forgetting palms | Orange hands | Always use a mitt |
Choosing the right products also makes a big difference. Quality self-tanners like those in the Tanning Glamour collection are free of orange undertones and give a natural result that perfectly matches your own skin tone.
Realistic expectations
For self-tanner beginners, it's important to understand that your first attempt may not be perfect. Like any new skill, applying self-tanner takes some practice. Don't be too hard on yourself and see each application as a learning opportunity.
Product choice for beginners
The market offers countless self-tanners, which can be overwhelming for self-tanner beginners. Pay attention to these factors when making your choice:
- Formula: lotions are often easier to control than sprays for beginners
- Development time: choose a product with visible tanning within 2-3 hours for immediate feedback
- Scent: modern formulas have neutral scents without that typical self-tanner smell
- Longevity: look for products that stay beautiful for 5-7 days
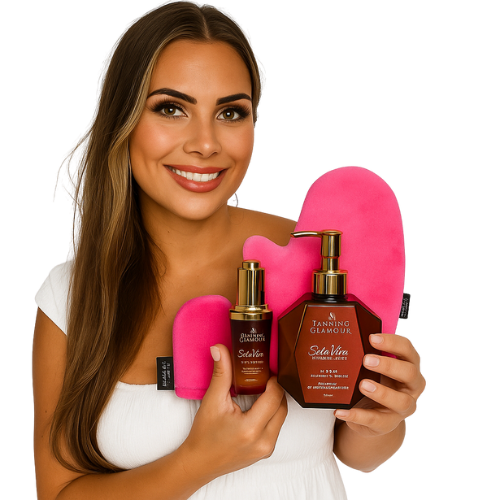
Starting with a complete set including application tools removes a lot of uncertainty. You will then immediately have everything you need for a professional result.
With the right preparation, technique, and products, self-tanner beginners can enjoy a radiant, natural tan within a few hours. The secret lies in patience, working systematically, and investing in quality tools. Ready to shine with a sun-kissed glow? Tanning Glamour offers natural self-tanners that provide an even tan within 2-3 hours, stay beautiful for up to 5-7 days, and are completely free of streaks and orange undertones. Discover today how easy it is to achieve a professional, natural glow.
Ontdek jouw mooiste glow
Verzorgende zelfbruiners van SolaVita - streeploos, geen oranje.
Read more
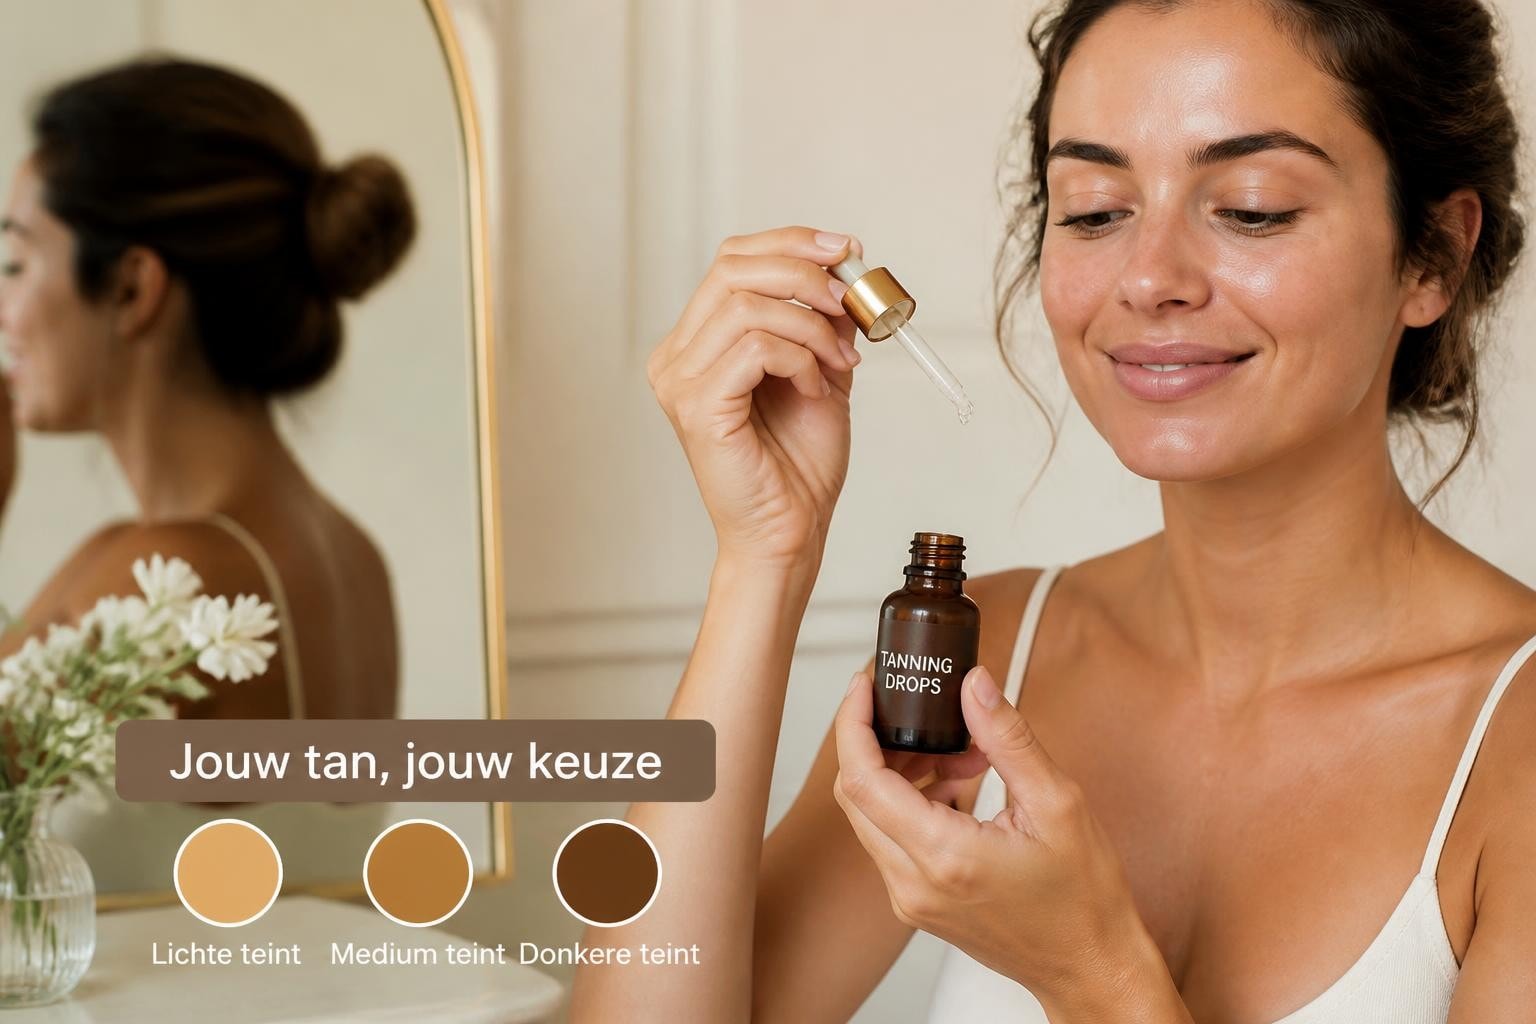
Discover how tanning drops give you precisely the glow you desire. Control the intensity yourself and build a natural, streak-free tan.
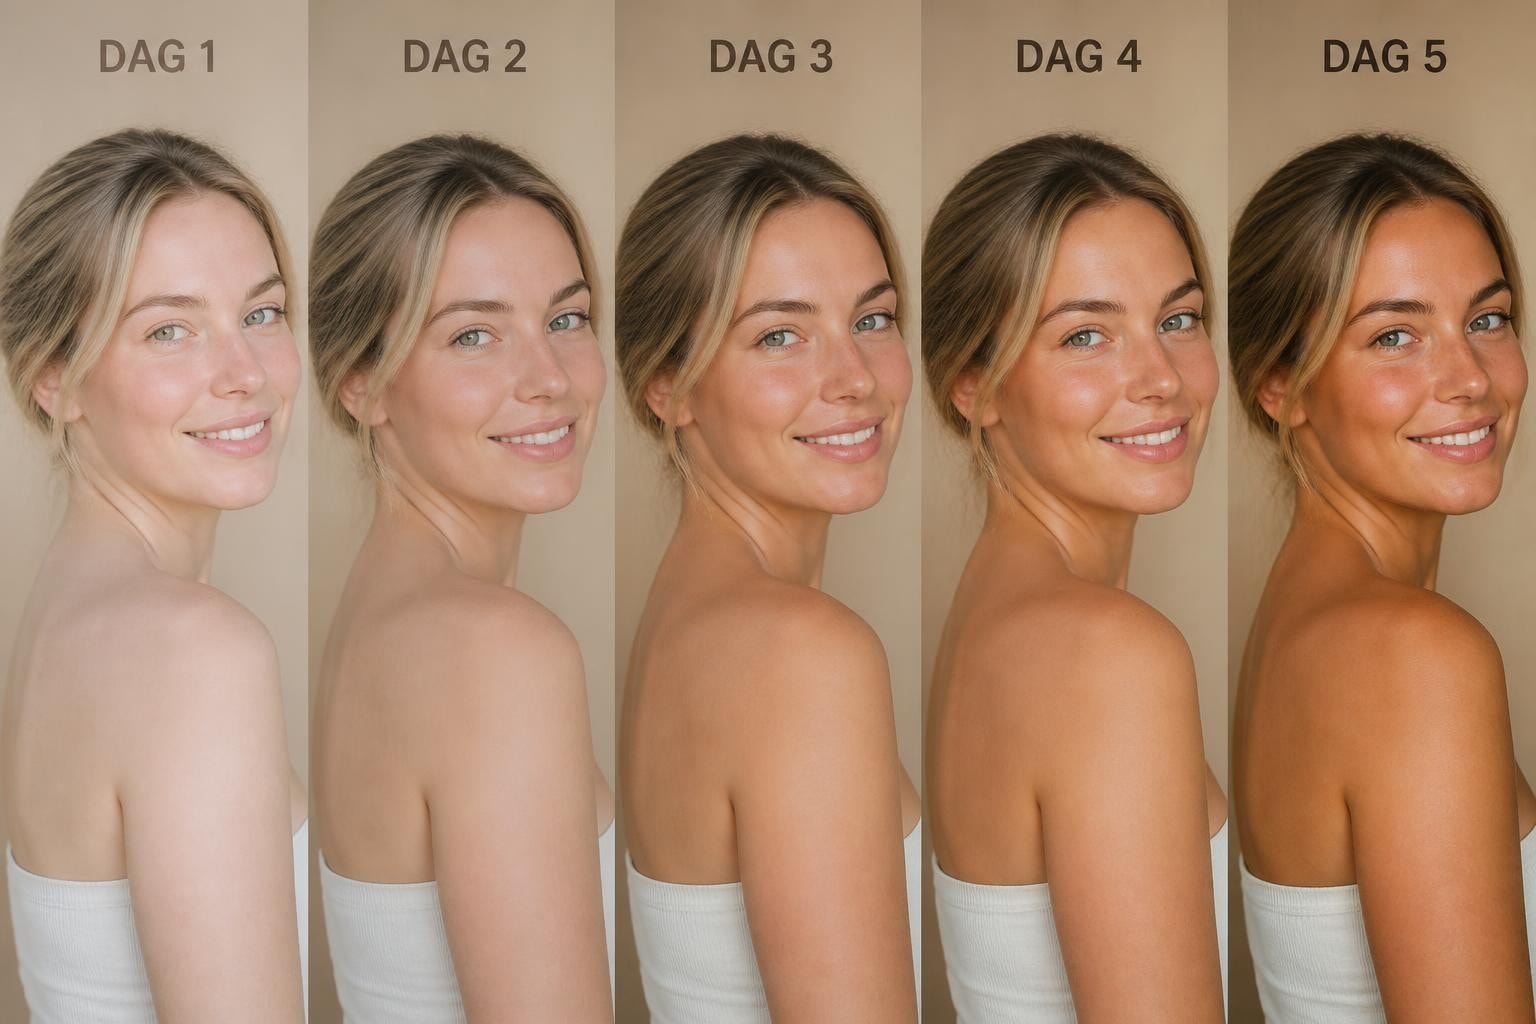
Discover how to achieve a subtle brown tan without sun. Tips for a natural, even glow that looks well-groomed and lasts for days.