
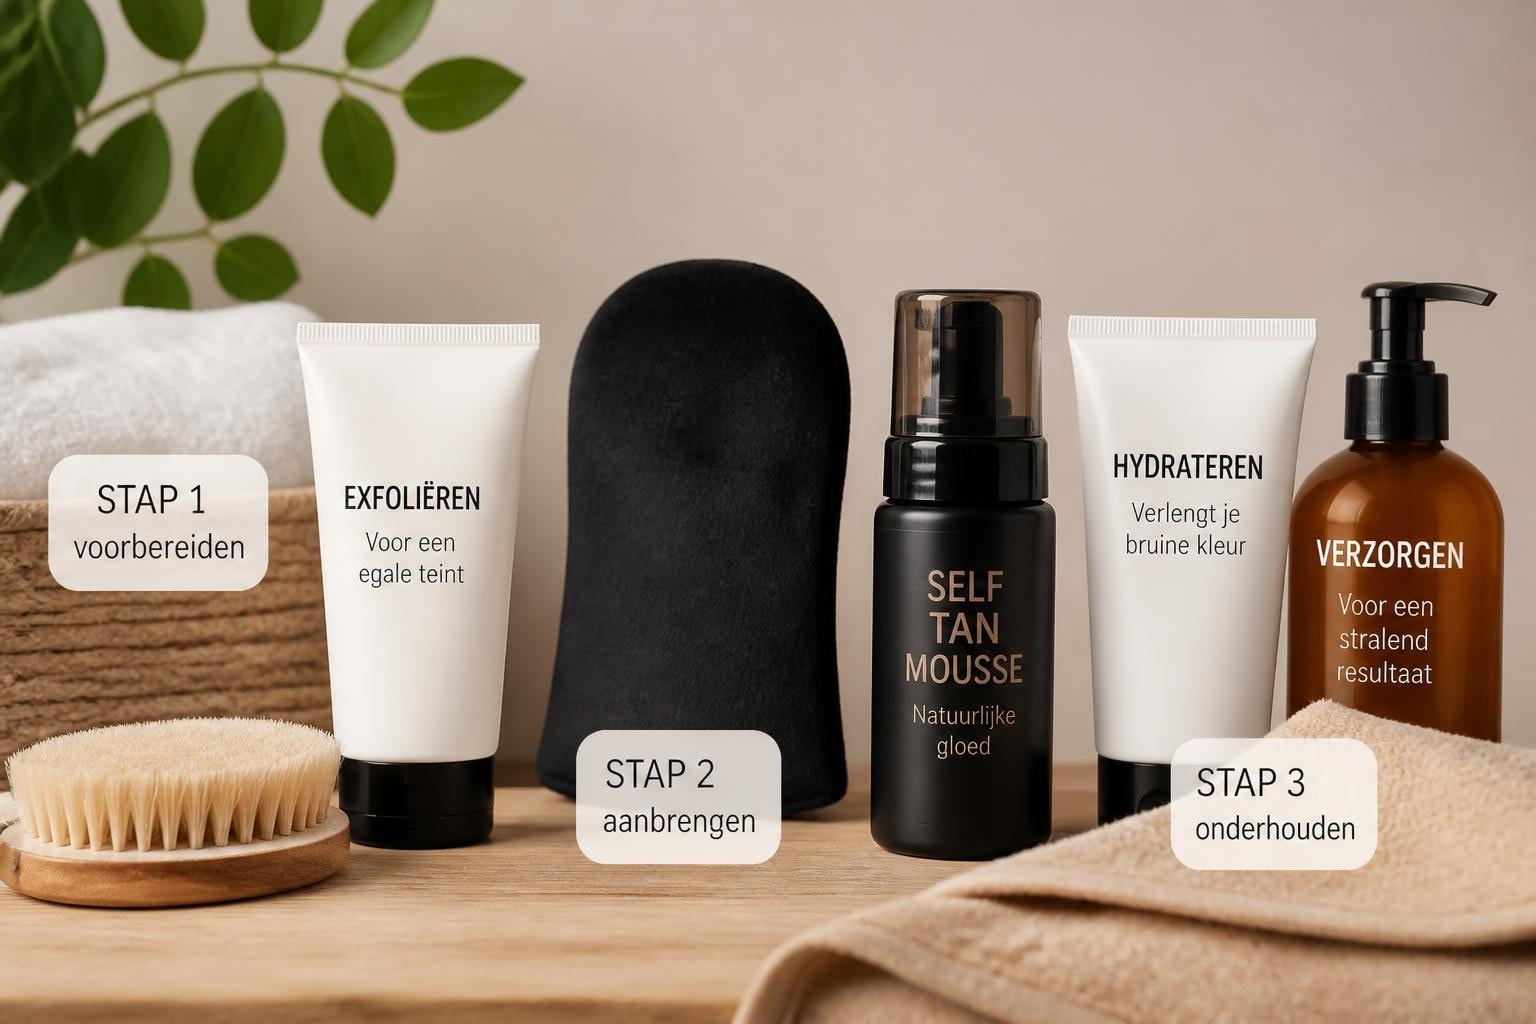
Complete home tanning set: your guide to an even tan
A radiant, natural tan without the sun? That's exactly what a complete at-home tanning set offers. Instead of spending hours in the scorching sun or regularly visiting a tanning salon, you can now create a beautiful glow from your own bathroom. With the right products and accessories, you'll achieve an even, long-lasting tan that looks like you've just returned from a tropical vacation. In this guide, you'll discover which elements are essential, how to use them, and what to look out for to achieve the best results.
What's included in a complete at-home tanning set?
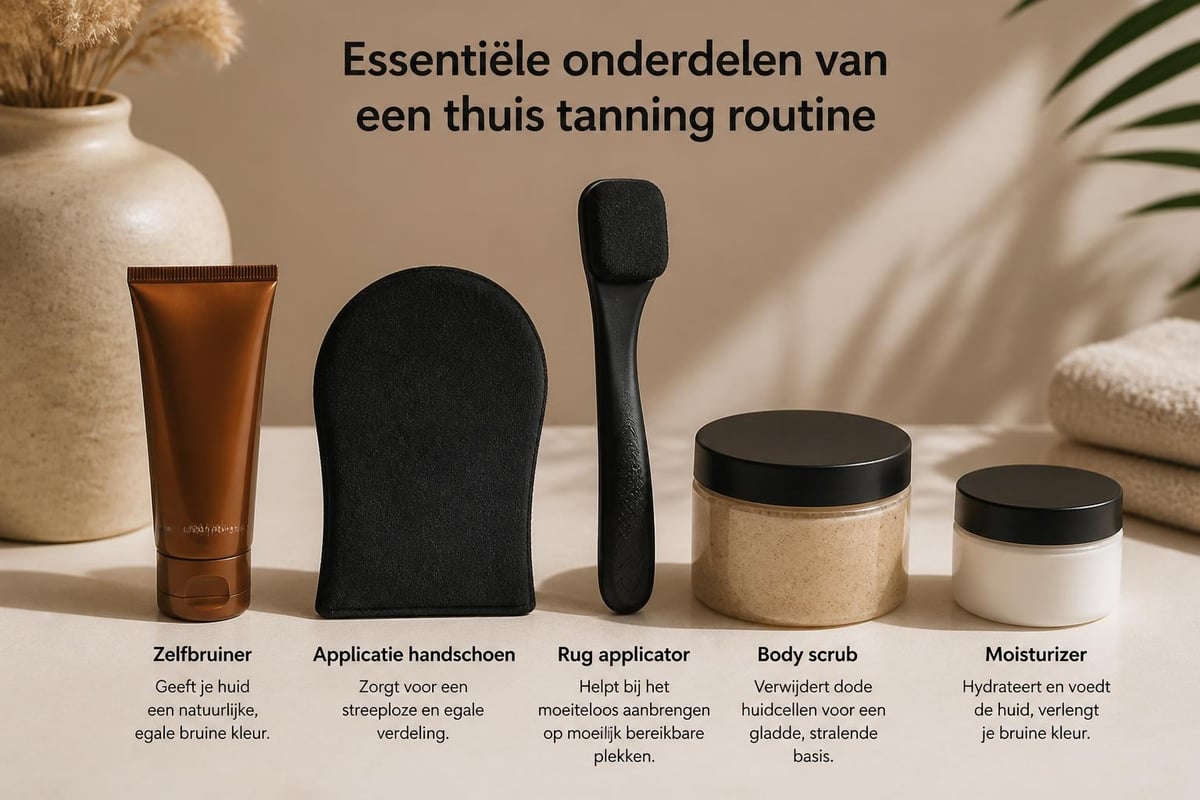
A complete at-home tanning set consists of various complementary components. It's not just about the self-tanner itself, but also the right applicators and skincare products that guarantee a streak-free result.
The basic products you need
The core of any set is, of course, the self-tanner. Whether you choose a lotion, mousse, or drops, the product should match your skin type and desired intensity. Self-tanners work using DHA, a substance that reacts with the top layer of the skin to create a temporary discoloration.
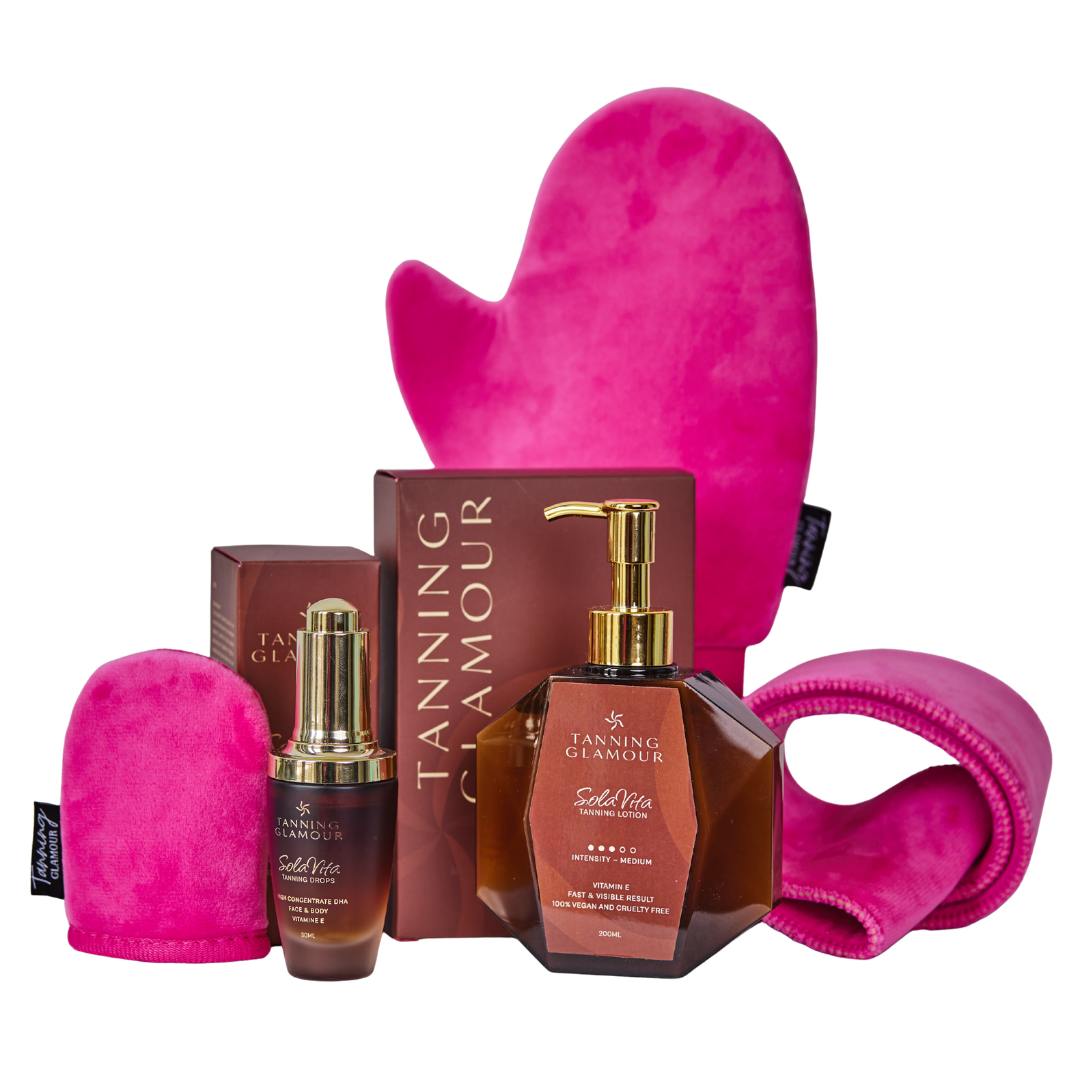
In addition, applicators are essential. A soft application mitt prevents stains on your hands and ensures an even distribution of the product. For hard-to-reach areas like your back, a back applicator or strap is indispensable. This allows you to work without assistance.
- Self-tanner lotion or mousse
- Application mitt for face and body
- Back applicator for hard-to-reach areas
- Body scrub for preparation
- Hydrating body lotion for aftercare
Step-by-step: how to use a complete at-home tanning set
Applying self-tanner requires preparation and precision. By following these steps, you'll achieve the best results and prevent streaks or patches.
Preparation is half the battle
Start by exfoliating your skin, preferably one day before application. This removes dead skin cells and provides an even base. Pay extra attention to rough areas like elbows, knees, and ankles. These areas absorb more product and can therefore become darker.
Shave or wax at least 24 hours in advance. Immediately after hair removal, your pores are still open, which can lead to dark spots. Hydrate your skin well in the days leading up to the application, but do not use body lotion on the day itself. This can create a barrier between your skin and the self-tanner.
- Exfoliate your skin thoroughly (1 day in advance)
- Shave or wax if necessary (24 hours in advance)
- Shower and dry your skin completely
- Apply a thin layer of cream to dry areas (ankles, knees, elbows)
- Ensure a clean mitt and good lighting
Applying the self-tanner
Put on the application mitt and apply a small amount of product to the mitt. Start with your legs and work your way up. Use circular motions for even distribution. Work systematically so you don't miss any spots.
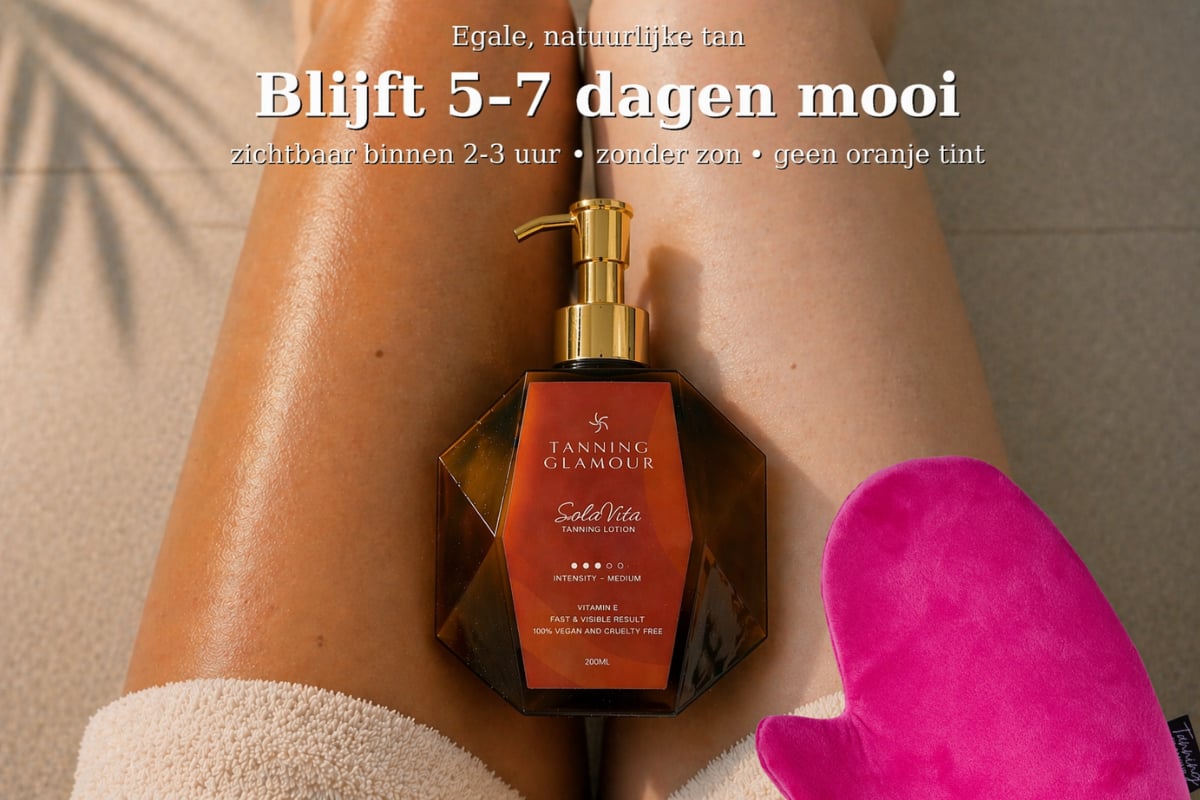
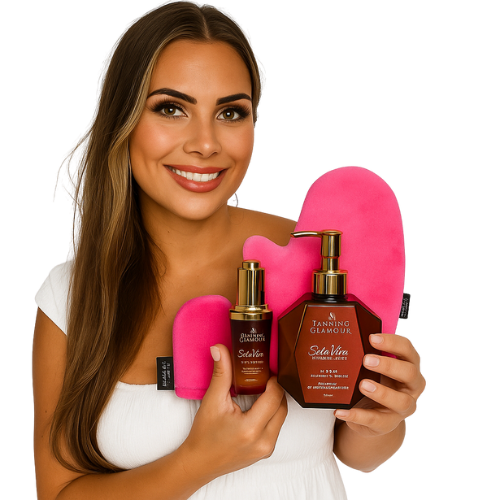
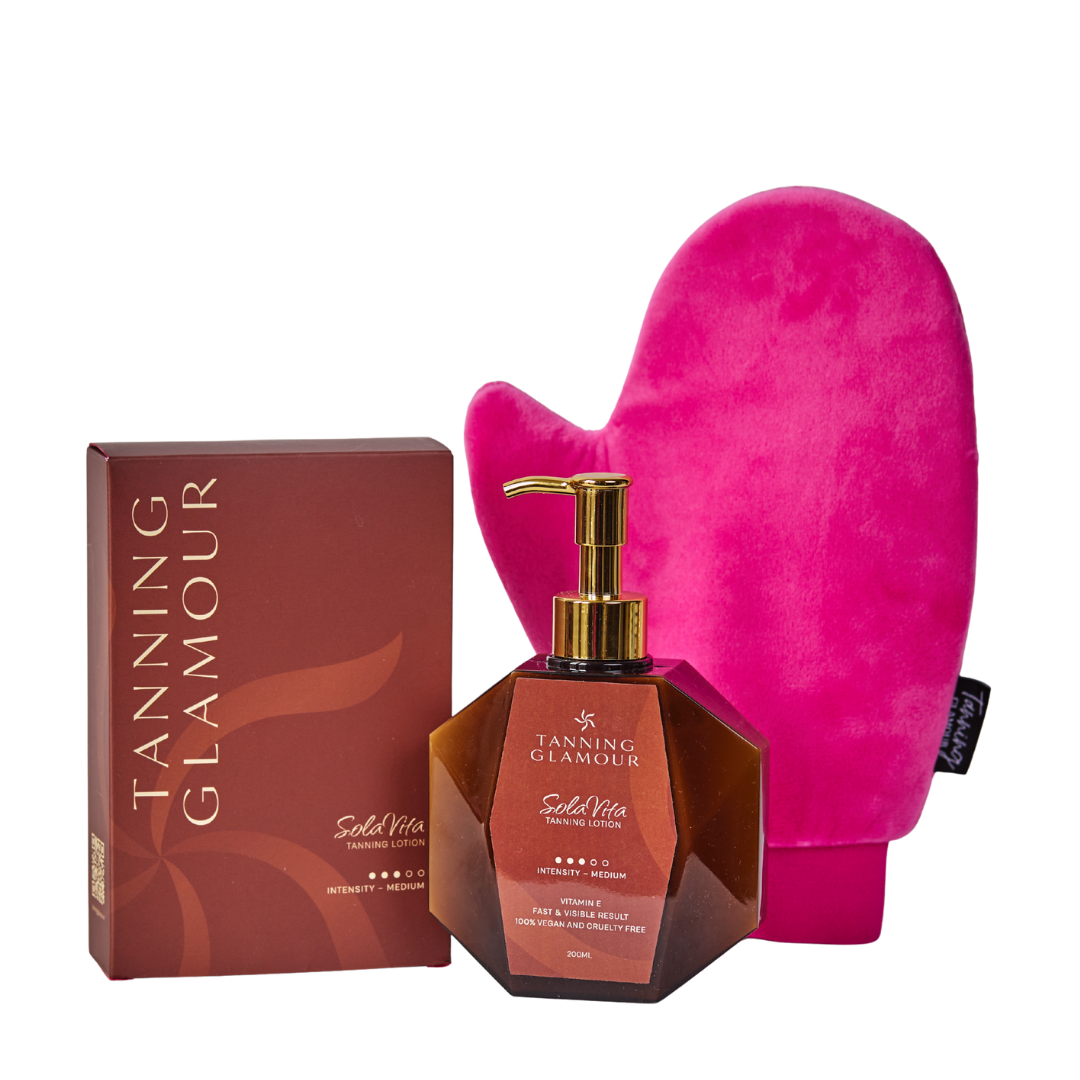
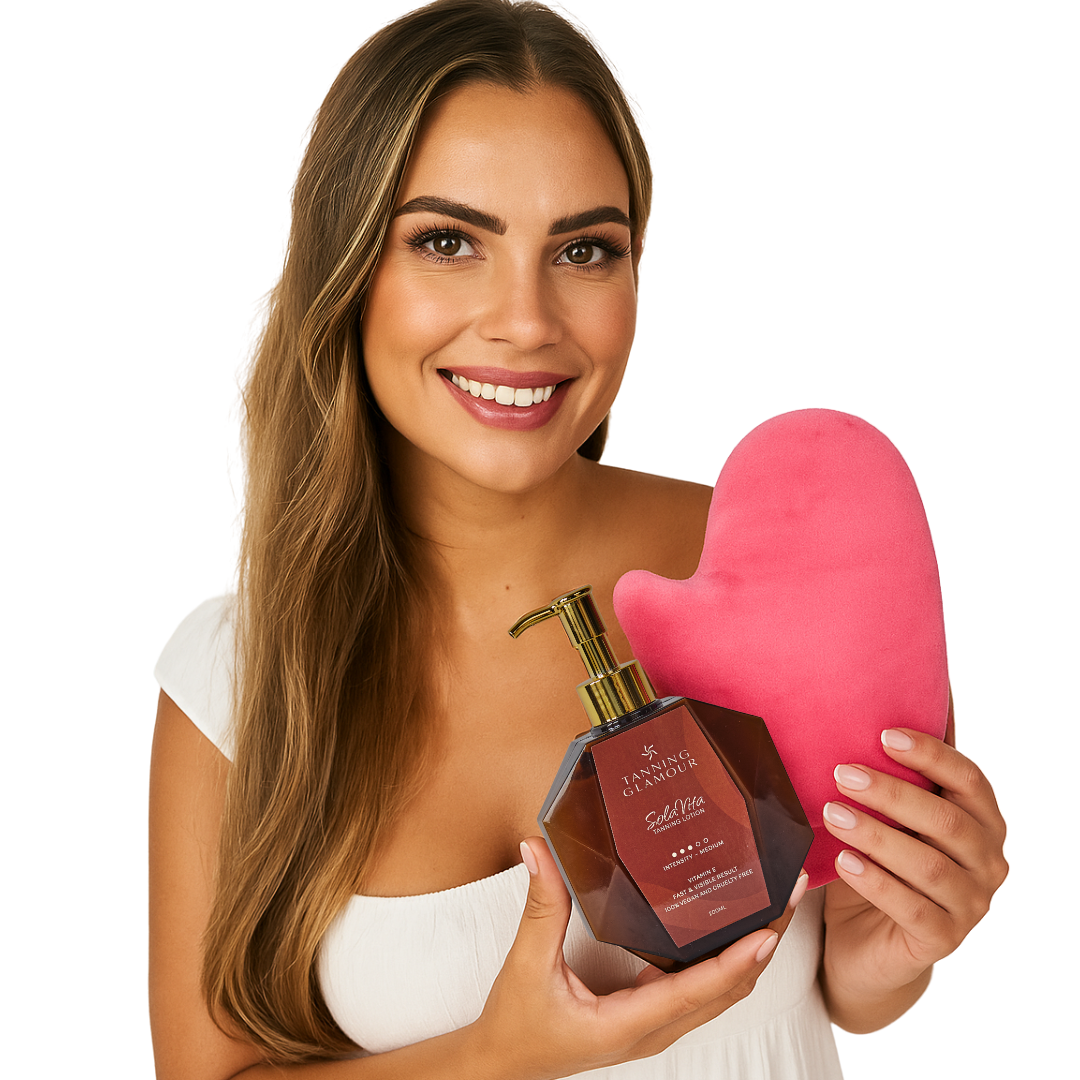
For your face, ideally use a smaller mitt or applicator. Work from the inside out and blend the edges at your hairline and jawline. The SolaVita Self-Tanner Set (Lotion + Mitt) offers a complete solution with both a high-quality lotion and a professional mitt, perfect for a natural and streak-free result.
| Body Part | Application Tip | Points of Attention |
|---|---|---|
| Legs | Circular motions from bottom to top | Pay attention to knees and ankles |
| Arms | From wrist to shoulder | Apply thinly to elbows |
| Body | Large, even strokes | Back with back applicator |
| Face | From inside out | Blend hairline and jawline well |
| Hands/Feet | Remaining product on mitt, very thin | Minimal amount |
Which formulas suit your skin type?
Not every self-tanner is the same. The formula you choose largely determines the final result and how long your tan will last.
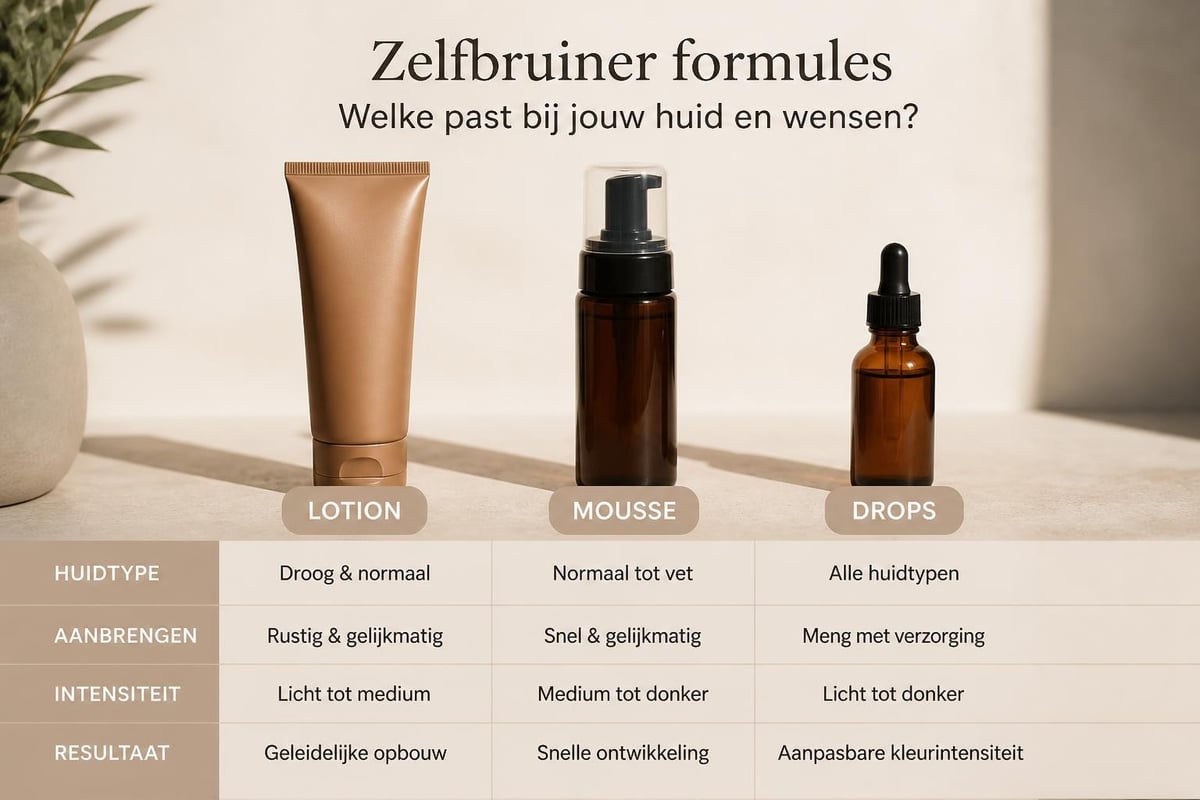
Lotions versus mousses versus drops
Lotions are ideal for dry skin types as they often contain hydrating ingredients. They give a buildable result and are easy to control during application. The disadvantage is that they take a little longer to absorb.
Mousses have a lighter texture and absorb faster. They are perfect for those who want quick results and don't have time to wait. However, mousse requires more precision during application because the product dries faster.
Drops offer the most flexibility. You mix them with your day cream or serum and determine the intensity yourself. Ideal for those who want to build up gradually or just seek a subtle glow. Read more about how self-tanner works for a better understanding of the different formulas.
Maintenance and tips for long-lasting results
A complete at-home tanning set gives you the tools, but maintenance determines how long your tan looks good. With the right aftercare, you can enjoy your glow for up to a week.
Hydration is essential
Your skin constantly sheds cells, and with them, your tan. By hydrating daily, you slow down this process. Use a nourishing body lotion without exfoliating ingredients. Avoid products with AHAs or other peeling agents.
Take lukewarm showers instead of hot ones. Hot water dries out your skin and causes your tan to fade faster. Pat your skin dry instead of rubbing. Aggressive drying can lead to uneven discoloration.
- Use a hydrating body lotion daily
- Take short, lukewarm showers
- Avoid chlorinated pools (first 48 hours)
- Pat your skin dry, don't rub
- Do not exfoliate within 5 days of application
Building and maintaining
Start with one layer and evaluate the result after 24 hours. This prevents you from becoming too dark. You can always apply a second layer for more intensity. For an even tan, you can apply a maintenance layer every 3-4 days.
Some people choose to combine different products. Tanning drops for your face and a lotion for your body, for example. This gives maximum control over your glow.
Common mistakes and how to avoid them
Even with a complete at-home tanning set, things can go wrong. Fortunately, these common pitfalls are easy to avoid.
Using too much product is the most common mistake. Less is more definitely applies to self-tanner. Always start with a small amount and build up if necessary. Too much product leads to an unnatural, orange glow and increases the risk of streaks.
Forgetting to exfoliate results in a patchy tan. Dead skin cells absorb more product, causing dark spots. A good scrub 24 hours beforehand solves this. Discover more tips on applying self-tanner for a perfect result.
| Mistake | Consequence | Solution |
|---|---|---|
| No exfoliation | Patchy, uneven tan | Scrub 24 hours in advance |
| Too much product | Orange undertone, streaks | Small amounts, build up |
| Applying to wet skin | Product doesn't absorb well | Dry skin, wait 10 min after showering |
| Dressing immediately | Stains on clothes | Wait 10-15 minutes, wear loose clothes |
| No mitt | Orange palms | Always use an applicator |
Dressing too quickly causes stains on your clothes and an uneven tan. Wait at least 10-15 minutes before putting on clothes. Choose loose, dark clothing for the first few hours. Avoid sports or activities that cause sweating within 4-6 hours after application.
The benefits of at-home tanning in 2026
In 2026, self-tanners have evolved more than ever. Modern formulas are gentler on your skin, give more natural results, and are easier to apply. A complete at-home tanning set gives you full control over your tan without the risks of UV radiation.
You save time and money compared to tanning salons or spray tan treatments. One set lasts for months, and you can decide when and how often to refresh your tan. Moreover, you can experiment with intensity and gradually build up to your perfect color.
Today's products are also much more skin-friendly. Many brands add hydrating ingredients like aloe vera, vitamin E, and hyaluronic acid. This means you not only get a tan but also care for your skin. Check out the bundles for complete sets with everything you need.
Flexibility is perhaps the biggest advantage. You can adapt your glow to the season, a special event, or simply your mood. In winter, you can maintain a subtle tan, while in summer, you can go for a deeper color. With one complete at-home tanning set, you have all options at your fingertips.
With the right products and techniques, you can create a natural, long-lasting tan at home that looks professional. A complete at-home tanning set gives you everything you need for an even glow without streaks or orange undertones. Tanning Glamour offers natural self-tanners that are visible within 2-3 hours and last beautifully for up to 5-7 days. Discover the perfect products for your dream tan and enjoy a sun-kissed look all year round.
Ontdek jouw mooiste glow
Verzorgende zelfbruiners van SolaVita - streeploos, geen oranje.
Read more

Discover how to mix self-tanning drops with day cream for a natural, buildable glow. You decide the intensity of your glow.
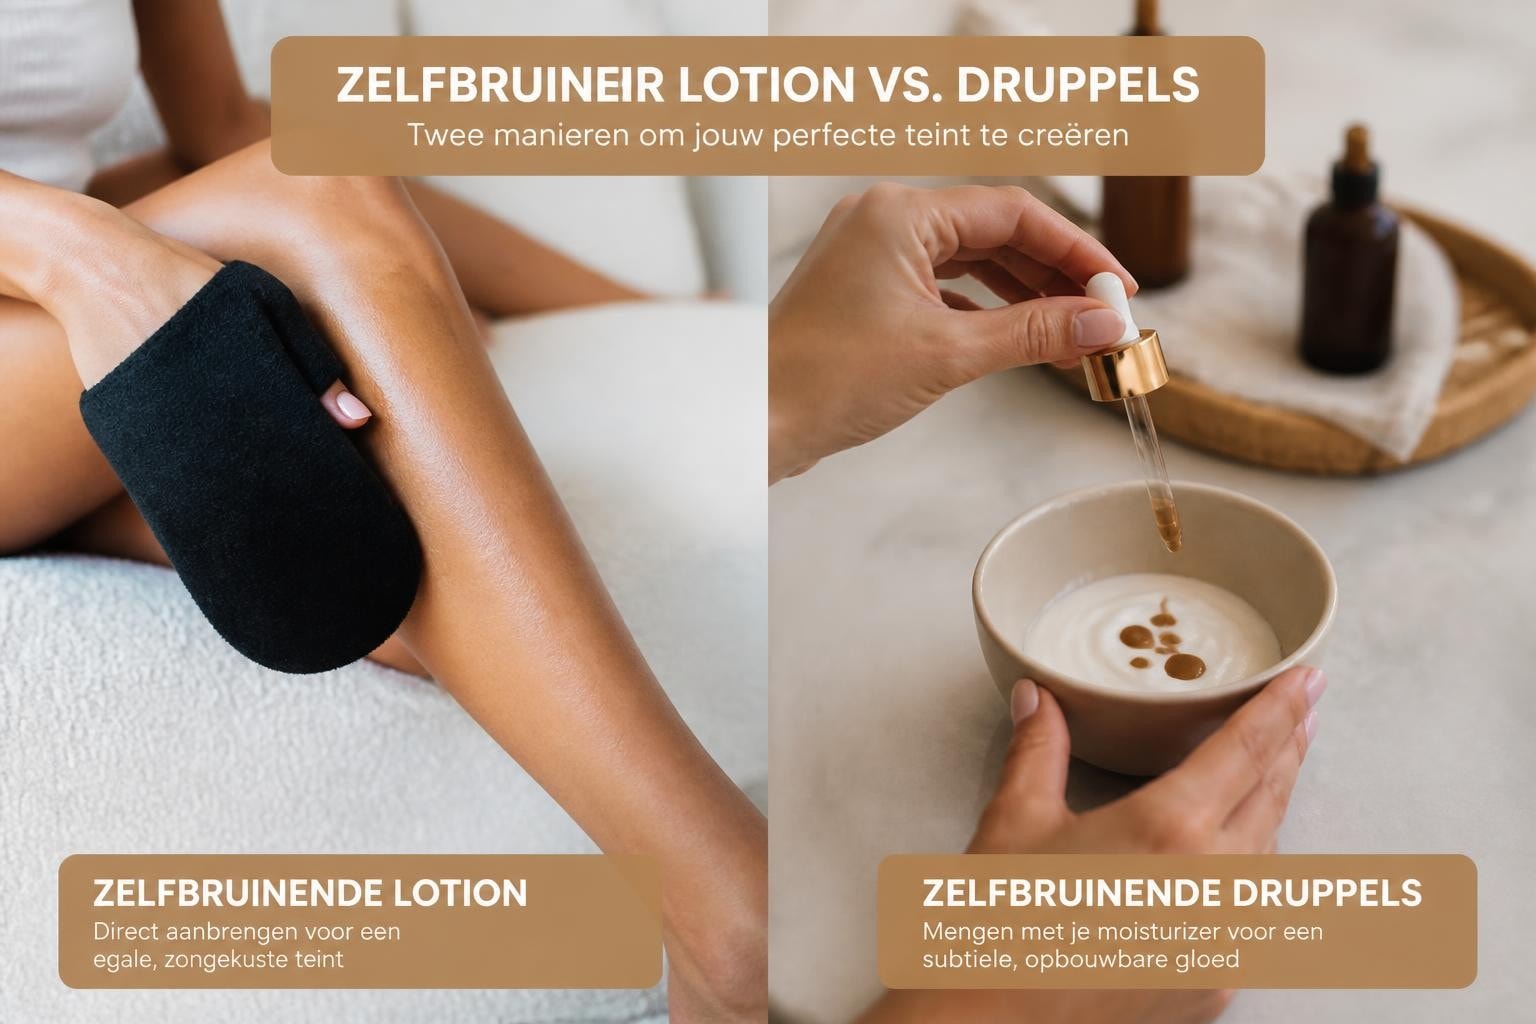
Discover the difference between self-tanning lotion and drops. Read which formula best suits your skin type and routine for a natural glow.