
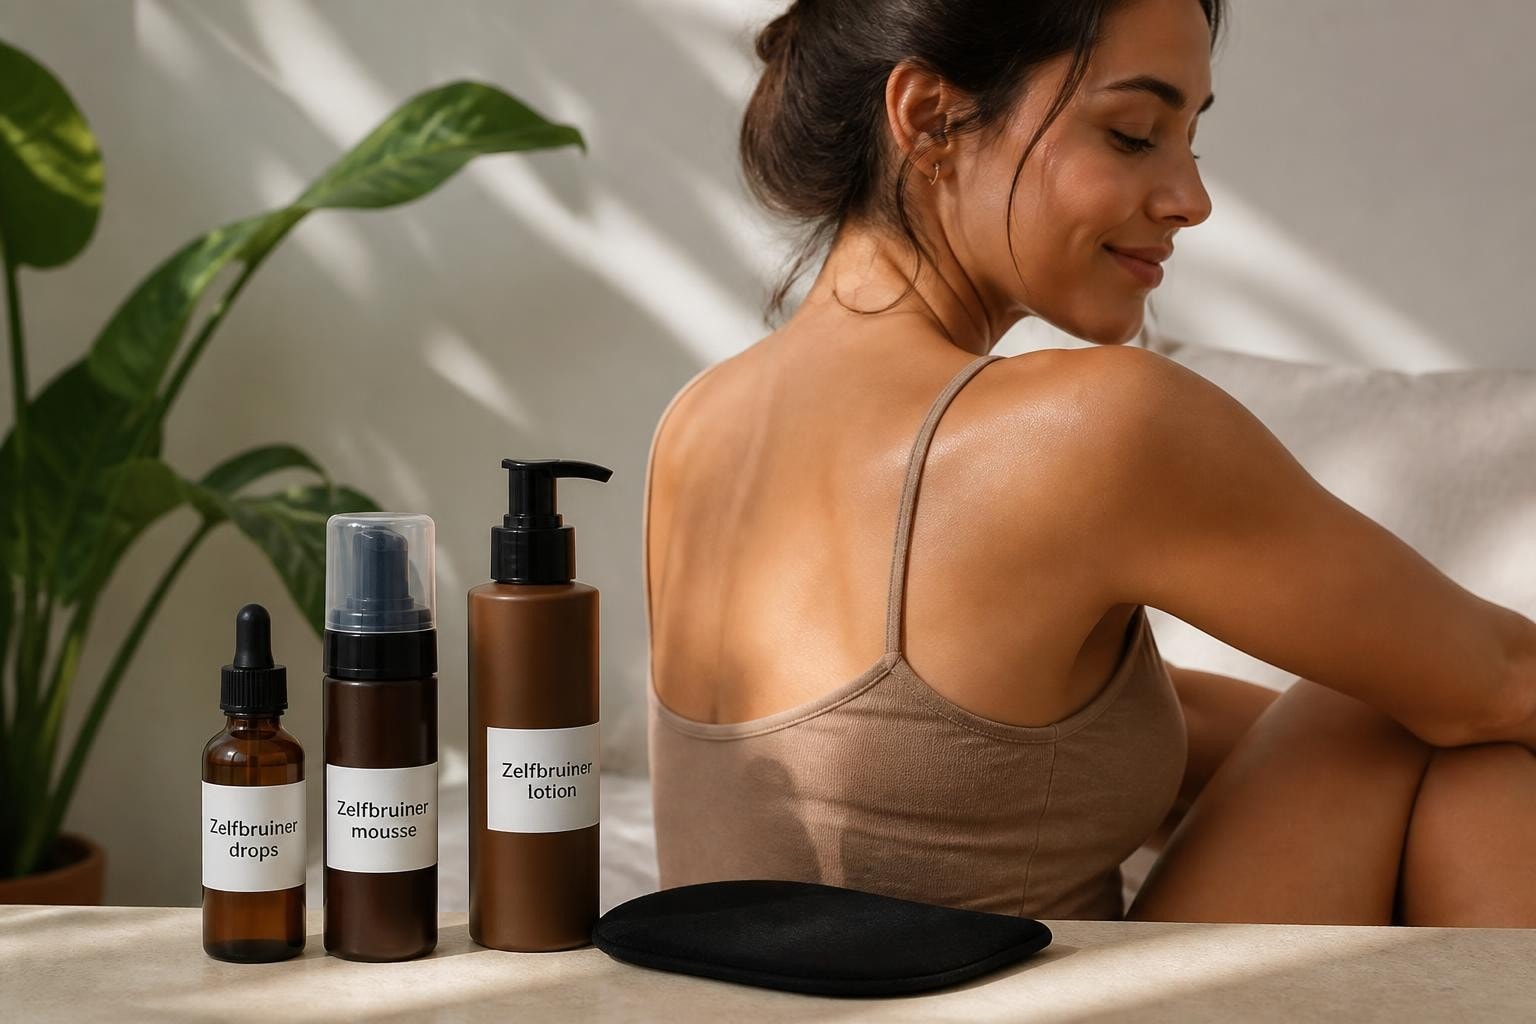
Choosing the best self-tanner: tips for a natural glow
A radiant, sun-kissed complexion without spending hours in the sun? That sounds like a dream come true with the right self-tanner. More and more people are discovering the benefits of self-tanners as a healthy alternative to sunbathing. But with so many different products on the market, it can be difficult to find the best self-tanner that perfectly suits your skin. In this article, I will guide you through all the important aspects to consider, so you can confidently make the right choice for a natural, even glow.
Why choose a self-tanner in 2026?
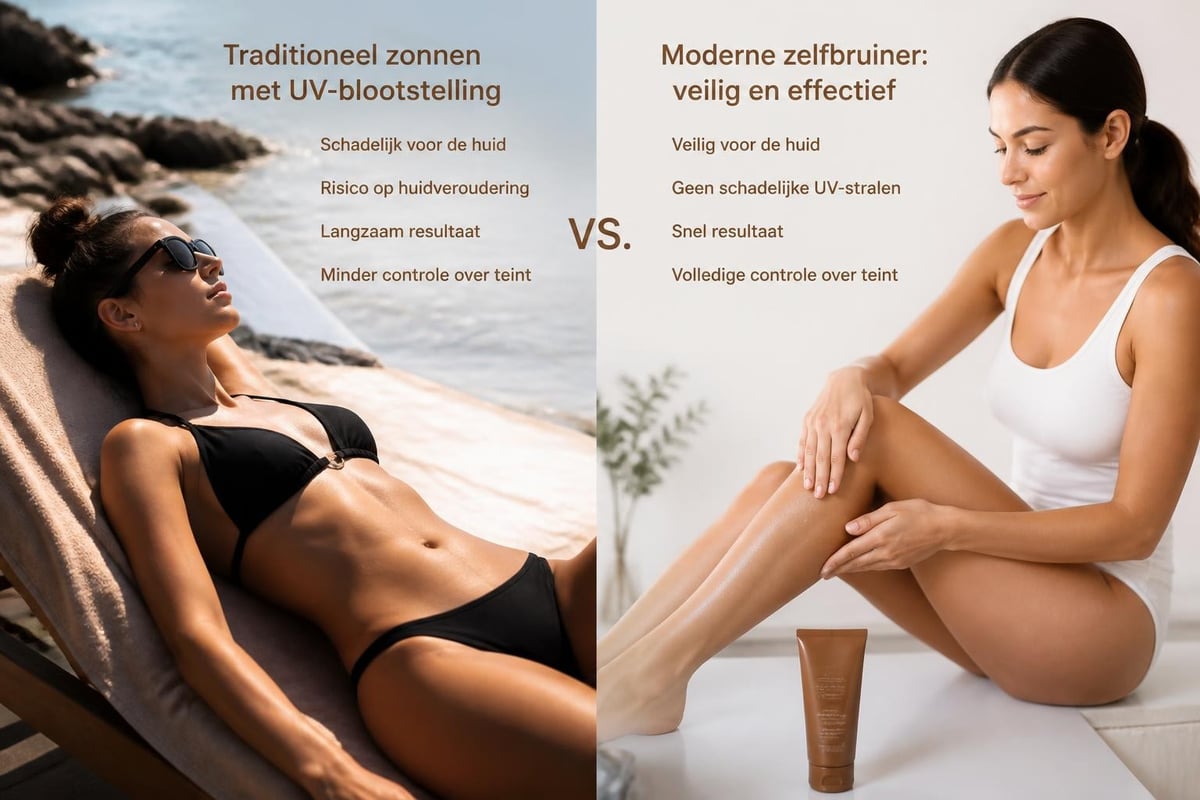
In recent years, awareness of skin health has increased enormously. We now know that excessive exposure to UV radiation accelerates aging and can cause skin problems. Yet, we long for that warm, sunny complexion that boosts our self-confidence.
This is where the best self-tanner offers a solution. With modern formulas, you get a natural brown color within a few hours that stays beautiful for days, without the harmful effects of UV radiation. It is a moment of self-care, in which you consciously choose a healthy way to glow.
The benefits speak for themselves:
- No UV damage to your skin
- Control over the intensity of your complexion
- Suitable for all seasons
- Quick visible results
- Long-lasting effect without sun maintenance
Different types of self-tanners: which one is right for you?
The market offers various formulations, each with its own advantages. The best self-tanner for your situation depends on your skin type, experience, and desired result.
Self-tanning lotions
Lotions are the most popular choice and for good reason. They are user-friendly, give an even result, and are suitable for both beginners and experienced users. The texture spreads effortlessly over your skin and absorbs quickly without feeling sticky.
A good lotion gives a visible result within 2-3 hours that remains beautiful for 5-7 days. The secret lies in high-quality ingredients that provide a natural brown tint without that dreaded orange undertone.
Self-tanning drops
For those who want complete control over the intensity, drops are a great option. You mix them with your daily moisturizer or serum and decide how many drops you use. More drops mean a deeper tan, fewer drops give a subtle glow.
This is ideal if you want to build up gradually or if different areas of your skin need different intensities. Self-tanning drops seamlessly integrate into your existing skincare routine.
Mousse and spray formulations
Mousse feels light and dries super fast, which is useful if you're short on time. Sprays are perfect for hard-to-reach areas like your back, but require a bit more experience to apply streak-free.
| Type self-tanner | Benefits | Ideal for |
|---|---|---|
| Lotion | Easy to apply, even result | Beginners and daily use |
| Drops | Adjustable intensity, mix with skincare | Experienced users, gradual build-up |
| Mousse | Fast drying, light texture | Experienced users, quick application |
| Spray | Reach difficult spots | Back and other difficult zones |
What should you look for when choosing the best self-tanner?
Ingredients that make the difference
The active ingredient in most self-tanners is DHA (dihydroxyacetone), a natural sugar that reacts with amino acids in your skin. The quality and concentration of DHA largely determine how natural the result will be.
Pay attention to these ingredients:
- Hyaluronic acid for hydration
- Aloe vera for care and a soothing effect
- Vitamin E for antioxidant protection
- Glycerin to prevent dehydration
- Natural extracts for well-cared for skin
Avoid products with a lot of alcohol, perfume, or aggressive chemicals, especially if you have sensitive skin. The best self-tanners for sensitive skin are mildly formulated and dermatologically tested.
How your skin type influences the choice
Your skin type plays a crucial role in choosing the best self-tanner. Dry skin needs extra moisturizing formulas to achieve an even result. Make sure your skin is well-hydrated before applying the self-tanner.
For oily skin, it's better to work with lighter formulas that absorb quickly. Mousse or light lotions are ideal here. For sensitive skin, choose products that are fragrance-free and contain mild, soothing ingredients.
A combination skin requires flexibility. Consider drops that you can dose per zone, or use different products for your face and body.
The perfect application for a streak-free result
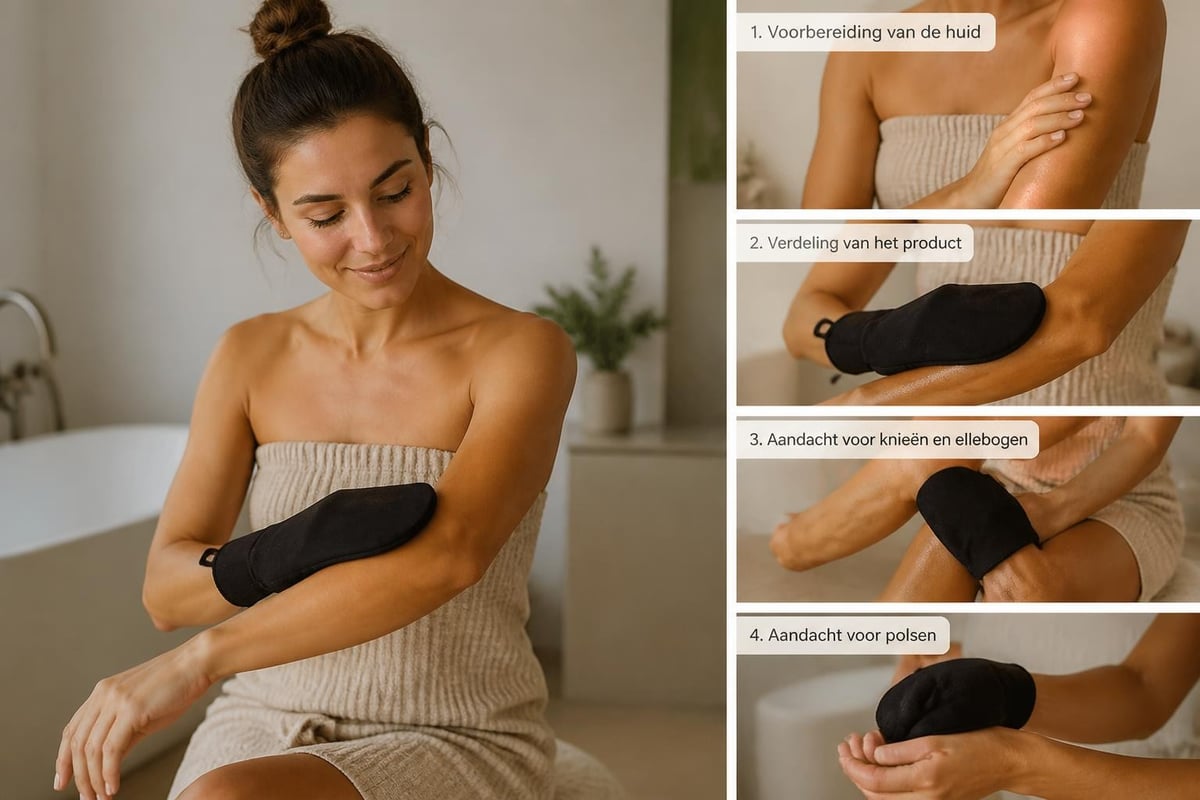
Even the best self-tanner won't give a good result without proper application. These are the steps that make the difference between a professional glow and an uneven result.
Preparation is half the battle
Start with a thorough scrub 24 hours before application. This removes dead skin cells and provides an even canvas. Focus especially on rough areas such as knees, elbows, and ankles.
Shave or wax at least 12 hours beforehand, so your skin can calm down. Applying directly after hair removal can lead to irritation.
Just before application, apply a light moisturizer to dry areas:
- Elbows and knees
- Ankles and feet
- Wrists and hands
- Any dry spots
Application techniques that work
Always use an applicator mitt for an even result and to prevent discoloration of your palms. Apply the product in circular motions and work from top to bottom.
Start with your legs, work your way up to your torso, and finish with your arms. For your face, use less product and blend well towards your hairline, ears, and jawline.
The right tools make a huge difference in the final result. A mitt distributes the product evenly and prevents streaks that can occur when applying with your hands.
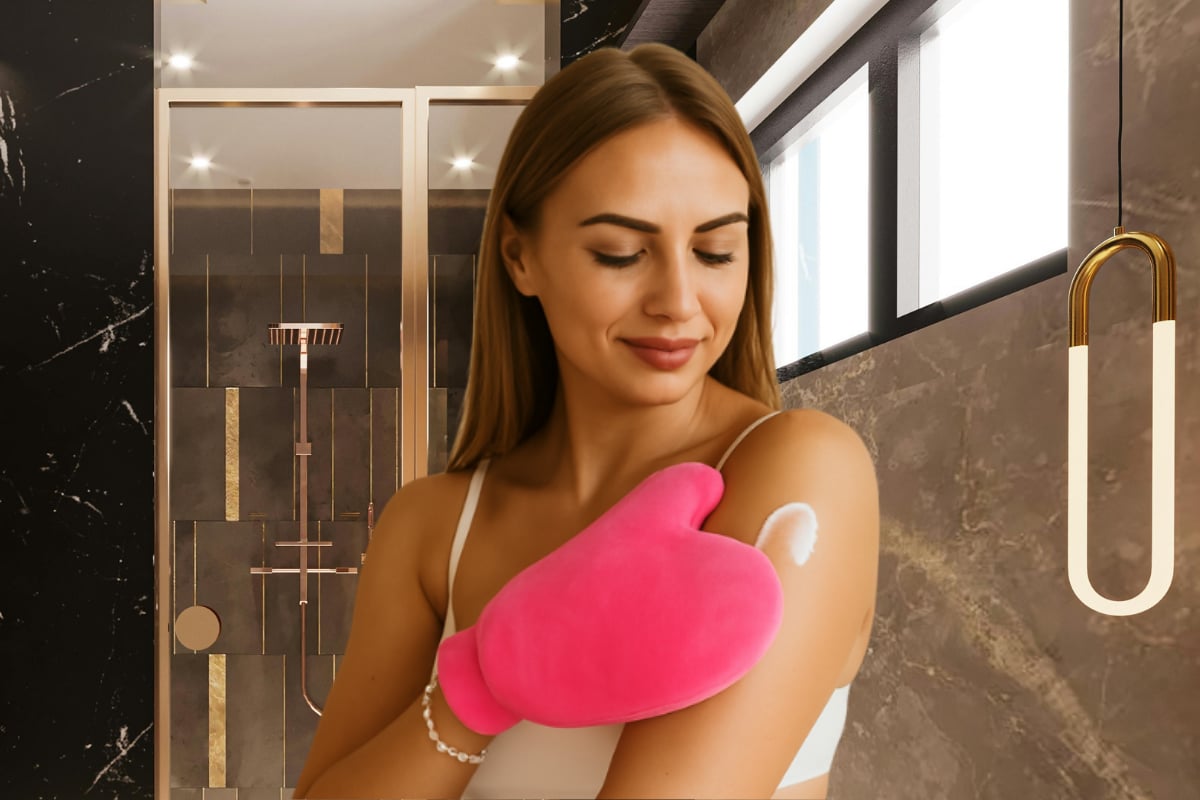
Difficult areas like your back
Your back is perhaps the most difficult area to reach by yourself. Fortunately, there are smart solutions like a back applicator specifically designed for self-tanner. This allows you to apply the product easily and evenly without the help of others.
After application: how to maintain your beautiful tan
The first few hours after application are crucial. Wait at least 4-6 hours before showering or sweating. This gives the DHA time to fully react with your skin. Preferably wear loose, dark clothing to prevent stains.
Maintenance for long-lasting results
A good self-tanner stays beautiful for 5-7 days, but that requires proper care. Hydrate daily with a mild body lotion to keep your skin supple and ensure even fading.
Avoid excessively hot showers and aggressive scrubs. Gently pat your skin dry after showering instead of rubbing. For those who want to glow regularly, you can use self-tanning body lotion to maintain your tan.
Tips for longer durability:
- Hydrate twice a day
- Use mild, sulfate-free shower gel
- Pat your skin dry, do not rub
- Avoid chlorinated water where possible
- Reapply every 5-7 days
Common mistakes and how to prevent them
Even with the best self-tanner, mistakes can happen. Here are the most common pitfalls and how to avoid them.
Preventing orange undertones
An orange tint often results from a combination of too much product, the wrong formula, or poorly prepared skin. Always choose a self-tanner specifically designed for a natural, warm tint without an orange cast.
First, test a new self-tanner on a small area, for example, on the inside of your arm. This way, you can see how the color develops on your skin before treating your entire body.
Eliminating streaks
Streaks usually result from uneven distribution or too much product in one spot. Always work in thin layers and blend thoroughly. Pay extra attention to transitions between areas to prevent harsh lines.
If you do get streaks, don't panic. A gentle peel and some extra body lotion help to reduce them. For the future: work with an applicator and take your time for careful application.
Stains on hands and feet
This is perhaps the most common mistake. Always use a mitt and wash your hands immediately after application. For your feet, apply minimal product and blend well towards your toes.
The area around your nails requires extra attention. Use a damp cloth to remove excess product before it can develop.
Seasonal tips for year-round use
You adapt the best self-tanner to the season and your activities. In the summer, you might want a deeper tan to match your natural sun-kissed look. Build this up gradually for a natural effect.
In winter, a subtler glow gives you a fresh, well-groomed appearance without looking unnatural. This is the perfect season for drops, where you can precisely adjust the dosage.
Self-tanner and holidays
For a holiday, you naturally want to look your best. Start your tanned legs routine a week in advance so your tan is perfectly developed when you leave. Bring a travel size to touch up.
Don't forget that self-tanner provides no UV protection. Even with a beautiful tanned complexion, you need sun protection in the sun. This is an important misconception you should avoid.
The role of nutrition and lifestyle
What you eat and how you live also affects how well self-tanner works on your skin. Well-hydrated skin absorbs product better and gives a more even result. Therefore, drink enough water, especially in the days before and after application.
Certain foods support healthy skin that reacts better to self-tanner. Think of foods rich in vitamin C, E, and antioxidants. A healthy foundation from within ensures radiant skin from without.
Trends and innovations in self-tanners
The self-tanning industry continues to evolve. In 2026, we'll see more focus on natural ingredients and formulas that not only color but also care. Hybrid products that combine skincare and tanning are becoming increasingly popular.
Personalization also plays a larger role. With drops and customizable formulas, you can create exactly the shade that suits you. This aligns with the broader trend of personalized beauty.
New developments:
- Faster development time (visible within 1-2 hours)
- Longer durability (up to 10 days)
- Improved scents (no typical self-tanner smell)
- Nourishing formulas with anti-aging ingredients
- Express formulas for last-minute glow
Comparison: premium versus budget self-tanners
Is the best self-tanner automatically the most expensive? Not always, but there are differences. Premium products often invest in higher quality ingredients, better scents, and formulas that give a more natural result.
Budget options can certainly work, but sometimes require more experience to apply well. The durability and evenness of the result can also vary.
| Aspect | Premium | Budget |
|---|---|---|
| Ingredients | High-quality, nourishing | Basic formula |
| Scent | Pleasant, subtle scent | Sometimes strong DHA scent |
| Durability | 7-10 days | 3-5 days |
| Color development | Natural, gradual | Faster, sometimes orange |
| Texture | Light, absorbs quickly | Can be sticky |
| Price per use | Higher initial, efficient | Lower, more product needed |
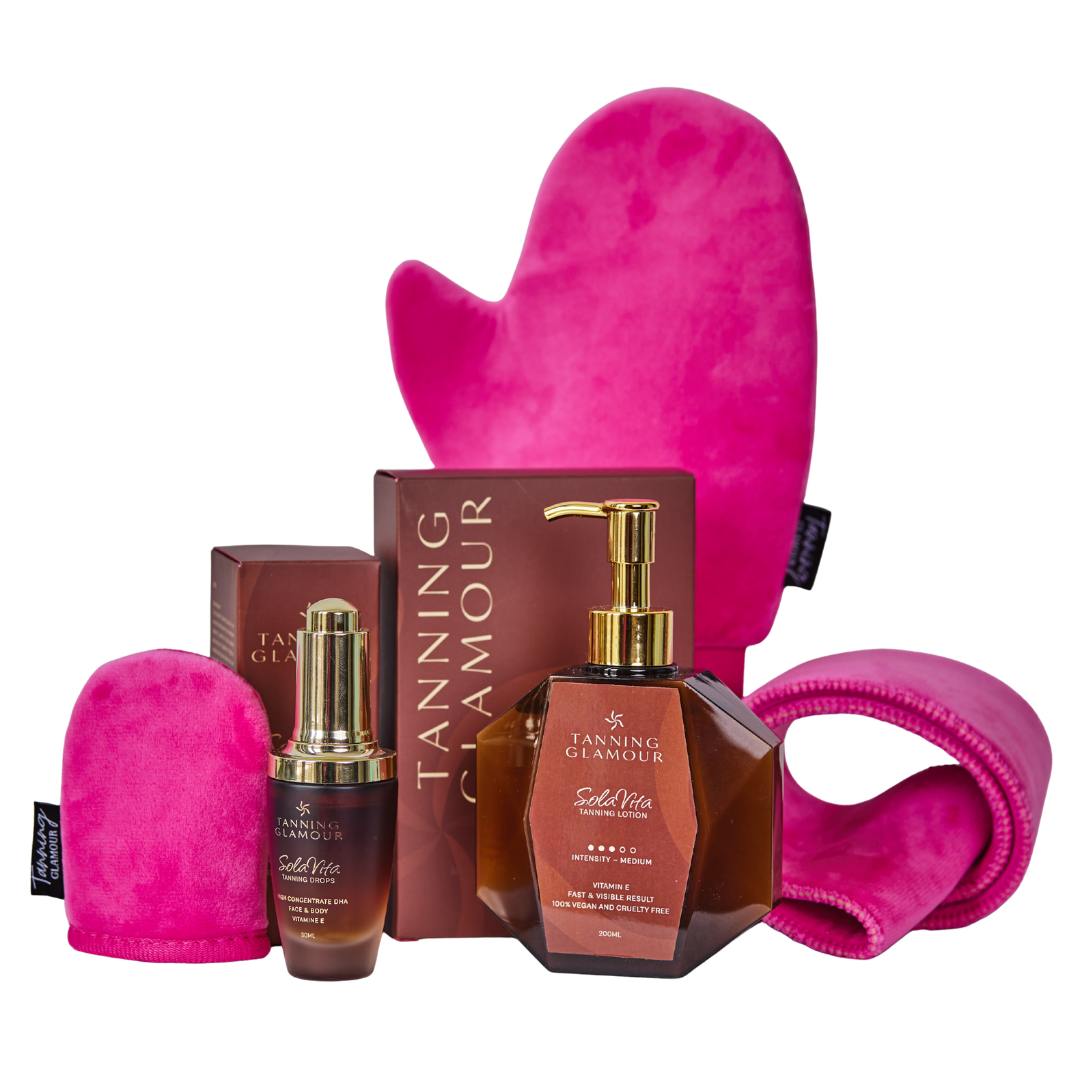
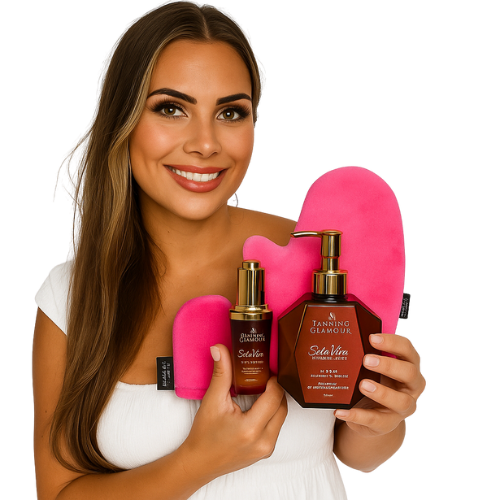
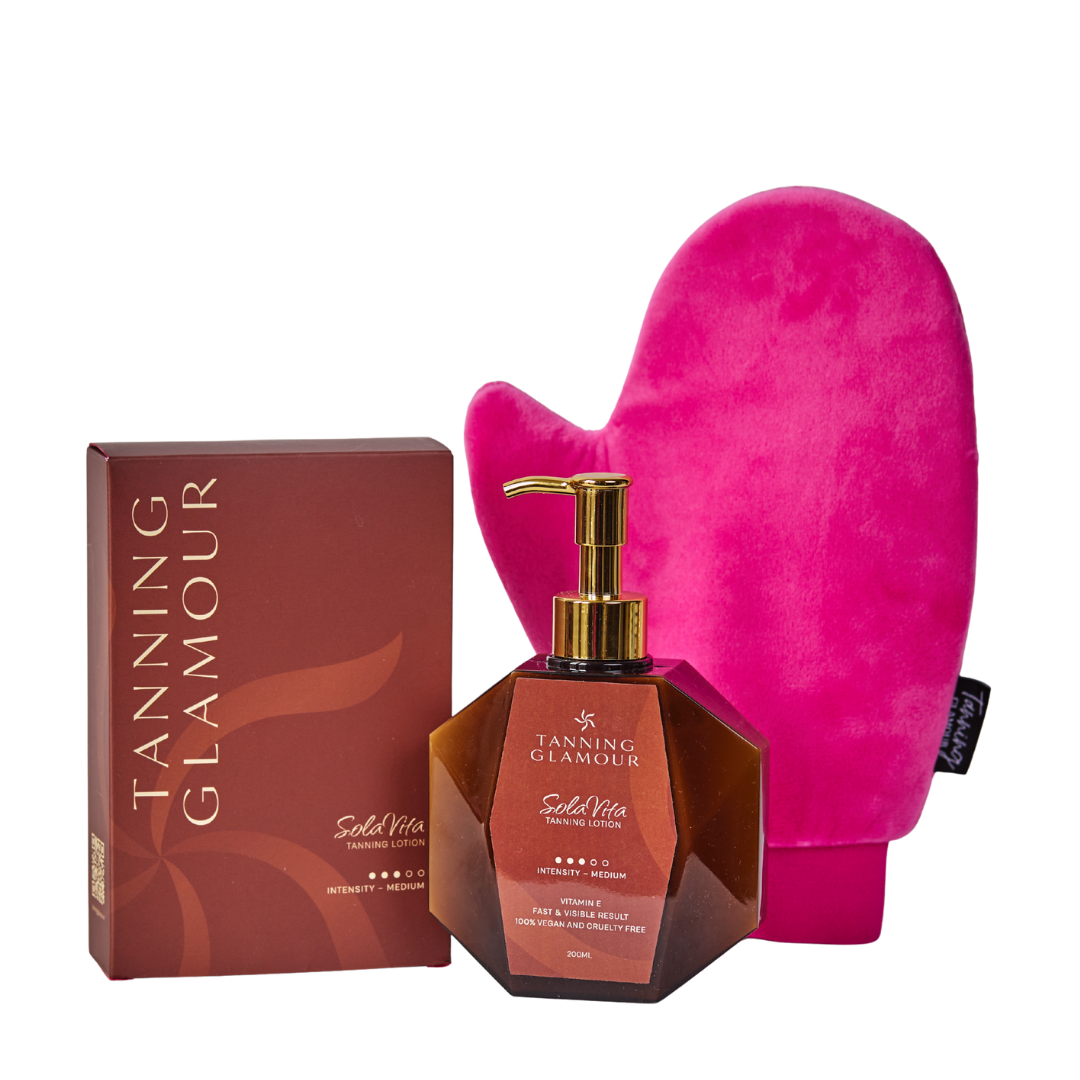
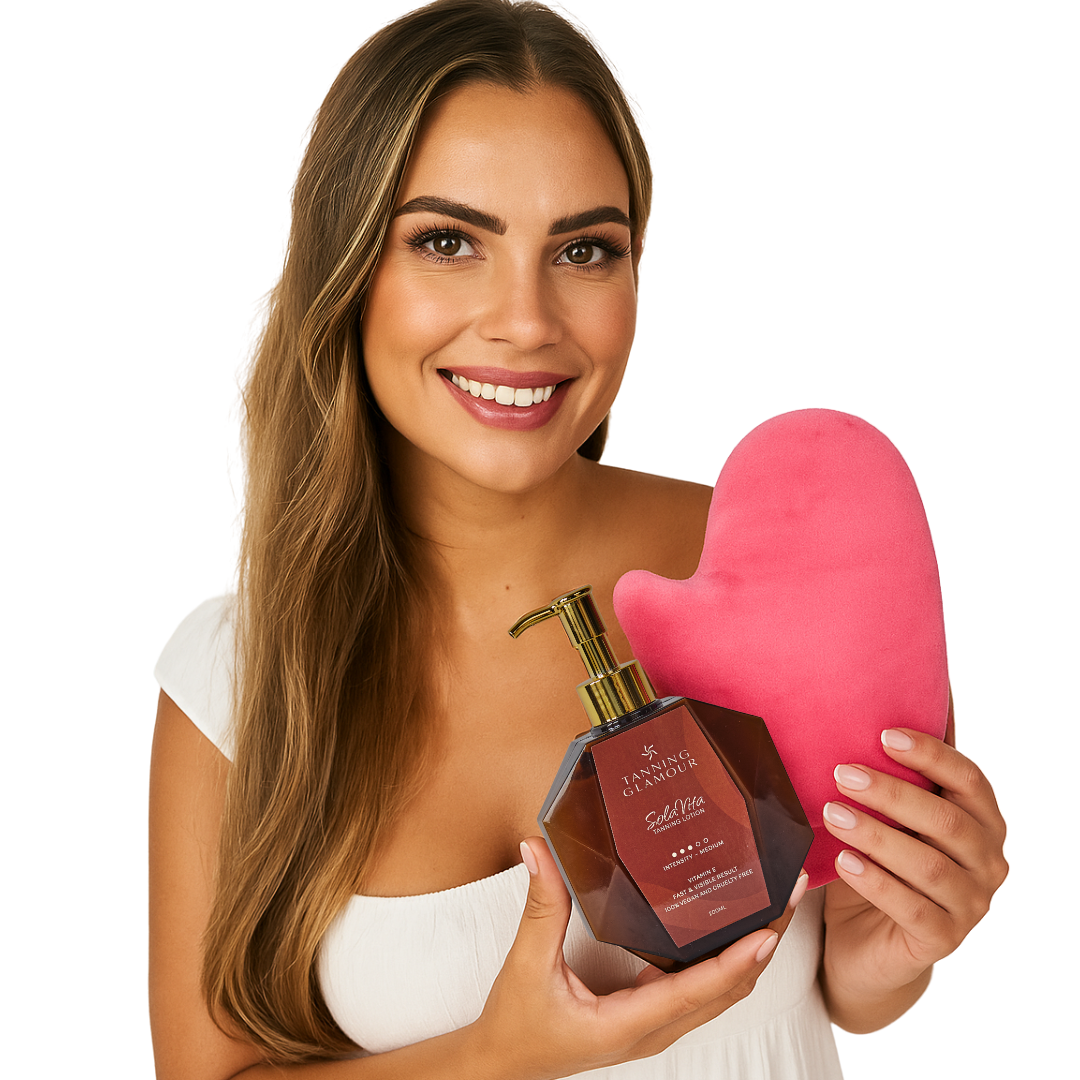
At Tanning Glamour, you'll find the best of both worlds: high-quality formulas at a fair price, developed for optimal results.
Tips for different purposes
For a special occasion
Do you have a wedding, party, or photoshoot? Start a 5-7 day routine in advance. This gives you time to touch up any imperfections and allow your tan to develop perfectly.
If necessary, apply a second, thin layer the evening before the event for extra depth. For your face, use a lighter formula than for your body to maintain a natural effect.
For daily use
For a constant, natural glow, work with a maintenance routine. Reapply every 5-7 days, or use drops daily in a lower dosage. This prevents your tan from fading completely and ensures a lasting, well-groomed appearance.
Integrate it into your skincare routine so that it becomes a natural part of your self-care. Investing a few minutes yields days of radiant self-confidence.
For beginners
Start with a light formula and build up gradually. A lotion with a medium tint is ideal for practice. Take your time with the application and follow the instructions carefully.
Use tools like applicator mitts and read tips on how to apply self-tanner. Practice makes perfect, and after a few tries, you'll get the hang of it.
Finding the best self-tanner requires attention to your skin type, lifestyle, and desired result, but with the right knowledge and tools, you can effortlessly create the natural, radiant tan you long for. Whether you choose a lotion, drops, or a complete set, the key lies in quality, careful application, and good maintenance. At Tanning Glamour, you'll find natural self-tanners that provide an even tan within 2-3 hours and stay beautiful for 5-7 days, so you can radiate with a healthy, sun-kissed glow every day.
Ontdek jouw mooiste glow
Verzorgende zelfbruiners van SolaVita - streeploos, geen oranje.
Read more
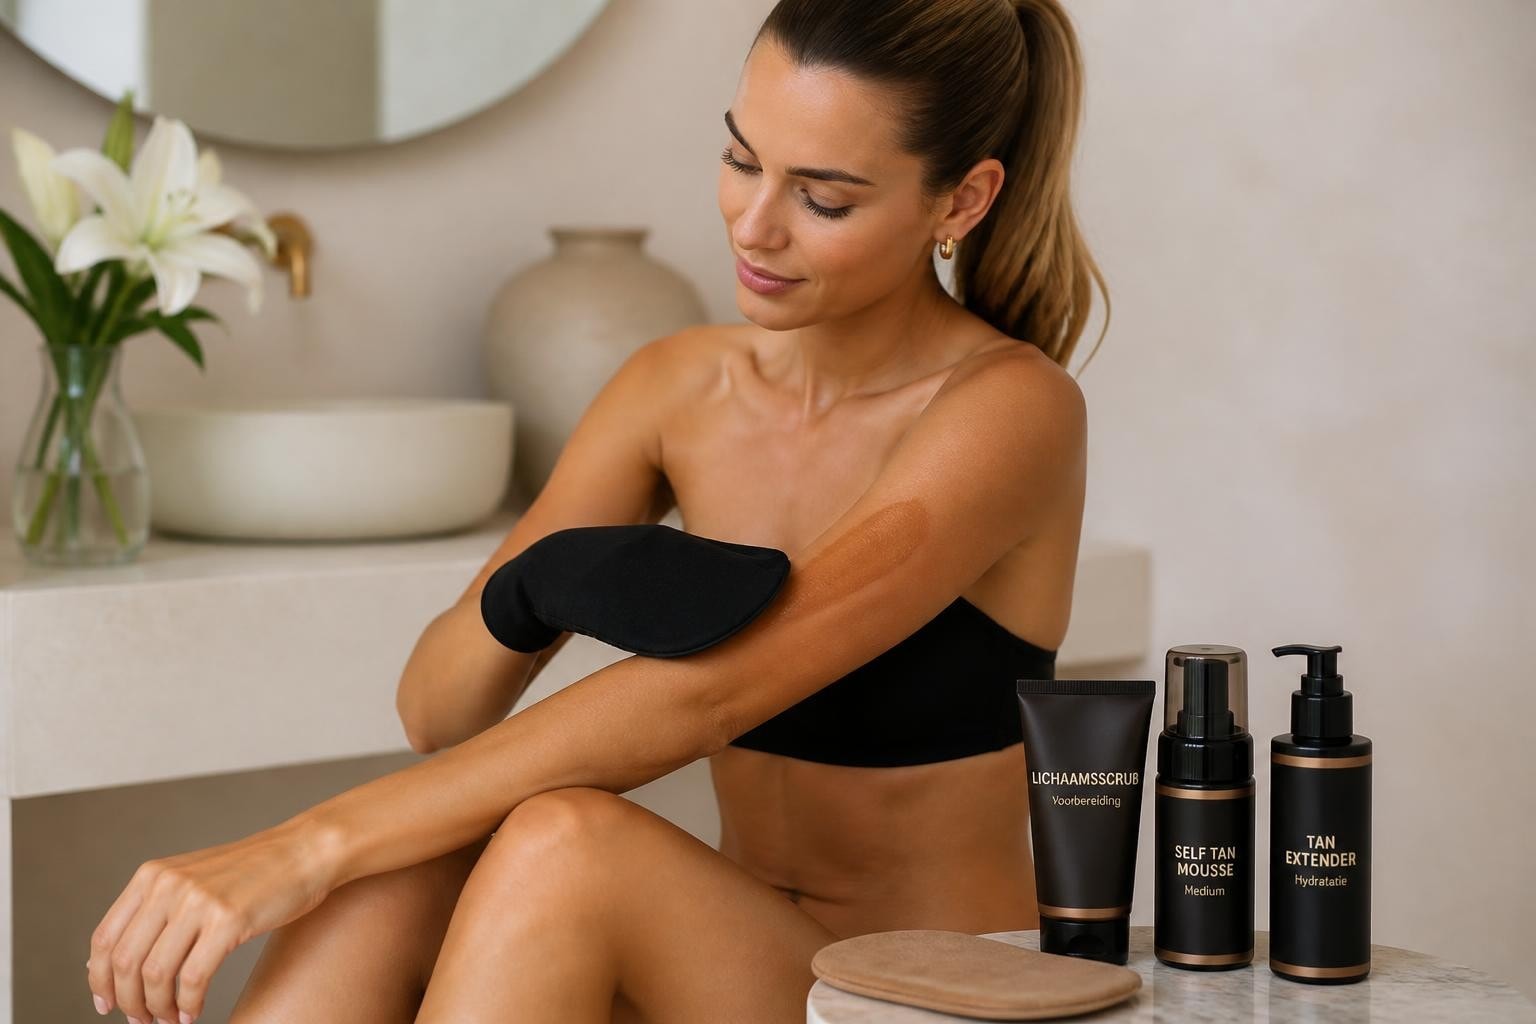
A tanning set gives you everything for an even, radiant complexion. Discover why a complete set is worthwhile and how to achieve the best results.
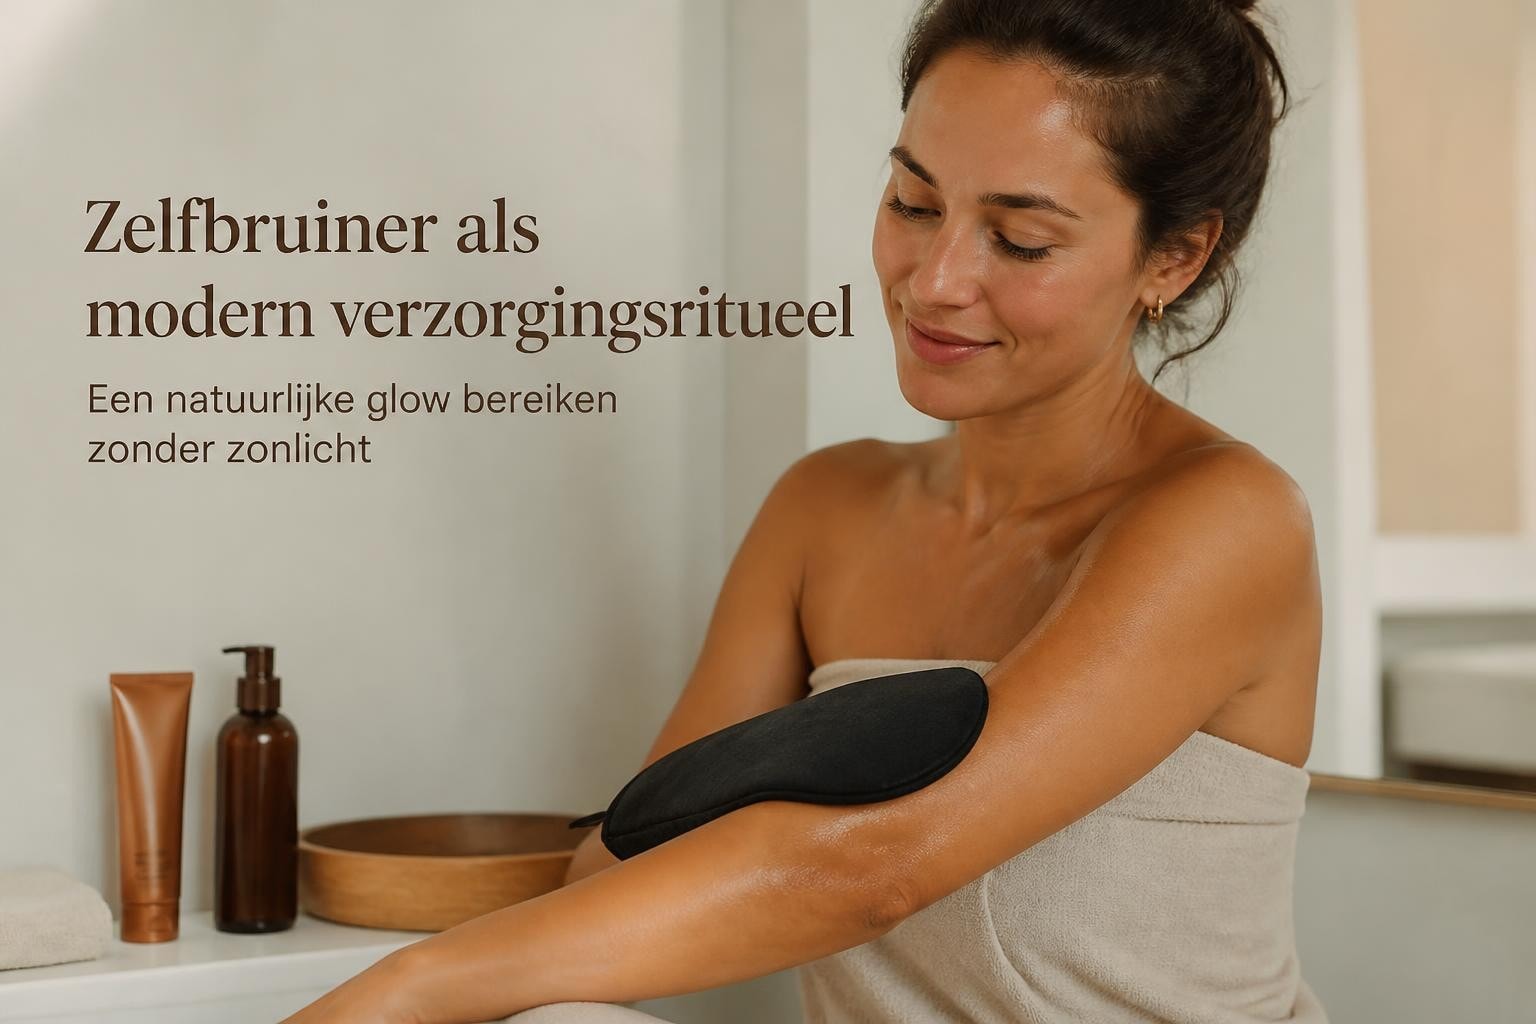
Discover everything about self-tanner: from how it works to tips for streak-free application. Get a natural, even glow without sun in 2026.