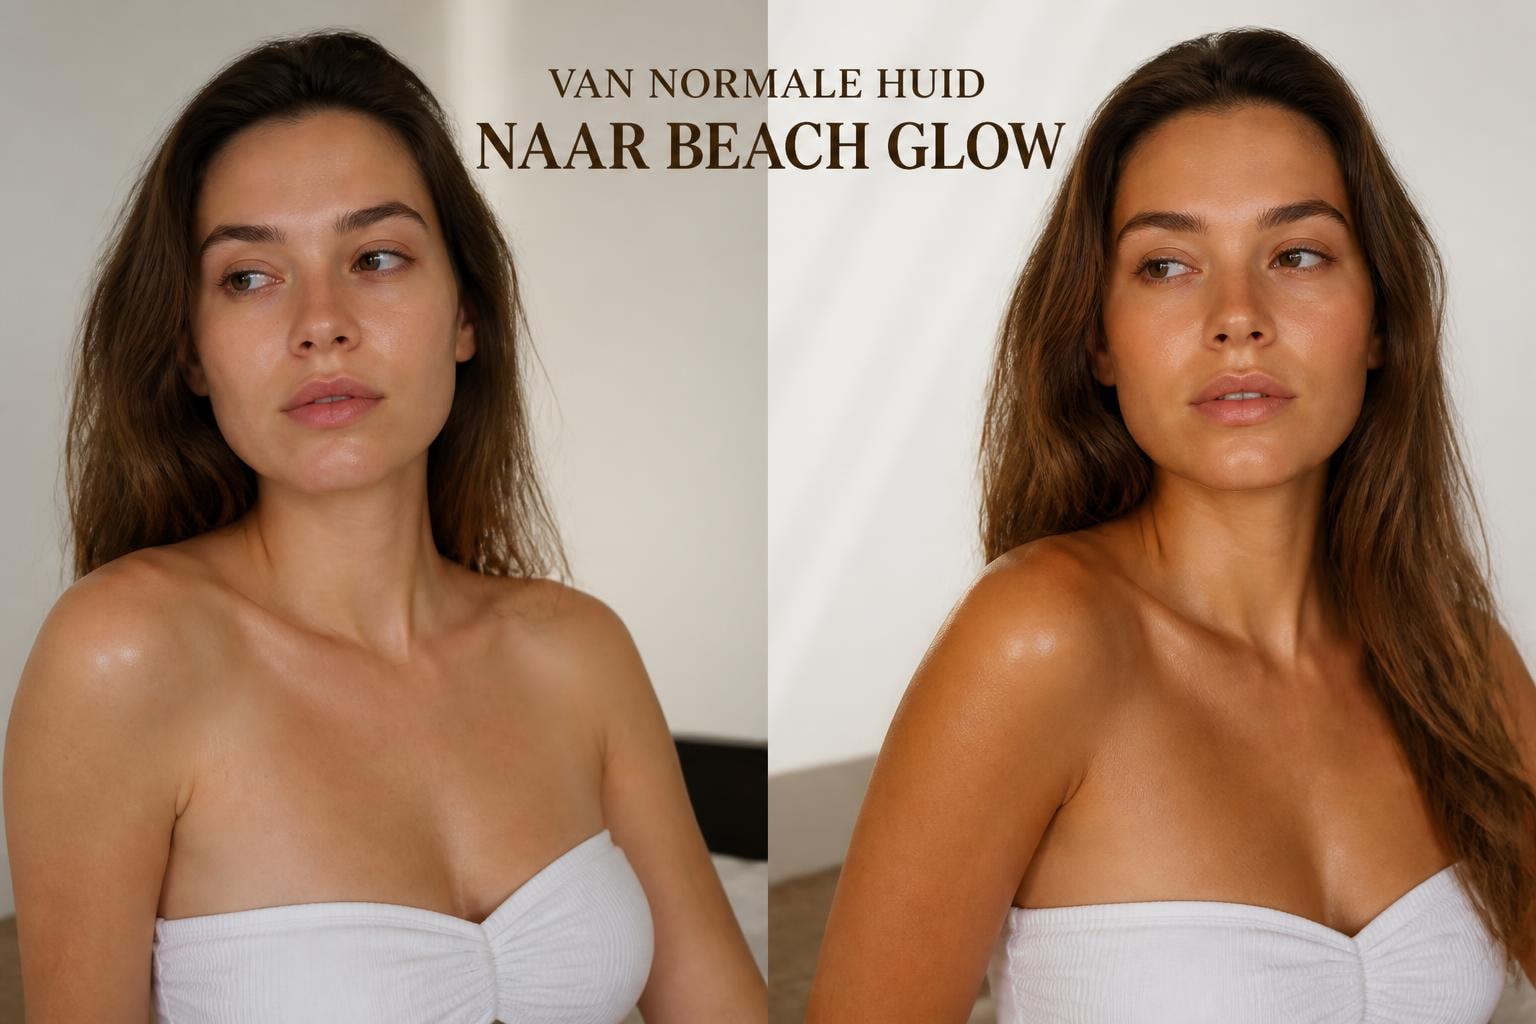
Beach glow: how to create a radiant summer complexion
That warm, natural glow your skin gets after a day at the beach: that's exactly what we all dream of. Beach glow represents that carefree, sun-kissed look that immediately makes your face and body appear fresher and healthier. The great thing is that you don't have to achieve this radiant complexion in direct sunlight. With the right approach and products, you can create that holiday feeling at home, safely and without harmful UV radiation. In this article, you'll discover exactly how to achieve and maintain that coveted beach glow, what steps are involved, and what tips professionals use for an even, natural result.
What exactly is a beach glow?
Beach glow is more than just a tan on your skin. It encompasses that complete, radiant look that occurs when your skin is healthy and well-cared for, with a warm, golden undertone. Think of that subtle shimmer created by a combination of a light tan, well-hydrated skin, and a natural warmth.
The characteristics of a true beach glow
An authentic beach glow has specific characteristics that distinguish it from a simple tan. The color is always warm and golden, never orange or gray. The skin literally radiates, with a healthy glow that doesn't look greasy or artificial.
Key features:
- Even distribution over face and body
- Natural color transition at hairlines and wrists
- Subtle sheen without a greasy appearance
- Warm undertone that matches your own skin tone
- Well-groomed, hydrated appearance
The texture of your skin also plays a crucial role. A beach glow only appears when your skin feels smooth and supple. Dry patches, flakes, or uneven areas immediately disrupt that beautiful, even radiance we're looking for.
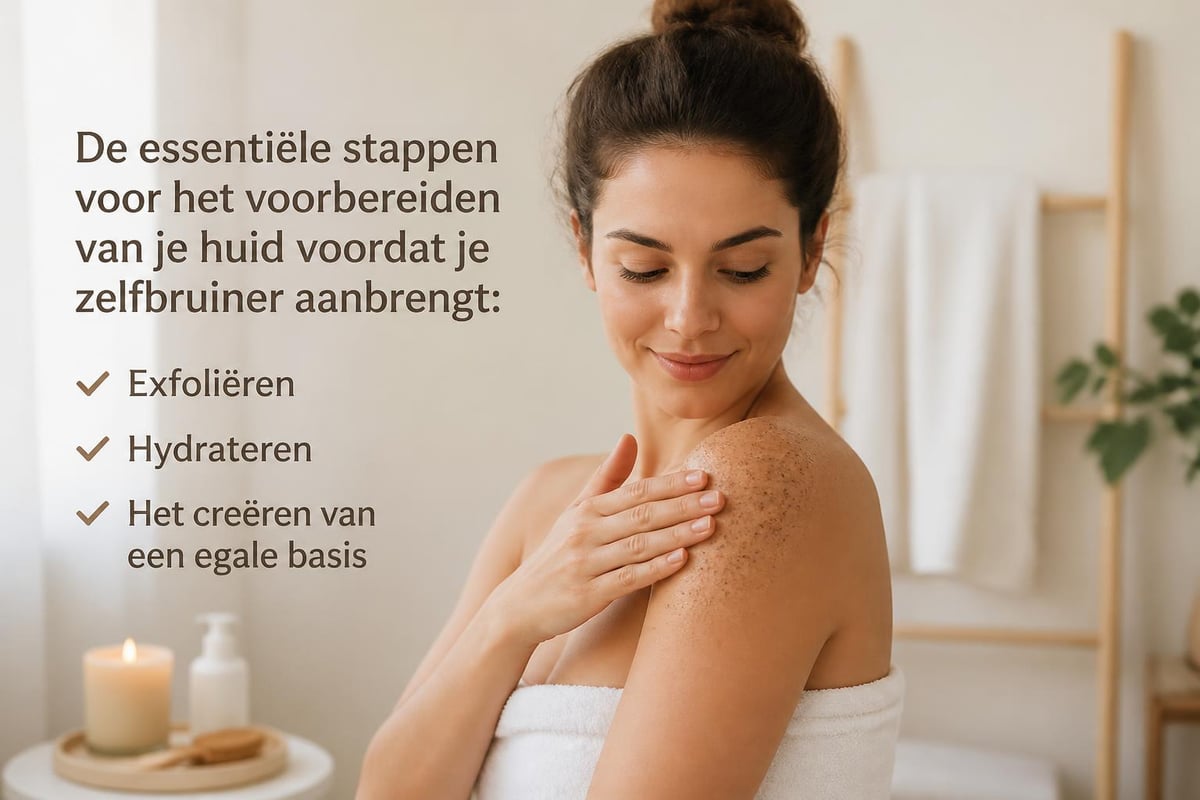
Preparation for a perfect beach glow
The foundation for a beautiful beach glow begins with good preparation. Without the right pre-treatment, even the best product cannot deliver the desired result. Your skin needs preparation to absorb the color evenly and retain it for a long time.
Exfoliation: the first step
Exfoliating removes dead skin cells that would otherwise cause patchy results. Plan this step at least 24 hours before applying your self-tanner. Use a mild scrub or exfoliating glove and pay extra attention to your knees, elbows, ankles, and wrists.
| Body Part | Needs extra attention | Why |
|---|---|---|
| Knees | Yes | Thick skin layer, dryness |
| Elbows | Yes | Rough skin, skin folds |
| Ankles | Yes | Often forgotten, dry areas |
| Hands | Yes | Many dead skin cells |
| Face | Moderate | Sensitive skin |
Building hydration
After exfoliating, it's time to intensely hydrate your skin. Use a nourishing body lotion without oils or silicones, as these can form a barrier. Apply the lotion and let it absorb completely before proceeding with your self-tanner.
Focus on dry areas such as knees, elbows, and feet. These areas absorb more product and can therefore become darker. By hydrating them well beforehand, you create a more even absorption. Wait at least 30 minutes after hydrating before applying self-tanner.
Choosing the right self-tanner for a beach glow
Not every self-tanner gives you that typical beach glow look. The formula, color undertone, and texture determine the final result. For a natural, sun-kissed complexion, you need a product that suits your skin type and the intensity you're looking for.
Comparing different formulas
Self-tanners come in various formulas, each with its own advantages. Lotions offer grip and control during application, mousse is light and absorbs quickly, while drops are fully customizable in intensity.
Benefits per type:
- Lotion: Easy to distribute, suitable for beginners, nourishing formula
- Mousse: Quick drying, light feel, clearly visible during application
- Drops: Fully customizable intensity, mixable with day cream, gradual build-up
Many people opt for self-tanner products specifically developed for Dutch skin types. These formulas take into account our often lighter natural complexion and provide warmer, more natural undertones.
Color undertone: warm versus cool
The undertone of your self-tanner determines whether your beach glow looks natural. Warmer formulas with golden or olive pigments create that typical summer complexion. Cooler formulas with ash-like undertones often result in a less sun-kissed look.
Always test first on a small patch of skin, preferably on your stomach or upper thigh. After 4 to 6 hours, you'll see the full color development. Does the color match your own complexion nicely and look warm and natural? Then you've found the right formula.

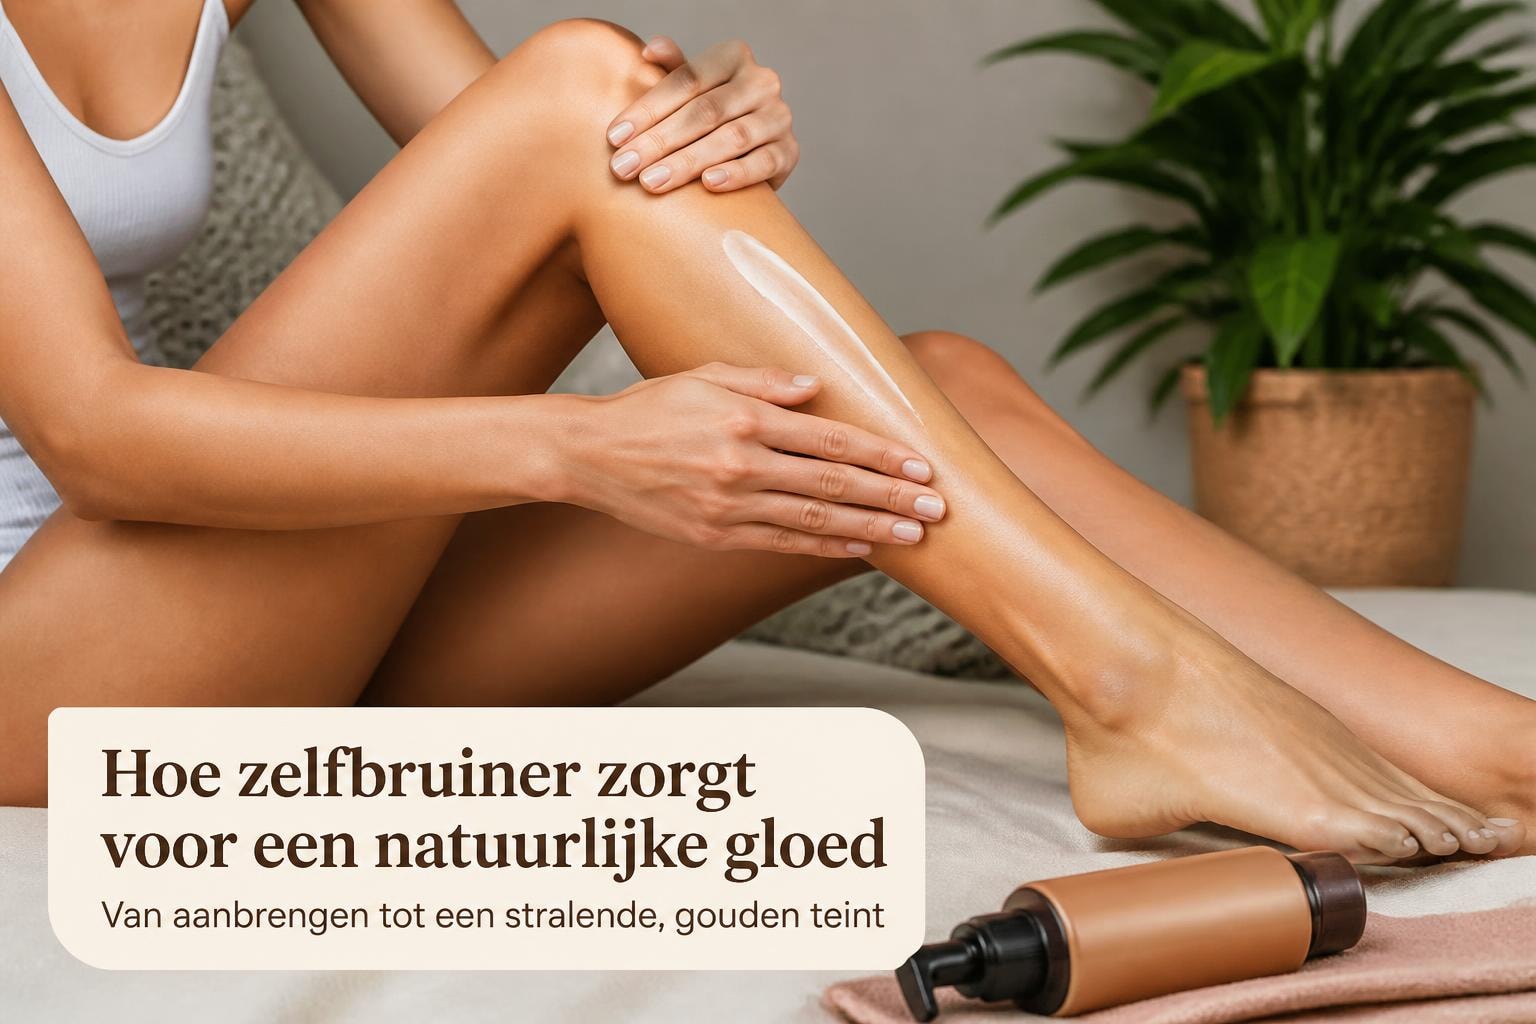
Application techniques for an even beach glow
The way you apply self-tanner makes all the difference between a professional result and patchy streaks. With the right technique, you create that seamless beach glow that looks like you've just returned from a sunny holiday.
Working with an applicator
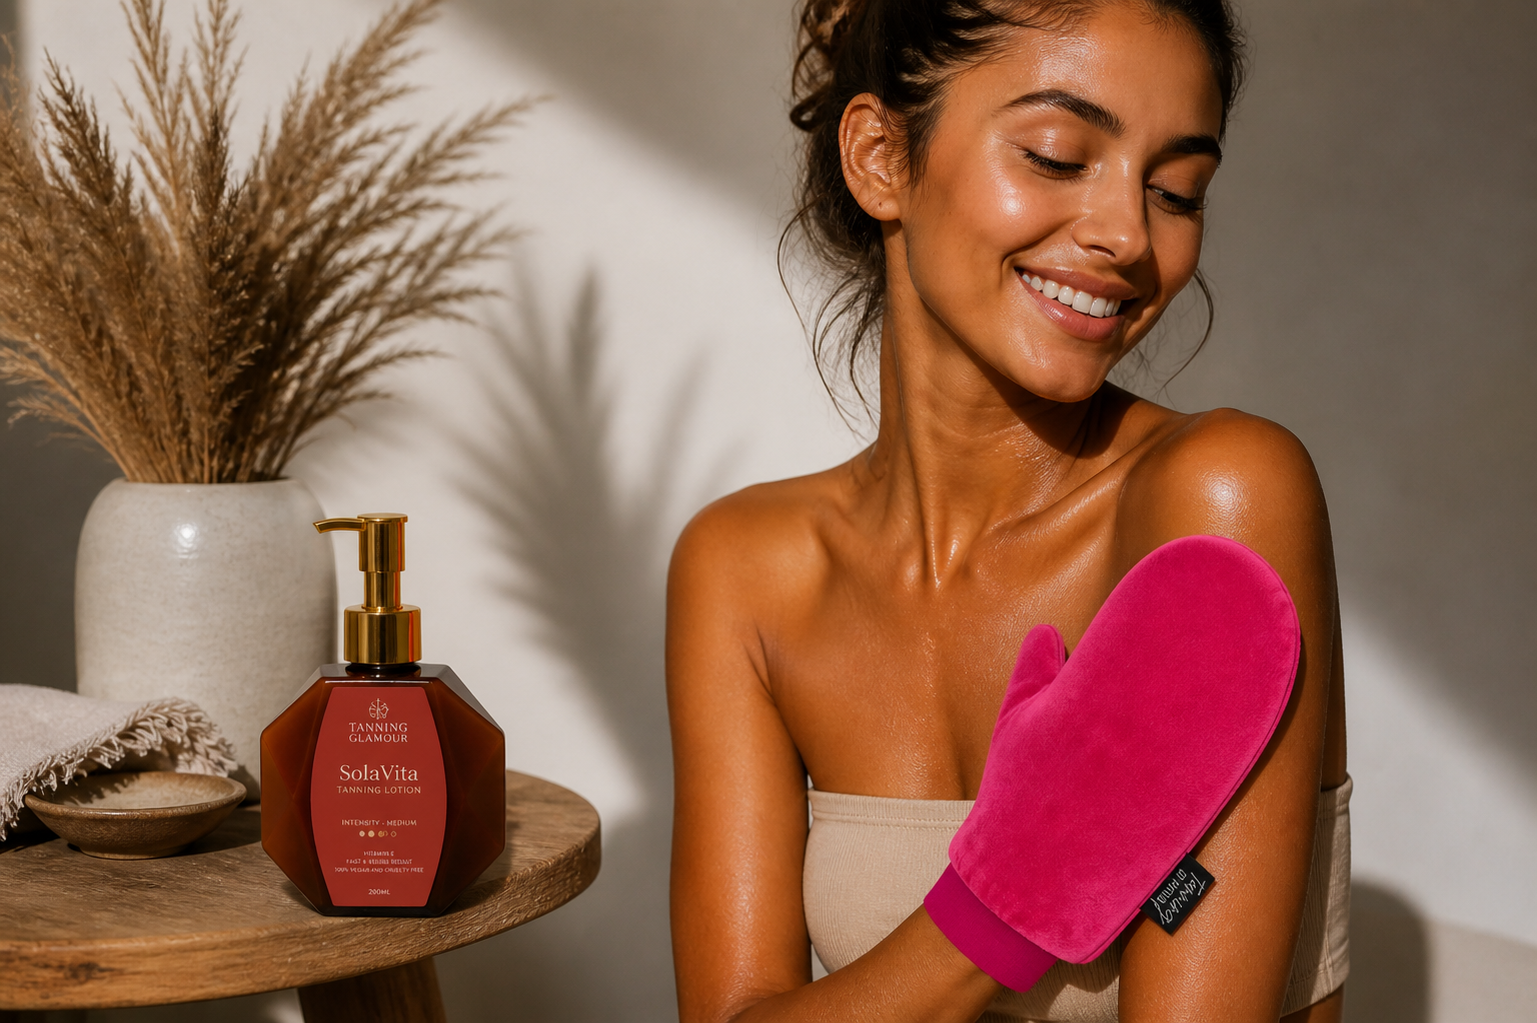
A good applicator is essential for a streak-free result. Velvet or microfiber mitts distribute the product evenly without staining your hands. First apply your self-tanner to the mitt, then work in circular motions over your skin.
Always start at your ankles and work upwards. This prevents you from accidentally wiping over freshly applied areas. For your face, use a separate, smaller applicator or a clean makeup sponge. This gives you more control over delicate areas around your nose, eyes, and hairline.
- First distribute the product onto the applicator
- Apply in circular motions
- Work from bottom to top
- Blend well at transitions
- Use less product on knees and elbows
- Lightly wipe over hands and feet
Mastering difficult areas
Certain body parts require extra attention for a natural result. Your back, the backs of your legs, and your shoulders are difficult to reach yourself. For your back, you can use special applicators designed specifically for this purpose.
For hands and feet, use minimal product. Blend the product well over your fingers and toes, but completely avoid the palm of your hand and the soles of your feet. Wash your hands lightly with water immediately after application, so that the color fades naturally at your wrists.
Building intensity for a natural beach glow
One of the biggest mistakes in self-tanning is going too dark too quickly. A true beach glow is built up gradually, layer by layer. This not only gives a more natural result but also provides more control over the final color.
The first application
Always start with a thin layer. You can always apply more, but a too-dark result is difficult to correct. Wait at least 4 hours before deciding if you want a second layer. For most people, one application is sufficient for a subtle glow.
| Skin Type | First Layer | Second Layer | Desired Result |
|---|---|---|---|
| Very Light | Thin | Optional after 24h | Subtle warmth |
| Light | Normal | Possible after 12h | Natural glow |
| Medium | Normal | After 8h if desired | Clear complexion |
| Dark | Slightly more | After 6h for depth | Rich warmth |
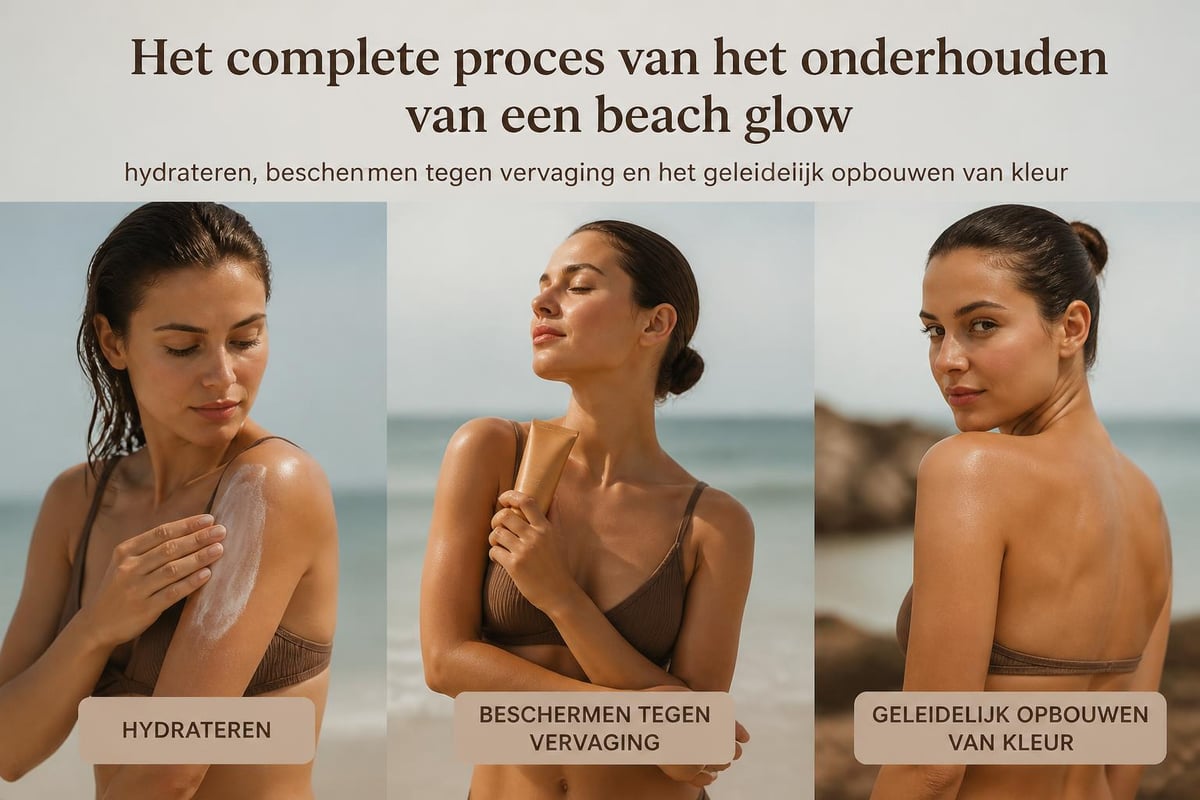
Maintaining your beach glow
A beautiful beach glow typically lasts 5 to 7 days, depending on your skin type and care. To keep the color fresh, hydrate daily with a good body lotion. This prevents flaking and keeps the color more even.
To maintain that radiant complexion, you can apply a new layer every 3 to 4 days. Do not exfoliate in between, as that will remove the built-up color. Wait with exfoliation until you want to start fresh with a new base.
Avoiding common mistakes
Even with the best products, things can go wrong if you're not careful. Don't panic: most problems are easy to solve. Here you'll find solutions for the most common challenges when creating your beach glow.
Preventing an orange undertone
Orange results often occur due to formulas with incorrect pigments or by using too much product. Tanning without sun requires a self-tanner with natural, warm undertones that match your own skin color.
Prevention tips:
- Choose products with olive or caramel-like pigments
- Apply thin layers instead of one thick one
- Test on a small patch of skin first
- Avoid products with high alcohol content in the ingredient list
- Allow each layer to fully develop before touching up
Addressing streaks and patches
Streaks usually occur at joints and areas where your skin folds. The solution is to work in circular motions and blend well at transition zones. Always use less product on knees, elbows, and ankles.
If you do get streaks, you can soften them by gently exfoliating the area with a wet washcloth. Do not rub too hard, but work in gentle, circular motions. Then reapply a thin layer over the entire area for an even result.
Seasonal variations in beach glow
Your beach glow doesn't have to be exactly the same all year round. Many people adjust the intensity seasonally, with a lighter glow in winter and a richer tan in summer. This creates a natural look that suits the moment.
Winter beach glow
In the winter months, you often wear more clothing and get less sunlight. A more subtle beach glow is better suited for this period. Focus on your face, neck, and décolletage for a fresh, radiant look without overdoing it.
Use a lighter formula or less product than in summer. You can also opt for drops that you mix with your day cream, giving you complete control over the intensity. Gradually build up to a color that suits winter: warm but not too dark.
Summer intensity
In the summer months, your beach glow can be a bit more intense. You wear lighter clothes and are outdoors more, so a richer tan looks more natural. Apply your self-tanner to your entire body for a complete, even result.
For a long-lasting, radiant complexion that perfectly matches the summer feeling, the SolaVita Self-Tanning Lotion offers a solution. This formula absorbs quickly and gives you that warm, golden glow within hours, lasting up to a week.
Combining beach glow with makeup
A beautiful beach glow calls for adjusted makeup. Your foundation, bronzer, and blush should match your new, warmer complexion. This prevents the mask-like effect that occurs when your face is lighter than your body.
Adjusting foundation
Once your beach glow has fully developed (after about 6 to 8 hours), check if your current foundation still matches. Often you'll need a warmer or slightly darker shade. Test different shades in daylight to find the perfect match.
Consider using a tinted moisturizer or BB cream instead of a full-coverage foundation. This gives a more natural result and allows your beach glow to shine through better. If necessary, mix two shades of foundation for the perfect color.
Bronzer and blush placement
With a beach glow, you'll need less bronzer. Apply it lightly only to the highest points of your face: cheekbones, bridge of the nose, and forehead. Choose a bronzer with the same warm undertone as your self-tanner for a cohesive look.
For blush, choose coral pink or peach tones that contrast beautifully with your warmer complexion. Apply to the apples of your cheeks and blend well towards your hairline. This gives you that fresh, sun-kissed feeling that belongs to a true beach glow.
Skincare during beach glow
Good skincare is essential for maintaining your beach glow. Your daily routine should align with the fact that you are using self-tanner. Certain products and ingredients can affect the longevity of your tan.
Hydration is key
Dry skin will cause your beach glow to fade faster and unevenly. Therefore, moisturize your entire body daily with a nourishing body lotion. Choose formulas without oils or too many active ingredients that can accelerate color fading.
Best ingredients for long-lasting glow:
- Hyaluronic acid for deep hydration
- Glycerin for water retention
- Vitamin E for nourishment
- Aloe vera for soothing
- Shea butter for nourishment
Products to avoid
Certain ingredients accelerate the fading of your beach glow. Avoid scrubs and exfoliating products until you are ready to start anew. Also, products with high alcohol content, AHAs, or BHAs can cause your tan to fade more quickly.
Be careful when using self-tanner on your face: avoid overly rich night creams that can migrate. Use light, fast-absorbing formulas that hydrate your skin without disturbing the color. Wash your face gently without scrubbing.
Troubleshooting: solving problems
Even with the best preparation, things can go wrong. Don't panic: most problems are easy to solve. Here you will find solutions for the most common challenges when creating your beach glow.
Turned too dark
If your tan is darker than you wanted, gently exfoliate with a scrub. Focus on the darkest areas and work in gentle, circular motions. Take a lukewarm bath with a splash of lemon or baking soda to soften the color.
Wait 24 hours and repeat the process if necessary. Then rebuild with thinner layers for more control. Remember for next time: less is more, and you can always add another layer.
Uneven color distribution
Patchy results are caused by dry skin, too much product in certain areas, or poor blending. Solve this by gently exfoliating the darkest areas and reapplying a thin layer over the entire area.
| Problem | Cause | Solution |
|---|---|---|
| Dark knees | Too much product | Exfoliate and use less |
| White spots | Missed areas | Apply with cotton swab |
| Streaky legs | Poor distribution | Exfoliate and reapply |
| Orange hands | Too much product | Wash with soap and lemon |
Development takes too long
Normally, your beach glow develops fully within 2 to 4 hours. Is it taking longer? You may have applied too thick a layer of cream before self-tanning or your skin may be too cold. Make sure your skin is at room temperature and avoid oily products beforehand.
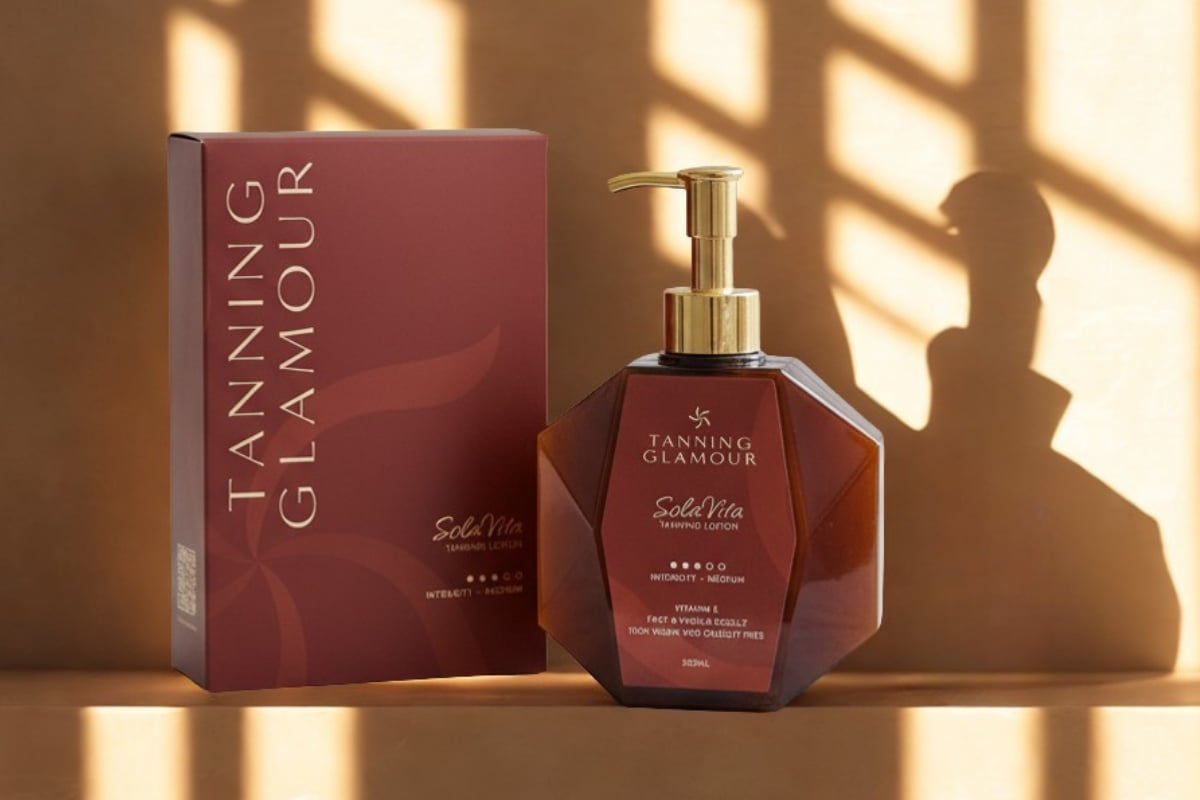
With the right knowledge and techniques, you can effortlessly create that radiant beach glow you dream of, all year round. By focusing on good preparation, quality products, and careful application, you'll achieve a natural, even tan that looks like you've just returned from a sunny vacation. Tanning Glamour helps you with natural self-tanners that provide a beautiful, long-lasting glow within hours without orange undertones or streaks, so you can radiate confidence every day.
Read more
A tan glow gives you a natural, radiant complexion without the sun. Discover how to create and maintain this warm glow with self-tanner.
Discover how self-tanning cream works, which formula suits your skin, and how to create an even, natural glow without orange streaks.