Self-tanner for hard-to-reach places: tips and tricks
Applying self-tanner to your arms, legs, and face is usually no problem. But what about those tricky areas that you can't see or reach properly? Your back, shoulders, and the backs of your thighs often remain uncovered, leaving your complexion uneven. Fortunately, there are smart techniques and handy tools that ensure you can perfectly cover hard-to-reach areas for a complete sunkissed result.
Why are certain areas so difficult?
Not all areas of your body are equally easy to access. Your back is the most obvious challenge, but the back of your shoulders, between your shoulder blades, and the backs of your thighs can also be problematic.
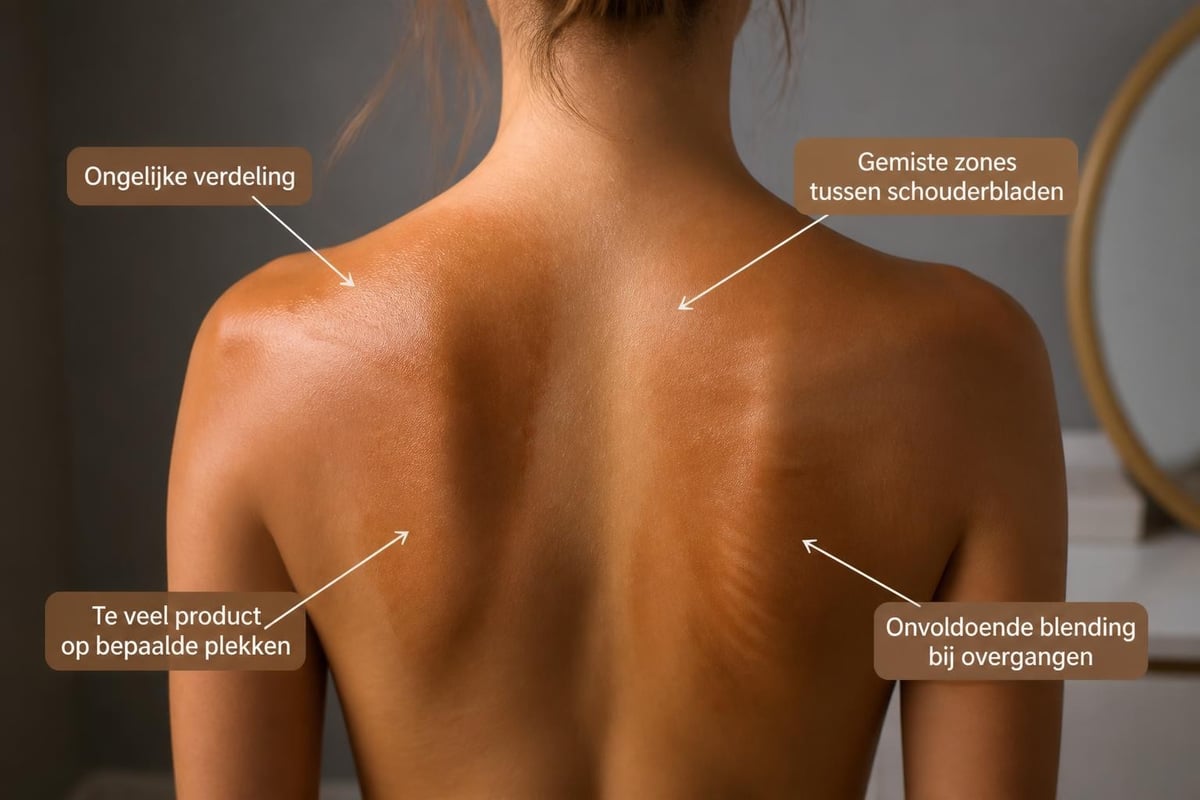
The biggest risk with these areas is that you apply the self-tanner unevenly or forget it altogether. This leads to unnatural transitions and light patches that stand out when you wear a top or swimwear. Dermatologists advise to always work systematically and not skip any areas.
The science behind an even application
The active ingredient in most self-tanners is DHA (dihydroxyacetone), a sugar molecule that reacts with the amino acids in the top layer of your skin. This chemical reaction creates the brown color that becomes visible within a few hours. However, DHA only works where it actually comes into contact with your skin.
This is why even distribution is so important. If you miss certain areas or apply too much product, it will be immediately reflected in your result. Areas with more dead skin cells, such as elbows and knees, also absorb more product and can become darker.
Techniques for your back
Your back is by far the most challenging area when self-tanning without help. There are several approaches you can try:
The mirror trick
Stand with your back to a large mirror and use a second, smaller mirror to look over your shoulder. This gives you a better view of what you are doing. It takes some practice, but with patience you can achieve a fairly even result this way.
Pros:
- No extra tools needed
- You have complete control
- Suitable for small corrections
Cons:
- Difficult to work symmetrically
- Tiring for your arms
- Not suitable for people with limited mobility
The back applicator method
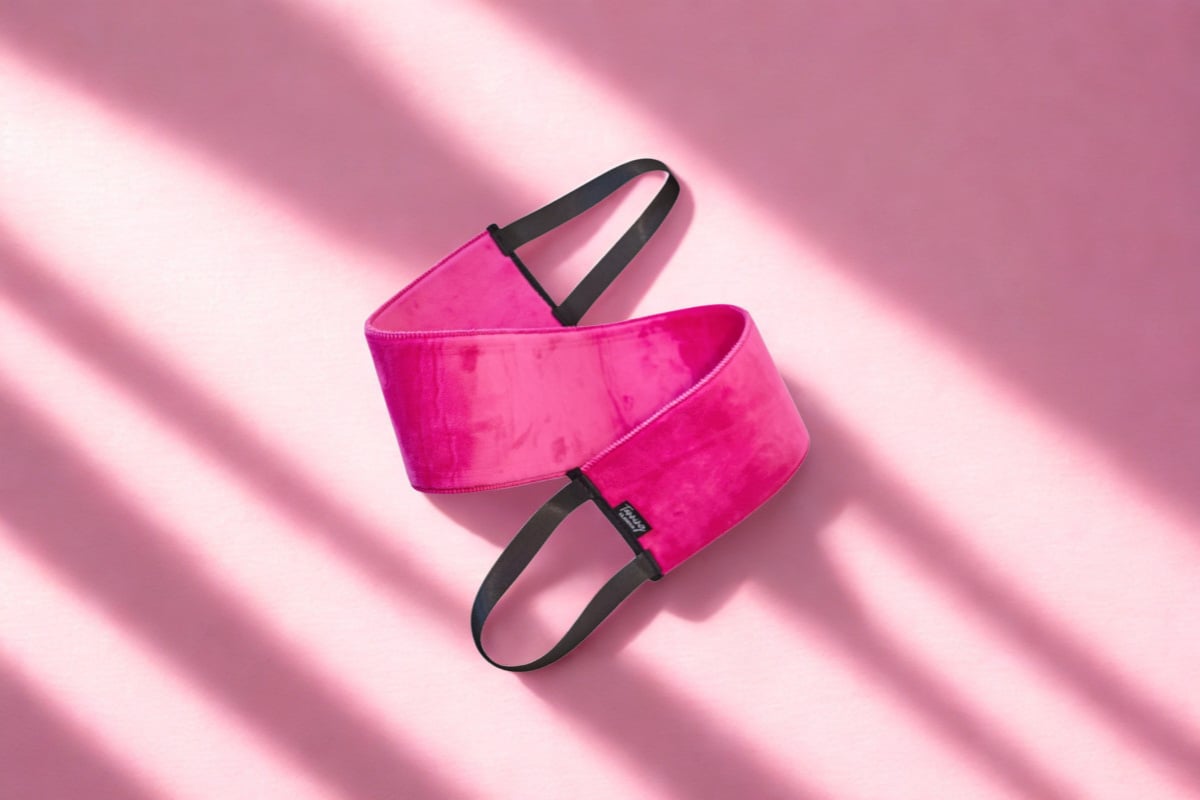
This is the most effective solution for hard-to-reach areas when self-tanning. A specialized back band or applicator works as an extension of your hand. You apply the lotion to the band and then move it over your back.
For those looking for a professional solution: the Tanning Glamour Self-Tanner Back Band makes applying it to your back and other tricky areas easy and ensures an even distribution without streaks.
| Method | Time investment | Result | Difficulty level |
|---|---|---|---|
| Mirror | 15-20 min | Moderate | High |
| Back applicator | 5-10 min | Excellent | Low |
| Ask for help | 5 min | Very good | Low |
| Spray | 3-5 min | Variable | Moderate |
Perfecting your shoulders and thighs
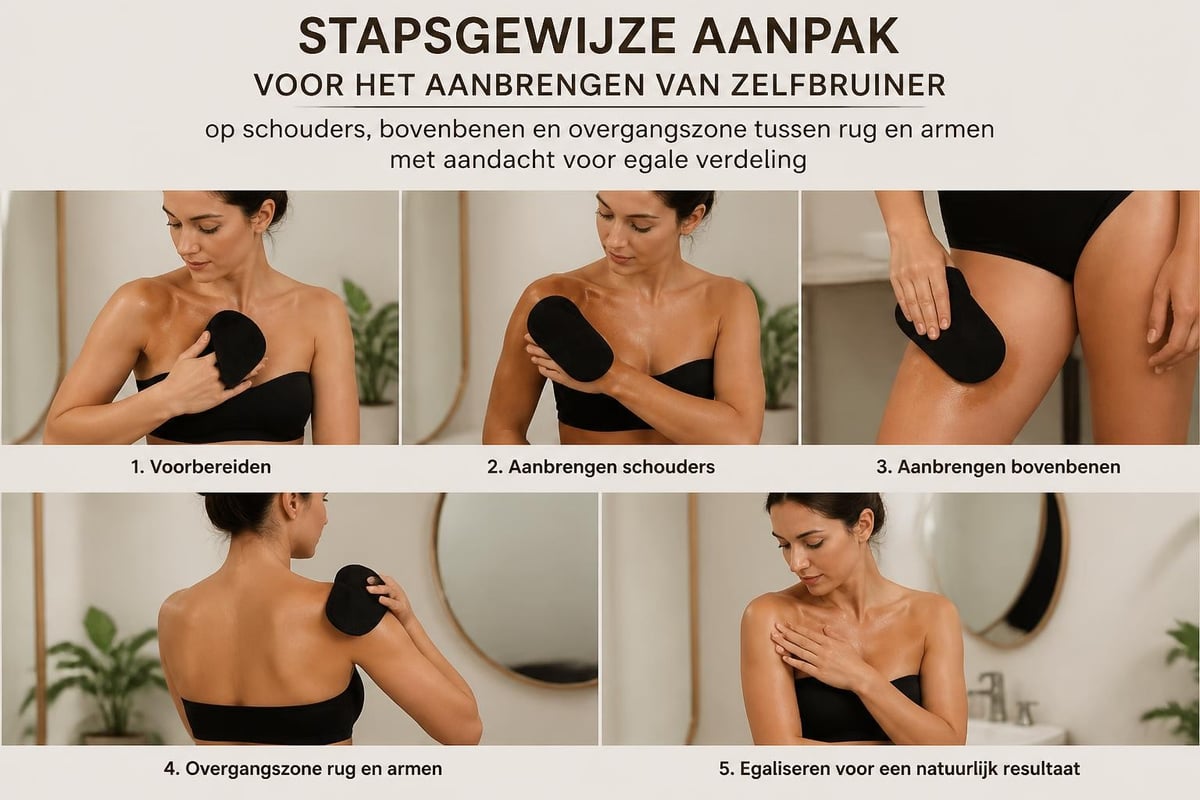
The back of your shoulders and the tops of your thighs are often forgotten areas. Here are targeted tips for these areas:
- Always start from top to bottom - Start at your neck and work down to your waist
- Use circular motions - This prevents streaks and ensures natural blending
- Blend the transitions - Pay extra attention to the edges where different areas meet
- Check from multiple angles - Use a mirror to check all angles
- Wait before getting dressed - Give the product at least 10 minutes to sink in
Melanoma experts emphasize the importance of self-tanner as a safe alternative to sunbathing, but with the right application techniques for a natural result.
Tools that make the difference
The right tools can make applying self-tanner to hard-to-reach areas significantly easier. Here are the main categories:
Applicators and gloves
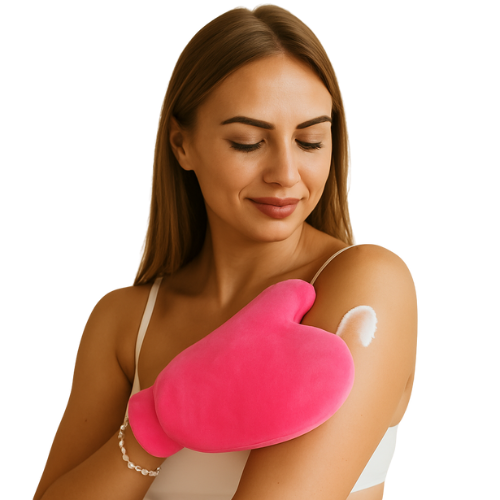
Velvet gloves are ideal for your whole body and prevent your palms from discoloring. The soft texture distributes the lotion evenly and prevents streaks. For your face, there are smaller versions that work more precisely.
Back bands and strips
Specially designed back bands have handles at both ends that allow you to easily rub it over your entire back. The velvet fabric absorbs exactly the right amount of product.
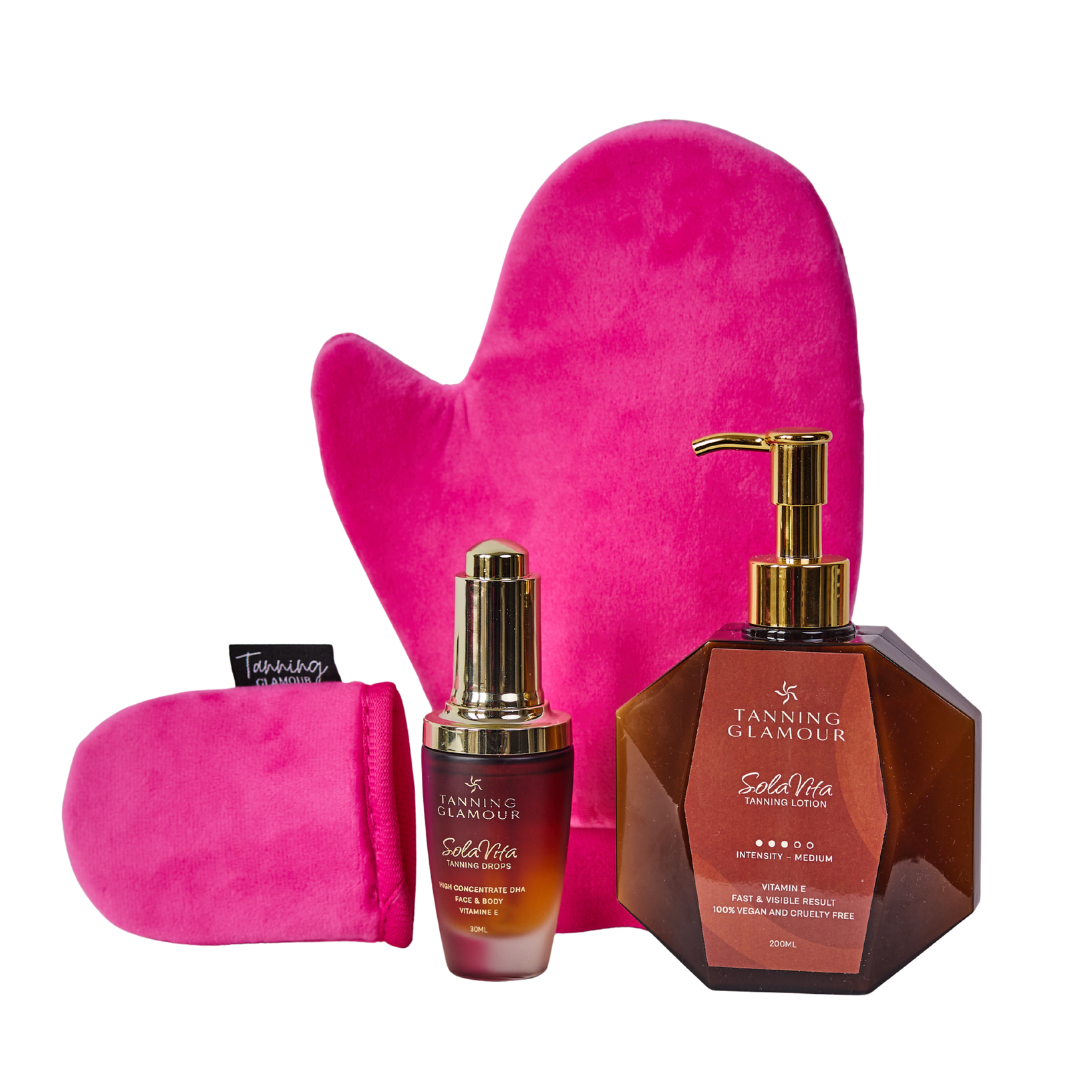
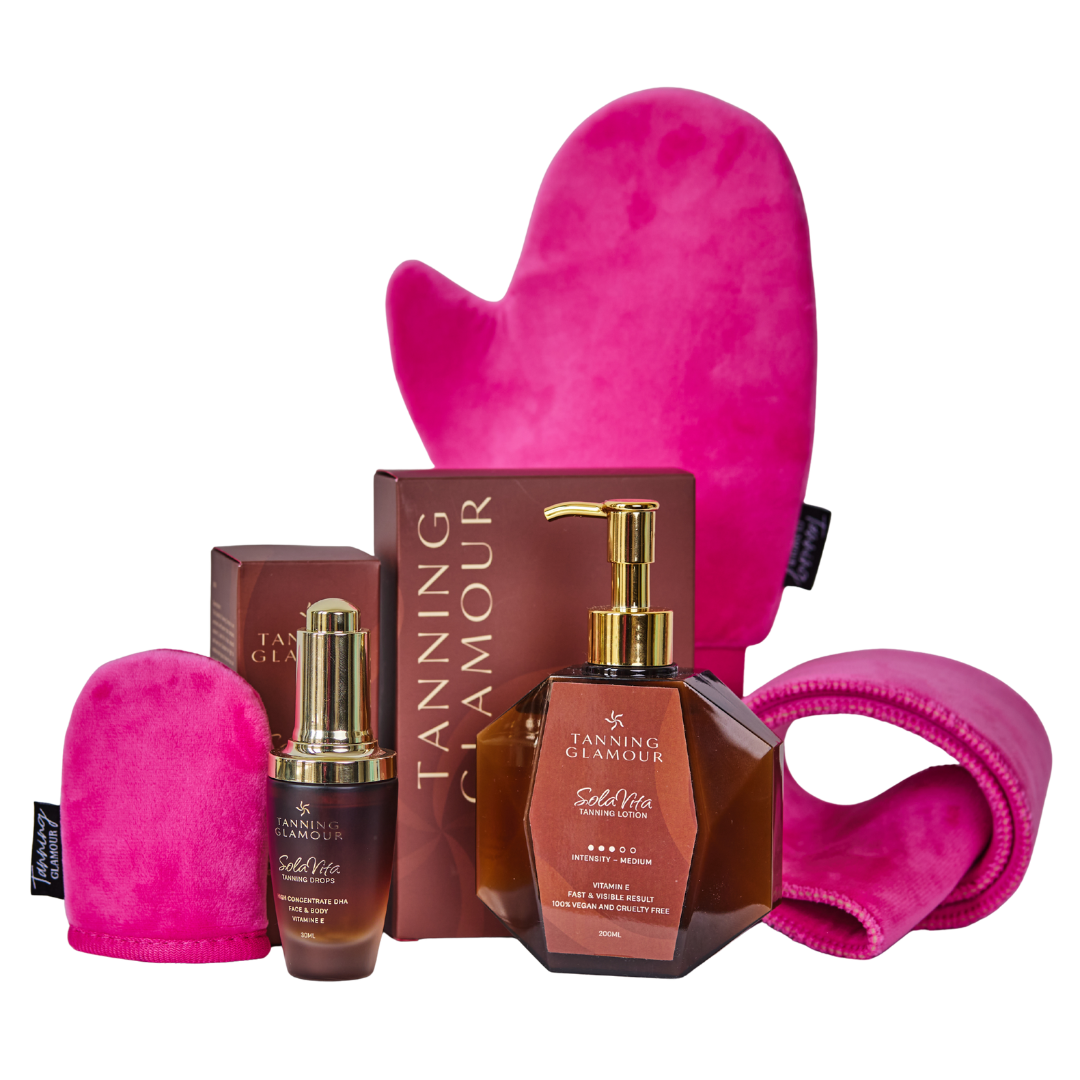
For a complete solution, self-tanner accessories offer various combinations of gloves, mini-applicators, and back bands.
Spray solutions
Self-tanner sprays can be convenient for the back, but require good ventilation and protection of your surroundings. They are less precise than creams or lotions, especially for beginners.
Preparation is key
Even with the best techniques and tools, preparation is crucial for an even result:
Exfoliate thoroughly - Use a scrub or exfoliating mitt 24 hours before applying. Skin experts advise extra attention to rough areas such as elbows, knees, and ankles.
Moisturize dry areas - Apply a light moisturizer to very dry areas such as elbows and knees, but avoid greasy creams that form a barrier.
Ensure clean skin - Shower beforehand and remove all makeup, perfume, and deodorant that could affect the reaction.
Avoid common mistakes
When working with hard-to-reach areas, you often see the same mistakes repeated:
- Using too much product for fear of missing spots - this actually leads to dark patches
- Working hastily without a systematic approach - take time for each area
- Forgetting to blend at the edges - transitions must be smooth
- Getting dressed immediately - give the product time to dry
The chemical reaction of DHA with your skin takes time. Scientific research shows that the tanning develops over 2-4 hours, so patience is essential.
Maintenance and touch-ups
An even self-tanned complexion on hard-to-reach areas also requires proper maintenance:
Moisturize daily - This extends the life of your tan and prevents flaking. Use a nourishing body lotion, especially on areas that dry out quickly.
Plan touch-ups strategically - Most natural self-tanners stay beautiful for 5-7 days. Discover more about long-lasting results by choosing the right products.
Watch for fading - Areas that get more friction (such as your lower back at your waistband) fade faster and need a touch-up sooner.
When applying a second layer, systematic work is even more important. Always start in the same place and follow the same order to guarantee consistent results.
With the right preparation, techniques, and tools, hard-to-reach areas no longer have to be a challenge. An even, natural complexion over your whole body is within reach when you work systematically and use the right tools. Tanning Glamour offers natural self-tanners and handy applicators that help you create a radiant, even glow without streaks or missed spots - for a complete sunkissed feeling that you can confidently walk out the door with.
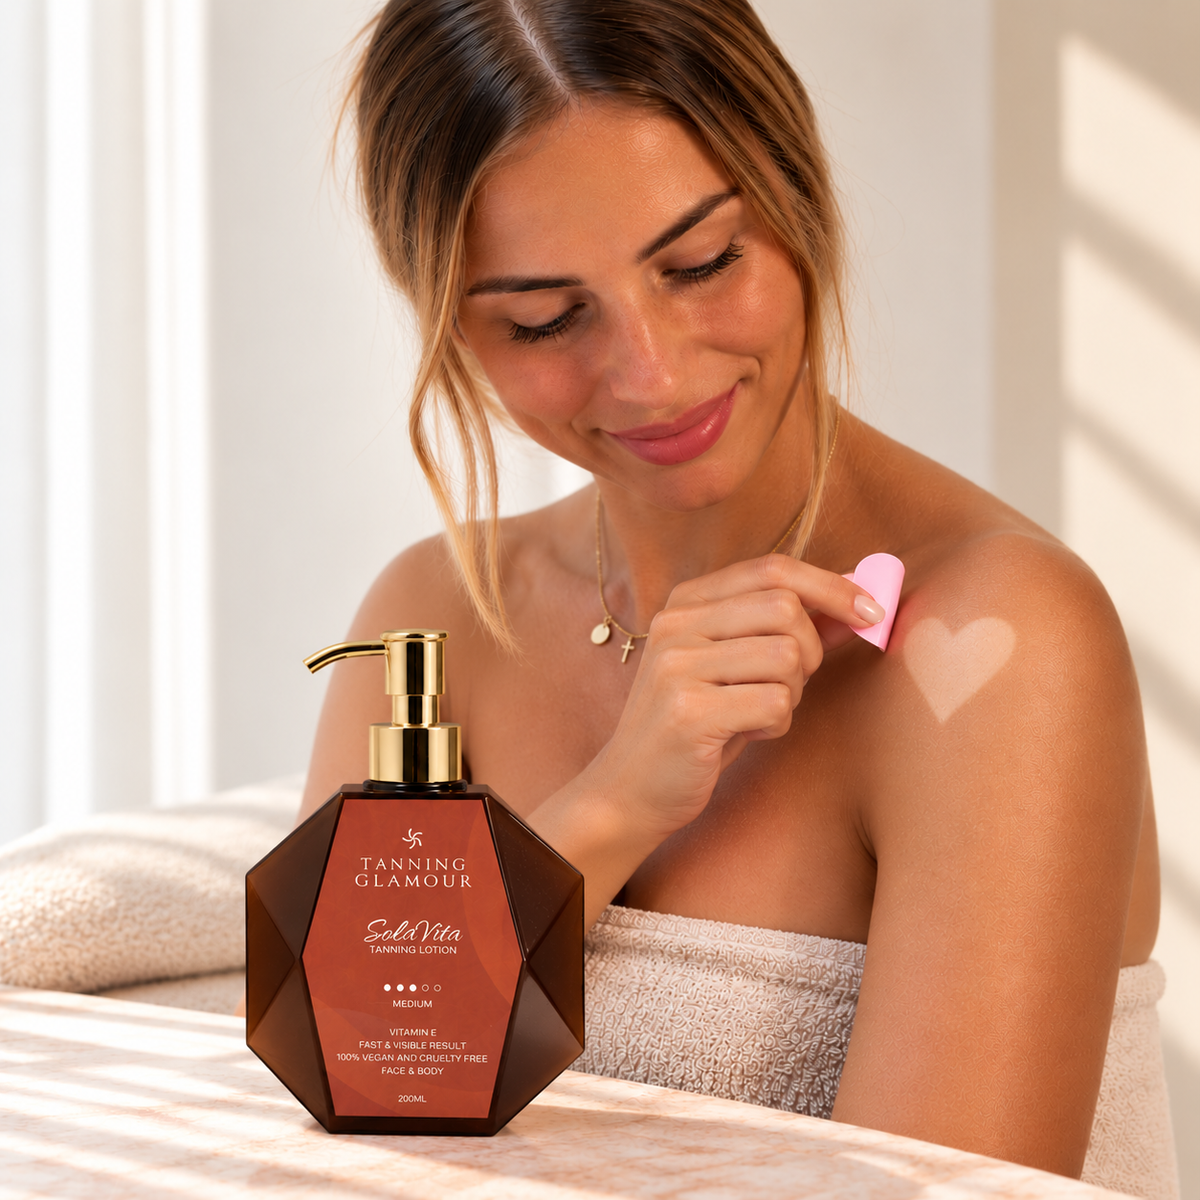
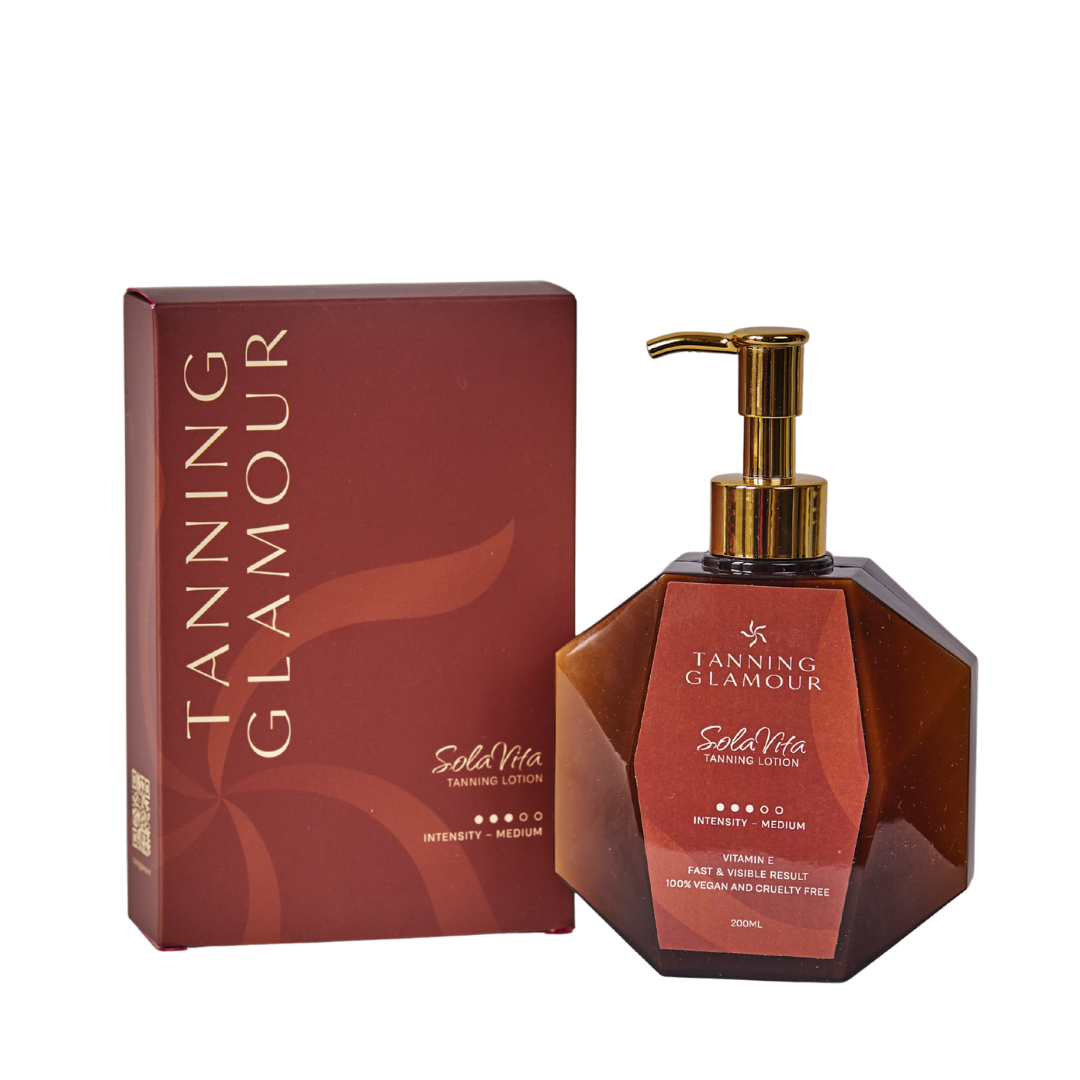
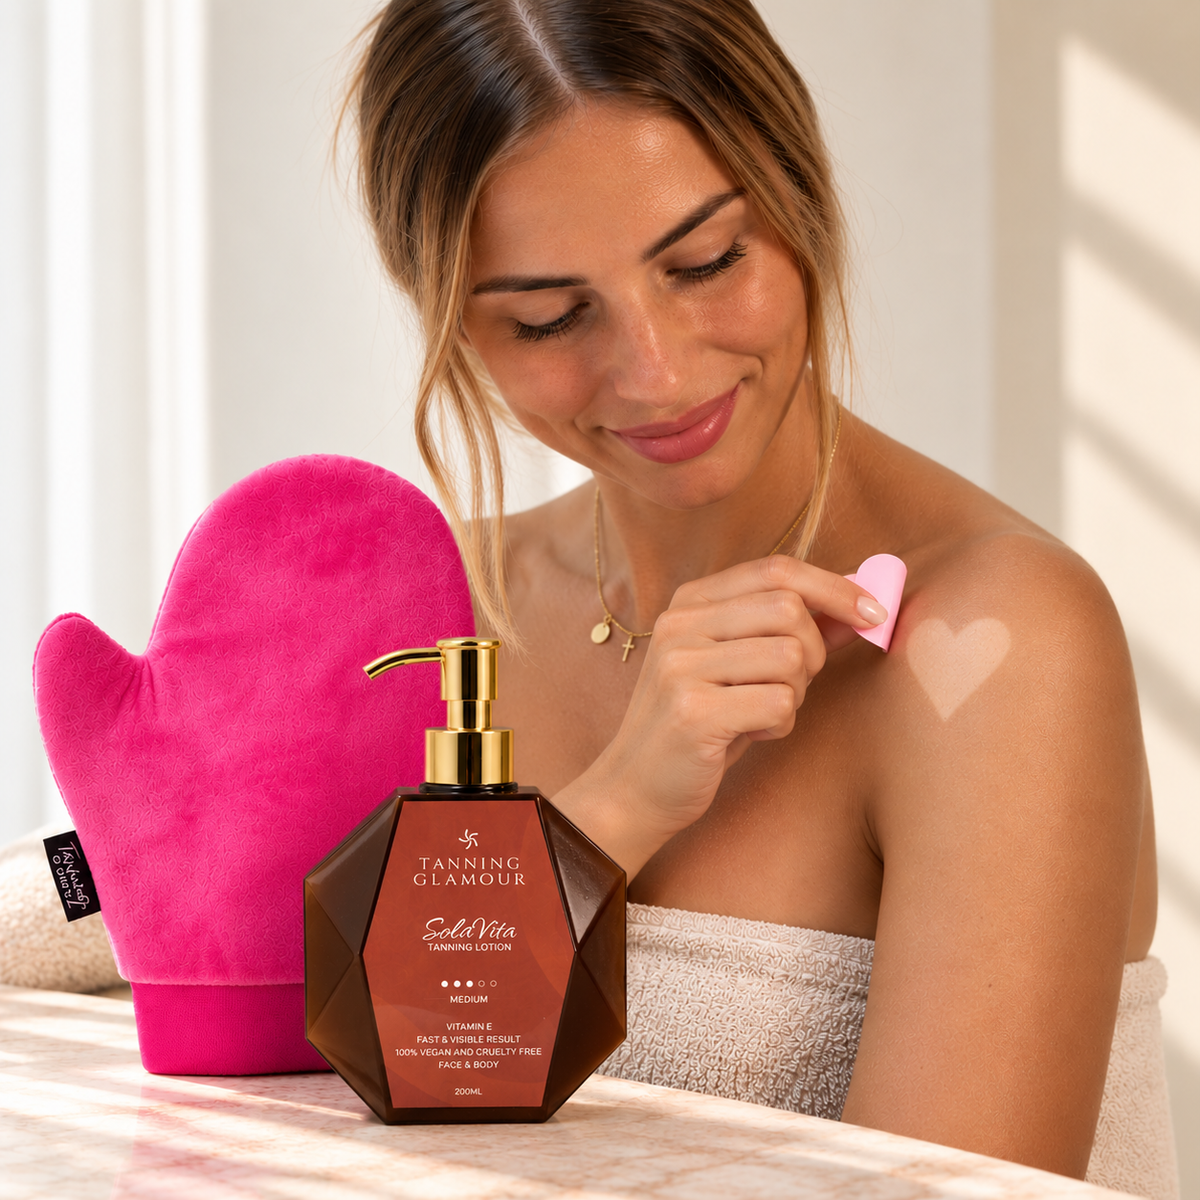
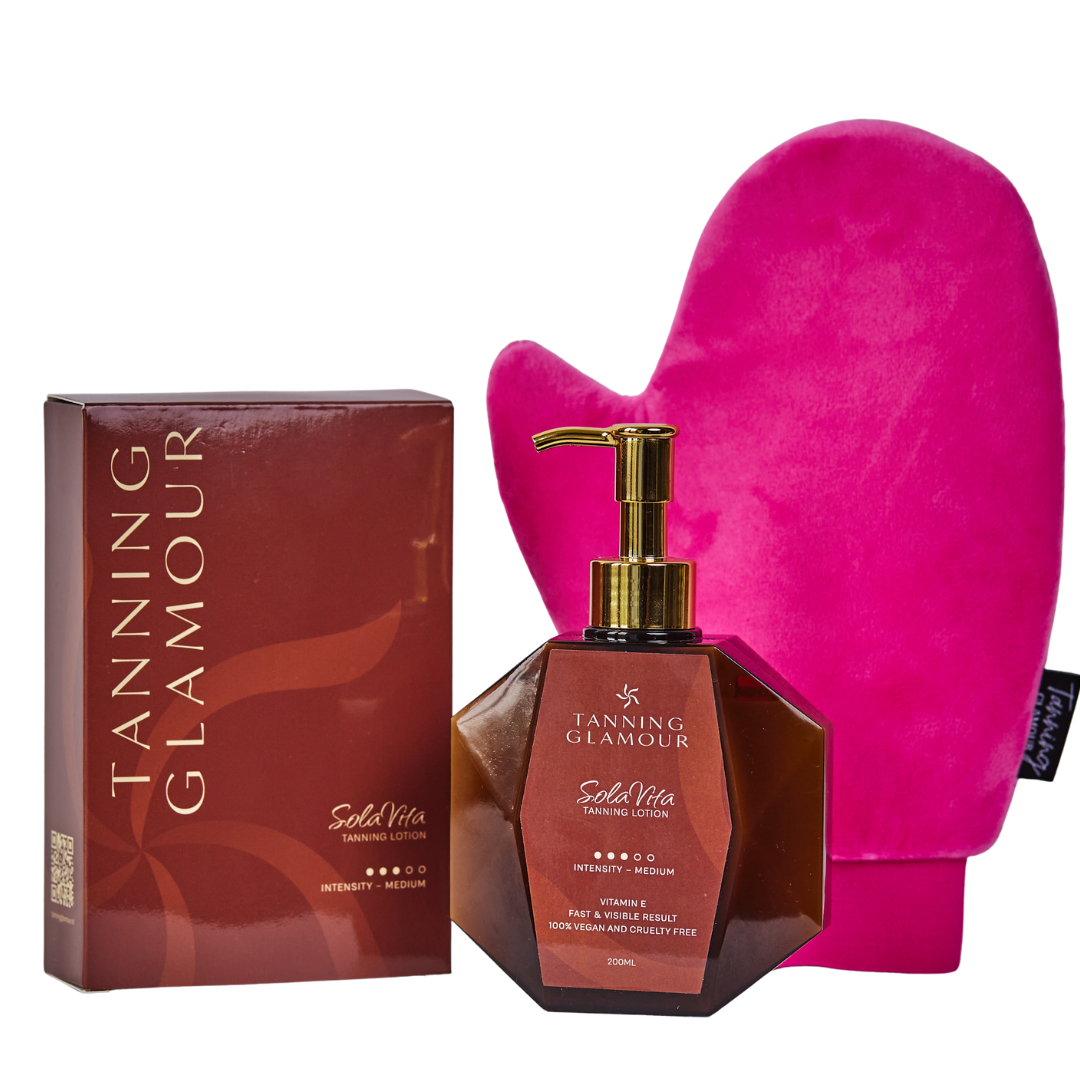
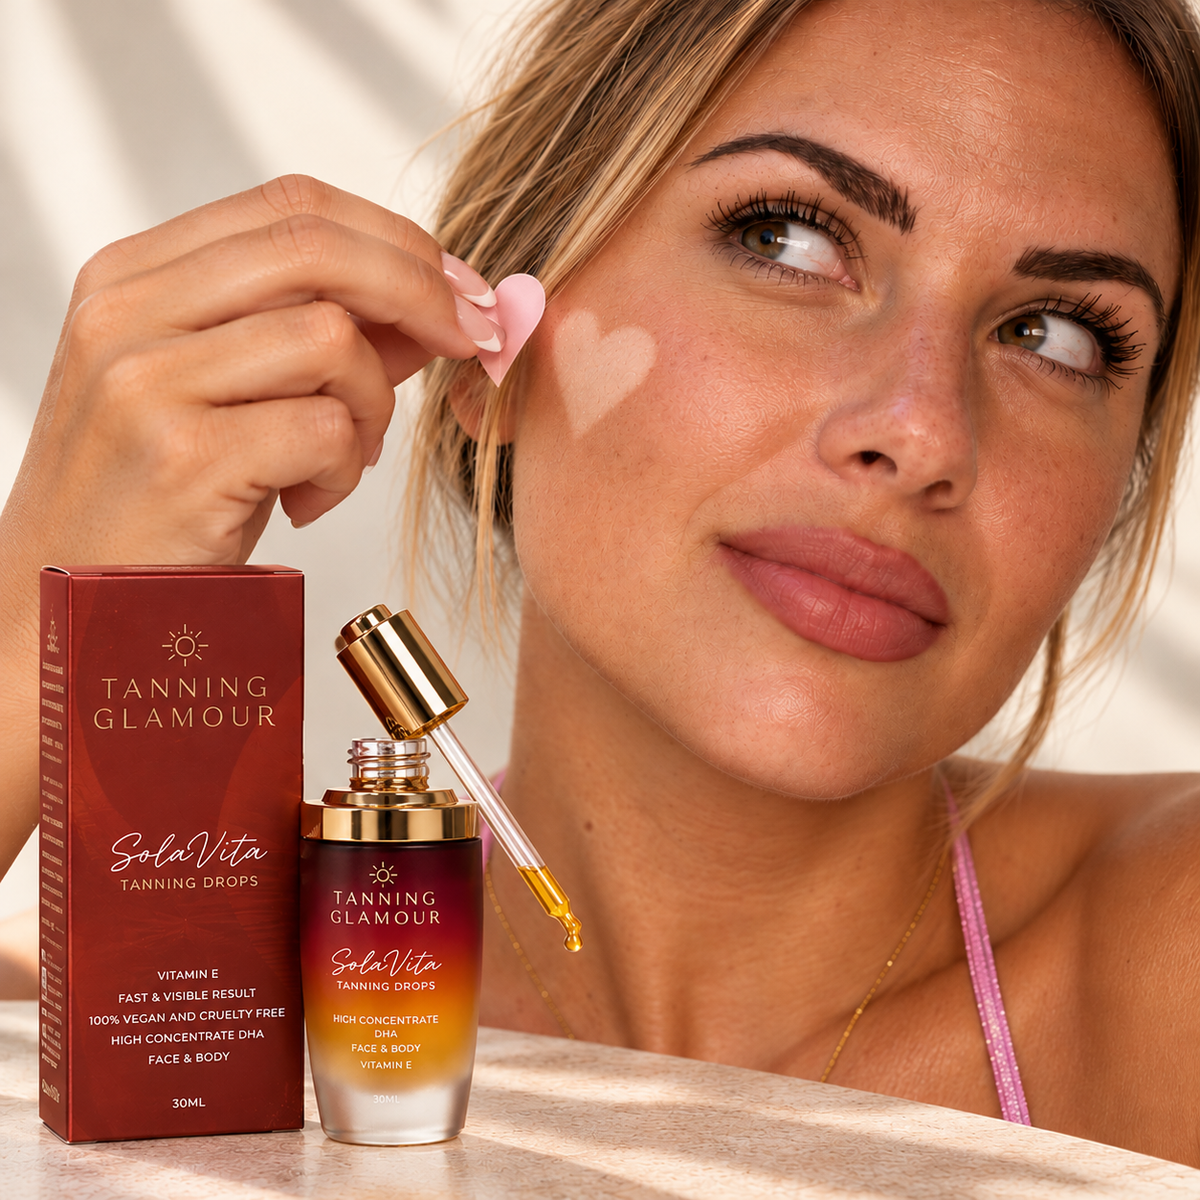
Discover the complete Tanning Glamour collection! ☀️ From our SolaVita Tanning Lotion and Drops to handy accessories and affordable self-tan sets. Everything you need for a beautiful, natural holiday tan without orange tones or streaks. Enjoy a radiant summer glow all year round! ✨