

Self-tanner for face: everything for a natural glow
A natural, radiant complexion without sun? With a self-tanner for your face, you can effortlessly create that healthy glow you desire. Whether you're attending an event, simply want to feel good about yourself, or want a bit more color on gloomy days: self-tanner face products offer the perfect solution. In this article, you'll discover everything you need to know about choosing, applying, and maintaining your natural facial tan.
Why choose self-tanner for your face
Your face is the first thing people see. A fresh, even complexion immediately gives you a well-groomed appearance and a boost of self-confidence. Instead of spending hours in the sun with all the associated risks, choosing a self-tanner for your face provides a safe, quick, and controllable way to achieve that sun-kissed look.
The skin on your face is more sensitive and requires different care than your body. Therefore, it's important to choose products specifically developed for the face or that are well-suited for it. Modern formulas are much more advanced than the self-tanners of the past. How does self-tanner work, actually? The active ingredient DHA reacts with the top layer of your skin, creating a natural brown color.
Key benefits:
- No harmful UV radiation
- Results visible within 2-3 hours
- Fully controllable and buildable
- Suitable for all skin types
- Long-lasting results of 5-7 days
The difference between facial and body self-tanners
Not every self-tanner is suitable for your face. The skin on your face has more sebaceous glands, is thinner, and more susceptible to irritation. A good self-tanner face formula takes this into account by being lighter in texture and often including hydrating ingredients.
Some products are specifically designed as self-tanners for the face, while other universal formulas can also be safely used on your face. The most important thing is that the product is non-comedogenic, so it doesn't clog your pores. Additionally, the formula should absorb evenly to prevent streaks and patches.

Preparation: the basis for an even result
Preparation is at least as important as the application itself. A well-prepared canvas ensures that your self-tanner face treatment yields optimal results and lasts longer. Always start with a thorough cleansing of your skin.
Exfoliation is essential
Dead skin cells create an uneven texture and can cause patchy tanning. Exfoliate your face one to two days before applying your self-tanner. Use a gentle scrub or a chemical exfoliant with AHAs or BHAs. Pay extra attention to areas where dead skin cells accumulate:
- Hairline and eyebrows
- Nose and nasal folds
- Around the mouth
- Jawline and neck
- Behind the ears
Hydration as the key to success
Well-hydrated skin absorbs self-tanner much more evenly than dry skin. Dry spots absorb more product, which can lead to darker patches. Ensure your skin is well-hydrated in the days leading up to your self-tanner treatment.
On the day of application, apply a light, fast-absorbing moisturizer to extra dry areas. Think of the areas around your nose, corners of your mouth, and eyebrows. Wait about ten minutes before applying your self-tanner, allowing the cream to fully absorb. Santé shares practical tips for preparing and applying self-tanner.
| Preparation step | Timing | Importance |
|---|---|---|
| Exfoliation | 1-2 days in advance | High |
| Hydration | Daily + day of application | High |
| Cleansing | Immediately before application | Essential |
| Hair removal | 24 hours in advance | Medium |
Choosing the right product for your skin
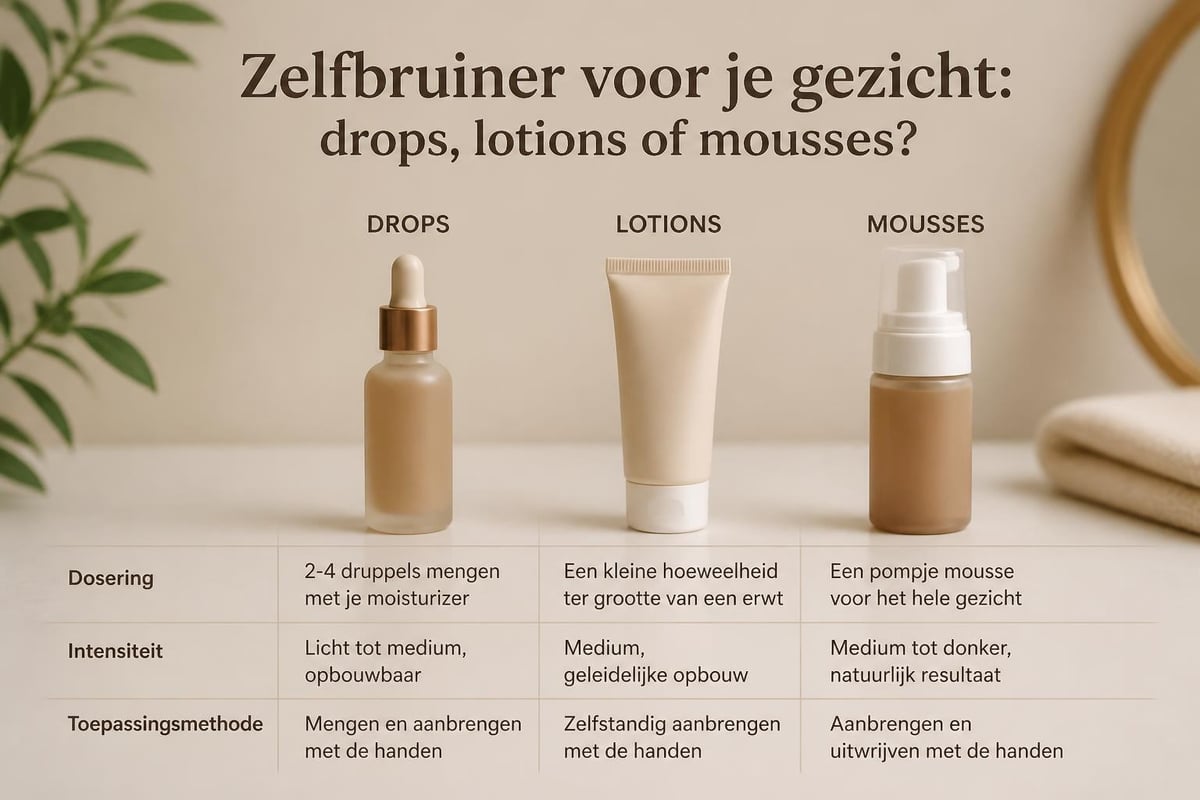
The market offers countless options for self-tanner face products. From lotions and creams to mousse and drops: each formula has its own advantages. The choice depends on your skin type, experience with self-tanners, and the desired result.
Self-tanner drops: flexibility and precision
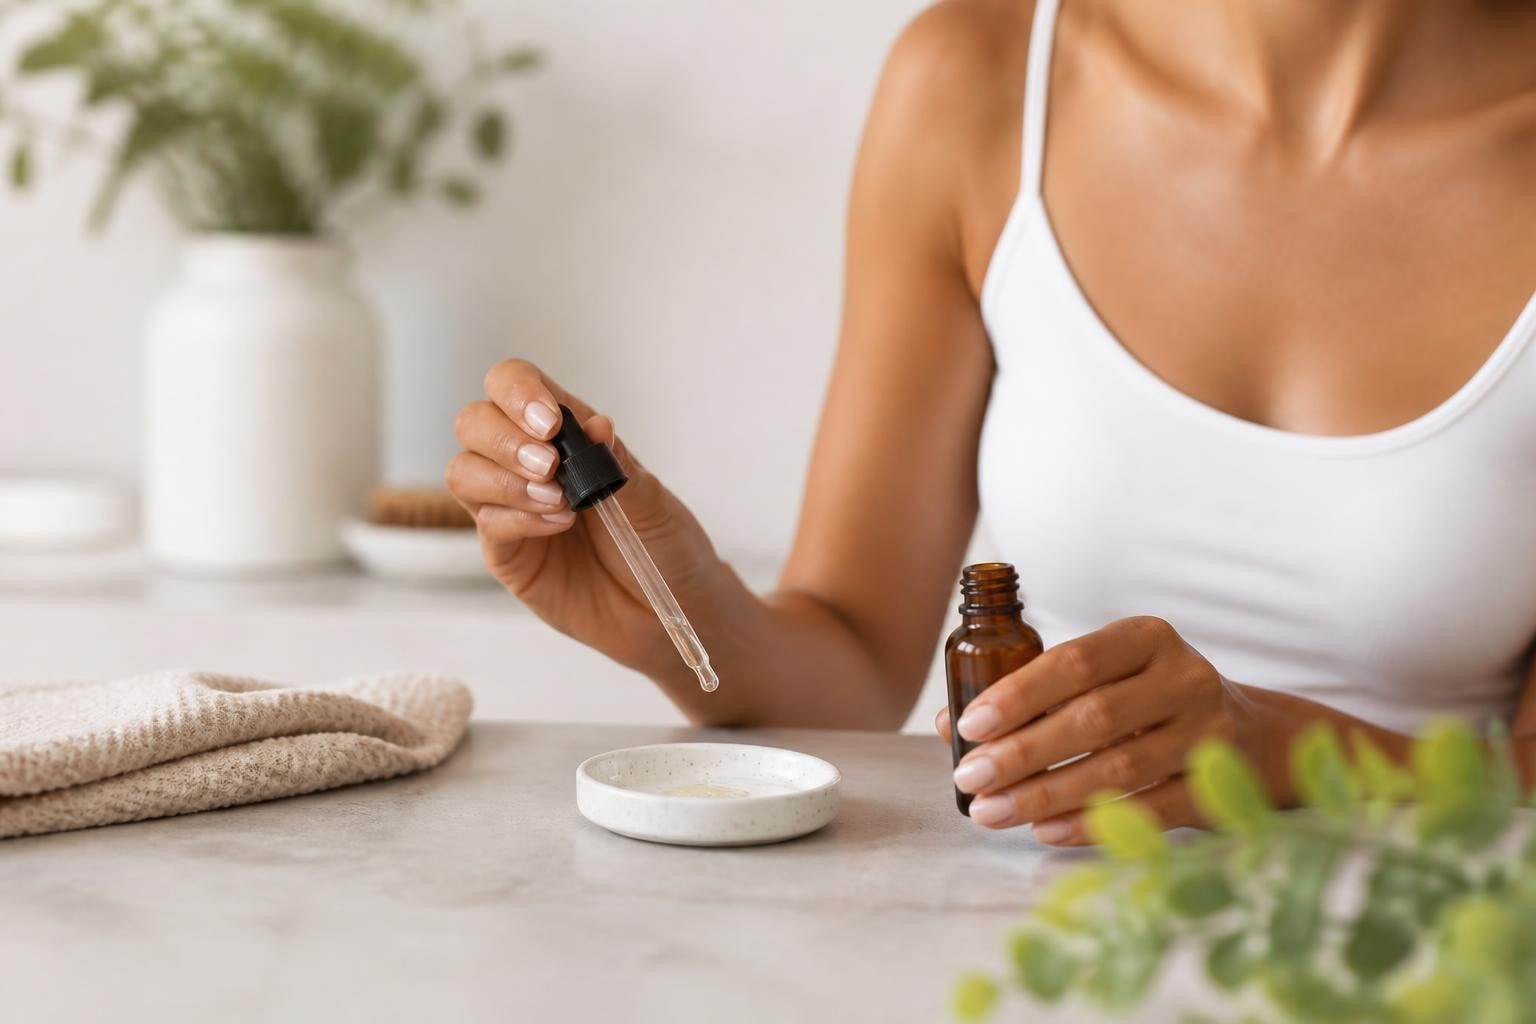
Drops are ideal if you want complete control over the intensity of your tan. You mix them with your daily moisturizer, serum, or night cream and decide how much color you want to build up. Start with one to two drops and gradually build up.
For beginners, drops are often the safest option. You can carefully experiment without immediately risking too dark a result. The self-tanning cream option offers similar flexibility with a slightly richer texture.
Lotions and mousses for experienced users
A dedicated self-tanning lotion or mousse usually gives a faster and more intense result. These products are pre-dosed with a certain concentration of DHA, giving you less control over the intensity but a predictable result.
Mousses are light and absorb quickly, reducing the risk of streaks. Lotions often provide more hydration and are suitable for dry skin. For the face, it's best to work with small amounts of product and build up layer by layer.
Step-by-step: how to apply self-tanner to your face
Applying a self-tanner to your face requires a bit more precision than tanning your body. With the right technique, you can prevent streaks, patches, and orange undertones. Follow these steps for a professional result.
Step 1: Dosage and distribution
Always start with less than you think you need. For your face, an amount the size of a pea or almond is often sufficient. First, spread the product on the back of your hand or mix it with a drop of moisturizer.
Step 2: Application technique
Apply the self-tanner with gentle, circular motions. Start in the center of your face and work outwards. Pay attention to even distribution without too much product in one spot. A skin therapist discusses the best application techniques for facial self-tanners.
- Start at your forehead and work downwards
- Use little product around the nose and corners of the mouth
- Carefully blend towards the hairline and jawline
- Don't forget your neck and décolletage
- Remove excess product from eyebrows
Tools and accessories
Your fingers work fine for small areas, but an applicator often gives a more even result. A small mitt or sponge helps to distribute the product evenly. Make sure your accessories are clean and dry before use.
Some people swear by makeup brushes or beauty blenders for applying self-tanner to the face. The advantage is that you have more control over the amount of product and its distribution. A self-tanner mitt can also be used for the face, especially mini versions.
Treating sensitive areas
Extra attention is needed for areas that quickly become too dark:
- Eyebrows: use a clean finger to immediately remove excess product
- Hairline: stop a few millimeters before your hairline
- Ears: remember the back, but apply sparingly
- Lips: maintain a safe distance from your lip contour
Common mistakes and how to prevent them
Even with experience, things can go wrong when applying self-tanner to the face. By knowing these common pitfalls, you can avoid disappointments and achieve beautiful results every time.
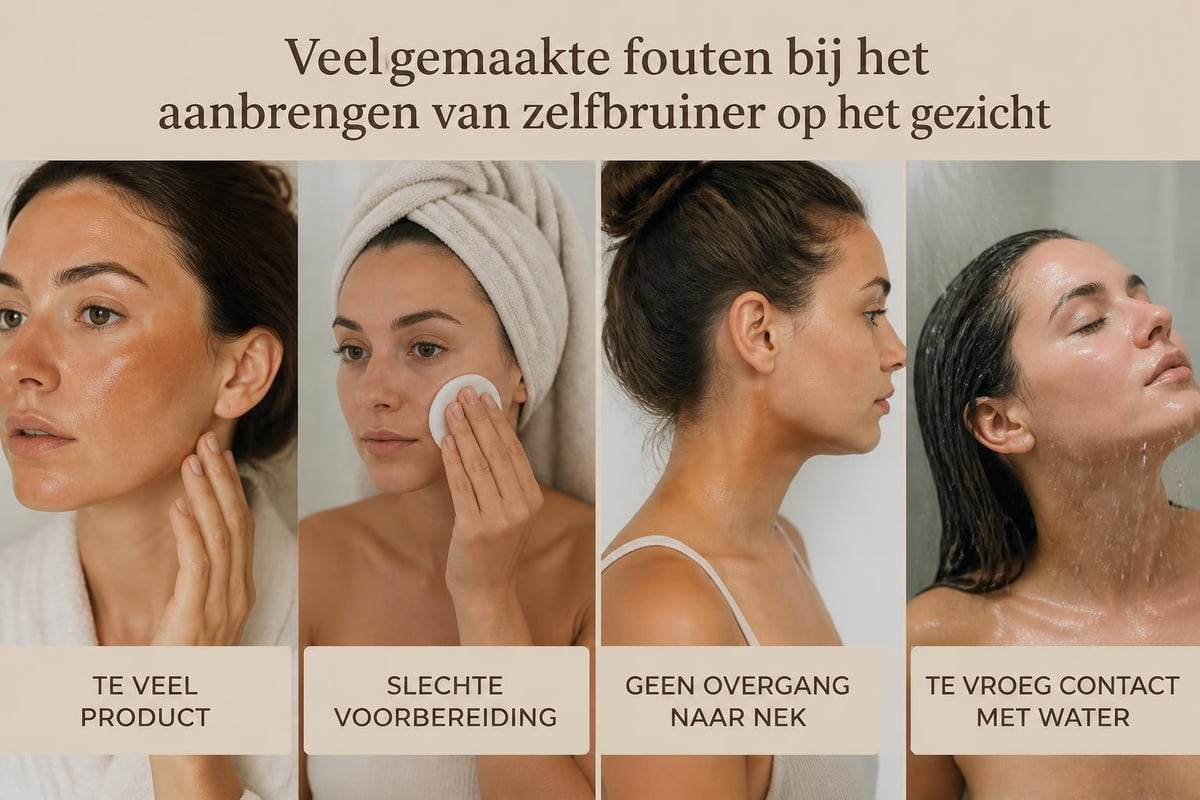
Mistake 1: Too much product at once
The temptation to see quick results is great, but too much product is guaranteed to lead to an unnatural, orange tint. When in doubt: always opt for less. You can always apply a second coat the next day for more intensity.
Mistake 2: Skipping preparation
Without proper exfoliation and hydration, you'll get a patchy result. Dry spots, especially around the nose and mouth, will become disproportionately dark. Take the time for thorough preparation; it makes the difference between an amateur and a professional result.
| Common mistake | Consequence | Solution |
|---|---|---|
| Too much product | Orange tint | Start with a small amount |
| No exfoliation | Patchy tan | Exfoliate 1-2 days in advance |
| Immediate makeup | Uneven color | Wait at least 4-6 hours |
| Wet skin | Streaks and patches | Work on dry, clean skin |
Mistake 3: Forgetting the transition to the neck
A dark face with a light neck is immediately noticeable. Always ensure a natural transition by extending your self-tanner to your jawline and neck. Use slightly less product for your neck than for your face, so the transition is gradual.
Mistake 4: Showering or sweating too soon
The DHA in your self-tanner needs time to react with your skin. Do not shower for at least four hours, and ideally, wait eight to ten hours. Sweating in the first few hours can cause streaks. So, plan your self-tanner facial treatment for a time when you can stay comfortably at home.
Maintaining and fading your tan
A beautiful self-tanner for the face generally retains its color for five to seven days, depending on your skin type and care. With the right approach, you can extend the life of your glow and ensure a natural, even fade.
Daily care during your tan
Hydration is key to a long-lasting, beautiful tan. Use a light moisturizer daily to keep your skin supple. Dry skin exfoliates faster, causing your tan to fade patchily. Avoid products with AHAs, BHAs, or retinol, as these can make the tan fade more quickly.
Wash your face with lukewarm water instead of hot water. Hot temperatures can cause the color to fade faster. Pat your face dry instead of rubbing, so you don't rub off the tan. A gentle cleanser without harsh ingredients helps maintain your tan longer.
Building up and touching up
For a long-lasting glow, you can choose to add a light layer every few days. This works especially well with drops, as you can adjust the intensity. This way, you gradually build a natural, deep tan that always looks fresh.
When you notice that certain areas fade faster, you can touch them up specifically. The nose and forehead often lose their color first due to more frequent contact with towels and hands.
Natural fading
If you want your tan to disappear, help the natural process along. Gently exfoliate to remove dead skin cells along with the tan. Take warmer showers and cleanse your face a little more thoroughly than usual. Within a week, you should be back to your natural skin tone.
Tips for specific skin types and situations
Not all skin reacts the same to self-tanner facial products. By considering your specific skin type, season, and situation, you can optimize your results and prevent problems.
Sensitive and acne-prone skin
Do you have sensitive skin or suffer from acne? Choose non-comedogenic, fragrance-free formulas. Always test on a small patch of skin first, for example behind your ear, to see how your skin reacts. Wait 24 hours before applying the product to your entire face.
If you have active acne, it's better to wait until your skin is calmer. Self-tanner cannot hide inflammation and can sometimes even worsen irritation. Focus on healing and, if necessary, only use drops mixed with your regular skincare.
Dry and mature skin
Mature skin needs extra hydration for an even result. Prepare your skin with richly hydrating products and choose formulas with added nourishing ingredients. A self-tanning body lotion approach with extra nourishing components can also be suitable for the face.
Pay extra attention to wrinkles and fine lines. Product can accumulate in these areas, causing dark lines. Apply the product very thinly and evenly, and immediately remove excess product with a damp cloth.
Summer versus winter use
In the summer, you might want a lighter tint to complement your natural tan. Use less product or dilute your formula with extra moisturizer. In winter, when your skin is paler, you can gradually build up a healthy glow that chases away the winter grey.
The beauty of a self-tanner for the face is that you can enjoy a well-groomed, radiant look all year round. You are not dependent on the weather or dangerous UV radiation. Sunless tanning is possible all year with the right products.
Combining with makeup and other skincare
One of the most frequently asked questions is how to combine self-tanner for the face with your daily makeup routine. The good news: with the right timing and products, this is perfectly possible.
Waiting time for makeup
Allow your self-tanner at least four hours to absorb before applying makeup. Ideally, you apply your self-tanner in the evening and start fresh the next morning. Your skin will then have had the night to fully absorb the product.
If you need to apply during the day, choose formulas that absorb quickly and do not leave a sticky feeling. Some modern self-tanners are specifically designed to be worn under makeup.
Adjusting foundation and concealer
When your face is a few shades darker, you may need to adjust your foundation. Choose a warmer undertone or mix two shades for the perfect match. Many people find that with a self-tanner for the face, they need less foundation because their skin already looks more even.
Use concealer only where truly needed. A beautiful, even tan often minimizes imperfections and dark circles. Be careful that your concealer is not too light, as it will stand out against tanned skin.
Skincare and active ingredients
Some skincare ingredients can make your tan fade faster. AHAs, BHAs, retinol, and vitamin C all have an exfoliating or renewing effect on your skin. That's normally great, but not ideal if you want to preserve your tan.
Consider temporarily pausing these active ingredients or only using them in the evening, at least twelve hours after applying your self-tanner. Or plan your treatments strategically: use your active ingredients on days when you are not applying self-tanner.
The perfect products for your face
When choosing the right self-tanner for face products, several factors play a role. Quality, ease of use, and natural results are paramount. Products specifically developed to give an even, long-lasting tan without sun make the difference between a disappointing result and a beautiful glow.
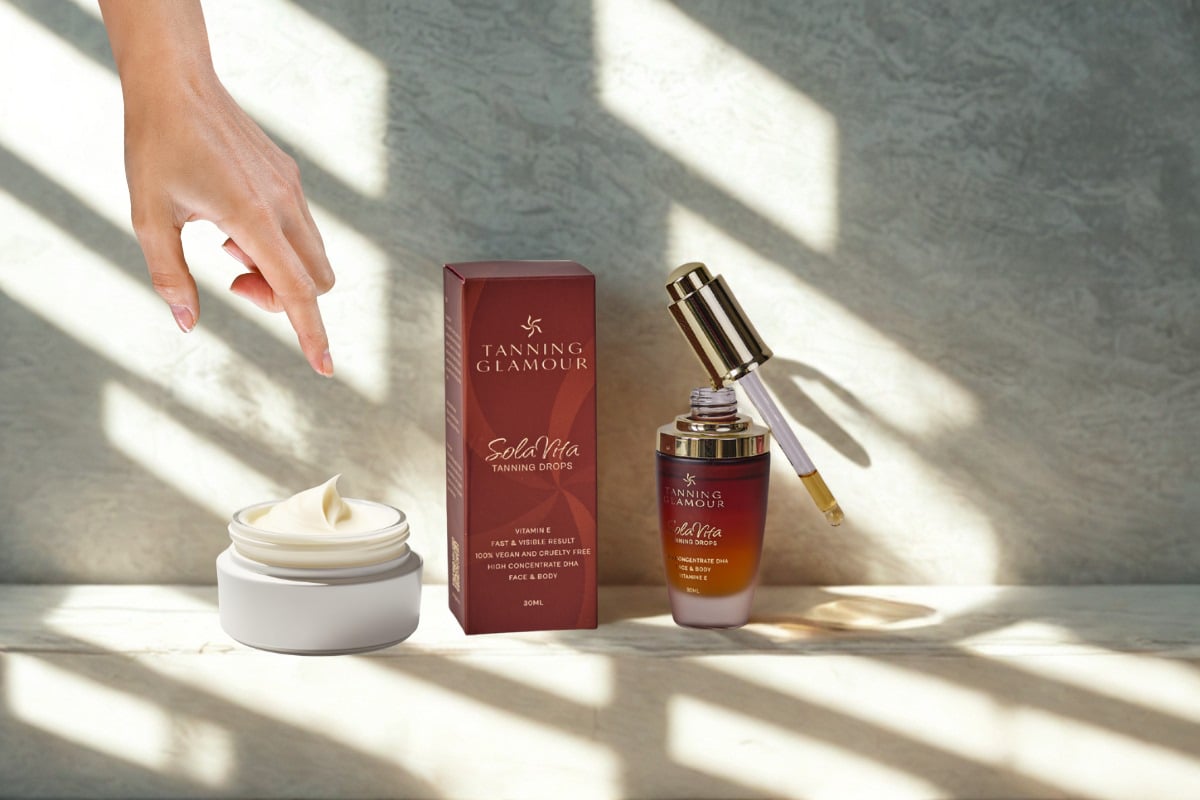
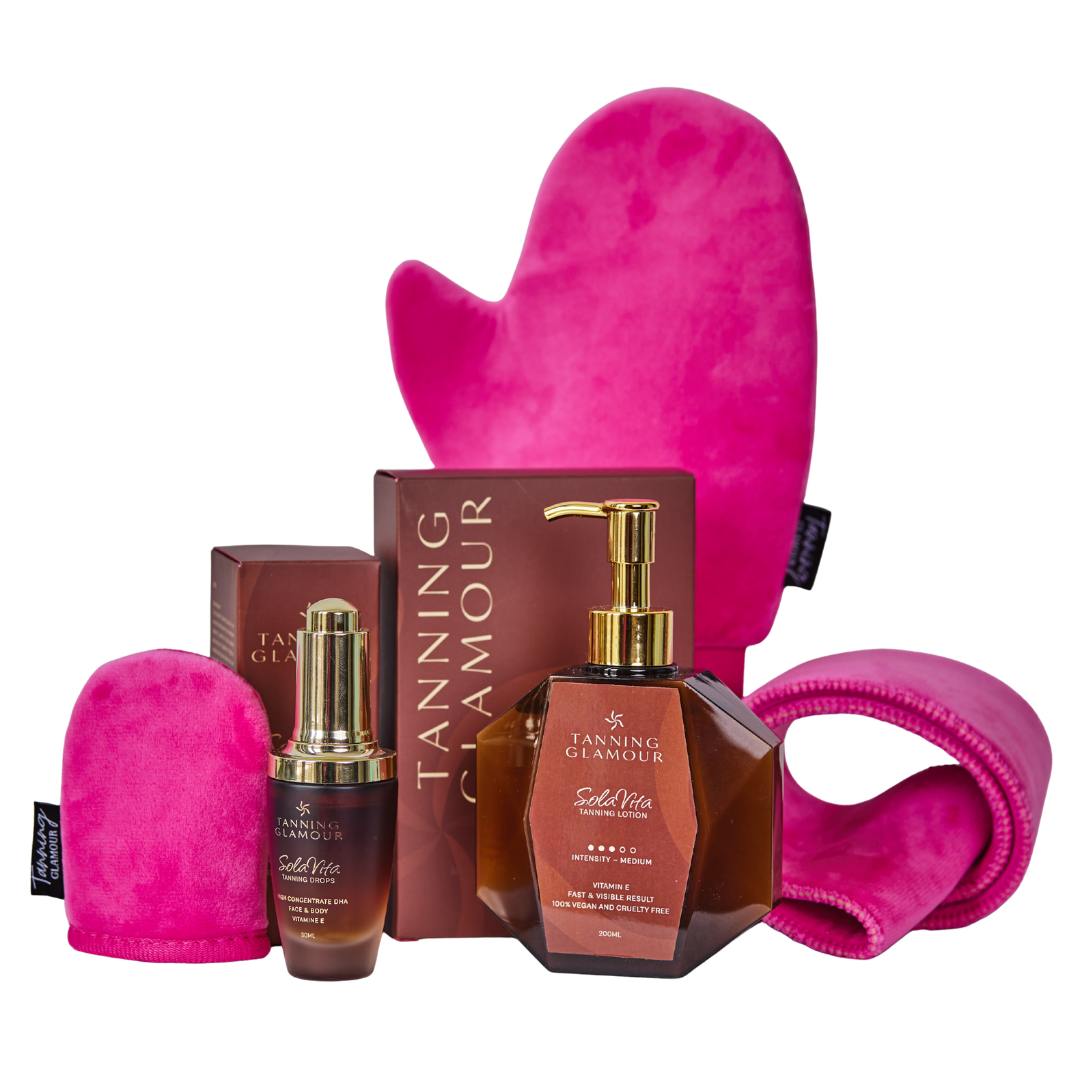
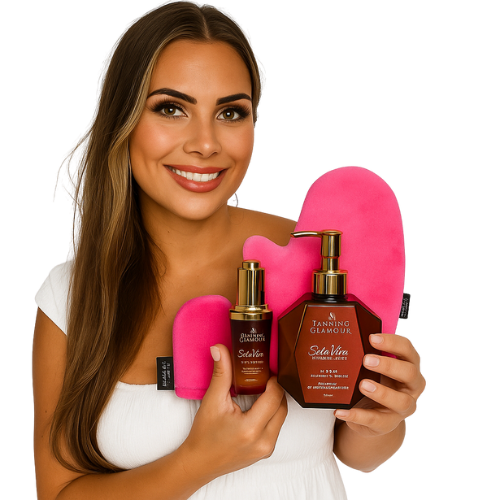
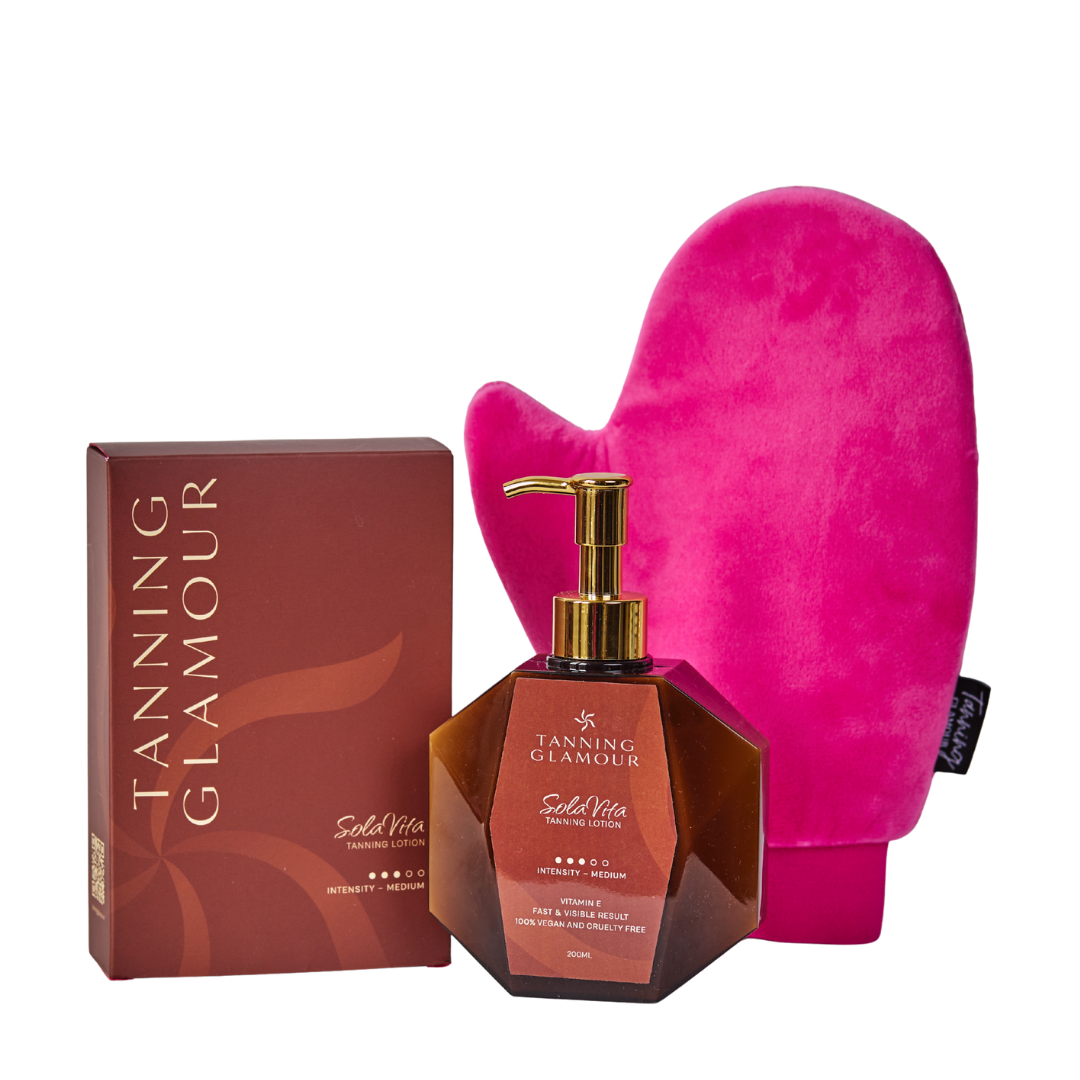
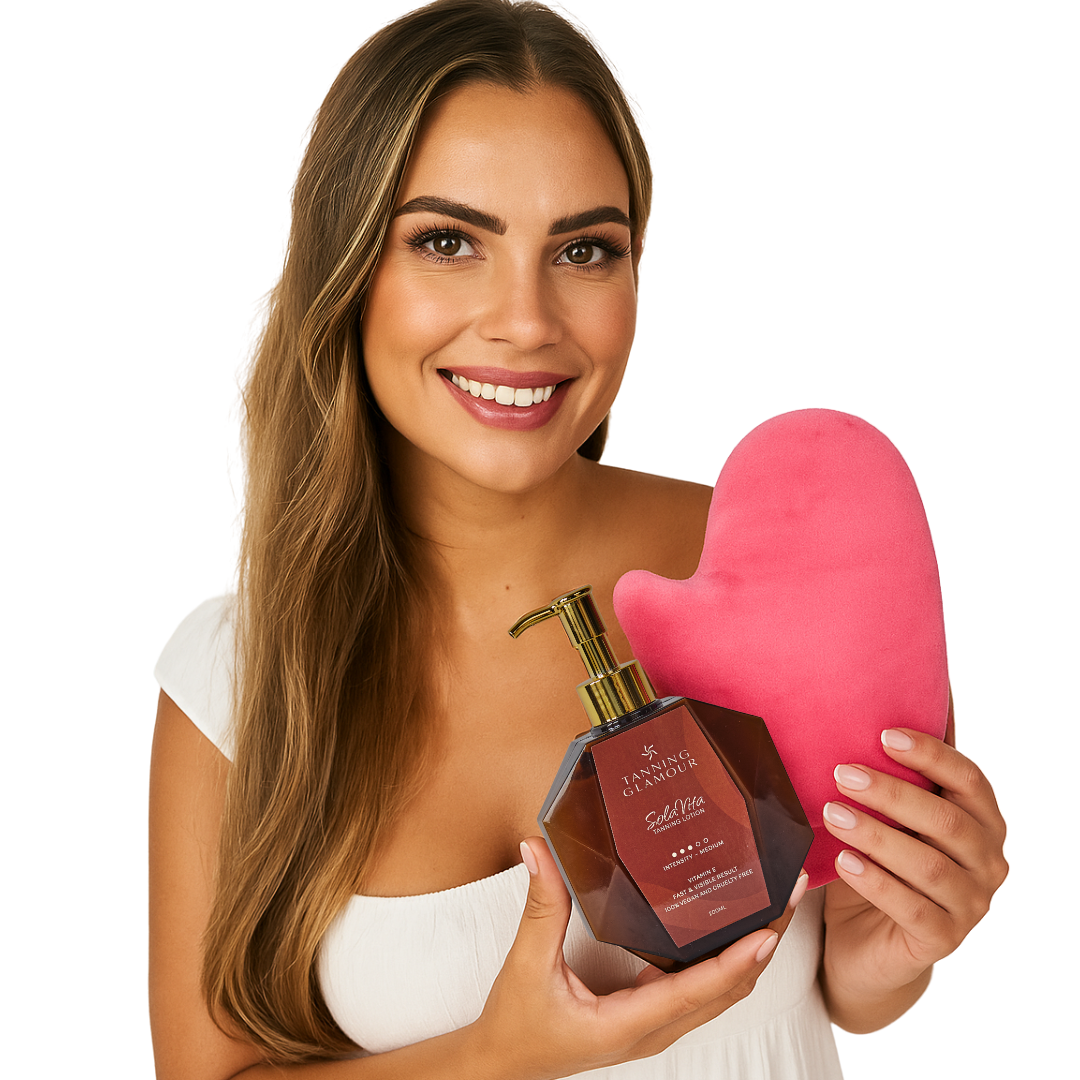
Modern formulas are streak-free and without orange undertones, two aspects that used to be problematic. At Tanning Glamour, you'll find natural self-tanners that become visible within two to three hours and stay beautiful for five to seven days. The products are suitable for both the face and body, which is convenient if you want an even overall tan.
For those who like to control the intensity, drops are the ideal solution. You simply mix them with your day cream and determine how subtle or intense your glow will be. Those who prefer a ready-to-use solution can choose a lotion that applies directly and absorbs quickly without a sticky feeling.
Accessories that make a difference
In addition to the product itself, the right tools make your treatment much easier. A good applicator ensures an even result without patches or streaks. For the face, small, soft mitts or sponges work best.
A mini mitt gives you control over small areas like around your nose and eyes. For a full face, you can also just use your fingers, as long as you wash them thoroughly immediately after application. The most important thing is to distribute the product evenly.
Realistic expectations and patience
A self-tanning face does not give instant results. The tan develops gradually in the hours after application. Immediately after application, you often only see a slight sheen or tint, but the true color only appears after a few hours.
Understanding the development process
The active ingredient DHA starts its reaction with your skin cells as soon as you apply the product. The first visible color usually appears after two to three hours, but the full result is only visible after eight to twelve hours. Some formulas even continue to develop for up to 24 hours.
Therefore, be patient and do not judge too quickly. What looks like a disappointing result after one hour can turn into exactly the glow you were looking for after a night. This is also why it is wise to apply in the evening: you wake up with your full, developed tan.
Building in layers for intensity
If your first application is too light, don't panic. You can easily apply a second layer the next day for more depth and intensity. This method is even recommended for beginners, as it allows you to maintain control over the final result.
By adding a layer weekly or bi-weekly, you build up a natural, deeper tint that always looks fresh and well-groomed. Your skin gets used to the routine and you become more skilled at applying it. For more inspiration on creating tanned legs and an overall glow, you can apply similar techniques.
Seasonal tanning and special occasions
Your self-tanning face use can vary depending on the season and special occasions. In the summer, you might want to enhance your natural sun tan, while in the winter you want to counteract that winter paleness.
Summer: subtle enhancement
During summer months, you often already have some natural color. Your self-tanner can then serve as an enhancement and equalizer. Use less product or dilute it with extra moisturizer for a subtle effect. This gives you a healthy glow without becoming overly tanned.
Please note that self-tanner does not offer sun protection. Always use SPF, even with a beautiful tan. The combination of a safe self-tanning face with good sun protection gives you the best of both worlds.
Winter: banishing winter paleness
In the winter months, your skin can look sallow and tired due to lack of sunlight. A self-tanning face routine gives you instant freshness and vitality. You look healthier and more rested, even on the grayest days.
Gradually build up from November and maintain your glow throughout the winter. This prevents the typical "back from vacation" effect that people stare at in February. You look naturally well-groomed all year round.
Special events and important moments
For a wedding, party or photoshoot, you want to look your best. Plan your self-tanning face treatment wisely. Do a test run at least a week in advance, so you know how your skin reacts and what shade you will get.
For the event itself, apply your final layer two days in advance. Day one is development, day two is your perfect glow without the risk of streaks or transfer. This way you shine on your important day with a natural, confident look.
With the right preparation, technique and products, you can easily create a natural, radiant complexion that looks well-groomed and sun-kissed. A self-tanning face gives you confidence and a healthy glow, all year round. Tanning Glamour offers natural self-tanners that become visible within a few hours, stay beautiful for five to seven days and are free of streaks and orange undertones. Discover which formula best suits your skin and routine and enjoy a carefree, radiant appearance.
Ontdek jouw mooiste glow
Verzorgende zelfbruiners van SolaVita - streeploos, geen oranje.
Read more
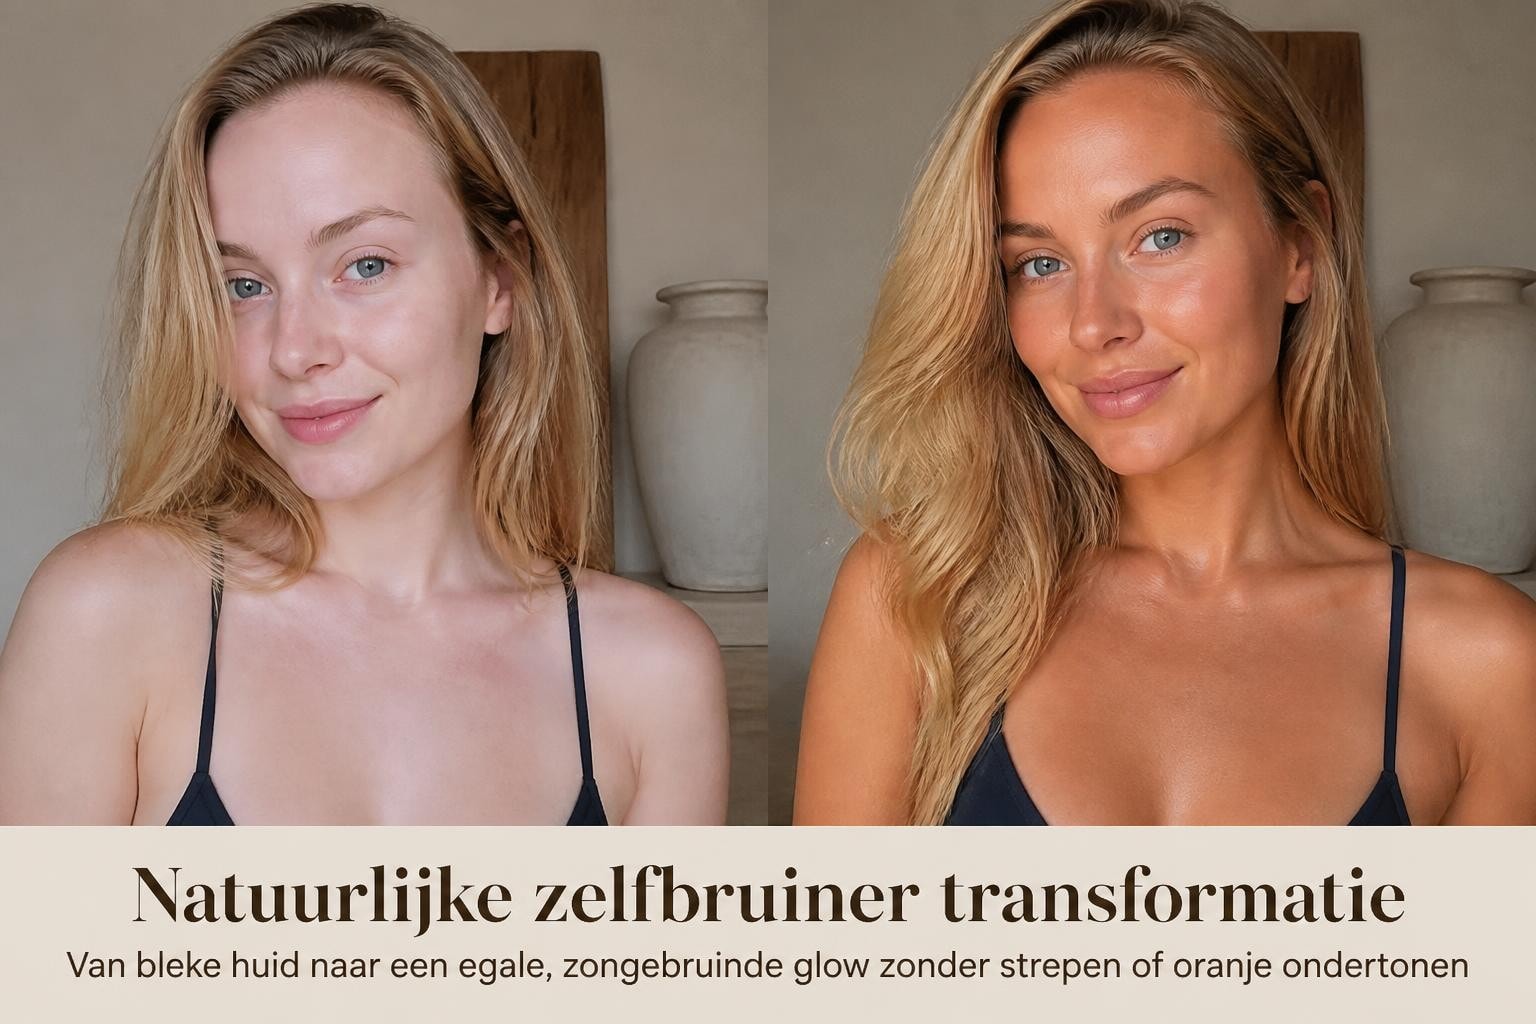
Discover Solavita, the natural self-tanner that gives you an even, sun-kissed glow in just a few hours. Streak-free, long-lasting, and without the sun.
Tanning drops give you a natural, customisable tan. Discover how to use them, their benefits, and how to avoid streaks.