
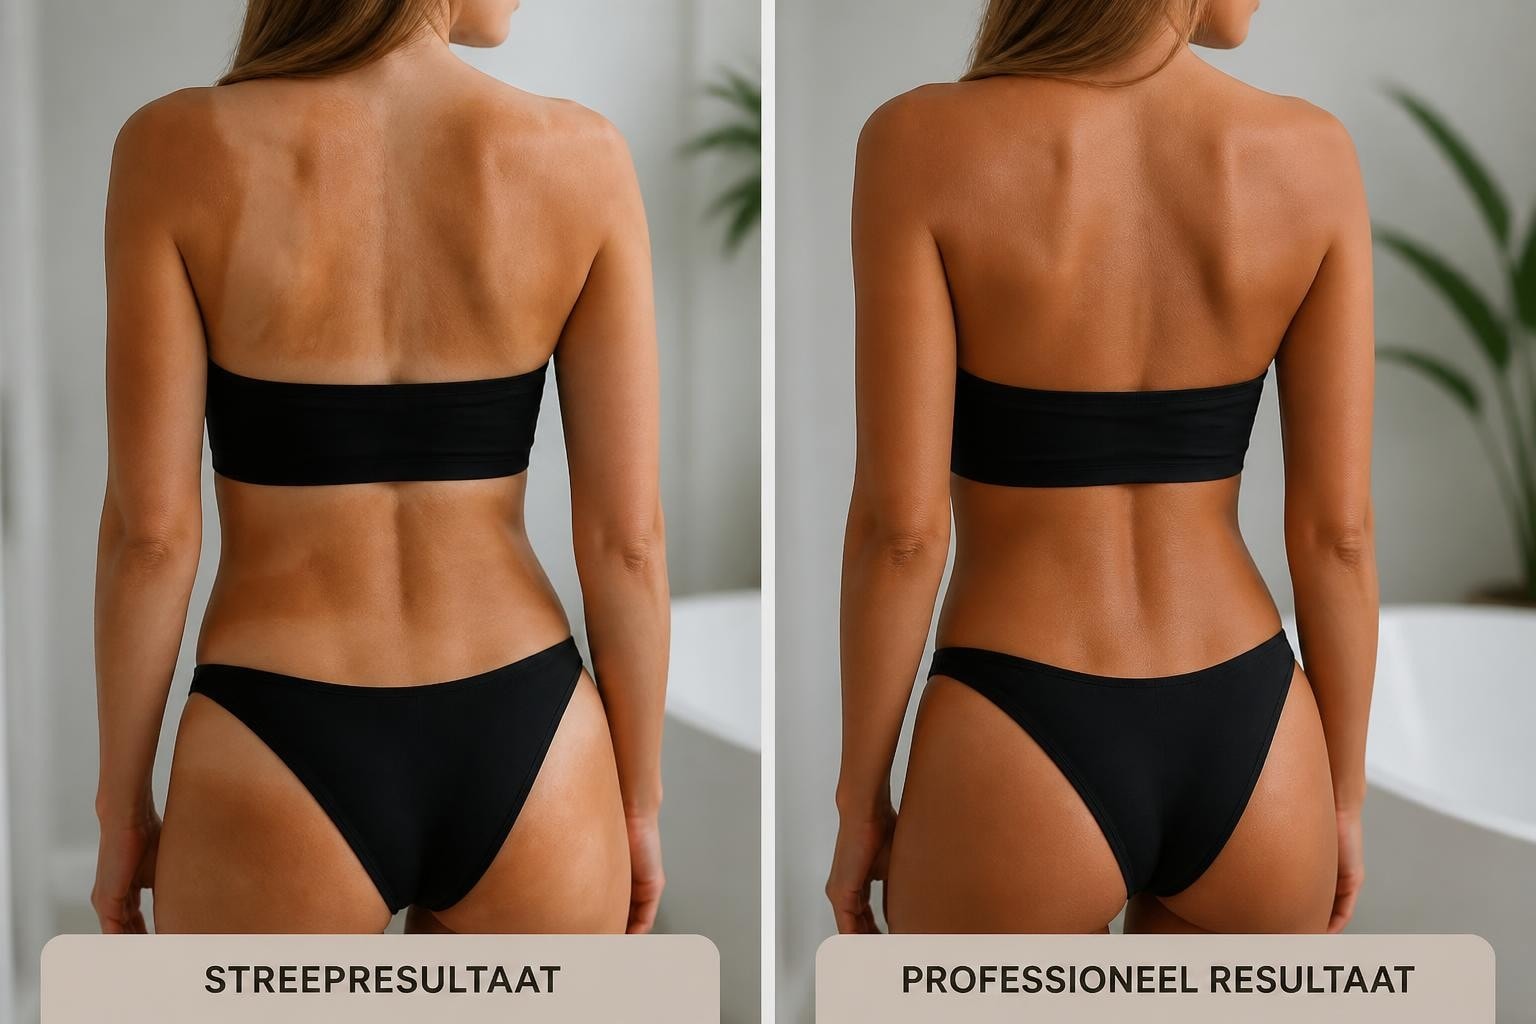
Self-tanning mitt: the key to a streak-free result
A radiant, even complexion without having to spend hours in the sun? That sounds perfect. But anyone who has ever worked with self-tanner knows the feeling of tension: will it be beautifully even or will there still be streaks? The difference between a professional result and a patchy complexion often lies in one simple tool. The tanning mitt is the game-changer that ensures your self-tanner does exactly what it's made for: giving you a natural, sun-kissed glow without orange patches or dark streaks.
Why a tanning mitt is essential for self-tanner
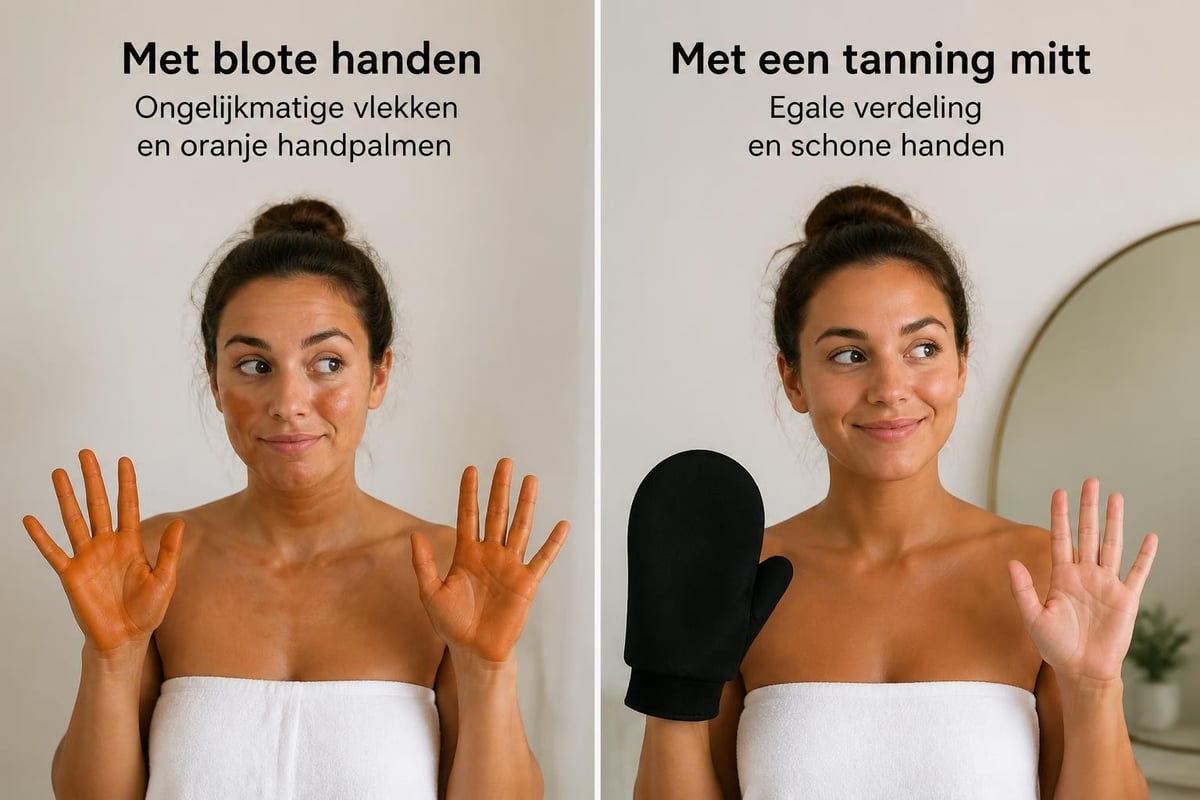
When you apply self-tanner directly with your hands, you encounter a number of challenges. Your fingertips and palms absorb the formula, causing them to color darker than the rest of your skin. In addition, it is difficult to create a completely even distribution with bare hands without leaving streaks or circular movements visible.
A tanning mitt solves these problems by forming a barrier between your hands and the product. The soft fabric distributes the self-tanner evenly over your skin, while your own hands remain completely clean.
Key benefits of a tanning mitt:
Protects your hands from discoloration and brown spots
Ensures even distribution without streaks
Prevents product waste through optimal absorption
Creates a more natural end result
Extends the shelf life of your self-tanner through better application
The investment in a quality tanning mitt immediately pays for itself in the result. What used to be a gamble now becomes a reliable ritual that you can enjoy every time.
The different types of tanning mitts in 2026
Not every tanning mitt is the same. The market now offers various variants, each with specific properties that meet different needs and preferences.
Velvet tanning mitts
The most popular choice for those looking for a luxurious feel and optimal results. Velvet mitts have a soft, velvety texture that feels wonderful on the skin and effortlessly distributes the self-tanner. The fabric absorbs the right amount of product without taking up too much, so you use just enough for an even complexion.
The advantage of velvet? The fabric glides smoothly over your skin without pulling or sticking. This not only makes application more effective but also much more pleasant. For people with dry or sensitive skin, this is a nice feature.
Foam applicators
These tanning mitts are made of synthetic foam and are often the most affordable option. They work fine for beginners and give a decent result, although the material sometimes absorbs a bit more product than velvet variants. Foam mitts are light and dry quickly after washing.
The downside? They can harden or crumble over time, especially if you use them often or don't dry them correctly. For occasional use, however, they are a good choice.
Double mitts
Some sets contain two mitts instead of one double-sided mitt. This can be useful if you want to treat specific areas or if you apply self-tanner with a partner. However, most people opt for the traditional mitt because it is more versatile.
Type of tanning mitt |
Material |
Suitable for |
Average price |
Durability |
|---|---|---|---|---|
Velvet mitt |
Velvety textile |
All skin types |
€8-€15 |
Excellent |
Foam applicator |
Synthetic foam |
Beginners, occasional use |
€4-€8 |
Fair |
Double mitt set |
Textile or foam |
Specific areas |
€10-€18 |
Good |
How to use a tanning mitt for perfect results
The technique you use with a tanning mitt largely determines the end result. Even with the best tool, you can get streaks if you don't follow the right steps.
Preparation is everything
Start with clean, dry skin. Exfoliate your body a day in advance to remove dead skin cells and ensure a smooth canvas. Pay extra attention to rough areas such as elbows, knees, and ankles. These areas absorb more product and can become darker if you are not careful.
On the day of application, do not apply body lotion to areas where you want to use self-tanner. Moisture can dilute the formula and cause uneven absorption.
Step-by-step approach:
Put the tanning mitt on your hand like a regular glove
Apply a small amount of self-tanner to the mitt (not directly to your skin)
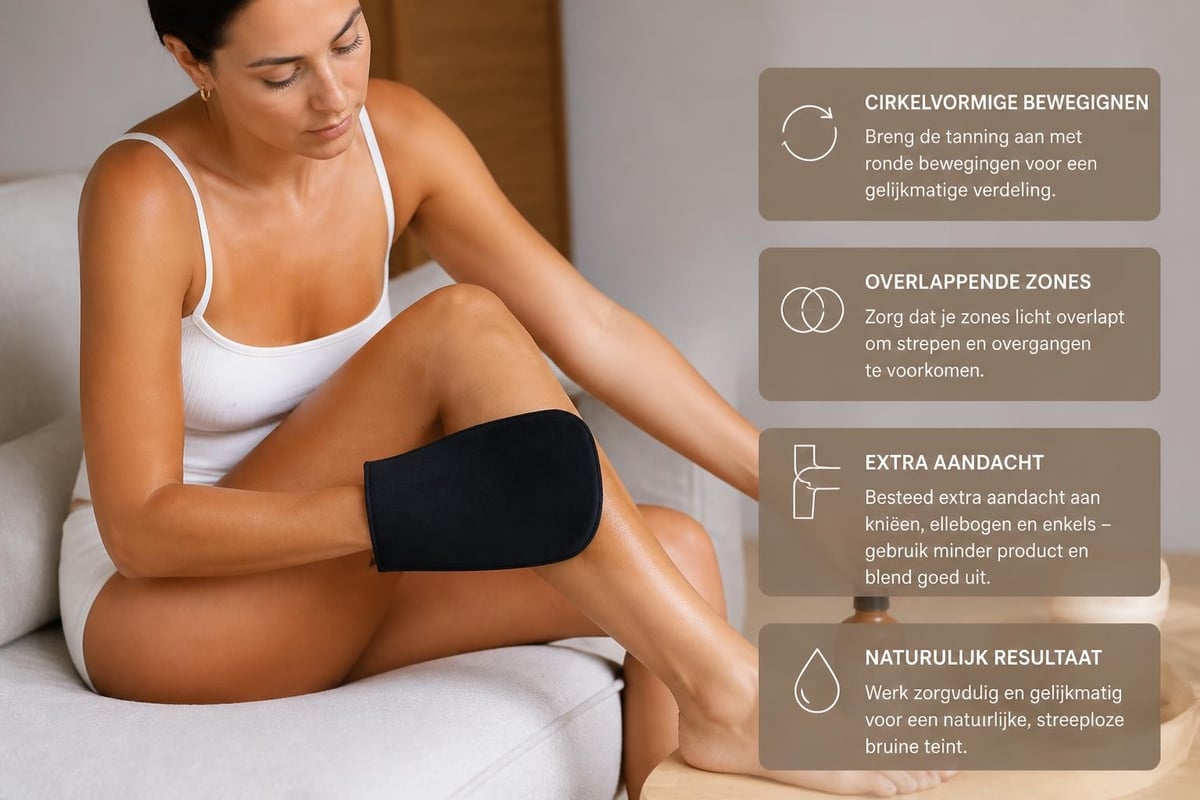
Start at your legs and work upwards in broad, slow circular motions
Use less product on knees, elbows, and ankles
Blend carefully at transitions such as wrists and ankles
Use a clean, dry side of the mitt for a final blend
The right movement makes the difference
Circular motions instead of straight strokes give a more natural result. Make sure each zone overlaps with the previous one, so that no hard lines are created. Always work from bottom to top to let gravity work with you.
For your face, it is best to use a smaller mitt or a separate applicator. The skin on your face is more sensitive and requires a lighter touch. Lightly mix the self-tanner with your daily moisturizer for a more subtle glow around your nose, eyebrows, and hairline.
Maintenance and care of your tanning mitt
A tanning mitt that is well cared for will last for months and continue to work effectively. Neglect, on the other hand, leads to hardening of the material, build-up of product residues, and ultimately a less even application.
Immediately after use
Rinse your tanning mitt immediately after use under lukewarm water. Gently squeeze out the dirty water until it runs clear. For stubborn stains, use a mild soap or a special cleaner for make-up tools.
Do not wring out the mitt too hard, especially with velvet variants. This can damage the structure. Gently press out excess water and lay the mitt flat to dry on a clean towel, out of direct sunlight.
Weekly maintenance
Wash your tanning mitt thoroughly at least once a week, depending on how often you use it. A machine wash at 30 degrees is possible, but first check the label. Use a laundry net to prevent lint formation.
Allow the mitt to dry completely before storing it. A damp mitt in an enclosed space can develop mold or an unpleasant odor.
Signs that you need a new mitt:
The fabric feels hard or rough
Holes or frayed edges appear
The material no longer absorbs product evenly
Dark spots remain that do not wash out
The mitt gives off a strange odor
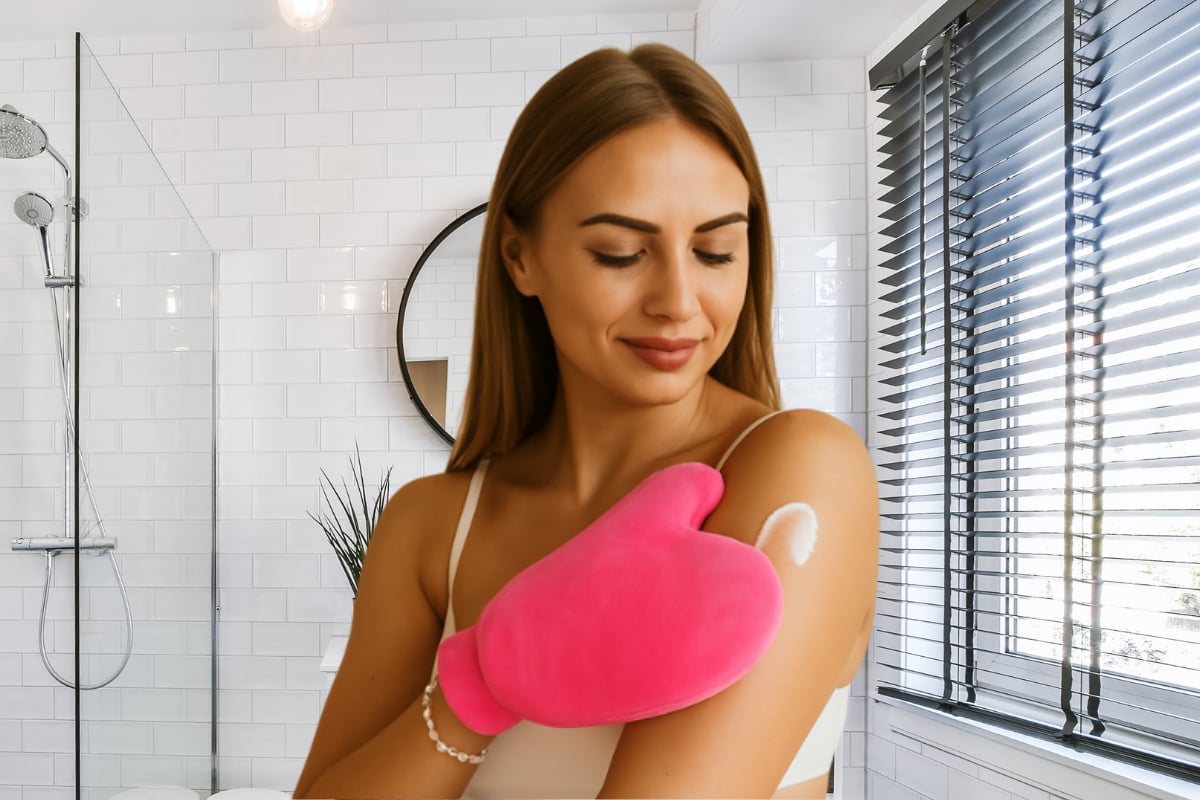
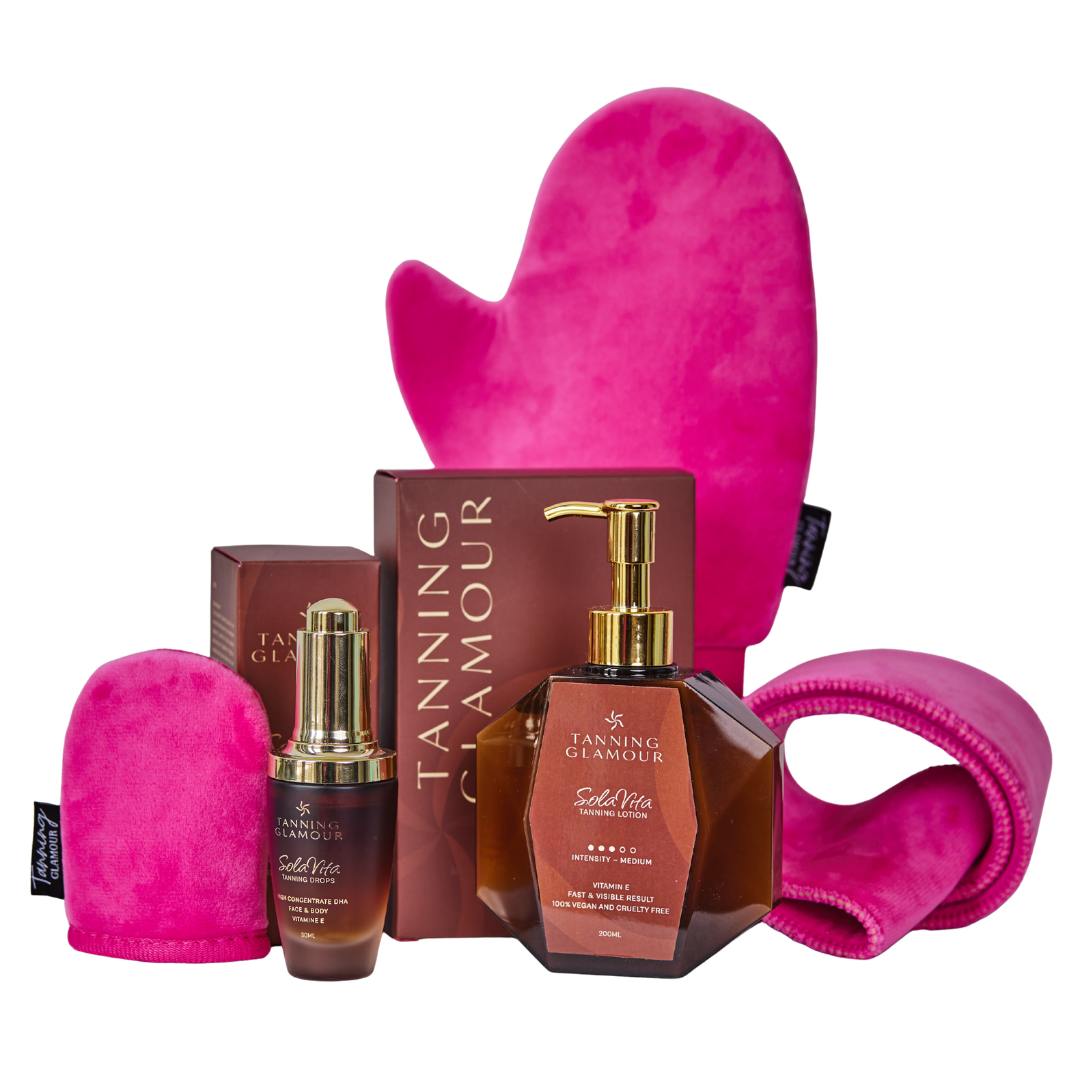
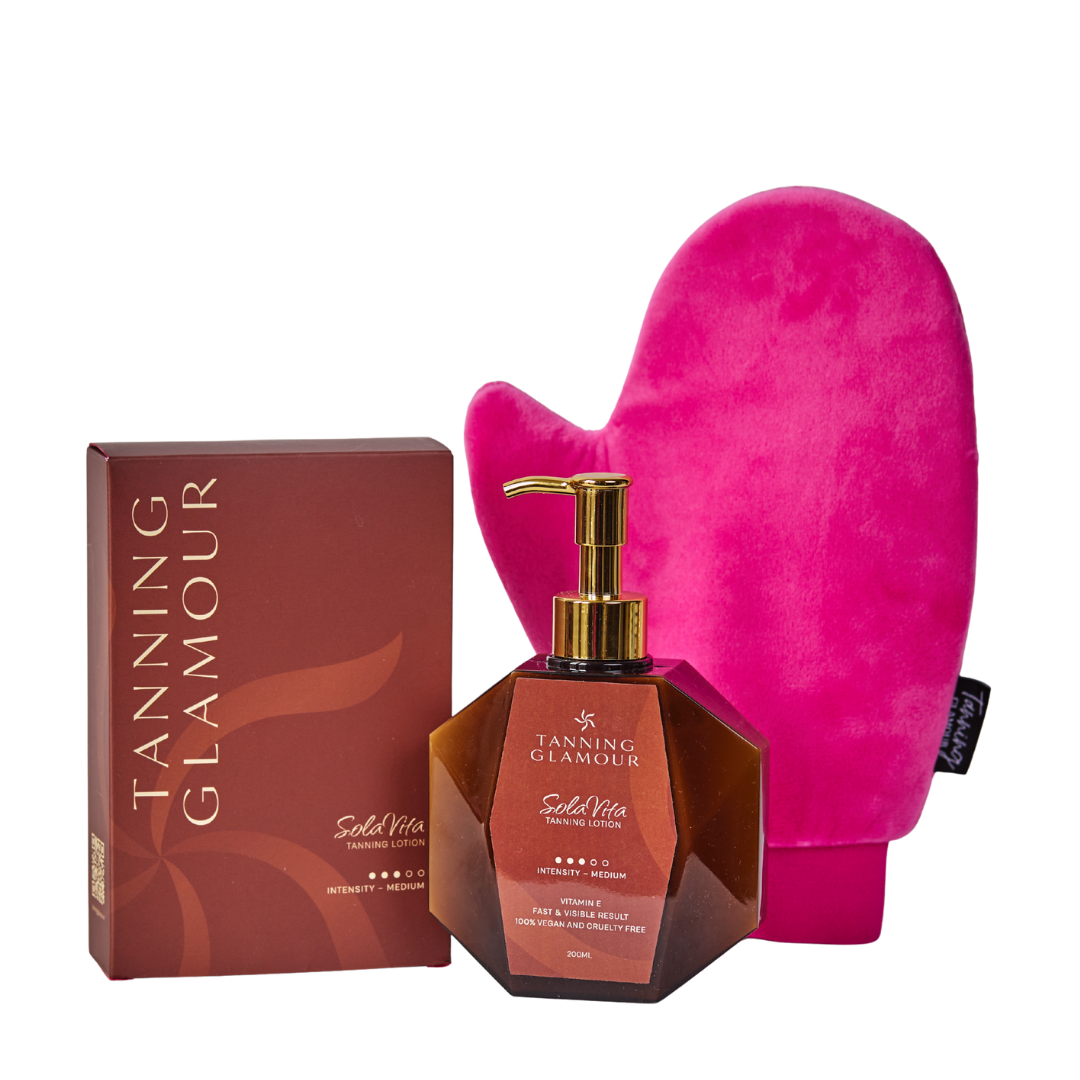
With the Luxe Velvet Tanning Mitt, you can apply your self-tanner easily and evenly for a perfectly smooth result. The soft velvet fabric effortlessly distributes the lotion over your skin and prevents streaks, while your hands remain completely protected from discoloration.
Common mistakes when using a tanning mitt
Even experienced self-tanner enthusiasts sometimes make classic mistakes that affect the end result. By recognizing these pitfalls, you can prevent disappointment and get that beautiful, natural complexion you desire every time.
Using too much product
More is not always better. An excessive amount of self-tanner on your mitt leads to streaks, dark spots, and uneven absorption. Always start with a small amount and build up layer by layer if you want a more intense color.
Most self-tanners are buildable. It is easier to apply a second coat the next day than to correct a too dark result.
Rushing during application
Applying self-tanner requires patience and attention. If you work too quickly, you will miss spots or create uneven areas. Take your time to carefully treat and blend each area. Plan at least 15-20 minutes for your entire body.
Put on some calm music, make it a moment of self-care. That contributes to a better result and a more pleasant experience.
Forgotten areas
Behind your knees, between your toes, on your hands and feet: these are areas that are often forgotten or become too dark. A tanning mitt helps you to reach these areas better, but you do need to consciously pay attention to them.
Use a mirror to check your back and backside. For hard-to-reach areas on your back, you can consider a special back applicator.
Combining tanning mitt with different self-tanner formulas
Not every self-tanner formula works the same with a tanning mitt. It is useful to understand how different products behave, so you can adjust your technique.
Lotions and mousses
These are the most commonly used formulas and work excellently with a tanning mitt. Mousses often have a lighter texture and absorb faster, requiring you to work quickly to ensure even distribution. Lotions give you a bit more time and are therefore often better for beginners.
Apply a small amount to your mitt and work in sections. For mousses, it's best to work in larger, faster movements to optimally spread the airy texture.
Gels and serums
Gels have a thicker, more concentrated consistency. They can offer a bit more resistance when applied with a mitt, but the result is often long-lasting and intense. Work in smaller areas and blend extra carefully.
Serums, on the other hand, are thinner and more watery. They can penetrate the mitt faster, so use a little more product than with a lotion. The light texture makes them ideal for the face and for creating a subtle glow.
Drops
You mix self-tanner drops with your daily moisturizer, allowing you to determine the intensity yourself. First mix in your palm or in a small bowl, and then apply with your tanning mitt for the most even distribution. This gives you complete control over your complexion.
The different self-tanner formulas and how they work with a tanning mitt: lotion, mousse, gel, serum and drops, each with specific properties for optimal application and results
The evolution of the tanning mitt in 2026
The tanning mitt has evolved significantly in recent years. While previously mainly basic foam applicators were available, the market now offers advanced options with durable materials, ergonomic designs and special features.
Sustainability and environmental awareness
More and more brands are focusing on reusable, washable mitts made from environmentally friendly materials. Bamboo fibers, organic cotton and recycled fabrics are gaining popularity among conscious consumers. These materials are not only better for the environment, but often also feel softer on the skin.
The lifespan of modern tanning mitts has significantly increased due to better construction and quality materials. Where you used to need a new mitt every few months, current versions last a year or longer with proper maintenance.
Innovative designs
Some brands are experimenting with double textures: one side for application and another for blending. There are mitts with extra-long cuffs to better protect your wrists, and variants with finger compartments for more control.
Feature |
Traditional mitt |
Modern mitt 2026 |
|---|---|---|
Material |
Synthetic foam |
Velvet, bamboo, organic cotton |
Lifespan |
2-3 months |
12+ months |
Sustainability |
Disposable mentality |
Reusable, washable |
Design |
Basic mitt |
Ergonomic, double textures |
Price |
€3-€6 |
€8-€20 |
Tips for specific body areas
Different parts of your body require a tailored approach with your tanning mitt. By giving these areas the right attention, you can prevent the most common self-tanner mishaps.
Face and neck
Your face deserves extra care. Use a separate, smaller mitt or clean your regular mitt extra thoroughly before using it on your face. Dilute your self-tanner with a little moisturizer for a more subtle result.
Pay attention to the hairline, behind your ears, and along your jawline. These transitions must be seamless. Always blend downwards towards your neck and décolleté to avoid creating a harsh line.
Hands and feet
These are the trickiest areas. Use minimal product on your hands and feet, and blend carefully towards your fingers and toes. Many people skip their hands entirely and wash them immediately after applying to the rest of their body.
For your feet, you can give a light swipe over the top, but stay away from your soles and between your toes where the product can accumulate.
Knees and elbows
These areas have rougher skin that absorbs more product. First apply your self-tanner to the surrounding areas and then use the remaining formula on your mitt to lightly go over knees and elbows. This prevents dark spots.
A day after application, you can gently scrub these areas if they have become too dark. Hydrate them extra to keep the skin smooth and maintain the tan longer.
Overview per zone:
Legs: Broad, circular movements from ankle to upper thigh
Arms: Start at wrists, work upwards, extra care at elbows
Torso: Long strokes from belly to chest, blend at décolleté
Back: Use back applicator or ask for help for an even result
Face: Thin layer, diluted with moisturizer, extra blend at hairline
Investing in quality pays off
A quality tanning mitt costs a bit more, but the difference in result and durability is immediately noticeable. Cheap alternatives can shed lint, permanently discolor quickly, or fall apart after a few washes.
What makes a mitt high quality?
Strong seams that don't fray, a soft but firm fabric that retains its shape, and a good balance between absorption and distribution. The mitt should feel comfortable without being too tight, and be large enough to completely cover your hand without your fingers sticking out.
Premium mitts often use a water-repellent outer layer combined with an absorbent inner layer. This prevents your hands from coming into contact with the self-tanner, even if product leaks through the mitt.
Return on investment
A mitt costing €12-€15 that lasts a year and gives you a perfect result every time is worth much more than five cheap variants of €3 that you have to replace after one month. Calculate how much self-tanner you save through better product use, and how much time and frustration you avoid by getting good results immediately.
Moreover, a good mitt increases your confidence in using self-tanner. You'll go for that beautiful glow more often because you know it will work. That makes the difference between a product that sits in your closet and a ritual you enjoy.
Combine with other tools for optimal results
A tanning mitt is essential, but for some areas, you can further optimize your application with additional tools.
Back applicator
Your back is almost impossible to reach with just a mitt. A back applicator with a long, flexible strap makes it possible to independently give your entire back an even tan. Some sets combine a regular mitt with a back applicator for total body coverage.
Face brush
Small, soft brushes specifically for facial application provide even more precision around your nose, eyes, and mouth. They are not strictly necessary if you have a good mini mitt, but can help with detailed work.
Blending sponge
For last-minute corrections or blending difficult transitions, you can use a damp beauty sponge. This is especially useful for your wrists, ankles, and décolleté where the transition between tanned and untanned skin must be seamless.
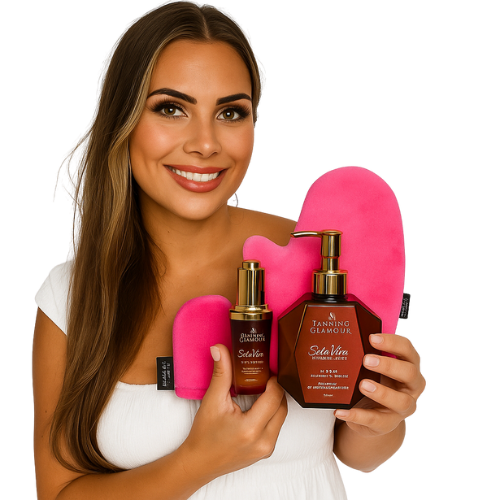
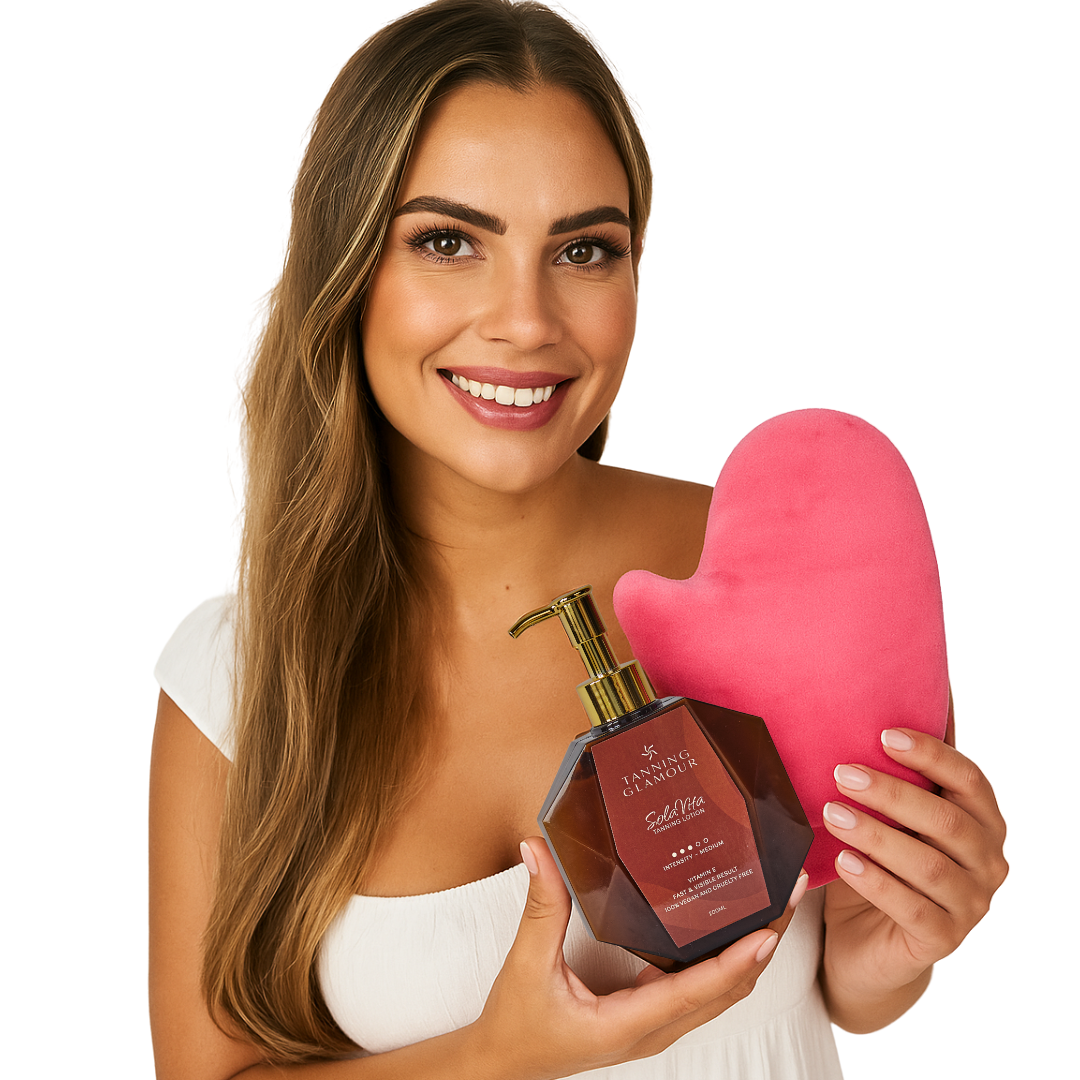
A tanning mitt transforms self-tanner application from a risky guess to a reliable ritual you can enjoy. By investing in quality, using the right technique, and maintaining your mitt well, you create that natural, radiant glow you desire every time. Tanning Glamour offers natural self-tanners that work perfectly with a good tanning mitt: you'll see results within 2-3 hours, and your glow will stay beautiful for 5-7 days without streaks or orange undertones. Discover how easy a sunkissed complexion can be with the right products and tools.
Ontdek jouw mooiste glow
Verzorgende zelfbruiners van SolaVita - streeploos, geen oranje.
Read more
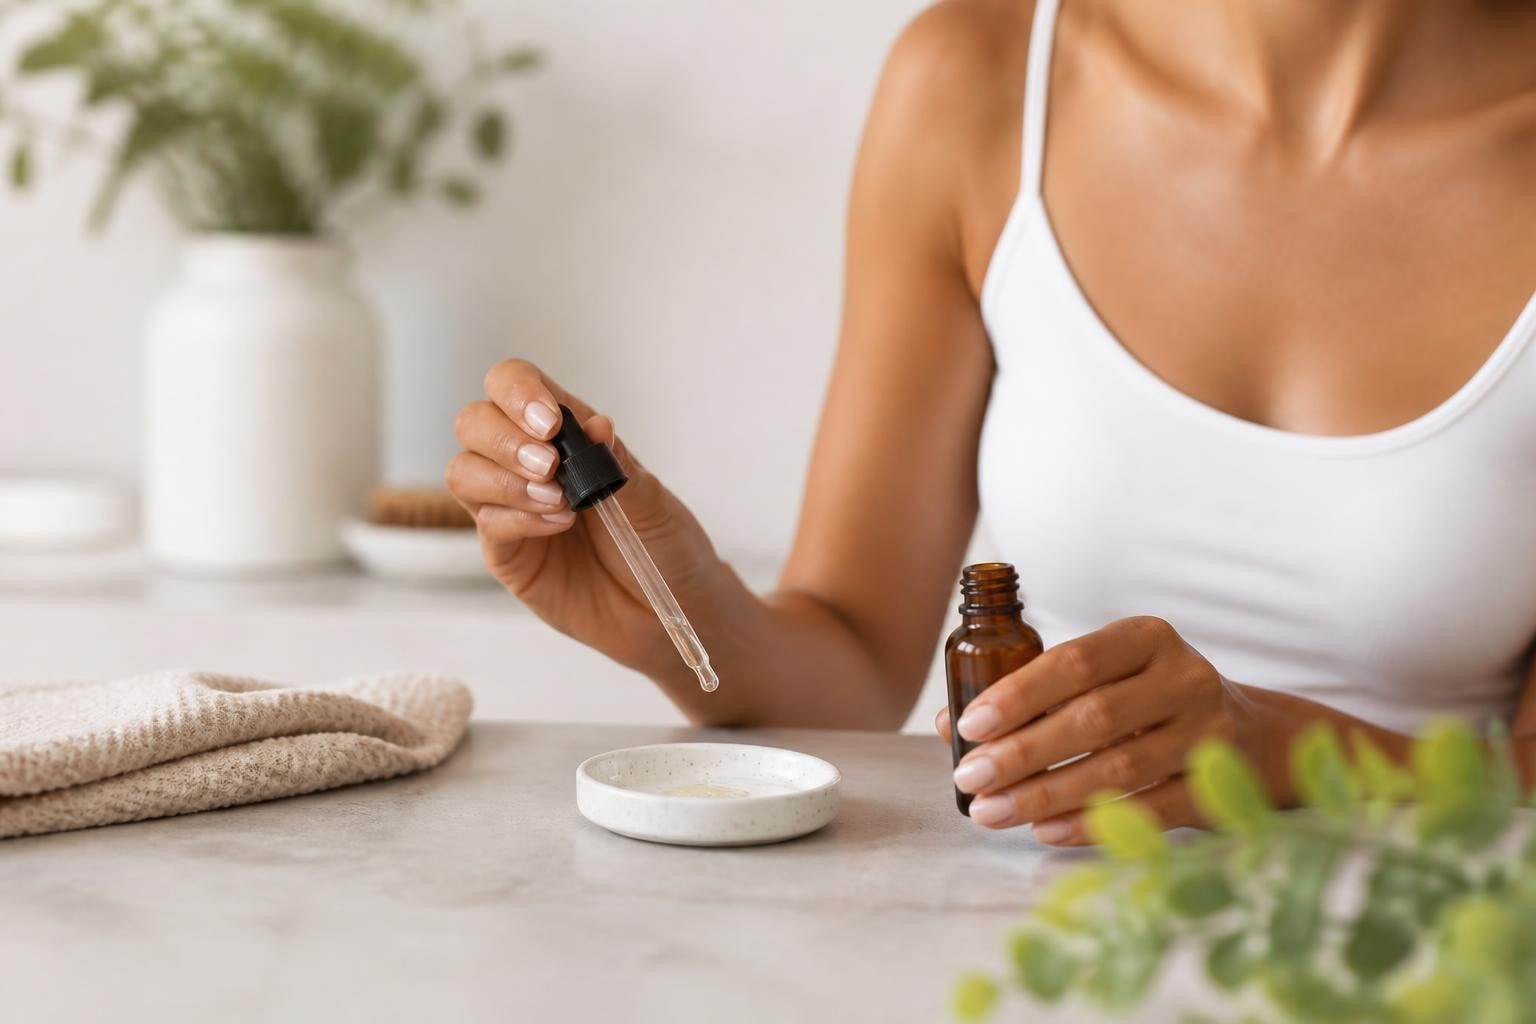
Tanning drops give you a natural, customisable tan. Discover how to use them, their benefits, and how to avoid streaks.
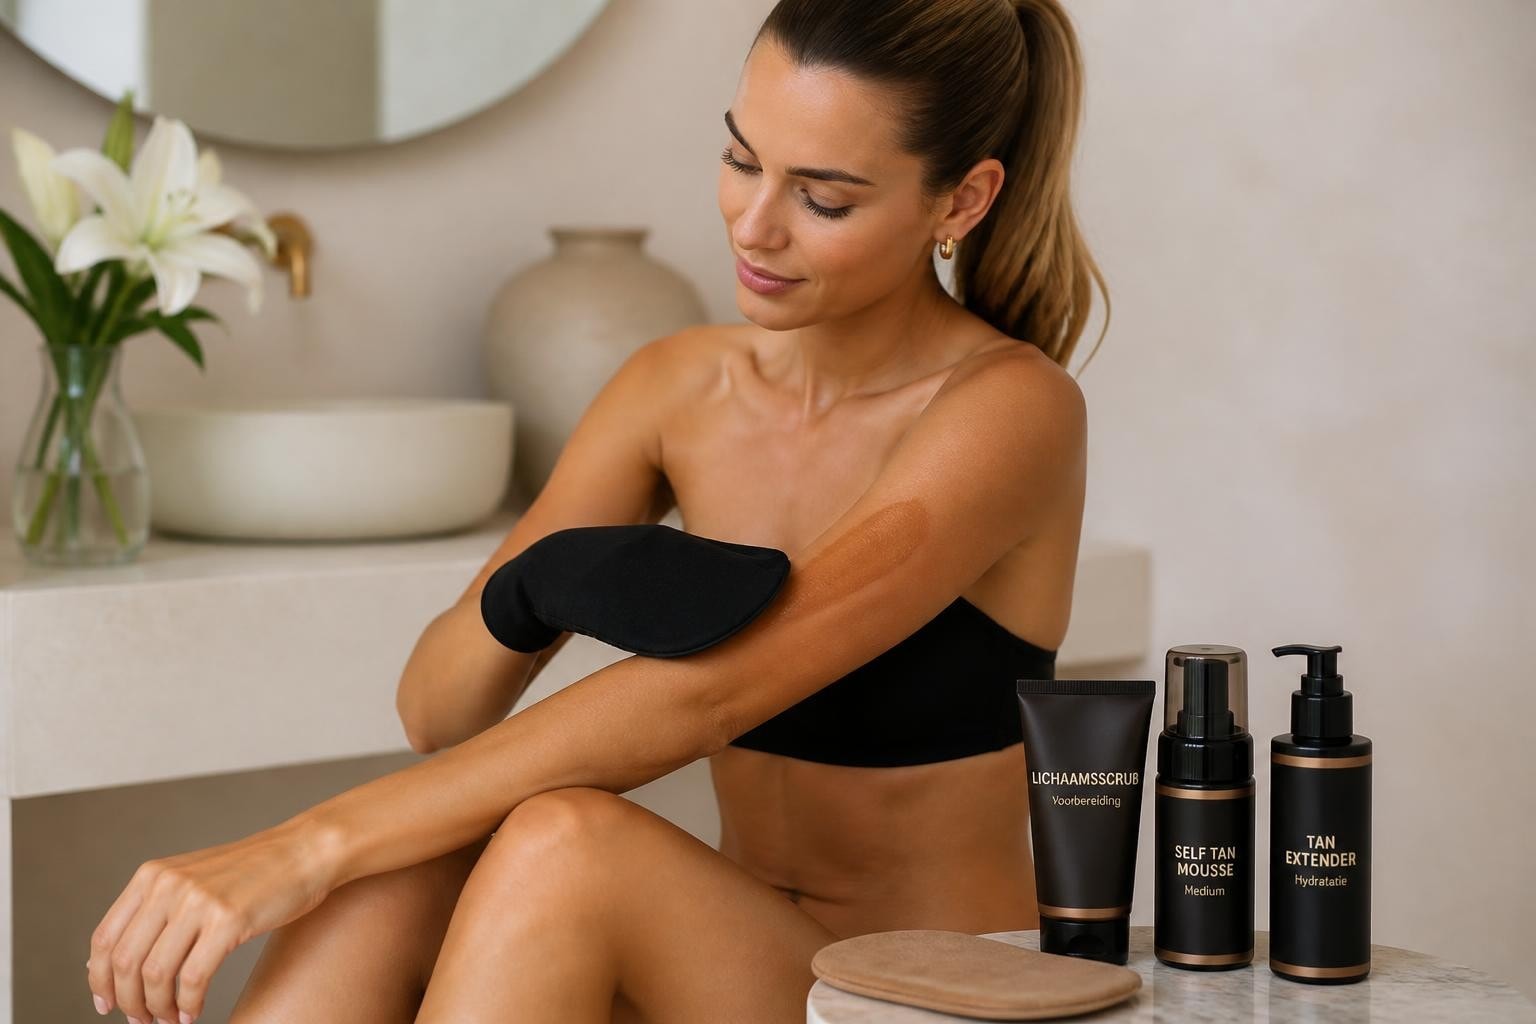
A tanning set gives you everything for an even, radiant complexion. Discover why a complete set is worthwhile and how to achieve the best results.