
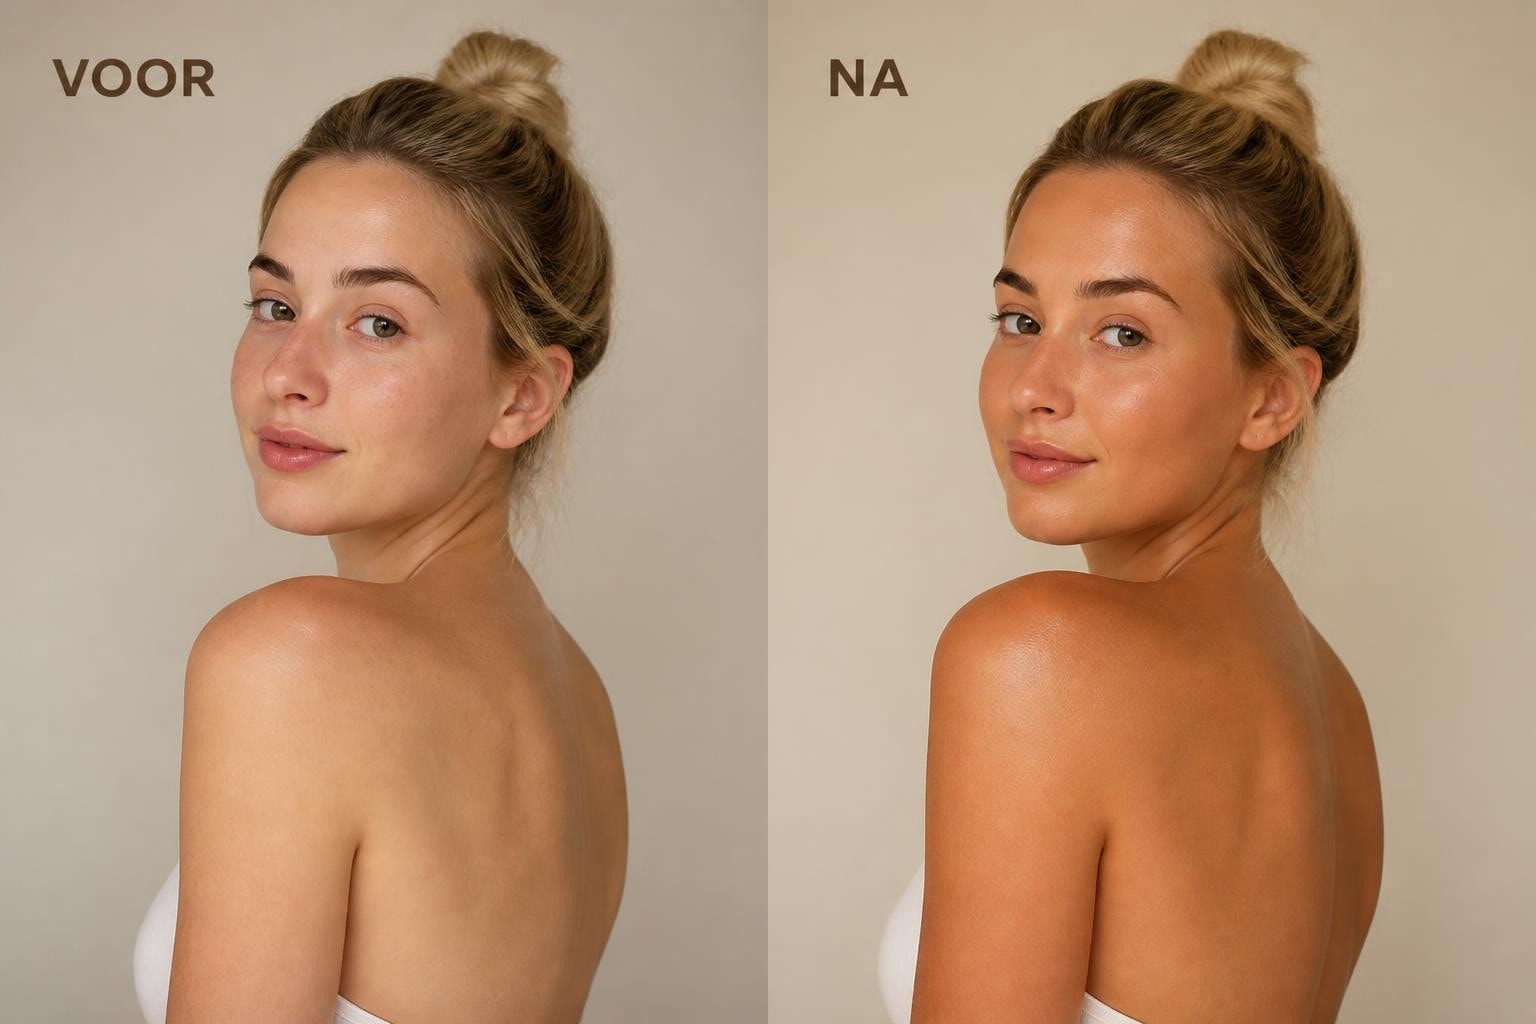
Self-tanner: how to create a natural glow without sun
A radiant, sunny complexion without the harmful effects of UV radiation: that's exactly what self-tan offers you. More and more people are opting for this safe and practical way to create a natural glow all year round. Whether you have an important event, simply want to feel more confident, or just love a well-groomed look, self-tan gives you control over your complexion. In this article, you'll discover everything you need to know to achieve a beautiful, even result without streaks or orange undertones.
What is self-tan and how does it work?
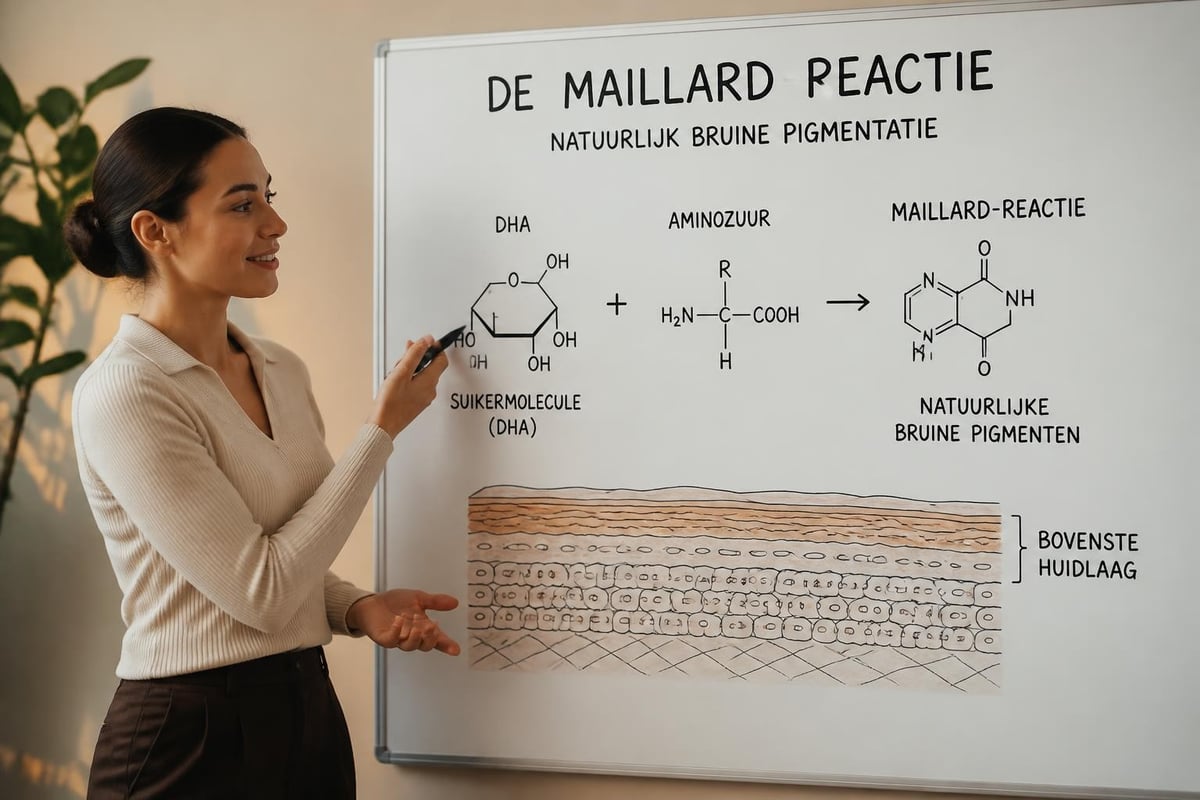
Self-tan is a cosmetic product that temporarily gives your skin a darker color without having to lie in the sun or visit a tanning bed. The active ingredient in most self-tanners is dihydroxyacetone (DHA), a sugar molecule that reacts with the amino acids in the top layer of your skin. This chemical reaction, also known as the Maillard reaction, creates a brown discoloration that is completely natural.
The difference between self-tan and sun tanning
Unlike a tanning bed or natural sunlight, self-tan does not damage your skin. While UV radiation penetrates deeply and can damage your DNA, self-tan only works superficially. This makes it a safe choice for people who want to protect their skin from aging and skin cancer. Moreover, with a good self-tanner, you can maintain an even complexion all year round, regardless of the weather or season.
The results of self-tan are usually visible within 2-3 hours and typically last 5-7 days. You have full control over the intensity: by applying multiple layers, you can gradually build up your tan to the desired color. For those looking for a natural, long-lasting glow without health risks, self-tan is an ideal solution.
The benefits of self-tan for your skin
Self-tan offers numerous benefits that go beyond just a nicer color. Firstly, it protects your skin from the harmful effects of UV radiation. According to dermatologists, excessive sun exposure is the main cause of premature skin aging and skin cancer. With self-tanner, you get the desired glow without these risks.
Health benefits at a glance
- No UV damage: your skin remains protected from aging and pigment spots
- Hydrating effect: many modern self-tanners contain nourishing ingredients
- Even complexion: conceals imperfections and gives a refined appearance
- Self-confidence: a healthy glow does wonders for your self-esteem
- Flexibility: you decide when and how intensely you tan
Moreover, many users feel more well-groomed and confident with a light brown tan. It's a form of self-care that takes little time but makes a big difference in how you present yourself. Grazia emphasizes that good preparation and application are essential for a natural result.
Cost-effective and time-saving
Compared to regular visits to a spray tan salon or tanning bed, applying self-tan at home is much more economical. You invest once in a good product and can use it for months. In addition, you save time: you can treat your entire body within ten minutes, while a salon visit can easily take an hour, including travel time.
Preparation: the basis for an even result
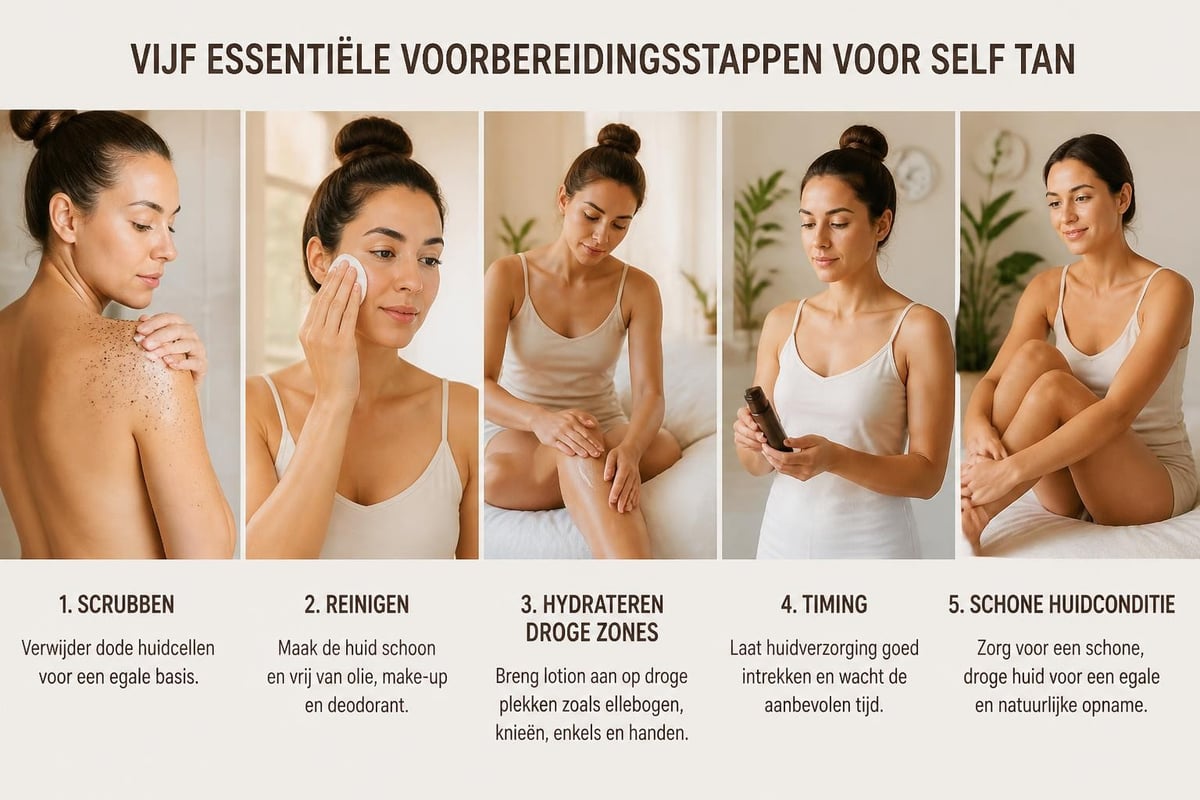
The key to a streak-free result lies in thorough preparation. Your skin must be smooth, clean, and free of dead skin cells before applying self-tan. Start 24 hours in advance with a thorough scrub to remove dead skin cells. Pay special attention to rough areas such as elbows, knees, ankles, and feet.
Step-by-step plan for perfect preparation
- Shave or epilate at least 12 hours before application
- Exfoliate thoroughly with a scrub or exfoliating glove
- Shower to remove all scrub residue
- Dry your skin completely with a clean towel
- Apply light moisturizer to dry areas such as elbows and knees
- Wait 15-20 minutes before applying the self-tan
This preparation ensures that the self-tan is absorbed evenly and lasts longer. Sante.nl shares practical tips on the importance of good preparation for optimal results.
| Preparation step | Why important | Timing |
|---|---|---|
| Shaving/epilation | Prevents uneven texture | 12-24 hours beforehand |
| Exfoliation | Removes dead skin cells | 24 hours beforehand |
| Moisturizing dry areas | Prevents dark spots | Immediately before application |
| Clean, dry skin | Optimal self-tan absorption | Just before application |
The perfect application technique for self-tan
Applying self-tan requires a systematic approach to prevent streaks and spots. Always start at your legs and work your way up to your torso, arms, and finally your face. This order prevents you from accidentally rubbing over already treated areas.
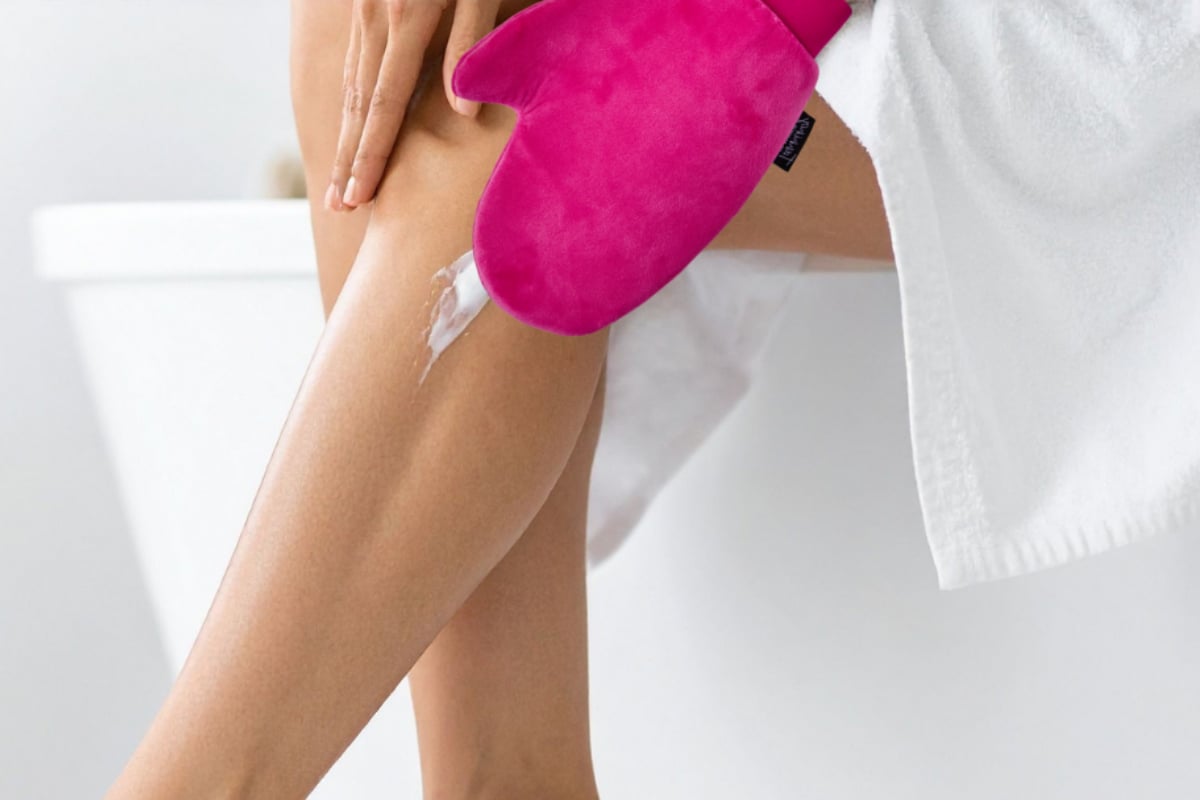
For a professional result, using an applicator glove is essential. This prevents your hands from turning orange and ensures a much more even result than with your bare hands. Work in long, flowing motions and make sure you blend each section well with the next.
Areas that require extra attention
Certain body parts absorb self-tan faster and more intensely, which can lead to dark spots. Apply a thin layer of moisturizer to the following areas before applying self-tan:
- Elbows and knees
- Ankles and feet
- Hands and wrists
- Eyebrows and hairline
Vogue Netherlands recommends treating these areas with a light, circular motion and blending immediately afterwards. For your face, it is preferable to use less product than for your body, as the skin here is more sensitive.
Self-tan for face and body: understanding the differences
Although the basic principles remain the same, self-tan on your face requires a different approach than on your body. Facial skin is thinner, more sensitive, and has a finer texture. Therefore, special facial formulas have been developed with milder DHA concentrations and added nourishing ingredients.
Body vs. face: key differences
| Aspect | Body | Face |
|---|---|---|
| DHA concentration | Higher (5-10%) | Lower (2-5%) |
| Applicator | Large glove or back applicator | Mini glove or fingertips |
| Quantity | Apply generously | Dispense sparingly |
| Drying time | 10-15 minutes | 15-20 minutes |
| Sensitivity | Less sensitive | More prone to irritation |
For the face, start in the center and work outwards. Blend well along the hairline, under the jaw, and at the ears to prevent harsh transitions. Don't forget your neck and décolletage to avoid a color difference with your face.
At Tanning Glamour, you'll find products suitable for both face and body, with formulas that nourish your skin while giving it a natural tan.
Common mistakes and how to avoid them
Even experienced users sometimes make mistakes when applying self-tan. The most common mistake is using too much product at once. This does not lead to a darker result, but it does lead to streaks and spots. It's better to gradually build up your color with multiple thin layers.
Top mistakes and solutions
Mistake 1: Getting dressed too quickly
Wait at least 10-15 minutes before putting on clothes. Better yet: wear loose, dark clothing until the self-tan has fully developed.
Mistake 2: Forgetting to exfoliate
Without prior scrubbing, the self-tan will adhere to dead skin cells, which will shed within a few days. This results in a patchy, peeling tan.
Mistake 3: Immediately showering or sweating
Give the self-tan at least 6-8 hours to fully develop before showering or exercising intensely. LINDA shares useful tips about the timing of your first shower after application.
Mistake 4: Neglecting hands
Your hands are difficult to treat evenly. Wash them immediately after application and then only apply a minimal amount to the top of your hands.
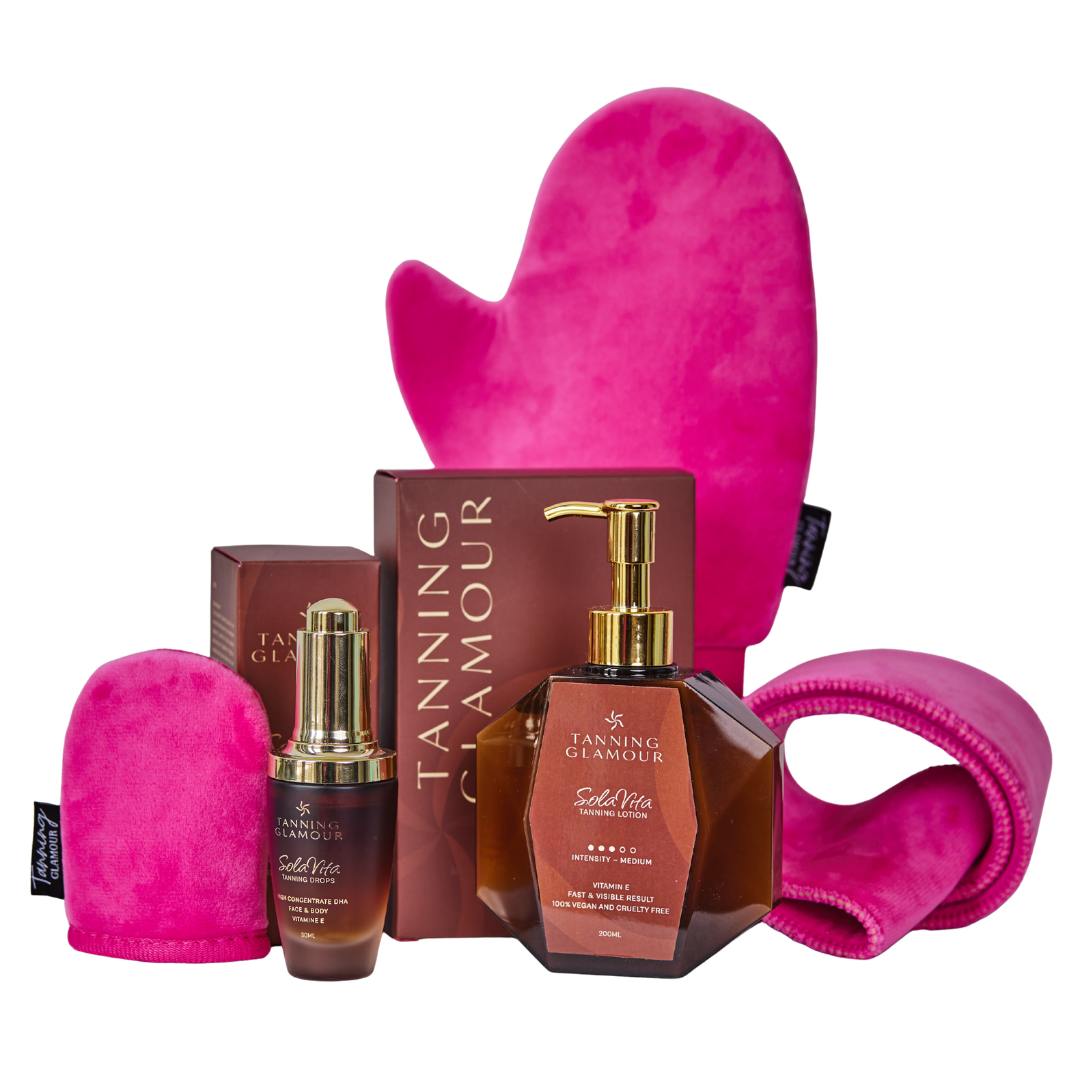
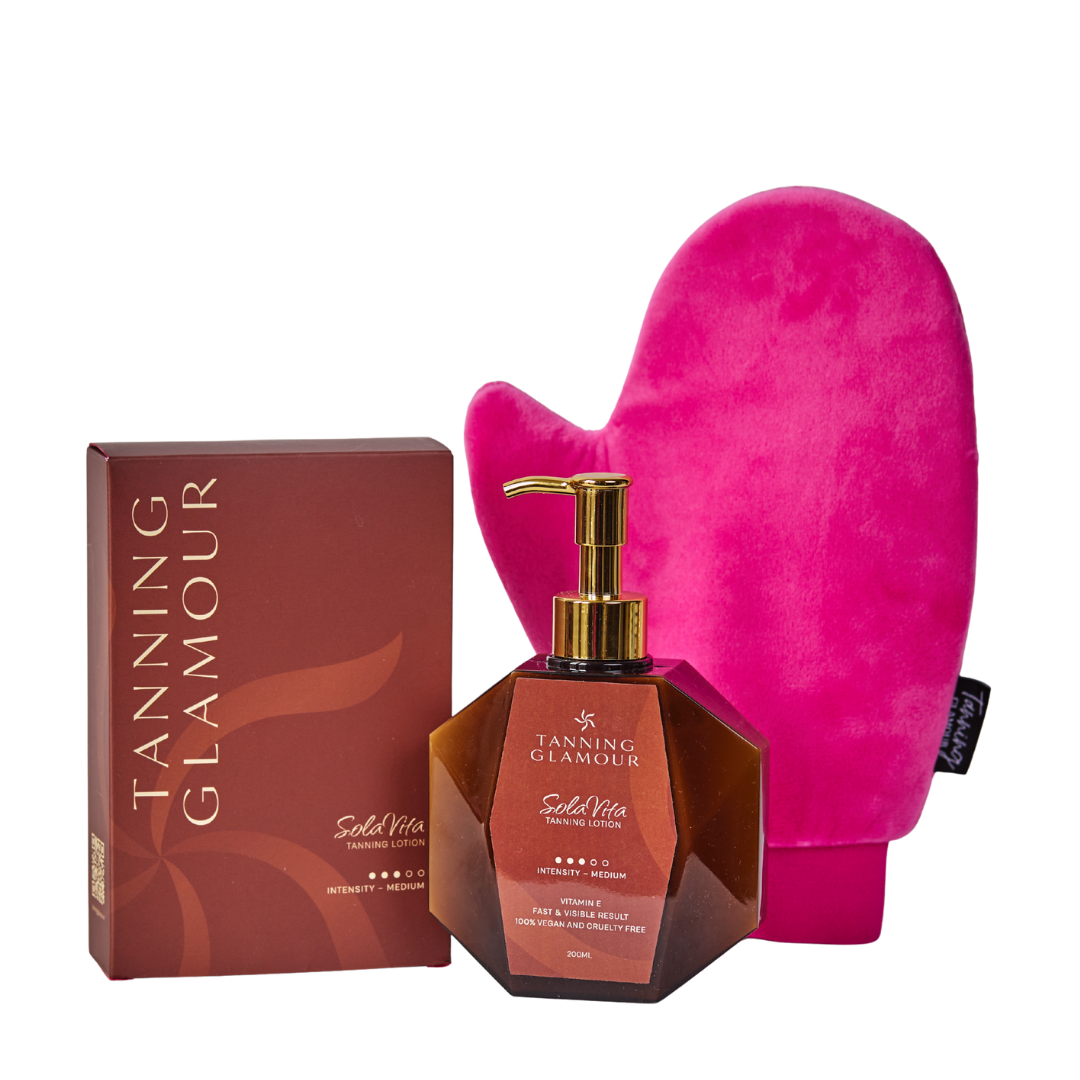
For a perfect result without these pitfalls, good preparation and the right tools are essential. A soft applicator glove helps you distribute the self-tan evenly and prevents stained palms. The Luxe Velvet Tanning Glove makes the difference between a professional and an amateur result, thanks to its soft velvet fabric that glides effortlessly over your skin.
Making your self-tan glow last longer
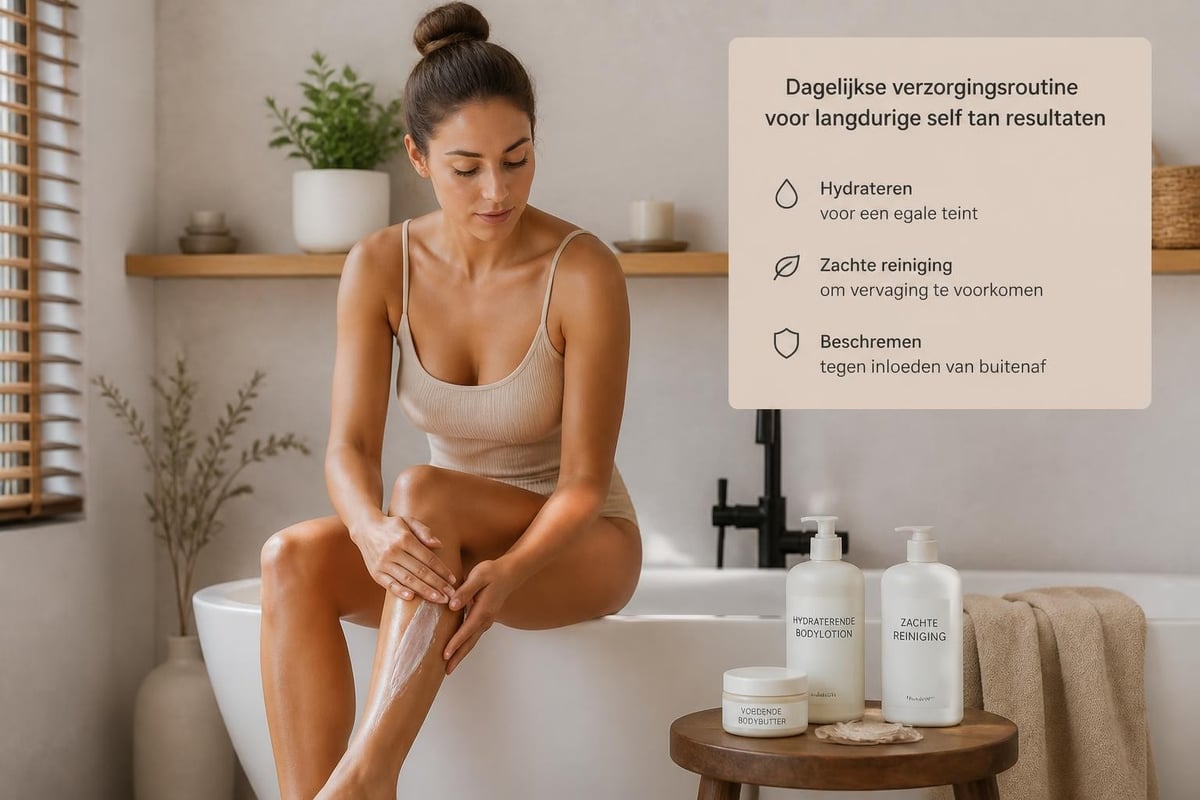
Once applied, you naturally want your beautiful tan to last as long as possible. The average lifespan of self-tan is between 5-7 days, but with proper care, you can extend this to up to 10 days. The key lies in hydration and gentle cleansing.
Care tips for long-lasting results
- Hydrate daily with a rich body lotion to prevent dryness
- Avoid hot showers and long baths that dry out your skin
- Pat dry instead of vigorously rubbing with a towel
- Use mild products without harsh exfoliants or alcohol
- Protect against chlorine by applying a layer of oil before swimming
When your self-tan starts to fade, it's important to let this happen evenly. A light scrub helps to remove the discoloration uniformly before applying a new layer. DI's crash course explains how to keep the transition between applications seamless.
Different types of self-tan products
The market offers a wide range of self-tan formulas, each with its own advantages and disadvantages. Lotions, mousses, sprays, drops, and gel formulas each offer unique benefits depending on your needs and experience.
Product comparison
| Type | Advantages | Disadvantages | Suitable for |
|---|---|---|---|
| Lotion | Hydrating, easy to control | Longer drying time | Beginners, dry skin |
| Mousse | Fast absorption, light | Can dry out, harder to distribute | Advanced users, oily skin |
| Spray | Fast, ideal for large areas | Less precise | Experienced users |
| Drops | Customizable intensity | Requires mixing with moisturizer | All levels, customization |
| Gel | Fast drying, transparent | Can feel sticky | Face, subtle glow |
Lotions are ideal for beginners because they are easy to spread and provide ample time to apply the product evenly. They often contain nourishing ingredients that hydrate your skin while enhancing your complexion.
Tanning drops are gaining popularity because you can completely control the intensity. Mix a few drops with your daily moisturizer and gradually build up your color. This gives the most natural results and prevents jarring color differences.
Mousses dry quickly and are therefore popular with people who have little time. However, they require some experience to apply streak-free due to their light texture.
Self-tan for different skin types
Not every self-tan works equally well for every skin type. Pale skin needs a lighter formula to prevent orange undertones, while darker skin benefits from a more intense formula. Your skin condition also plays a role: dry skin absorbs self-tan differently than oily or combination skin.
Recommendations per skin type
Pale skin: Choose a light to medium formula and build up gradually. Start with one thin layer and wait 24 hours before applying a second layer, if desired. Avoid products with high DHA concentrations that often turn orange on light skin.
Medium skin: Most standard self-tan products are perfect for you. You can experiment with intensity and achieve the desired result within one to two applications.
Dark skin: Look for intensive formulas specially developed for darker skin types. Standard products may be too subtle and have little visible effect.
Dry skin: Hydrate extra before and after application. Choose lotions with nourishing ingredients such as aloe vera, hyaluronic acid, or glycerin. The nourishing line at Tanning Glamour combines effective coloring with intensive hydration.
Oily skin: Mousses and gels often work better because they are less heavy and absorb faster. However, ensure sufficient hydration after application.
Sensitive skin: First test on a small area and choose hypoallergenic, fragrance-free formulas. Natural ingredients like aloe vera and chamomile help prevent irritation.
Self-tan and seasons: a year-round glow
Unlike sun tanning, self-tan is not seasonal. However, there are differences in how people use the product throughout the year. In winter, it's often about a subtle, healthy glow that compensates for the gray days. In spring and summer, many people want a more intense tan that suits bare legs and arms.
Seasonal tips
Winter: Gradually build up your tan with tanning drops mixed with your day cream. This gives a natural, subtle glow that is not noticeable but enhances your overall appearance.
Spring: Perfect time to start with a light self-tan before you show more skin again. Start two weeks before your first shorts or dress.
Summer: Maintain your tan with regular touch-ups every 5-7 days. Note that you may need to touch up earlier after swimming or intense exercise.
Autumn: Many people let their tan gradually fade during this period, but a light glow can also boost your appearance in autumn.
Combining self-tan with make-up and skincare
Self-tan fits perfectly into your existing skincare and make-up routine, but timing is crucial. Always wait until the self-tan has fully developed before applying other products. This usually takes 6-8 hours, so many people apply their self-tanner in the evening and start their normal routine the next morning.
Compatibility with other products
Moisturizers: After applying self-tan, wait at least 8 hours before using a rich body lotion. After that, daily hydration is even recommended to keep your tan looking beautiful for longer.
Retinol and AHAs: These exfoliating ingredients can cause your self-tan to fade faster. Do not use them immediately after application and consider temporarily pausing them if you want a long-lasting result.
Foundation and concealer: If necessary, adjust your make-up shade now that you have a warmer complexion. What used to fit perfectly might now appear too light.
Sunscreen: Important! Self-tanner does not protect you from UV radiation. Always use SPF when you go outside, even with a tanned complexion.
Troubleshooting: from streaks to spots
Despite careful preparation and application, your result may not be perfect. Fortunately, most self-tan mishaps are easy to fix. For streaks and dark spots, use an exfoliant or a self-tanner remover specifically designed to remove excess product.
Streaky knees or elbows: Gently dab with a damp cloth and apply a thin layer of moisturizer. Wash your hands and use your fingertips to make circular motions until the color fades.
Orange palms: Mix some baking soda with water to form a paste and massage it into your hands. The slightly abrasive action helps remove excess product.
Uneven complexion: A quick fix is a light exfoliation followed by applying a new, thin layer of self-tanner over the entire area. This evens out the color difference.
Dark ankles: A common problem. Use a cotton swab soaked in micellar water to carefully remove the excess color.
A radiant, natural complexion without health risks is within reach with the right self-tan products and techniques. By properly preparing your skin, working systematically, and aiming for the right aftercare, you can enjoy a beautiful glow for weeks. Tanning Glamour guides you with high-quality products that are visible within 2-3 hours and last beautifully for up to a week, without streaks or orange undertones. Give yourself that warm, sunny look you crave and experience the confidence a well-groomed complexion gives you.
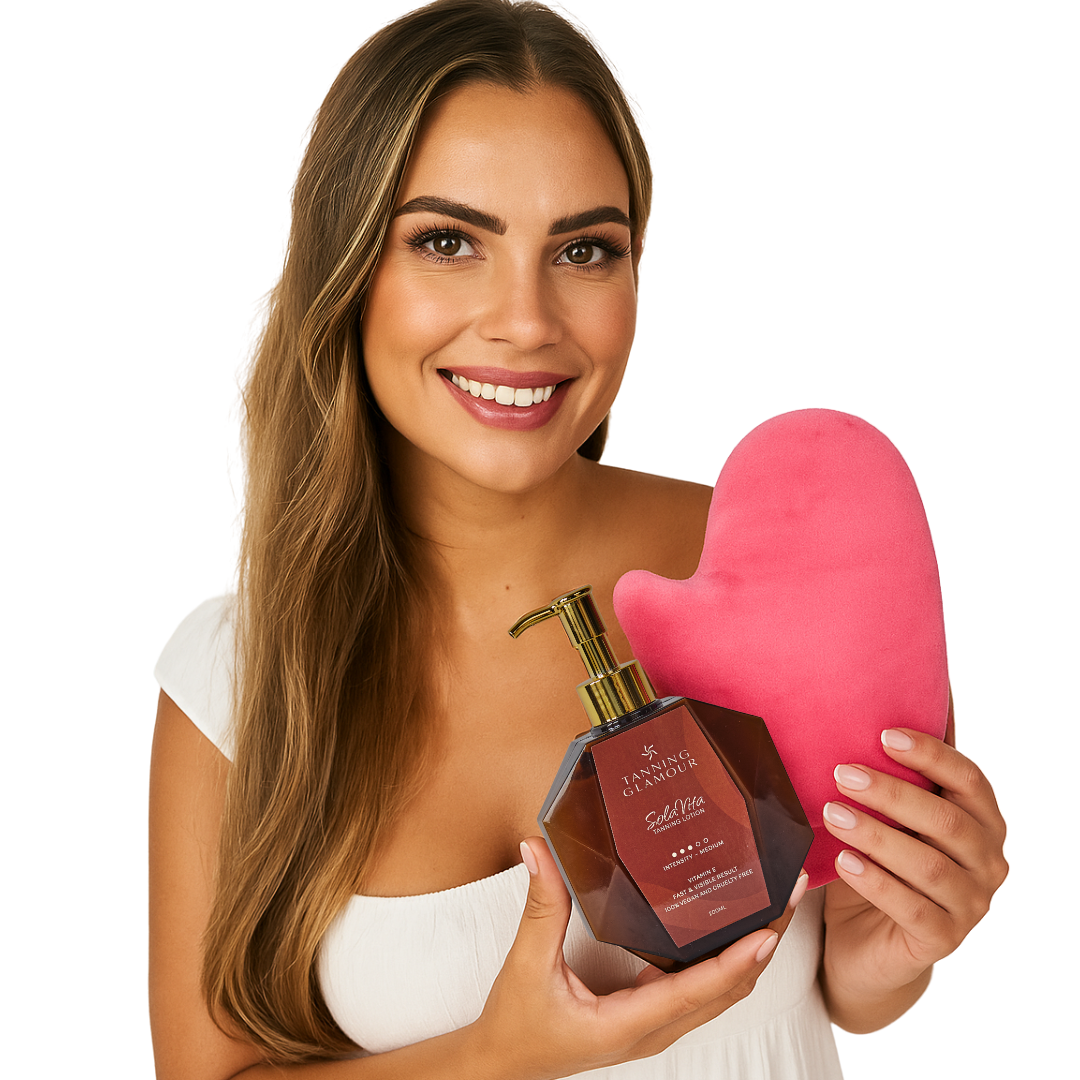
Ontdek jouw mooiste glow
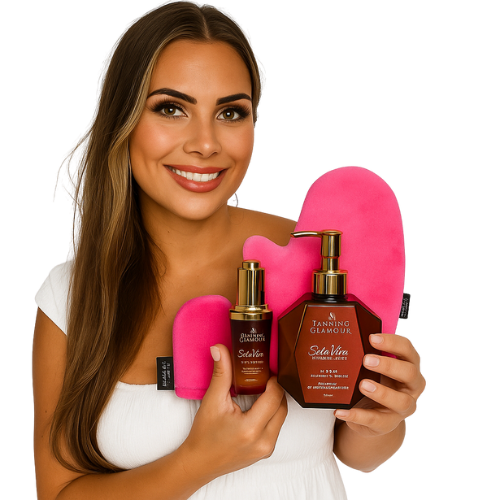
Verzorgende zelfbruiners van SolaVita - streeploos, geen oranje.
Read more
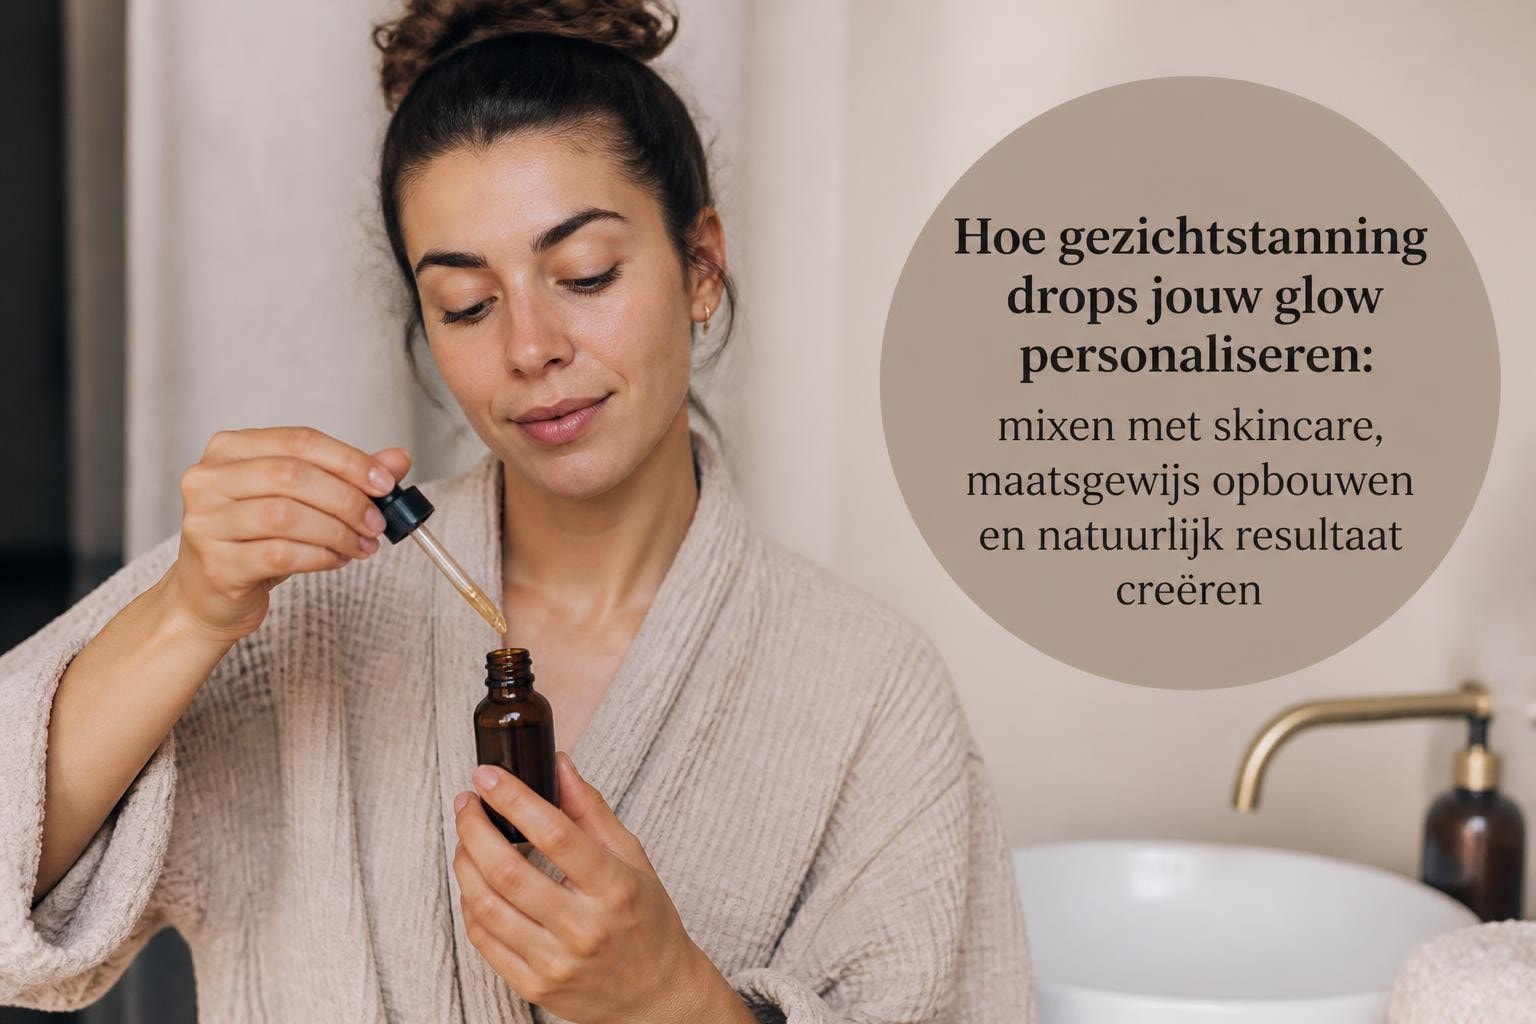
Discover how face tanning drops work and create an even, natural, custom glow. Tips for use, dosage, and the best results.
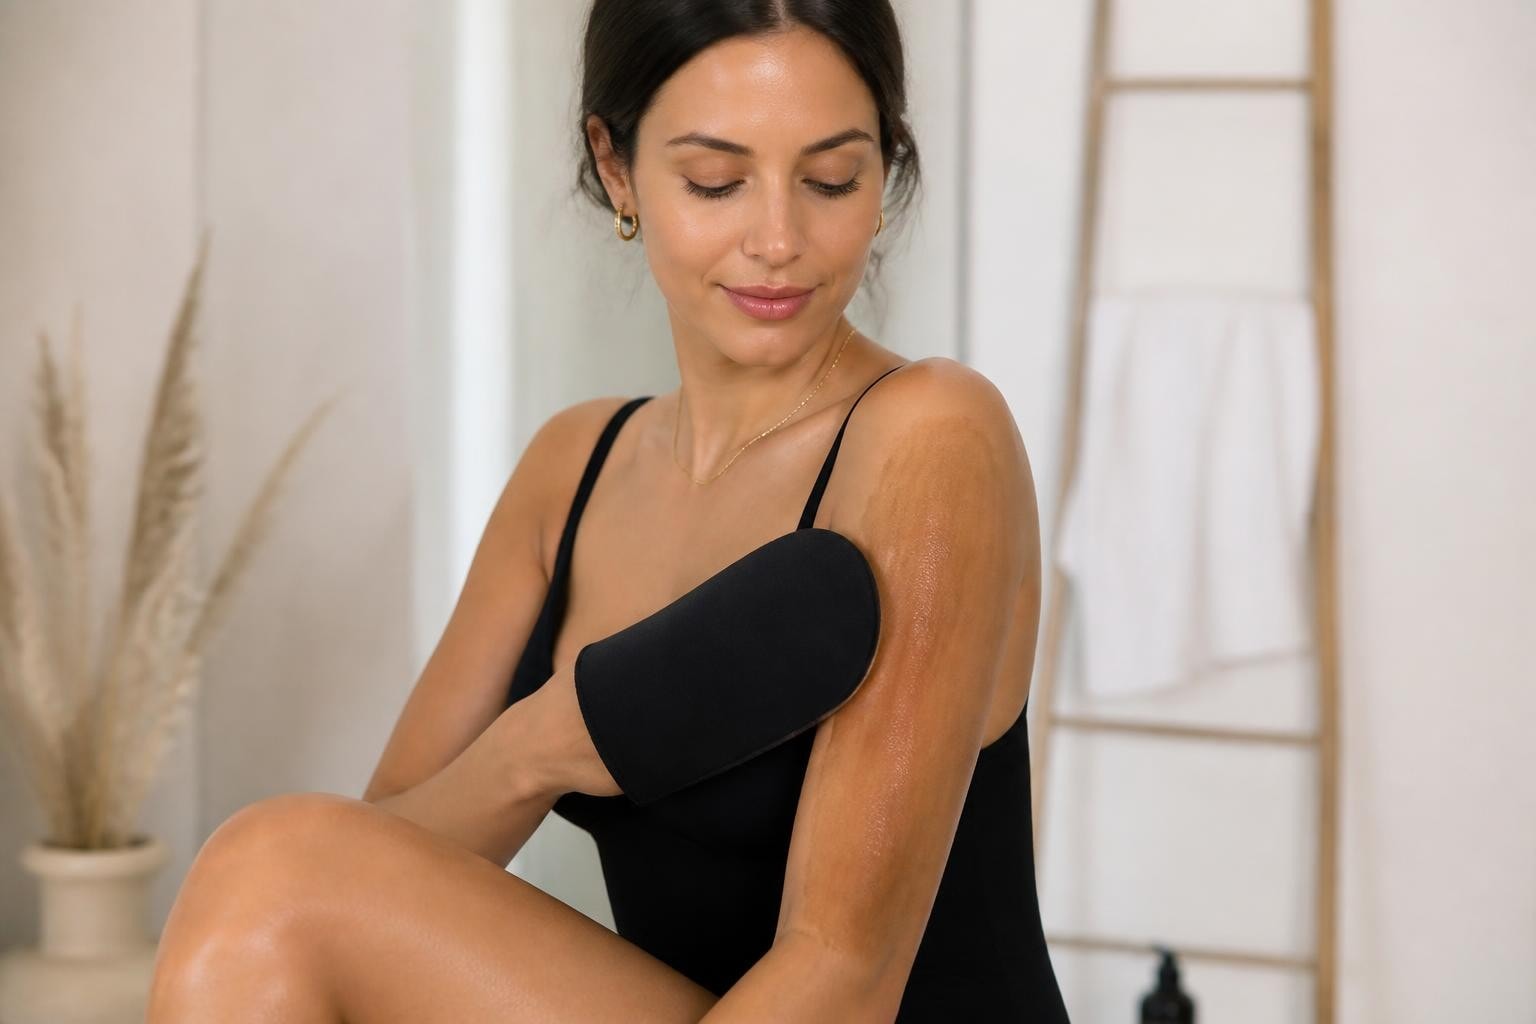
Discover everything about self-tanner for your body. From application to maintenance: get an even, natural glow that lasts up to a week.